Afgelopen weken heb ik de Fujifilm XF 33mm R LM WR getest. In de video van deze week vertel ik jullie wat ik van dit objectief vind en voor wie deze wel of niet geschikt is!
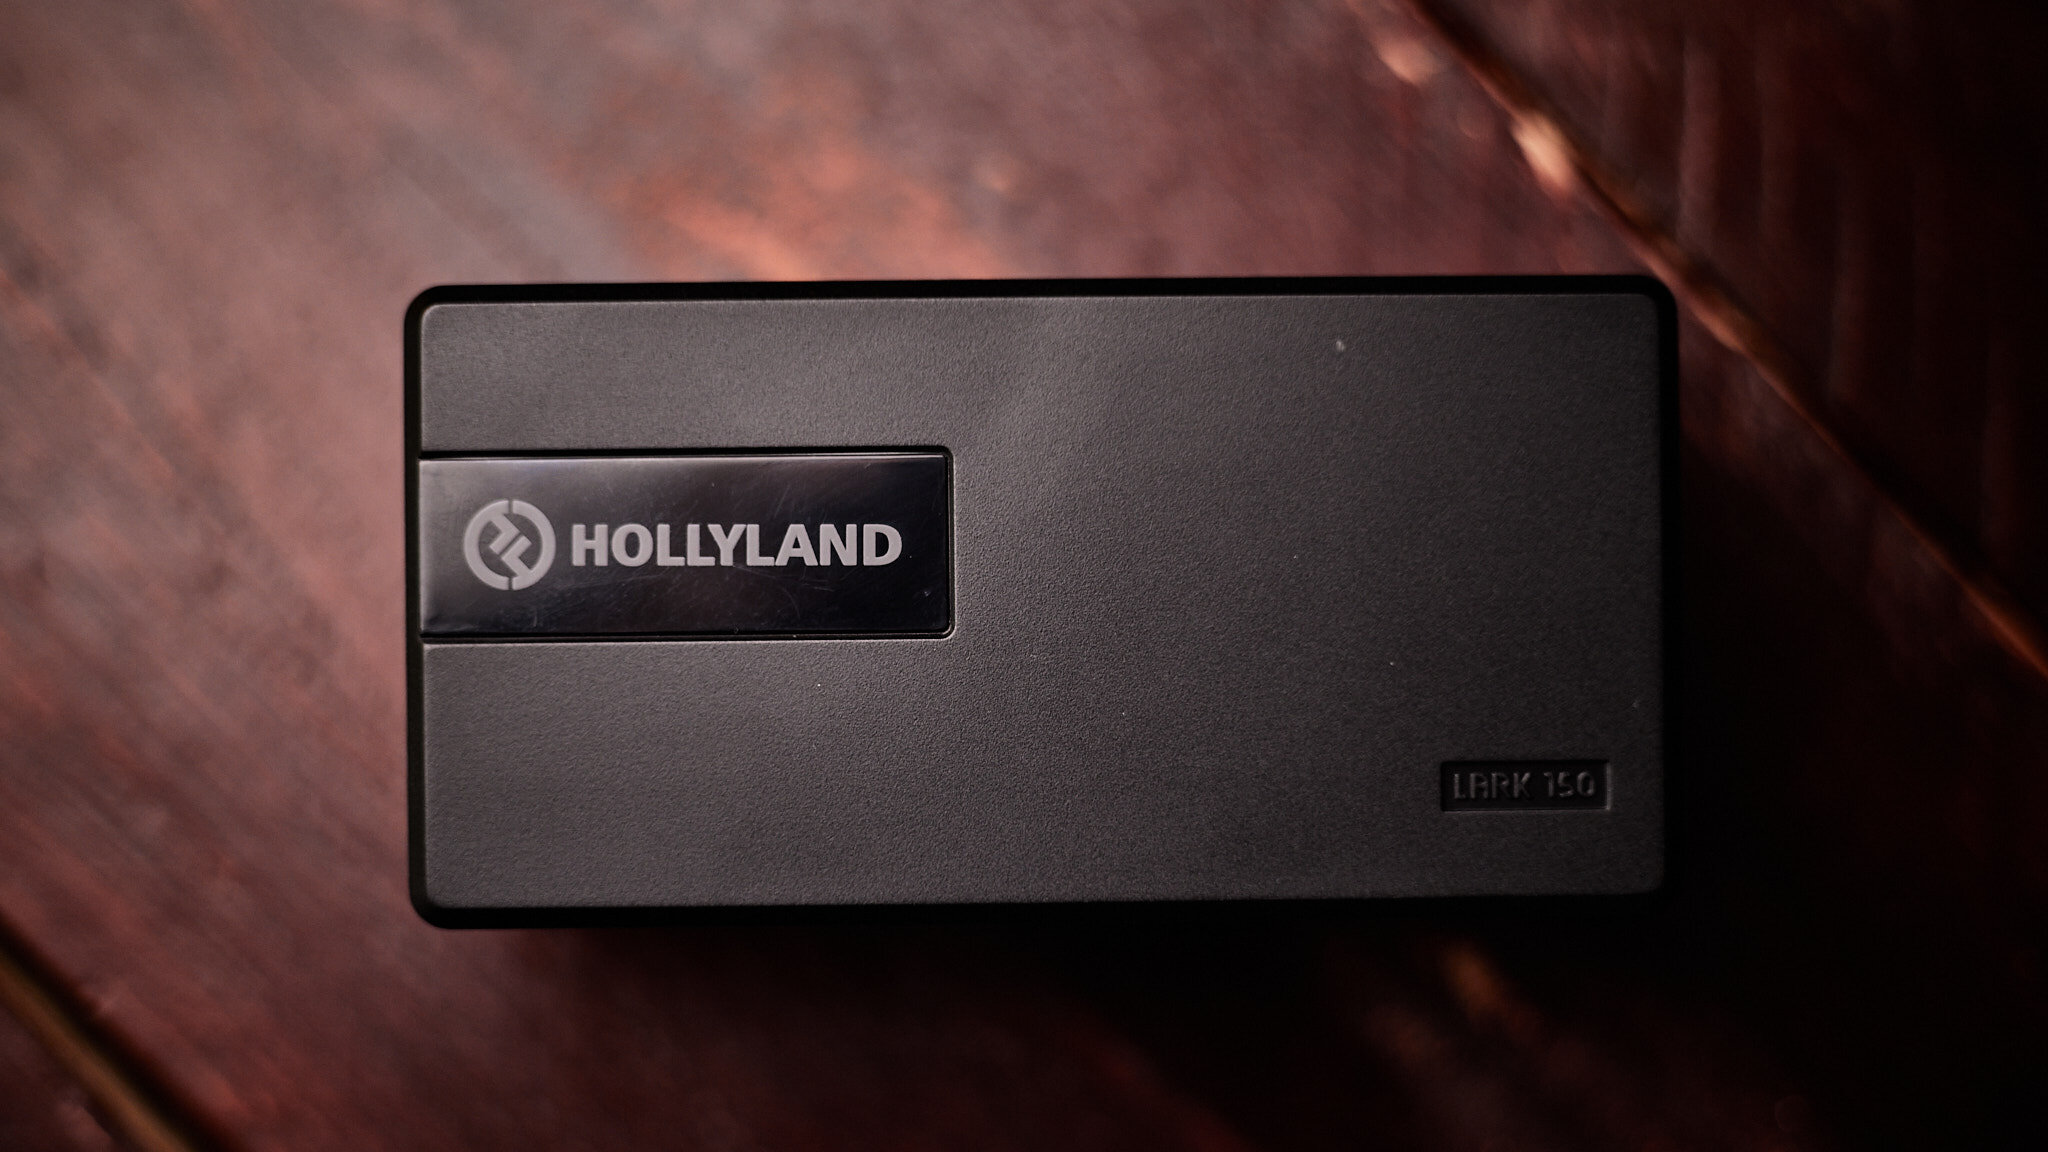
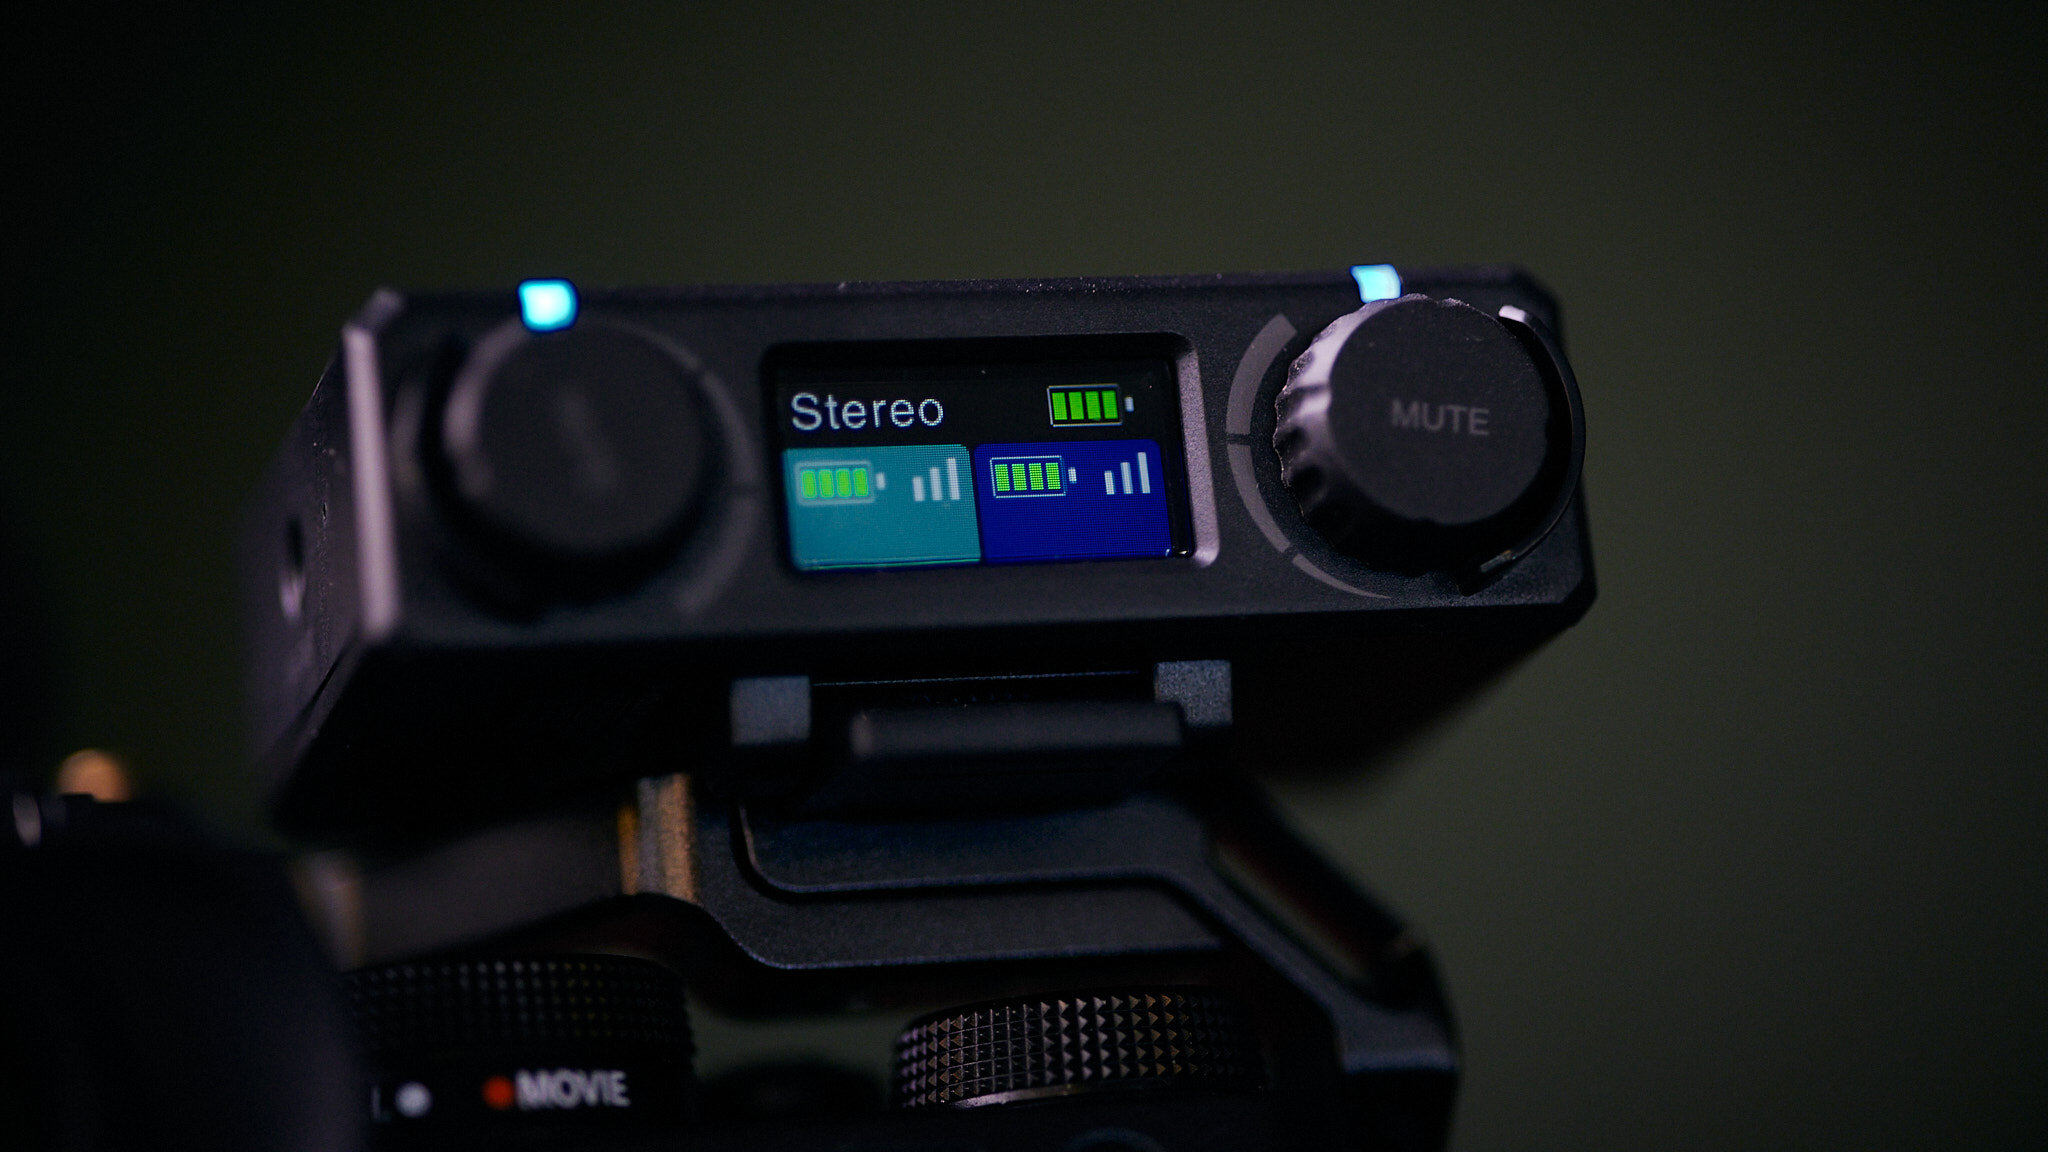
De beste draadloze microfoon set voor vloggers? De Hollyland Lark 150
Een veel voorkomend probleem wat ik had als ik met zender microfoons werkte aan vlogs was dat je (vaak) maar één zender en één ontvanger samen kan gebruiken. Echter als je interviews wilt doen, bijvoorbeeld even snel buiten (en nu helemaal met coronatijd) is een microfoon delen door dicht bij elkaar te staan niet altijd even handig. Daarom ben ik opzoek gegaan naar een set die aan de ene kant erg betaalbaar is maar aan de andere kant ook wel goed werkt en je twee zenders op één ontvanger binnen kan laten komen. De Hollyland Lark150 heb ik in dit kader onlangs getest en ik moet zeggen voor de prijs is dit een erg goede set!D
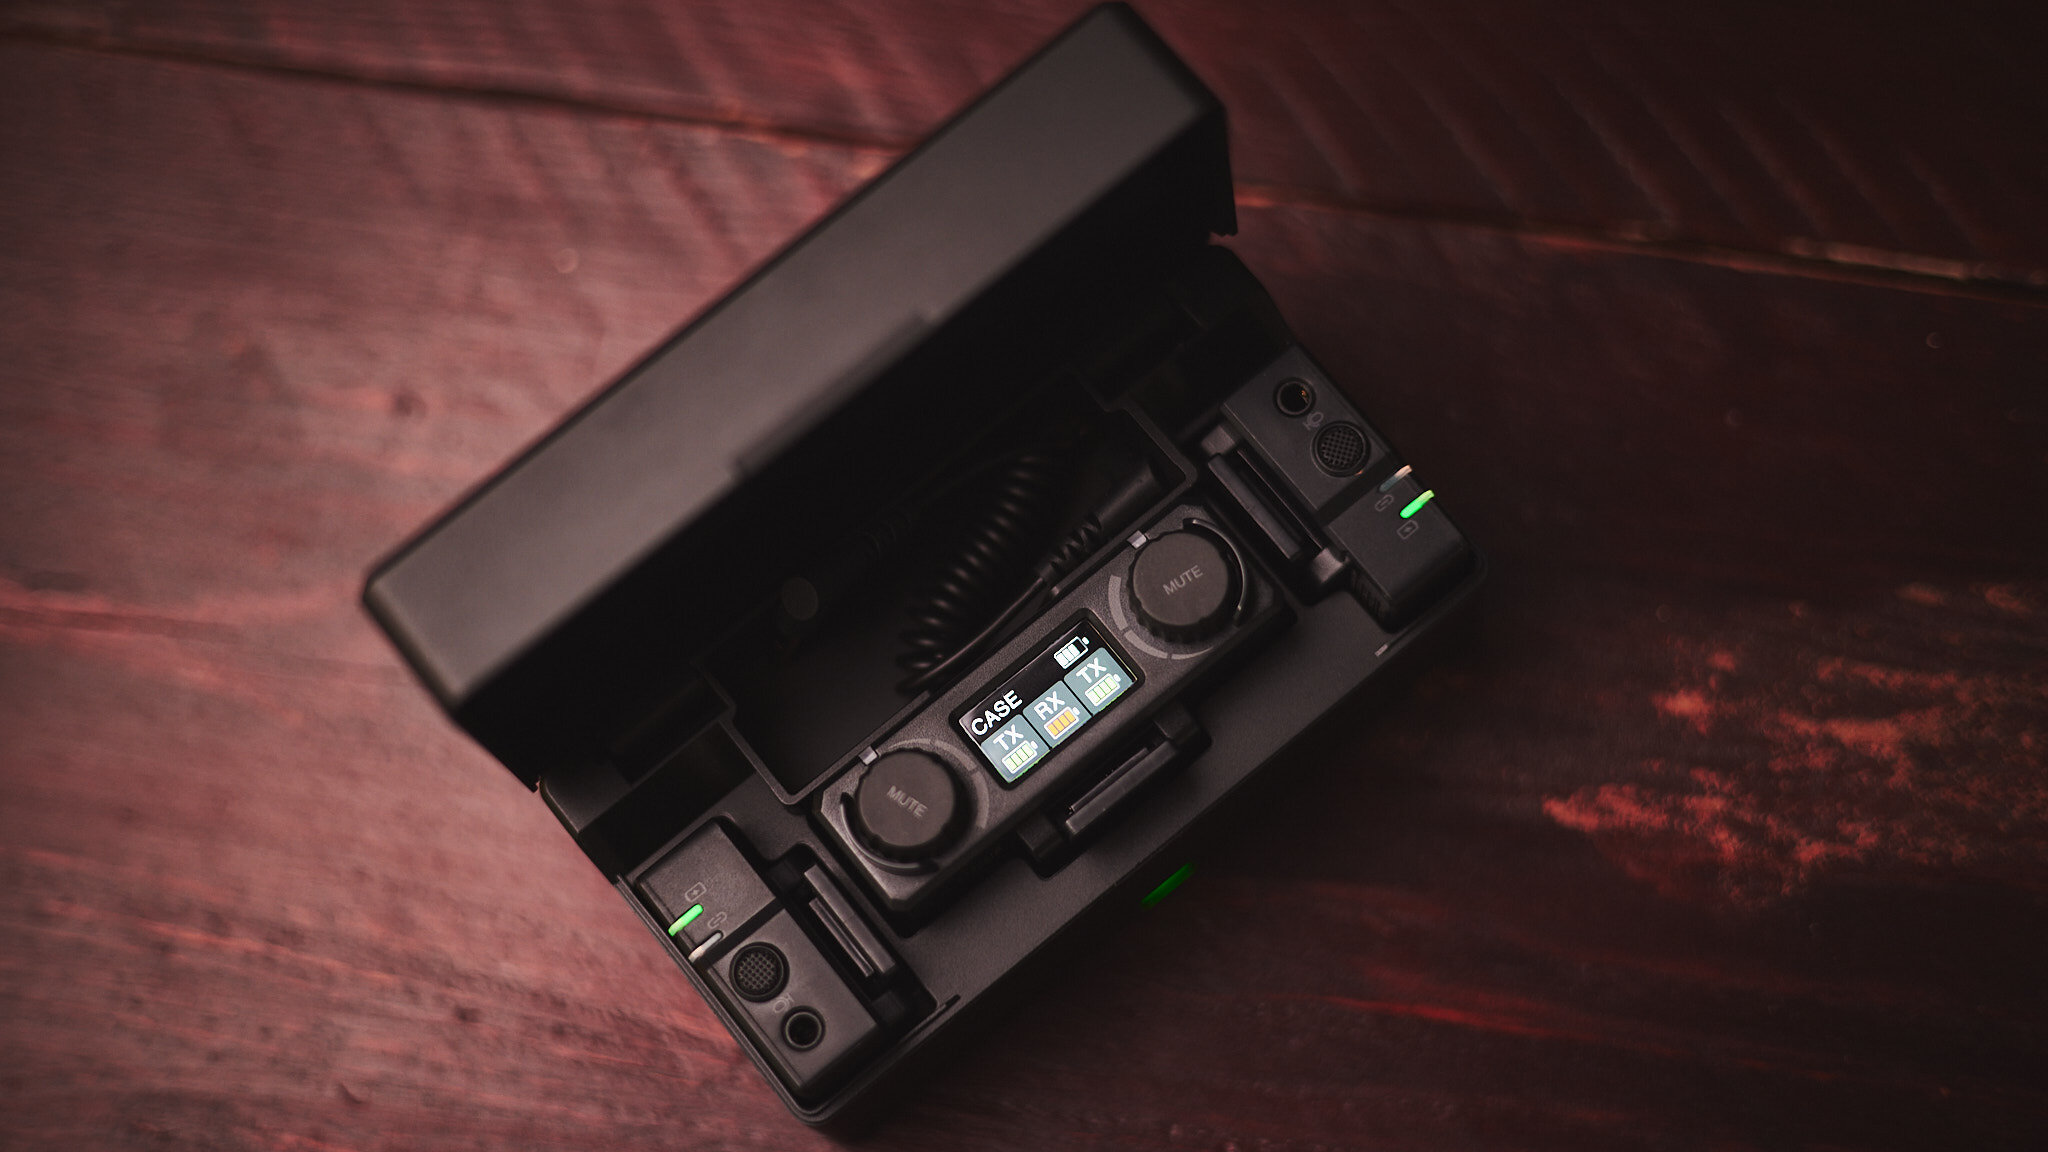
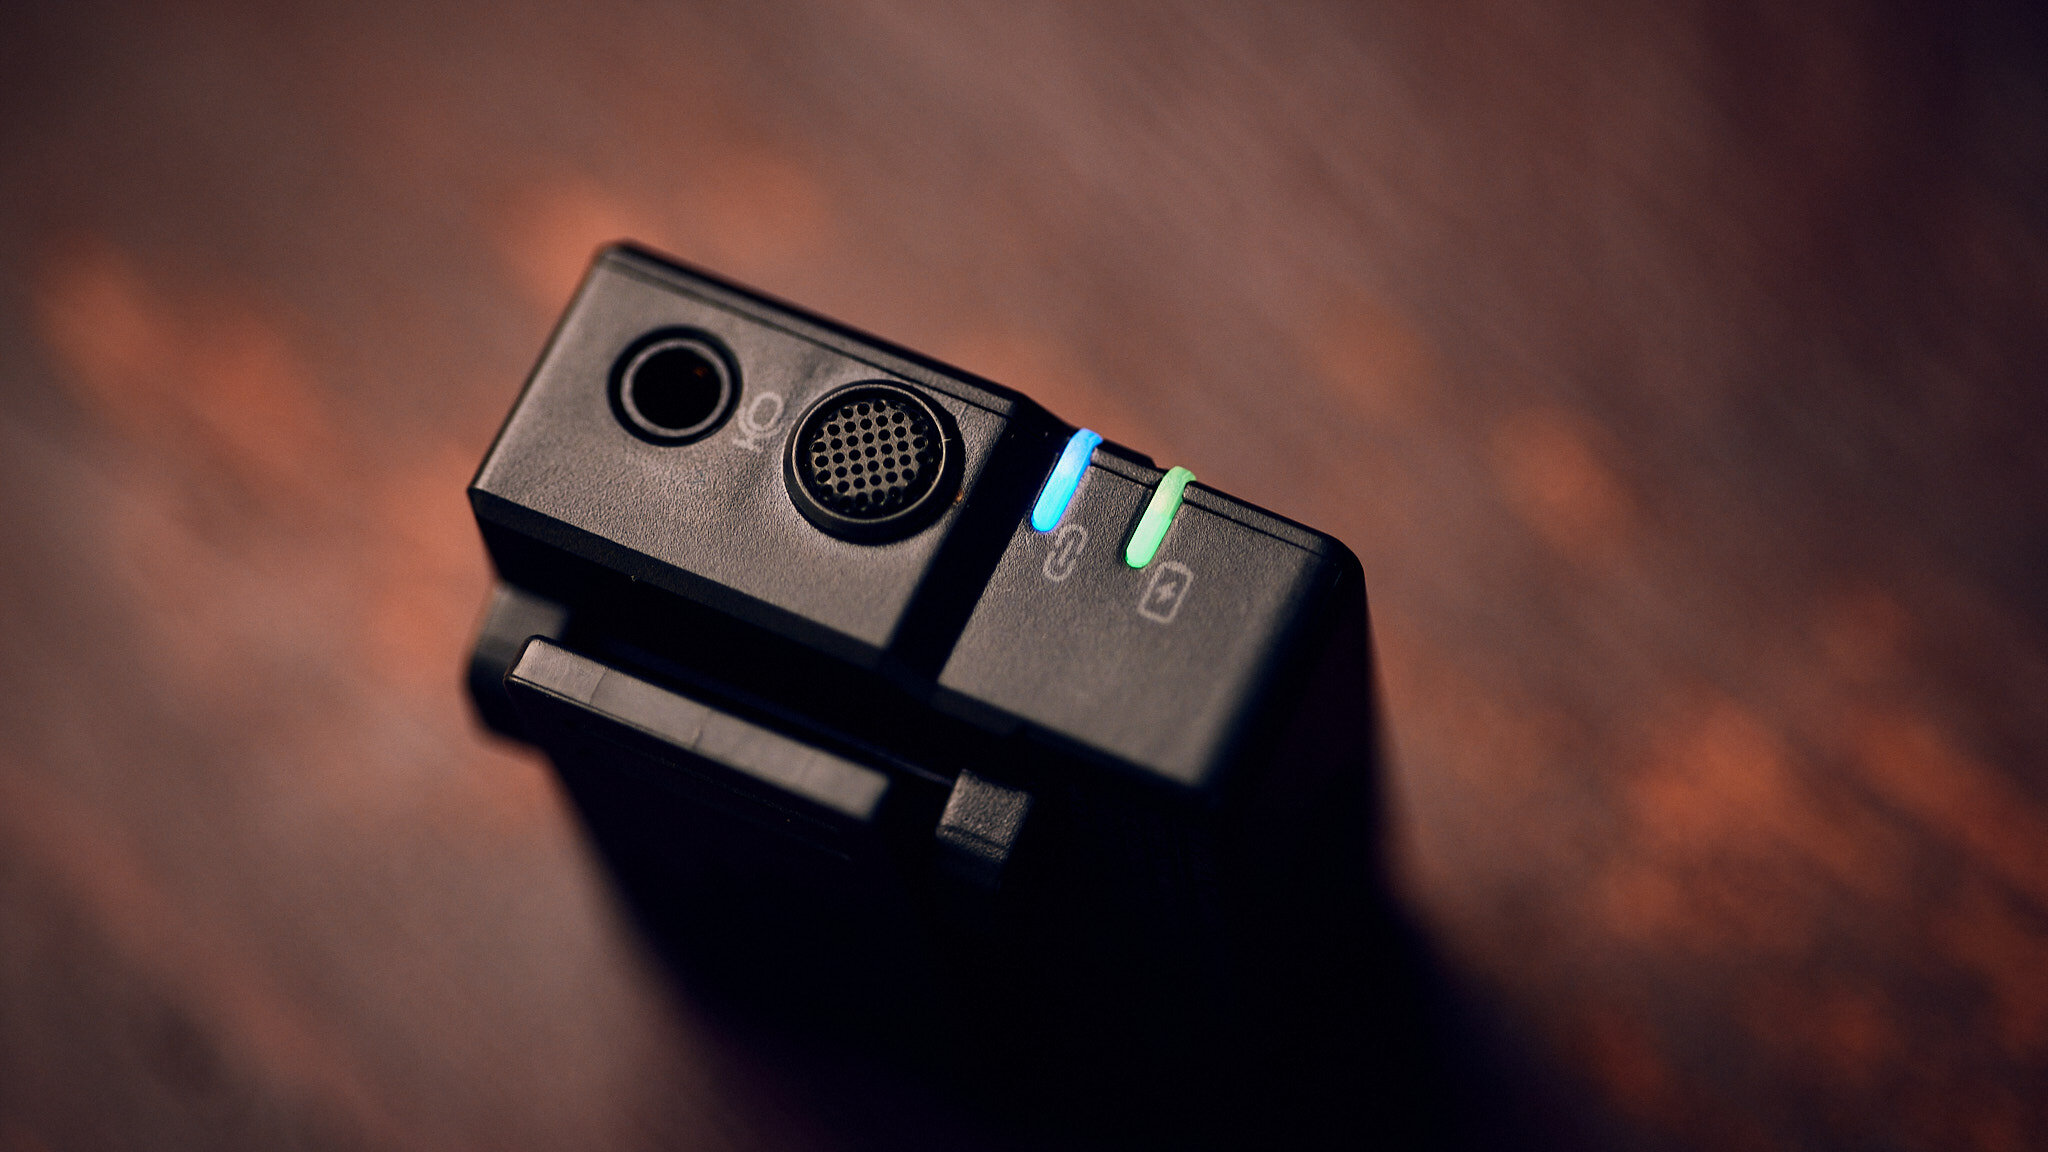
De Hollyland Lark 150 is zeer makkelijk in gebruik. De zenders en ontvangers zoeken zelf automatisch verbinding, de set is zeer compleet inclusief lavalier microfoontjes. Het doosje waar de zenders en ontvanger in zitten is ook gelijk een lader met accu dat je ze ook onderweg kan laden, eigenlijk laden ze direct zodra je ze er in stopt. Enige nadeel vind ik van het doosje dat je niet je lavalier microfoons er ook gelijk in mee kunt nemen.

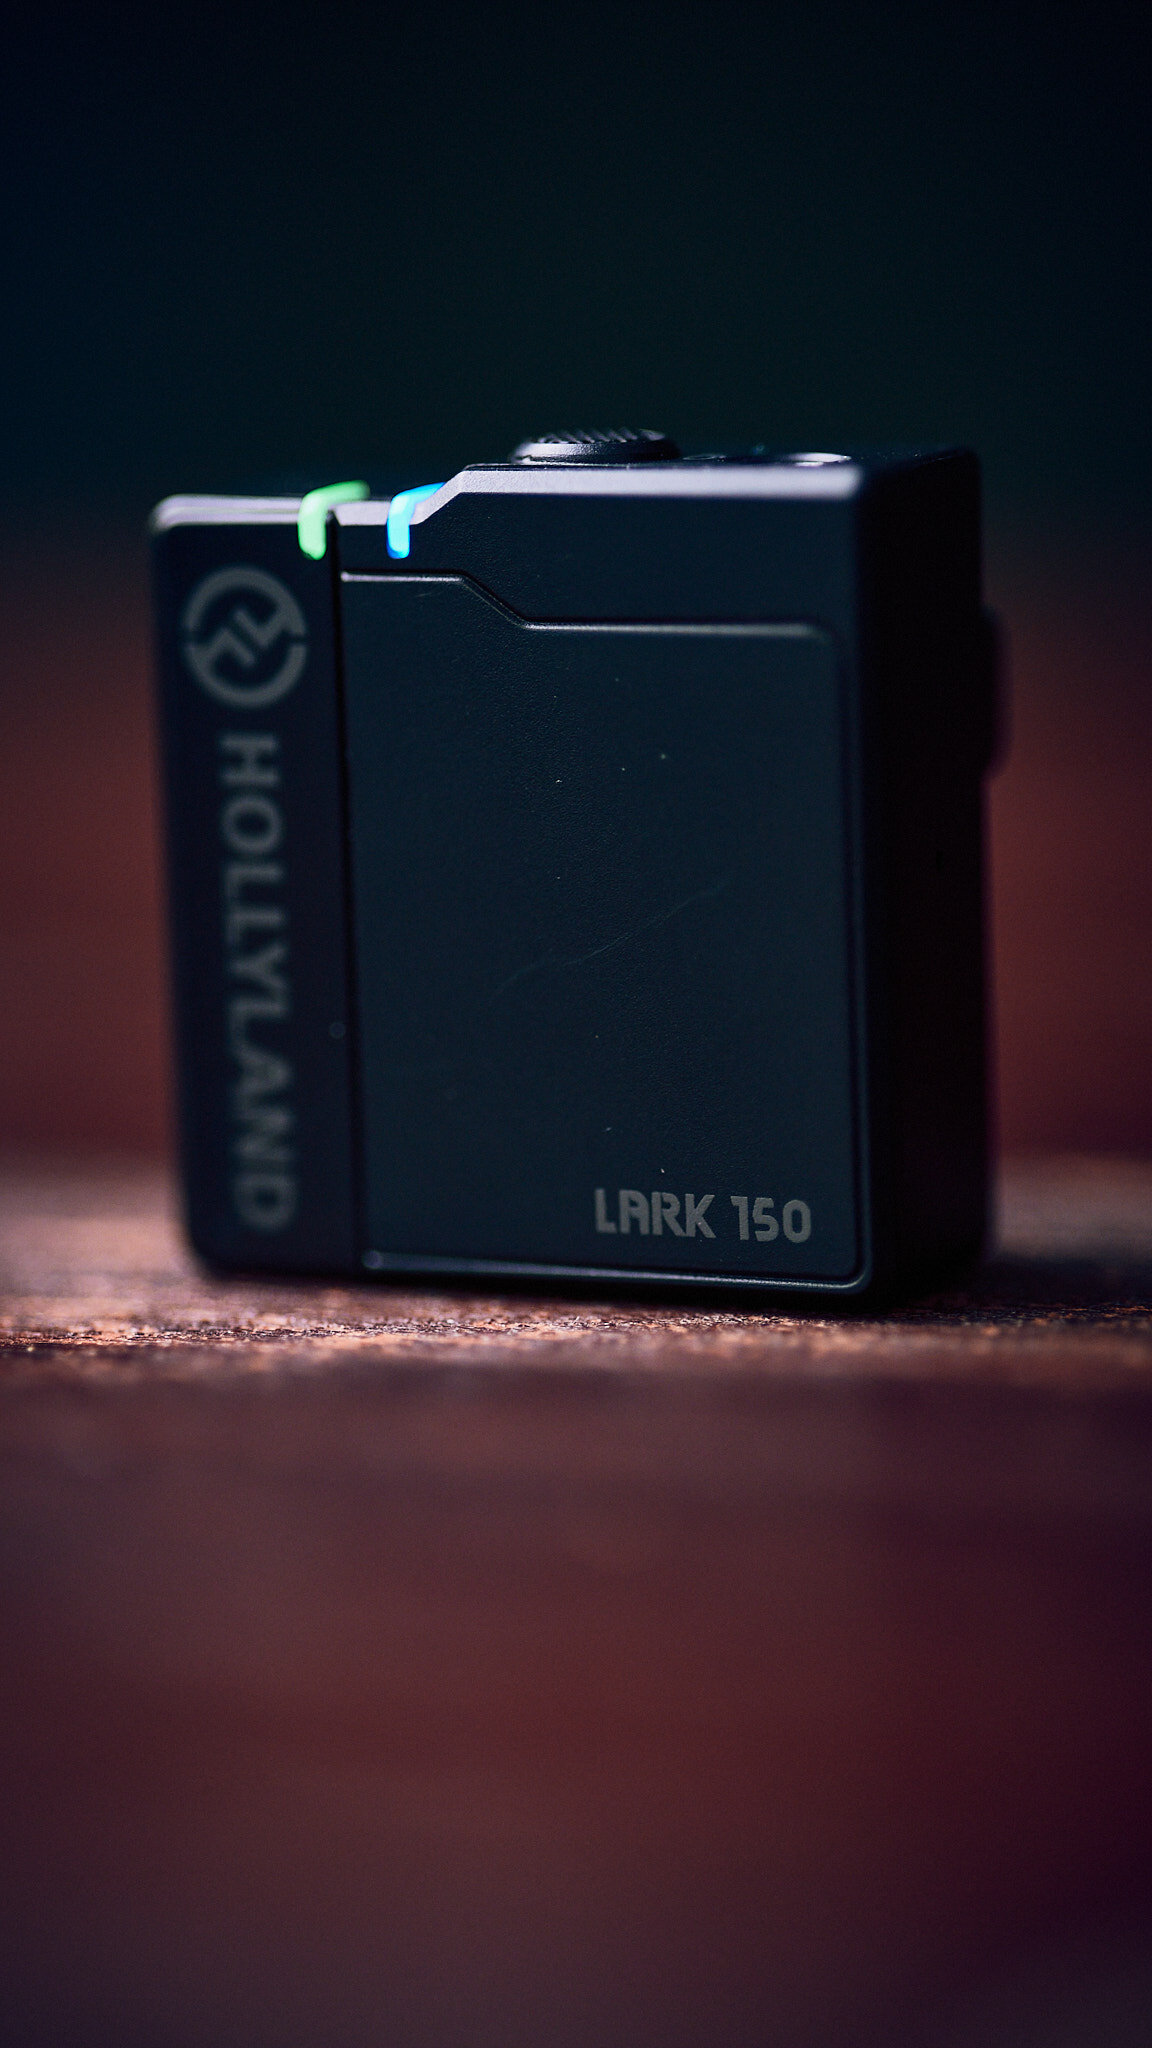
Qua bereik doen ze het zeer redelijk voor een zender set op basis van 2,4hgz. De analoge zenders blijven het beter doen in de praktijk, maar kosten ook meer. Zolang ze zonder obstructie kunnen verbinden doen ze het tot een 40 to 50 meter, stop je hem in je achterbroekzak, zakt het bereik tot een 15 meter. Dit komt omdat het signaal makkelijk verstoort raakt door water en een mens is nu eenmaal 70% water…. Maar als je gewoon een interview doet op 1 tot 5 meter van de camera is er niks aan de hand!
Het belangrijkste is natuurlijk hoe klinken de microfoons en ik moet zeggen, voor microfoons in deze prijs categorie klinken die zeer goed! Natuurlijk als je duurdere lavaliers microfoons erop zet klinken ze nog beter met minder ruis. Maar voor het doel waar voor ze gemaakt zijn klinken ze echt goed!
De zenders zijn ook zeer licht en voel je amper zitten wat er fijn is!
Xeen CF Cine objectieven getest
Naast fotografie houdt ik mij de laatste tijd ook veel meer bezig met het maken van films en documentaires. In dat kader zijn we nu opzoek naar een goed stel cine objectieven. Van Samyang Benelux mochten we de Xeen CF cine objectieven om te testen. Dat hebben we ook uitgebreid gedaan op diverse resoluties, van HD tot 12k! Bekijk hieronder de resultaten. Ook leg ik even uit wat het verschil is tussen een cine objectief en een objectief voor fotografie!
Review: Canon EOS R
Afgelopen week had ik de Canon EOS R om te testen. Dus tijdens een portretfotoshoot met Caroline Kolset een mooi moment om de camera te testen
De Canon EOS R heb ik vooral getest als camera voor portretfotografie tijdens een portretsessie in Amsterdam. Ik had de Canon EOS R samen met de RF 24-105 f4 USM IS.
De Canon EOS R met portretfotografie
Online kom ik een hoop haat en liefde voor de camera tegen en ik moet zeggen ik zit ook in ene tweestrijd. De Canon EOS R als camera een goede camera, hij doet wat hij moet doen, heeft een 30 megapixelsensor, de autofocus werkt goed, de viewfinder is goed, voor video werkt hij goed, heeft c-log, het klapscherm zorgt ervoor dat tijdens het vloggen je jezelf kan zien. en het beeld wat er uitkomt is van de kwaliteit die je van Canon kan verwachten.
Maar nu zit je natuurlijk te wachten op wat dan de grote maar is, en dat is voor mij dat de camera een beetje als een compromis camera aanvoelt, als een camera die neergezet is omdat Canon ook een goede spiegelloze camera maar het vooral niet mag bijten van de andere divisies van Canon camera’s.
Onlangs heb ik op een bruiloft even met de Canon 5DMKIII gewerkt en werken met de Canon EOS R voelt aan als werken met een DSLR camera, maar een spiegeloze camera kan zoveel meer bieden, zoals exposure preview en image review, maar deze functie werken net niet lekker zoals je zou willen wat een Fujifilm camera weer wel kan. De exposure preview (voorbeeld in je scherm wat de belichting gaat doen) werkt manueel alleen als je het via het menu aan/uitzet of gecombineerd met DOF-preview, wat net niet lekker werkt, ook als je in half automaat werkt, werkt het goed tot je er een flitser om trigger op zet, dan doet hij het niet meer, wat net weer irritant is als je met flits snel buiten wil werken en je snel wil balanceren met omgevingslicht. De Image preview (de foto zien als hij gemaakt is) om te controleren of je foto klopt, wat kan in de viewfinder is de kortste tijd bijvoorbeeld 2sec, wat veel te lang is als je aan het fotograferen bent en tussendoor wilt kijken.
De kwaliteit van de camera is verder niks op af te dingen en is gewoon goed!
De Canon EOS R en filmen
Canon maakt geweldige cinecamera’s en hoe heerlijk zou het zijn als Canon die kennis ook in deze camera zou stoppen en dat is nou net te weinig gebeurd naar mijn mening. De camera werkt verder perfect voor als je bijvoorbeeld youtube content wil maken, maar voor het betere werk mis ik toch functie. C-Log is bijvoorbeeld alleen mogelijk in de manuele stand, terwijl omdat je geen variabele ND filter hebt geen C-Log en auto iso kan gebruiken, wat lastig is met snel veranderende omstandigheden en je wel C-log wil voor het mixen met de Canon Cine camera’s als de C300MKII. Als je 4k wilt filmen krijg je een behoorlijke crop. Ook het selecteren van de video functie loopt net niet lekker snel omdat je eerst de mode knop moet indrukken en dan naar video moet gaan en dan de video stand selecteren. Vervolgens kan je alleen video starten met de Rec knop die net niet ergonomische geplaatst is. Ook kan je als je op 24fps filmt niet voor een 1/48 sluitertijd kan kiezen.
Conclusie
over het algemeen als je naar de Canon EOS R kijkt is het binnen de functies die hij moet doen gewoon goed. Echter door de boven genoemde imperfecties, voelt toch net niet als een camera die je moet hebben als je als bij een ander merk zit. Als je al Canon gear hebt is het een perfecte camera om naar spiegelloos te gaan, maar de echte voordelen die je met spiegelloos kan krijgen, die missen een beetje.
Is de Fujifilm X-Pro1 nog steeds goed?
De afgelopen jaren zijn we steeds beter geworden in het ophemelen van nieuwe camera's en dan gelijk afbranden van zijn voorganger. Maar zijn de nieuwere camera's echt zoveel beter met AF en hoge ISO's en zijn de "oude" camera's dan echt gelijk bijna onbruikbaar als er een nieuwe versie uit is? Dat vroeg ik me af, dus heb mijn Fujifilm X-Pro1 uit het stof gehaald en ben er mee op pad gegaan.
Fujifilm X-Pro1

De X-Pro1 kwam in maart 2012 uit. Eind 2013 heb ik de mijne gekocht in combinatie met de 35mm 1.4 en even later ook de X-E1 met de 18-55. Het was mijn eerste poging om over te gaan op systeemcamera's. Het was licht, compact en de beelden waren zeer goed. Maar.... de reden dat ik niet helemaal doorgezet heb op de Fujifilm camera's toen was dat video voor mij erg belangrijk was, tethered fotografen in de studio en het wegschrijven van bestanden was erg traag, ik kon de foto's pas terugkijken als alles bestanden op het SD-Kaartje weggeschreven waren...
Verder had k veel plezier met de Fujifilm camera's, helemaal voor prive gebruik. Maar qua werk was de Fujifilm X-Pro1 nog gewoon niet de camera die mij deed besluiten mijn Canon-systeem te vervangen, dus stapte ik voor mijn betaalde werk over op Nikon.
De Fujifilm X-Pro1 heeft een 16 megapixel X-trans sensor, en voor sommige is dit de beste X-Trans sensor. Het was de eerste camera's met de Q-button, en gebouwd als range-finder camera. De combinatie OVF en EVF was erg ideaal! De OVF voor straat werk en de EVF gaf WYSIWIG beeld van wat je aan het fotograferen was. De kleurprofielen zijn ook erg mooi!
Glas
Voor de test had ik twee objectieven mee, de Fujinon XF23mm 1.4 en XF56mm 1.2 APD. Voor een serie redactionele portretten zijn dit mijn favorite objectevieven. In combinatie met de camera werkte ze erg fijn.
De Fujifilm X-Pro1 in de tijd van nu

Het werken me de Fujifilm X-Pro1 was eigenlijk erg fijn! Het weer werken met de camera voelde aan als een oude spijkerbroek weer aantrekken. Het is twee tellen even aantrekken, maar als hij weer even gevoegd is zo verschrikkelijk fijn!
De autofocus is misschien niet de snelste maar voor reportage- en portretfotografie meer dan snel genoeg. Daarnaast waren de foto's ook gewoon scherp. Ook op als ik de objectieven wijd open fotografeerde.
Fotograferen met weinig licht


Om het een echte praktijk test te maken zijn we ook binnen gaan fotograferen. Zelfs in donkere omstandigheden op iso 1600 en 3200 bleef de camera goed werken! De beelden die er uit komen zijn ook zeer goed en bruikbaar uit. De ruisprestaties op hoge ISO verbaasde mij hoe goed deze was!
Conclusie
Is de Fujifilm X-Pro1 nog steeds bruikbaar? kortom, ja! Oké, het is misschien niet de snelste camera, maar de beelden die er uitkomen zijn gewoon goed! Als video en (tethered-)fotograferen geen must zijn, kan je nog gewoon met deze camera een bruiloft fotograferen, portretten of reportage-/straatfotografie. Je moet misschien iets meer nadenken over je shot n de knoppen kunnen beter ingedeeld worden, maar de beelden, het gene waar het uiteindelijk om gaat, zijn echt goed, bruikbaar en doen niet per se onder camera's die nu uitkomen. Dus ik heb zelfs de X-Pro1 weer in mijn tas gestopt! Die eerste generatie X-Trans sensor heeft toch nog steeds iets speciaals helemaal in combinatie met de met het Fujinon glas!
Dus laat je niet perse gek maken als er een nieuwe camera uitkomt! Tuurlijk heeft de X-H1 en de GFX voor mij voordelen qua werkwijze. Maar met de X-Pro1 kan ik nog steeds een complete klus doen!
Fast Review: Profoto Air Remote TTL-F
As promised here is my review of the Profoto Air Remote TTL-F
Ease of use
The Profoto Air Remote TTL-F is the way to go is you want to have professional studio light and full TTL functionality and HSS. Slip it on your FujiFilm camera and it works.
But for you use it don't forget to update the firmware of your camera and strobes. If you don't do this you can het some bugs with the HSS function and TTL.
But with the Profoto Air Remote TTL-F you can control the lights in manual or full TTL mode. With one light you need to use your camera's flash compensation, with multiple the groups on the remote.
Compatible Camera's and Strobes
At this moment the Profoto Air Remote TTL-F works with the FujiFilm X-T2, X-Pro2, X100f and GFX-50s camera. More will be possible after firmware updates
From the profoto site you have full TTL and HSS functionality with the Profoto, A1 (when used off-camera), B1, B1X, B2, D2 and Pro10.
The Con's
Off-course there are also some downsides. One is the battery life, this is approx. 30 hours on 2 AAA-batterys. The Profoto Air Remote can do much longer on a pair of AAA battery's, but also has a lot less of calculation to do....
The other con is that in comparison the de Profoto Air Remote you only have acces to groups A, B and C and not D, E and F. Which won't be a problem if you are like me and hardly ever use more then two or three lights.
Questions
If you have any questions please let me know in a comment below!
Photoshoot met mijn eigen GFX
Afgelopen week heb ik de grootte stap gemaakt en mijn laatste Nikon D750 en glas ingeruild op een FujiFilm GFX. Al jaren wilde ik een Middenformaat camera en nu heb ik er eindelijk één.
Waarom Middenformaat
De reden dat ik graag een middenformaat camera wil is niet alleen de resolutie. Ja, de gfx heeft een 51,4 megapixel resolutie, maar eigenlijk boeit dat me niet zo. Het is vooral de look die je krijgt door de grotere sensor. Daardoor krijg je zo'n andere perceptie van scherpte diepte. Ook de kleur en het dynamische bereik zijn mooier. Het is de "Ik weet niet wat het is, maar het geeft iets wat anders is en ik vind het heel erg mooi".
Daarnaast is het ook een andere manier van werken, je schiet grotere bestanden en moet meer nadenken over je shot. Ondanks je met de FujiFilm GFX bijna kunt fotograferen als een DSLR camera, wil ik toch benadrukken dit niet te doen.
Electronic Viewfinder
De camera heeft een elektronische viewfinder en dat is aan het begin even wennen, maar als je het eenmaal gewend bent wil je niet anders. Als je met natuurlijk licht werkt geeft de EVF continu een "What you see, is what you get" beeld, je hoeft dus niet meer te gokken op de belichten of vertrouwen op de lichtmeter en juiste compensatie instelling. Als je flitst kan je instellen dat je steeds 0.5 of 2 seconden ziet wat je hebt geschoten, wat er voor zorgt dat je niet steeds je camera van je gezicht hoeft te halen om het beeld te bekijken. Wat uiteindelijk resulteert in minder foto's en directer naar het eindresultaat toe te kunnen werken. En als je snel moet werken is dat erg handig!
Objectieven
Momenteel heb ik alleen de 63mm 2.8 R WR, maar heb ook al de 120mm f4 en 110mm f2 kunnen testen. Eind van de zomer hoop ik de 110mm f2 R WR te kunnen toevoegen en eind van het jaar de 45mm. dan heb ik mijn hele set compleet. De 63mm is een erg prettig objectief om mee te starten maar voor portret is de 110mm ook erg gaaf.
Touchscreen Scherm
Op de achterkant zit een touch-screen kantel scherm. De eerste ervaringen zijn hier erg prettig mee, zeker met terug kijken van de beelden, dan werkt het bet zoals als op je tablet.
Video
Met de GFX kan je ook Full HD filmen op middenformaat sensor formaat. Ik ben erg benieuwd hoe dit gaat werken. Momenteel heb ik nog geen echte video geschoten met de GFX maar binnenkort meer.

Behind the scenes
Hier is even een korte video van de eerste shoot die ik met mijn eigen FujiFilm GFX gedaan heb in combinatie met de 63mm 2.8 R WR en de 110mm F2 R WR. De Video is gechoten met de FujiFilm X-T2 en 35mm 1.4 R. Voor de X-T2 heb ik de dag na de shoot de 10-24 binnen gehad. Dit wordt mijn vlog objectief. Deze heeft namelijk OIS en beter focussing. Het model is Freeke den Dulk Trouwens
Even kleine tip, zoals eerder gemeld loopt bij middenformaat het scherpte diepte anders. Dit zorgt ervoor dat je als je bijvoorbeeld met de 110mm F2 met close up portretten op 1 f2 echt een hele kleine scherpte diepte hebt. Dus met een 110mm op F4 heb je de beeldhoek van ene 85 maar scherpte diepte van 1,8. Verkijk je hier niet op!
Dit waren mijn eerste gedachten en review van de FujiFilm GFX, binnenkort ga ik hem verder testen en komen er meer vlogs en blogs. Volg dus mijn blog, youtube kanaal en instagram om op de hoogte te blijven!
Review: Olympus OM-D E-M10 mkII
Tijdens de opnames van de workshop "Basis fotografie" voor Cafe Obscura hebben wij gebruik gemaakt van de Olympus OM-D E-M10 mkII. Dit was gelijk een mooi moment voor een review
De body
De Olympus OM-D E-M10 mkII heeft een compacte body van ongeveer 390 gram en houd lekker in de hand vast. De 16 megapixel Micro Four Thirts sensor is niet heel veel, maar ruim voldoende om mee te starten. Deze camera is echt bedoelt voor de fotosiasteling, en daar is deze camera echt zeer geschikt voor!
De Olympus OM-D E-M10 mkII heeft zeer veel extra functies en mogelijkheden, zoals creatieve effecten, 4k-time lapse, 5-assige stabilisatie.
Touch screen
De touch screen achter op de Olympus OM-D E-M10 mkII camera is zeer prettige om mee te werken. Vooral het touch, focus en afdrukken werkt snel en goed! Zelf zou ik graag nog zien dat je ook via het touch screen het menu zou kunnen bedienen. Misschien dat dit nog in een update komt.
Menu's en knoppen
De camera biedt erg veel functies en mogelijkheden. Echter moet je wel veel in de menu's duiken om dit er uit te halen. Het is soms even zoeken waar wat zit. De knoppen zijn wel iets groter geworden naar mijn gevoel en ik heb niet meer dat ik per ongeluk meerdere knoppen te gelijk in druk! Van de ruimte op de body wordt voorzover die is bij deze compacte camera optimaal gebruik gemaakt.
Objectieven
We hebben de Olympus OM-D E-M10 mkII getest met de 12-50mm en 45mm 1.8 objectieven. Het 12-50mm objectief is zeer licht en het zoombereik is erg prettig. Echter het zoomen met de hand voelt een beetje raar ivm hij ook aangestuurd wordt een electro motor voor mooi zooms tijdens bijvoorbeeld het filmen. Maar dit hadden ze van mij er uit mogen laten
Het zuiko 45mm objectief blijft een heerlijk klein en licht sterkt portretobjectief.
Autofocus
De autofocus is heerlijk snel en bijna altijd raak. Ook de mogelijkheid om je focuspunt te kiezen over bijna het hele bereik van de sensor is erg fijn.
Nadelen
Voor de prijs en mogelijkheden die de camera biedt mag je eigenlijk niet klagen. Ook op hogere ISO's werkt de Olympus OM-D E-M10 mkII zeer acceptabel. Echter waar je wel merkt dat de Olympus OM-D E-M10 mkII minder presteert dan de camera's met grotere sensoren is in nabewerking als je schaduwen wilt ophalen, of hooglichten. Dus je moet wel gelijk goed fotograferen. Maar met alle opties die de camera biedt is dit niet moeilijk. De EVF geeft je eigen continu een "Wat je ziet is wat je krijgt" beeld.
Editorial photoshoot with a chef cook and (review of) a Phase One P30+
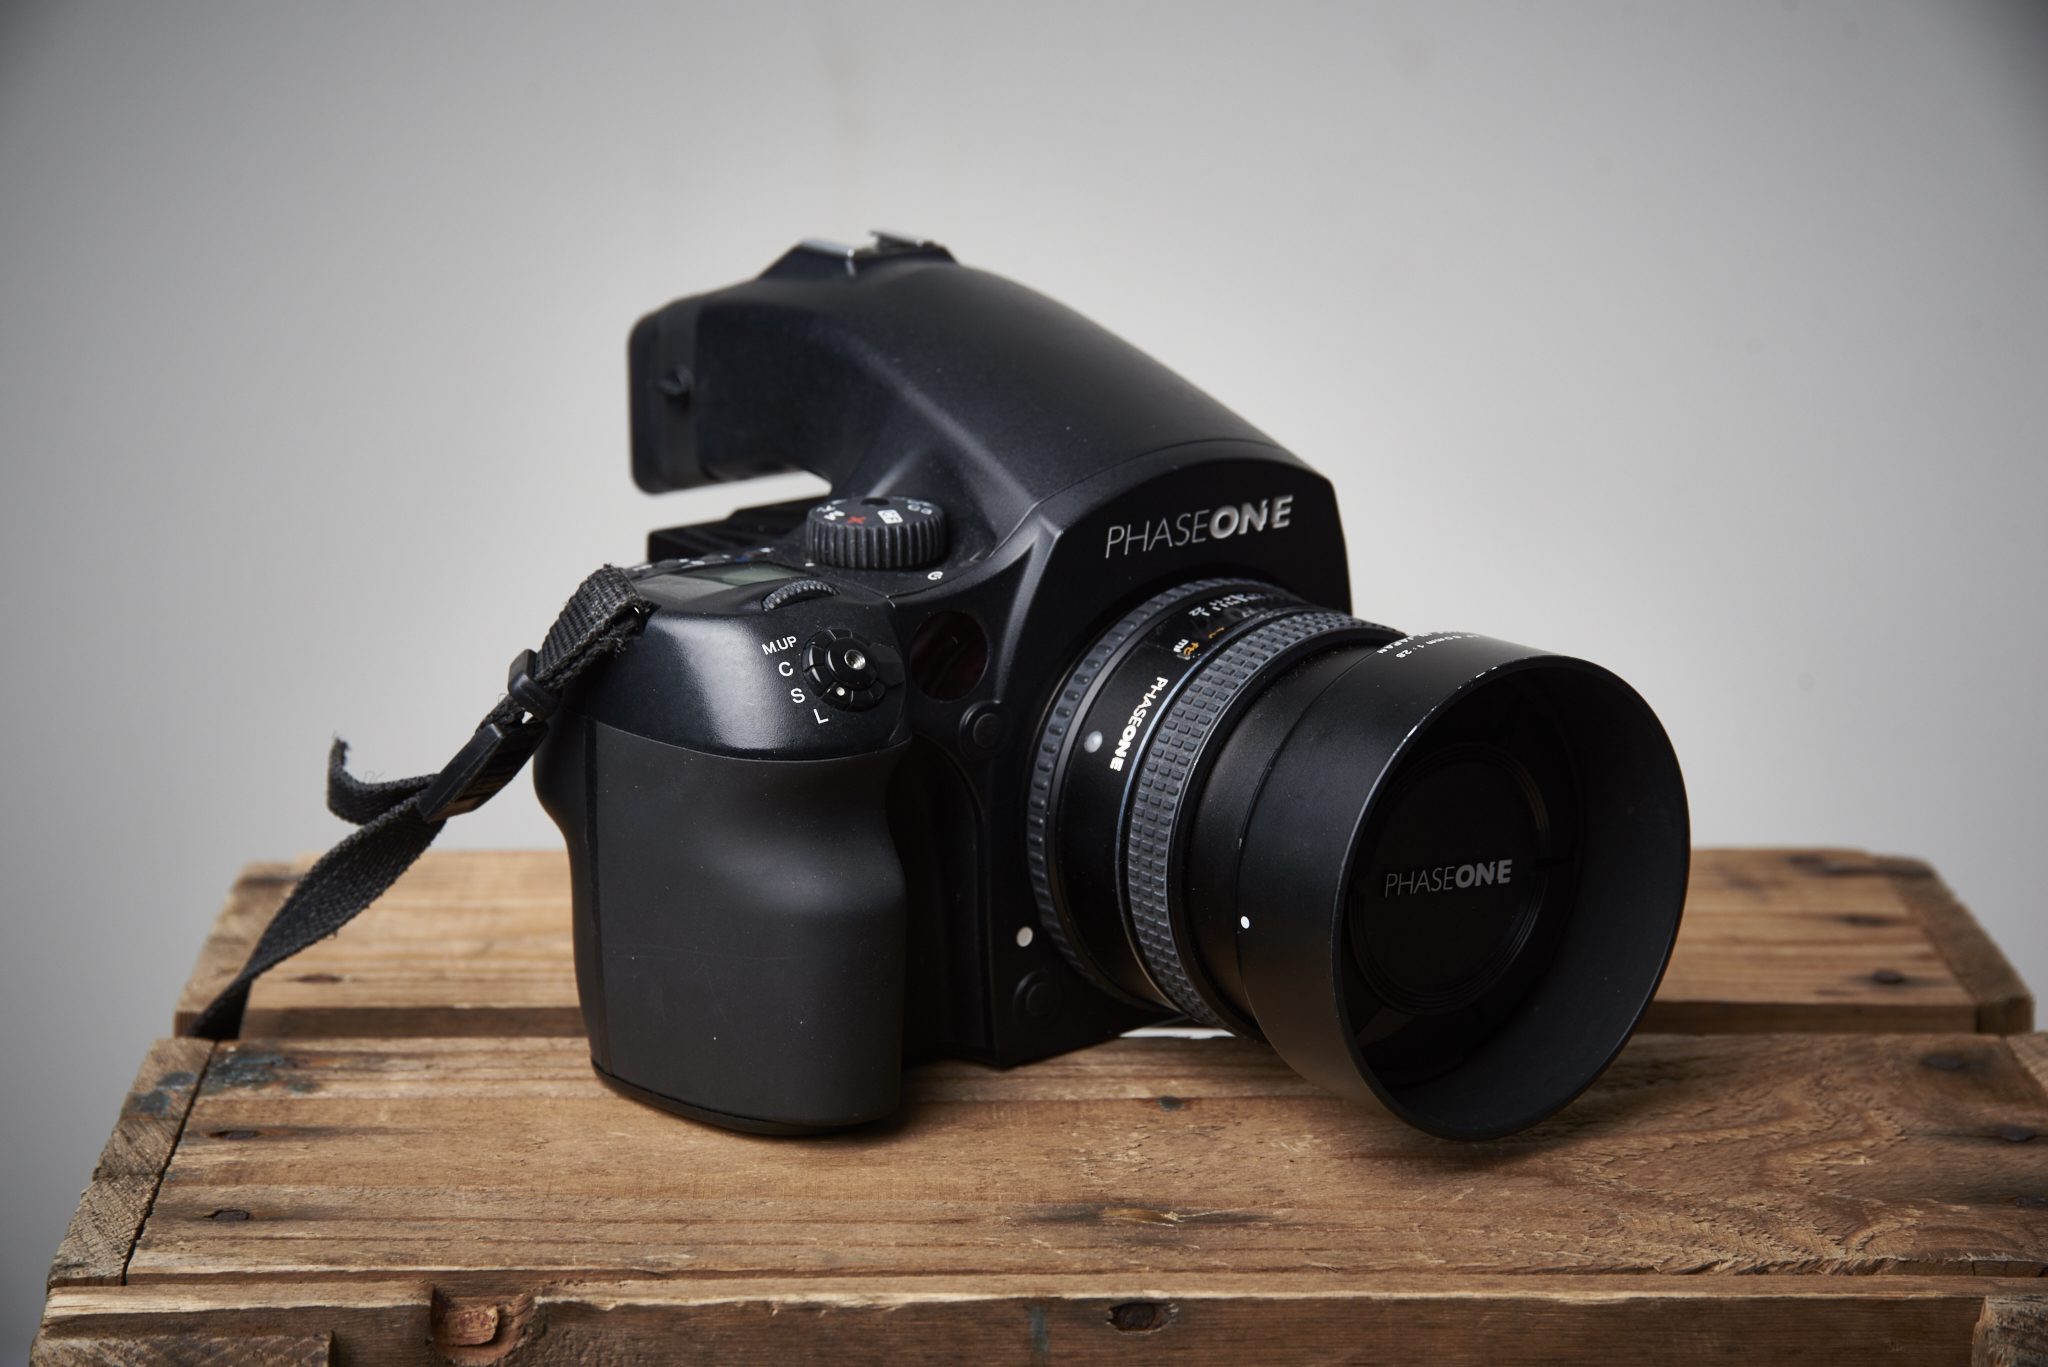
Last friday I did an editorial style portrait shoot with chef cook Marcel Bark of de Rijd in Nieuwe Niedorp. For this photoshoot I borrowed a Phase One DF body with a P30+ digital back and a 80mm lens. For a while I am searching for an affordable way to get into medium format photohraphy. I have tested a P30+ back in the past (Read review here), the CVF-50c (click here) and the Hasselblad H5D-40 (Click here).
The set-up
Beside the Phase One set I am also trying out some Broncolor gear. I love my Elinchrom gear and especially there softboxes, but the bron are just a little more stable on output and white balance throughout the whole powerrange and have a faster flash duration for when you are working with speed/dance. So I had a Siros 400L with the 75 octabox as a key light, the Siros 400S with a strip and a grid as a kicker and a Siros 400 S with the 150 octa box as a fill.
The Phase One P30+ was connected with a firewire cable to my iMac runing Capture One Pro 9. All editting of teh photo's have also only be done in Capture Pro One 9. I love using tethering during shoot. It helps communication with the client and is a real visual way to get to the result you want.
Styling
For the styling we went to the local supermarket and bought some nice food to shoot. Marcel loves working with Fish so a fresh fish and some clamps couldn't be left out of the photo's! Marcel is also really font on green cabbage, so we also photographed him with just the green cabbage!
The Shots
Here a a couple of the final shots of teh editorial photoshoot.


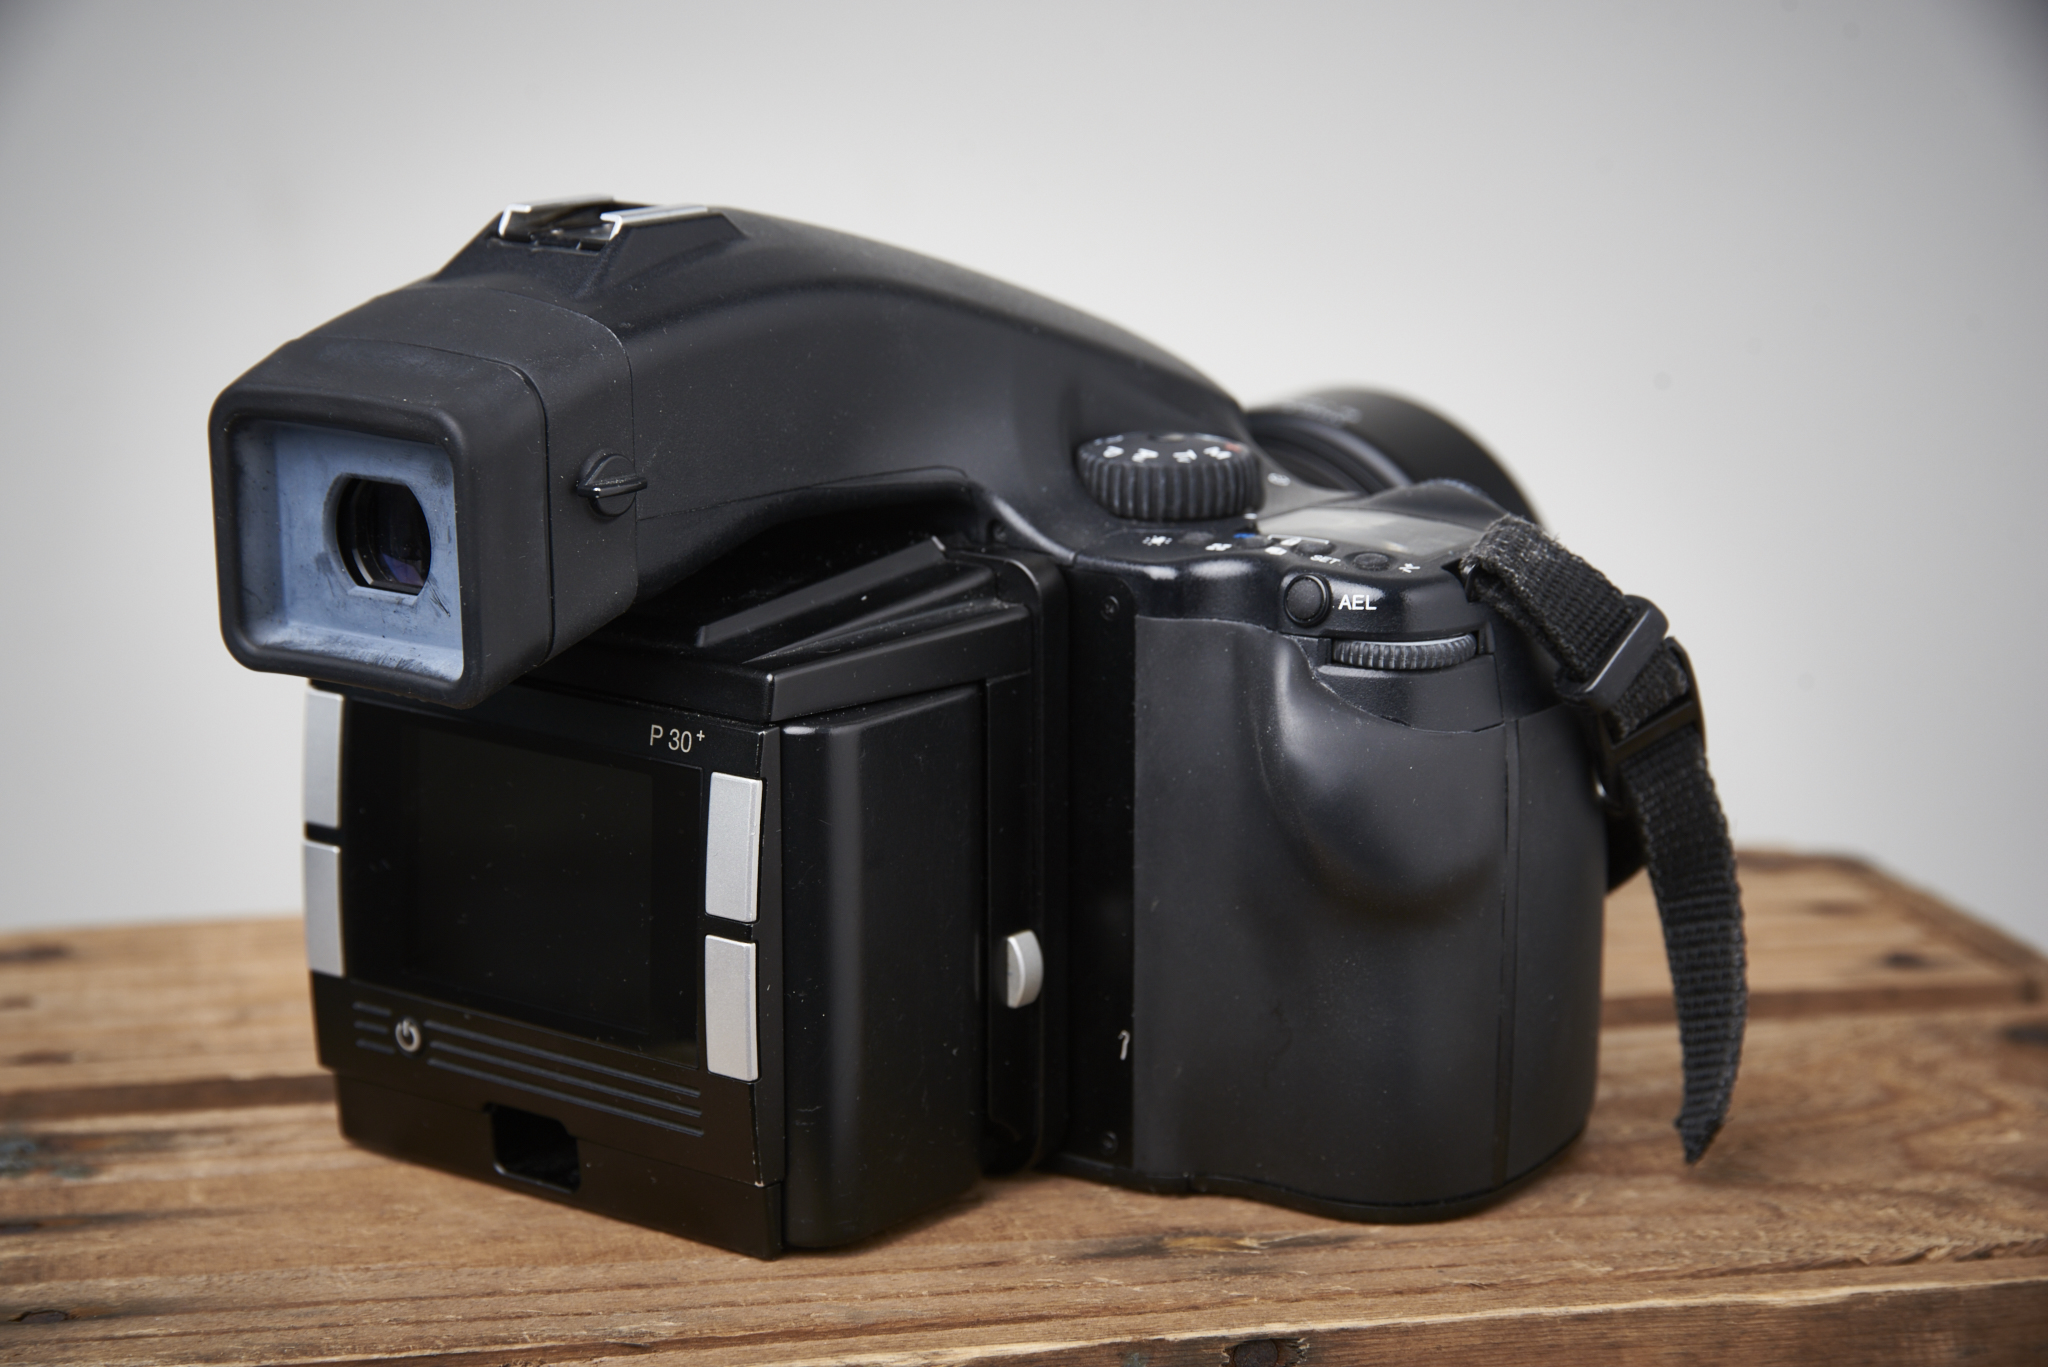
The Phase One P30+ Back
The Phase One P30+ is a great digital medium format back. The colors are so natural and lovely. It has (only) 31 megapixels. which was huge in the time it was released and is still more than enough. Normally I shoot around 24mp with my Nikon D610 en D750 and rarely use the 36 of the D800, only when I need to print big.
The point for me for Medium Format is not the megapixel count but the sensor size and look. I don't know what it is but Medium Format photography has a look which is just so much more lovely then 35mm Full Frame photography. I has the look of the photographers I admire like Mark selliger, Martin Schoeller, Erwin Olaf and Anne Liebovitz. They also use Phase One camera's/backs,
The set up of the back is simple. The menu has just a few options, like ISO, white balance, power performance, and some basic information. just all you need.
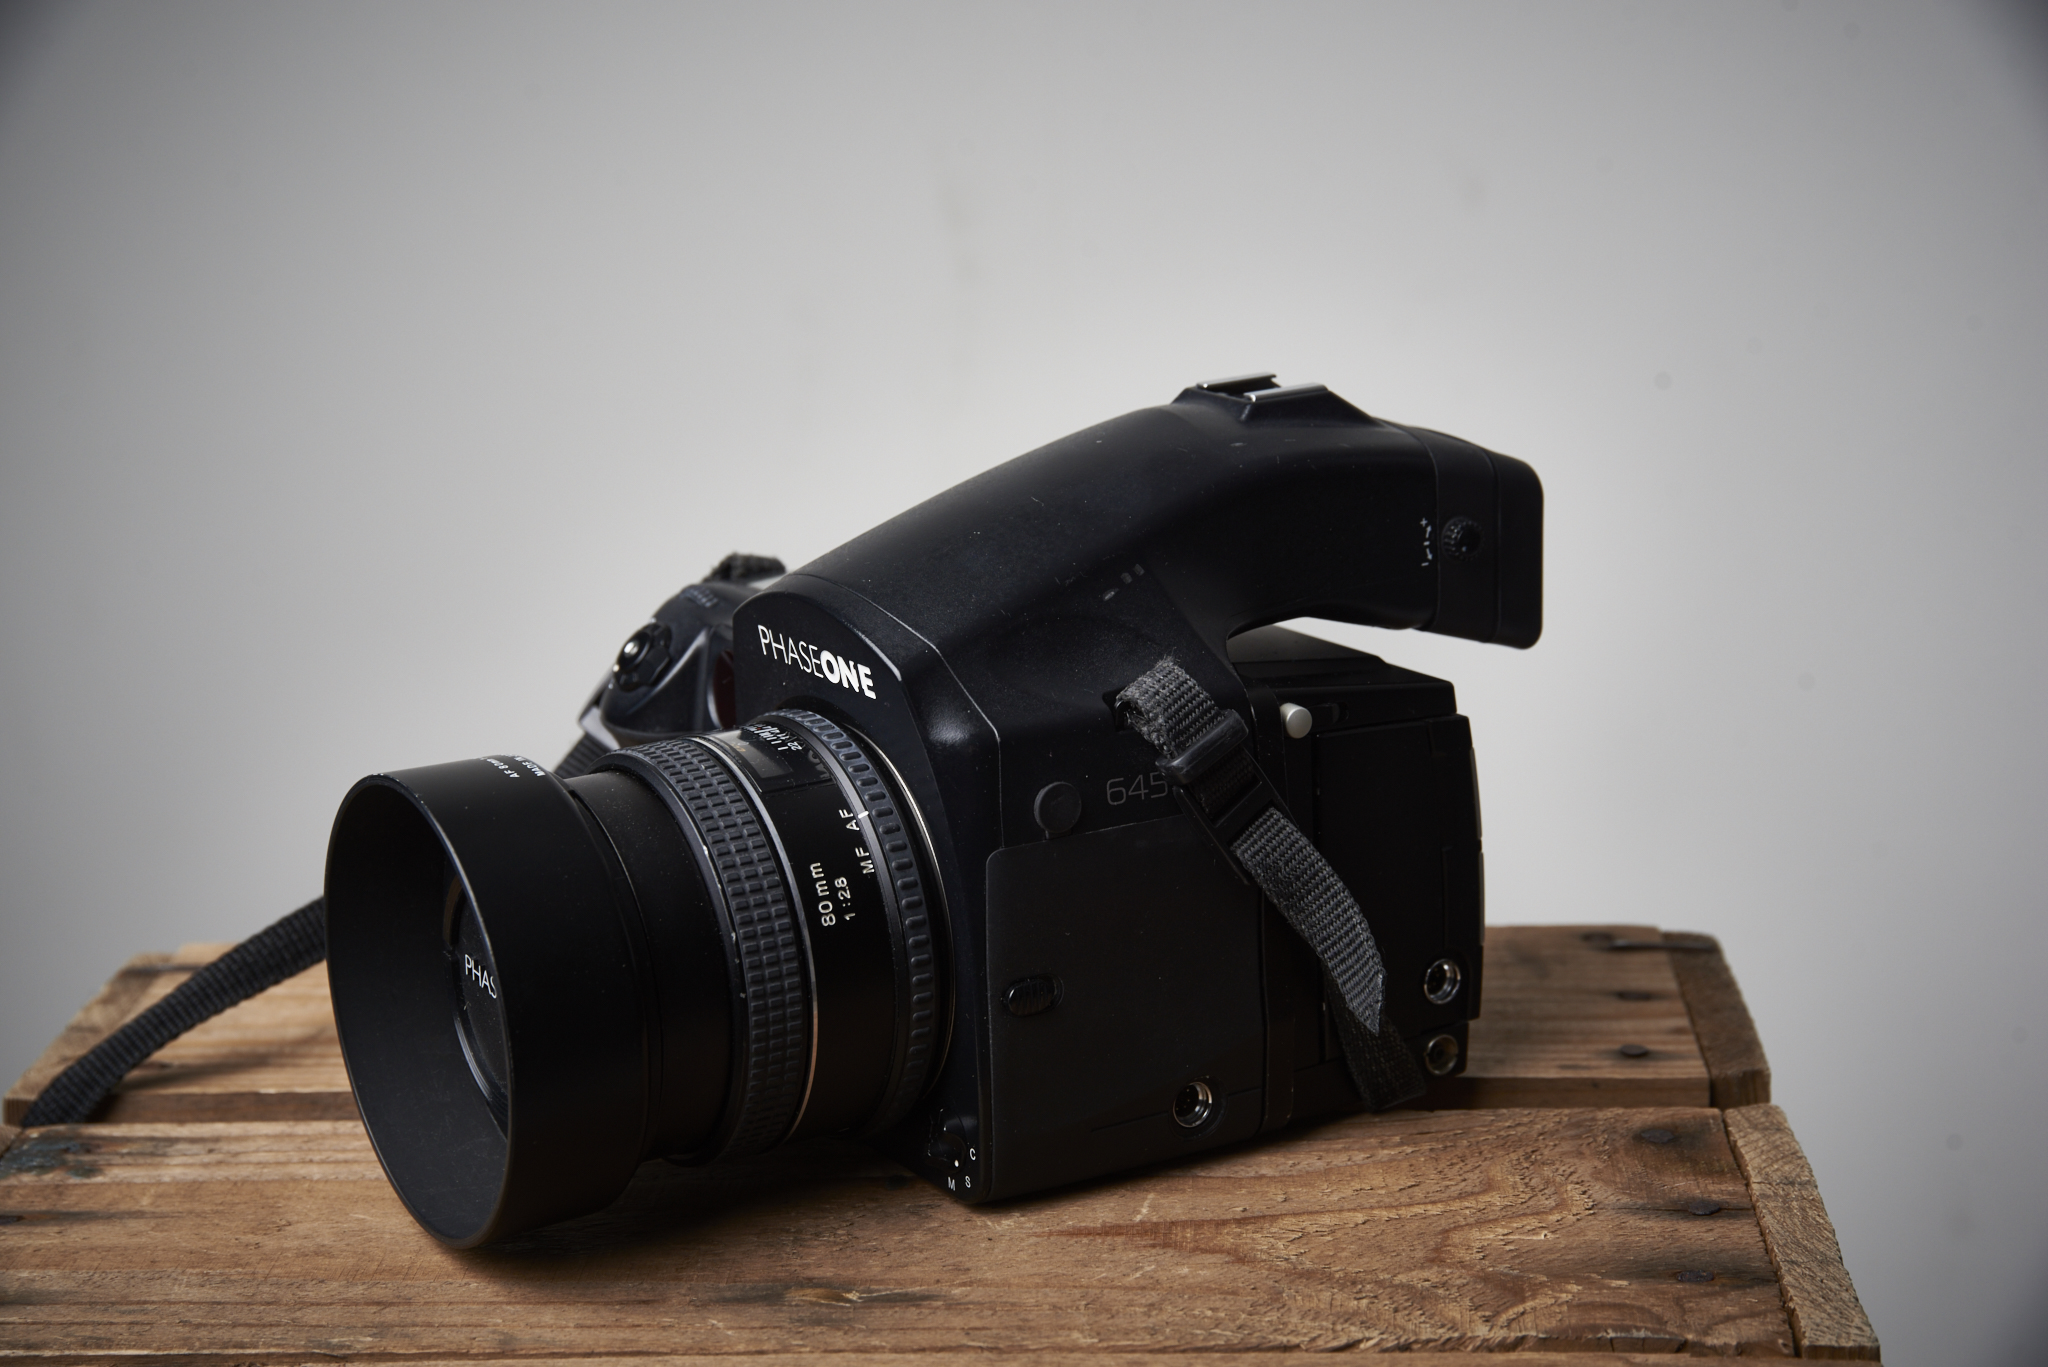
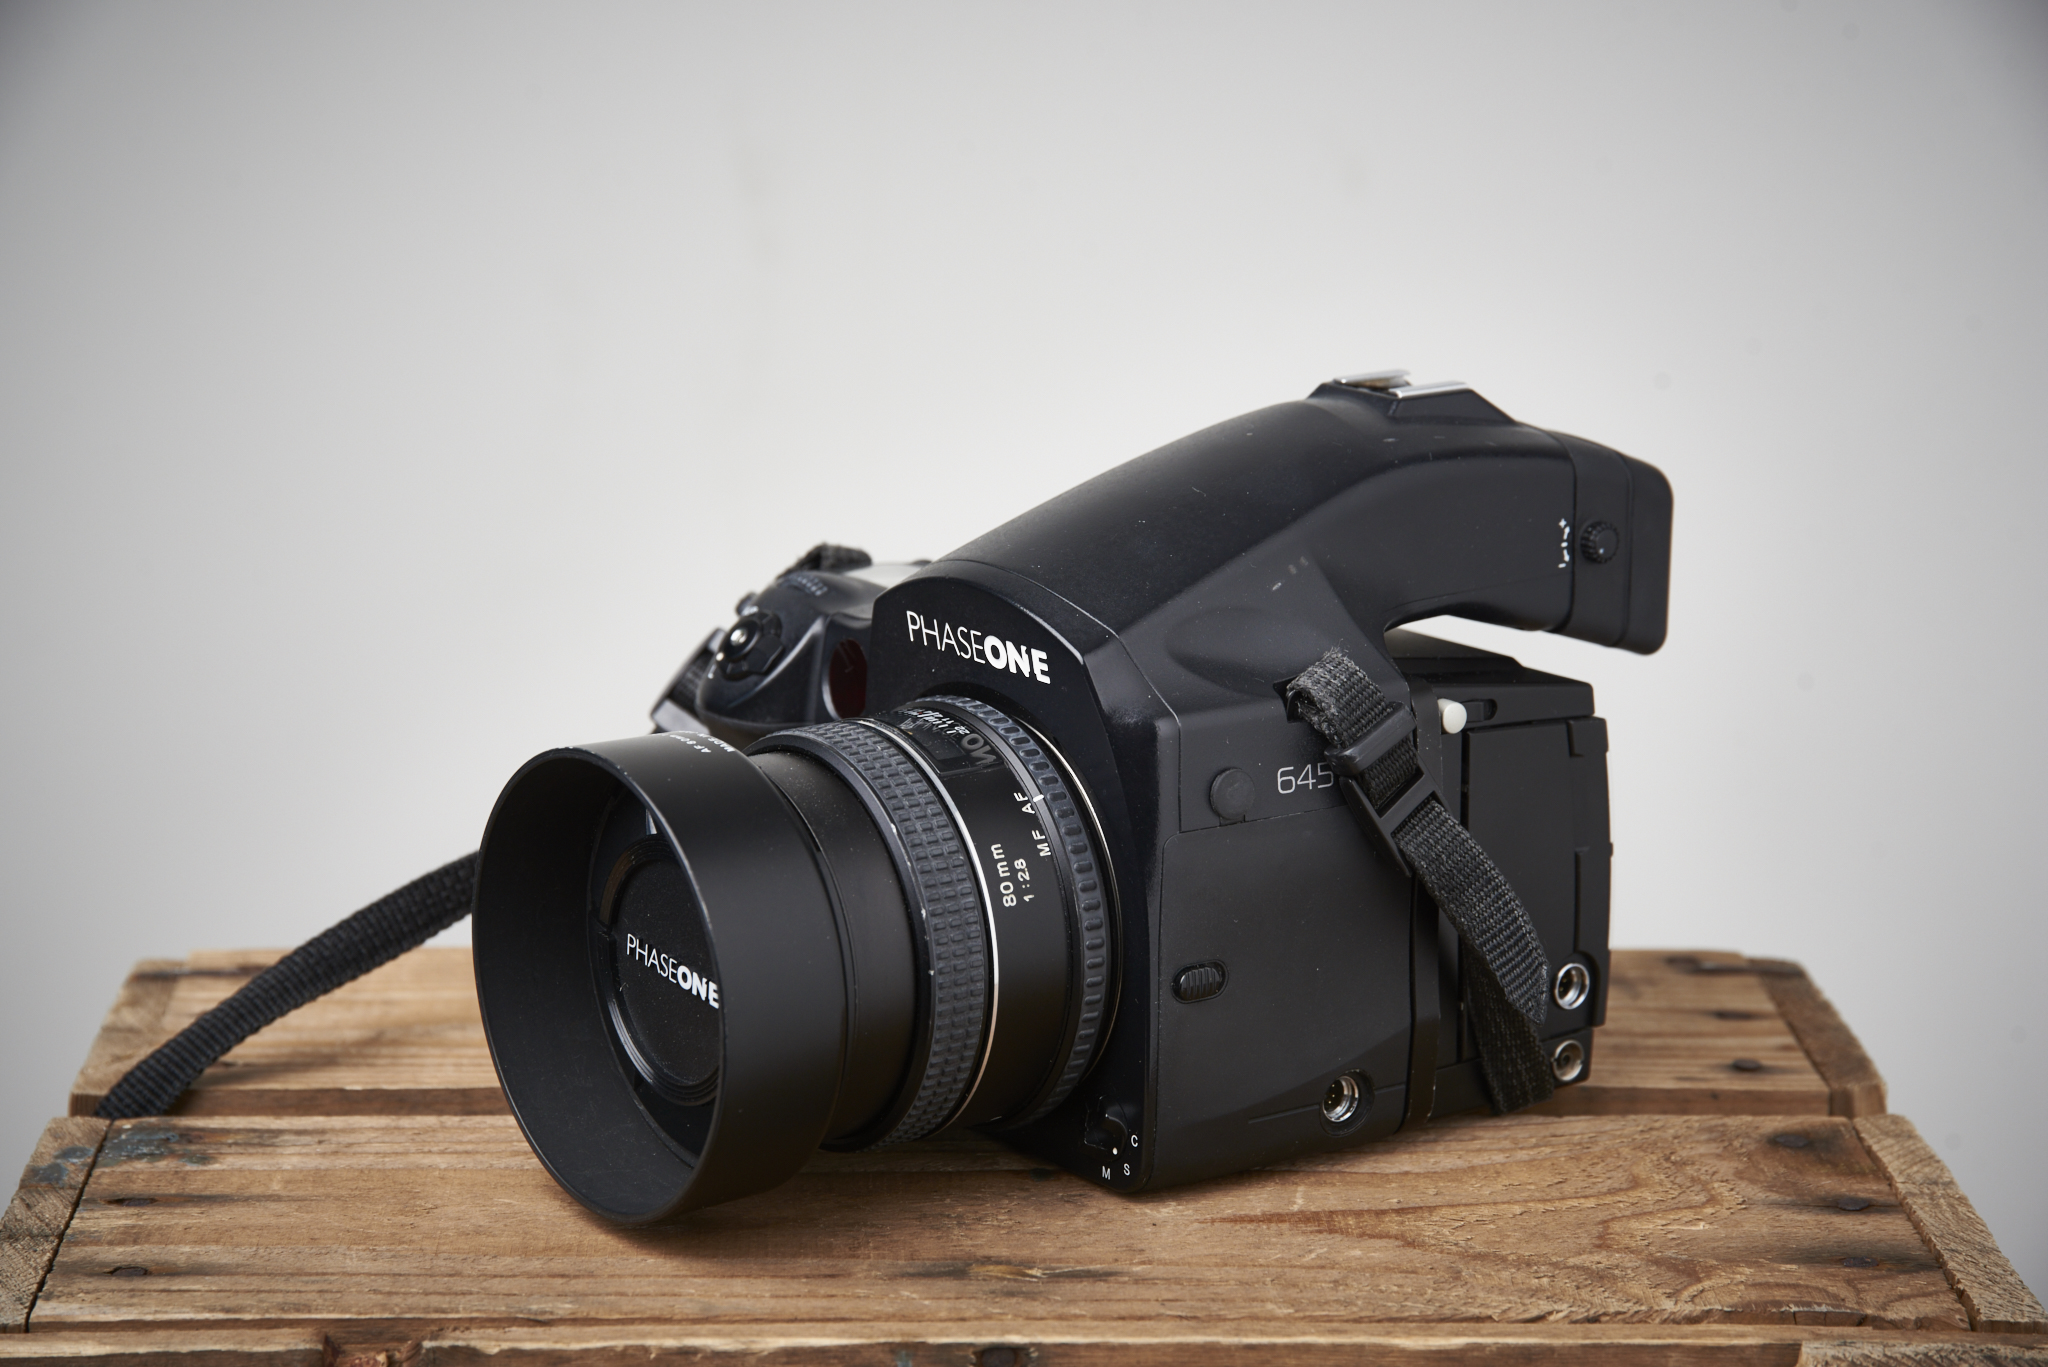
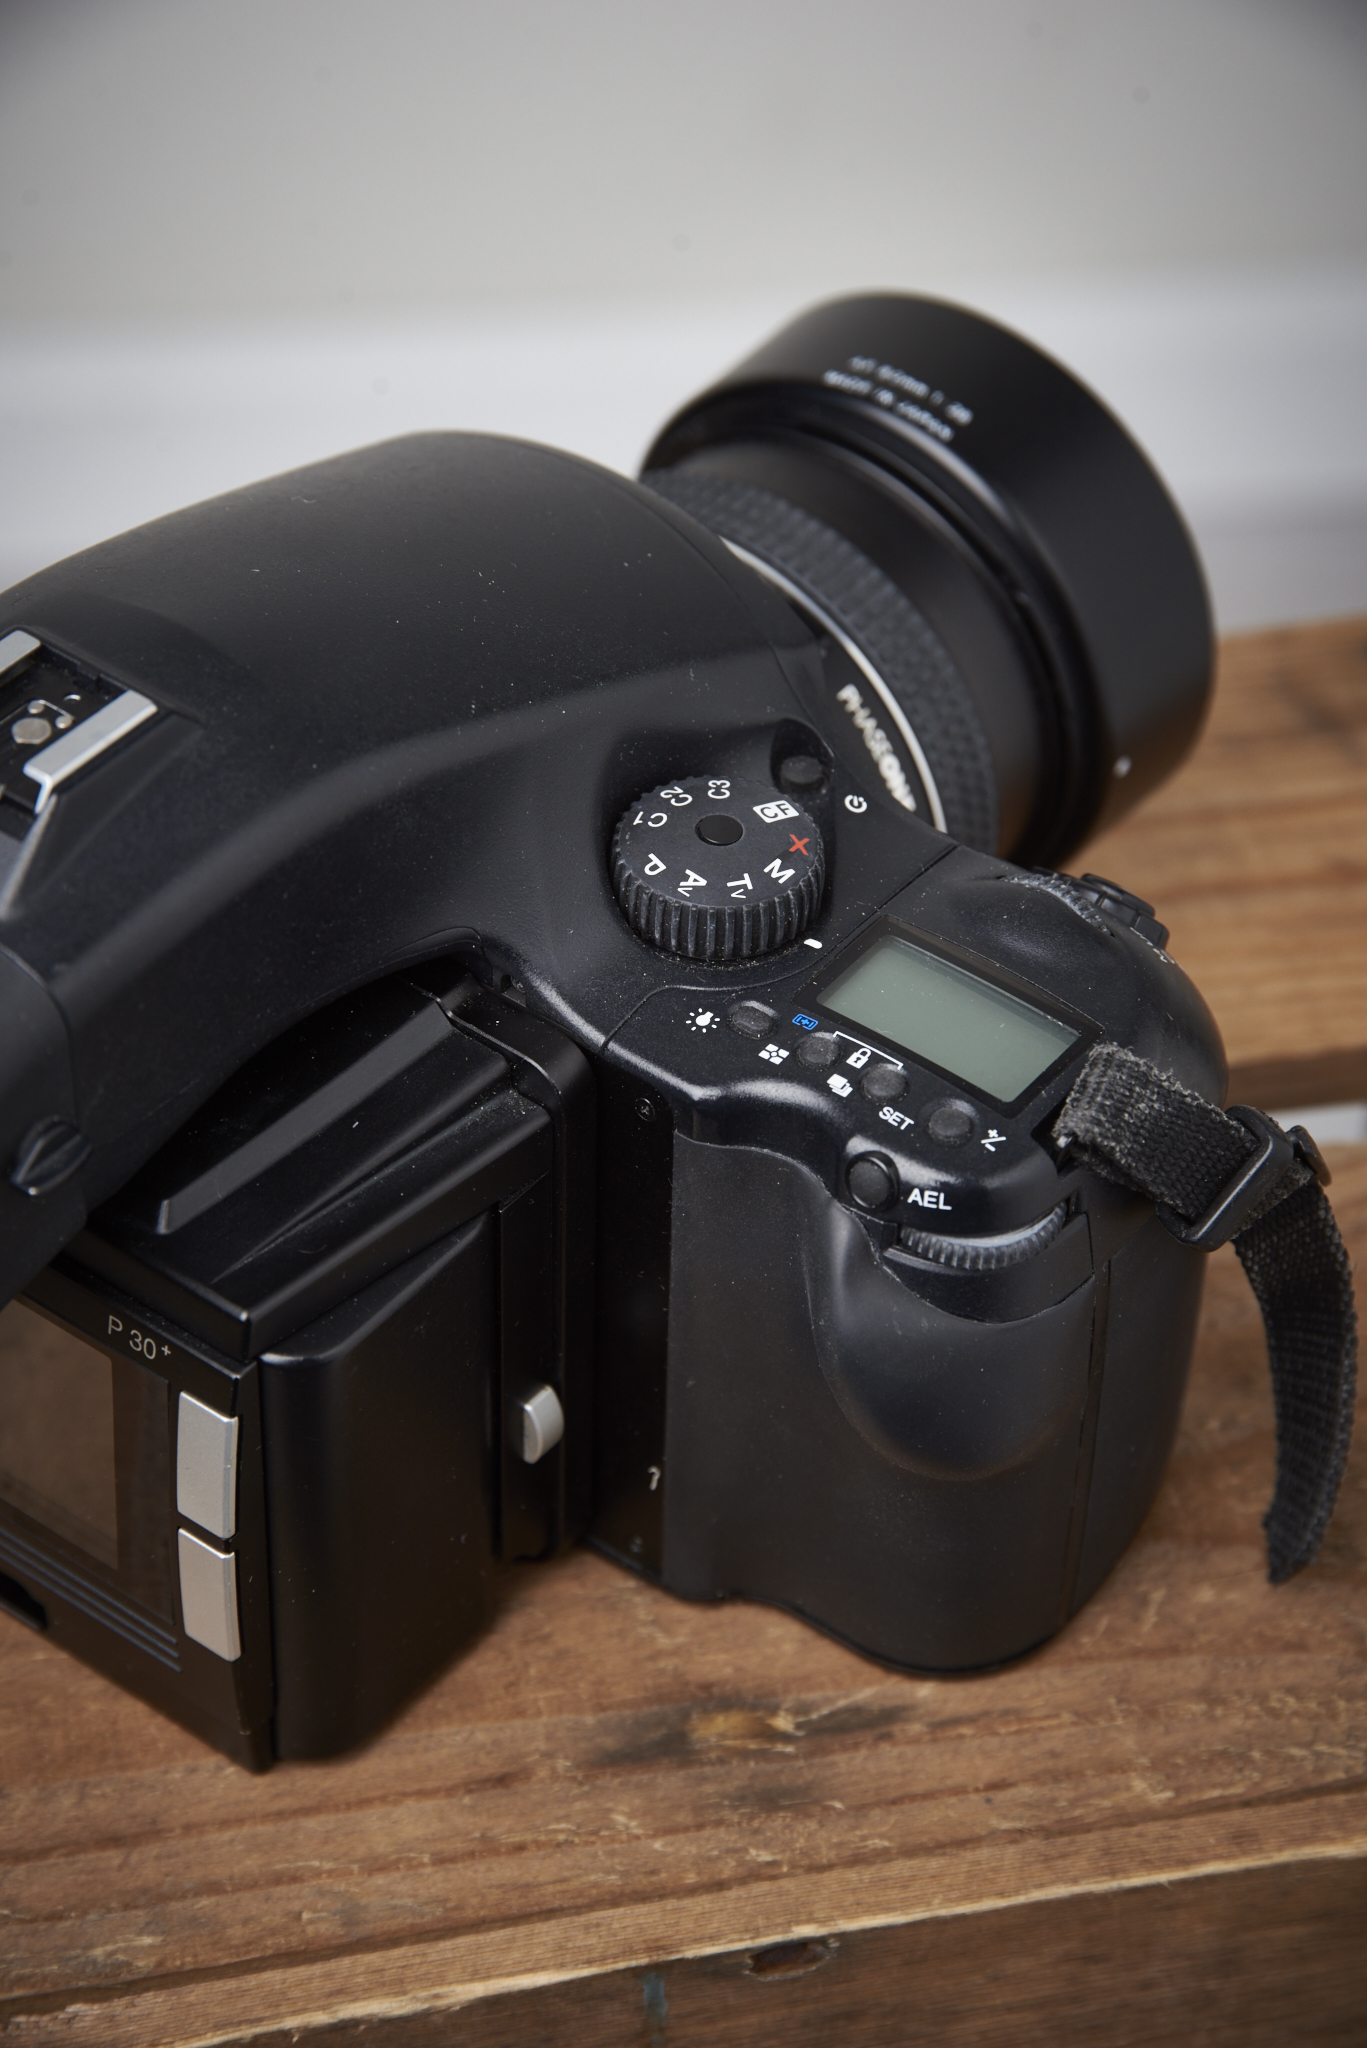
The body and lens
The thing I disliked was the body. and especially the autofocus of the body. Getting critical focus with a wide open aperture was hard because of the singel AF point. You had to focus and recompose without chancing the angle. So you had to move up and down or side ways without moving back and fort of chancing your angle. This was hard! And took a while to get used of. But this is also the point for me to not buy the camera. Because of this I can also buy a back for my Hasselblad 500c/m and focus manually.
Saving up to do
So I decided I have to do some more saving up so I can buy a newer model and also take a look again at the Hasselblad H5D-40 or the X1D!
BTW I got the new Sigma 85mm 1.4 ART lens, I am going to test it soon with a few shoots!
Review: Hasselblad H5D-40
Review of the Hasselblad H5D-40
Read MoreReview: Pipeline Reporter kit
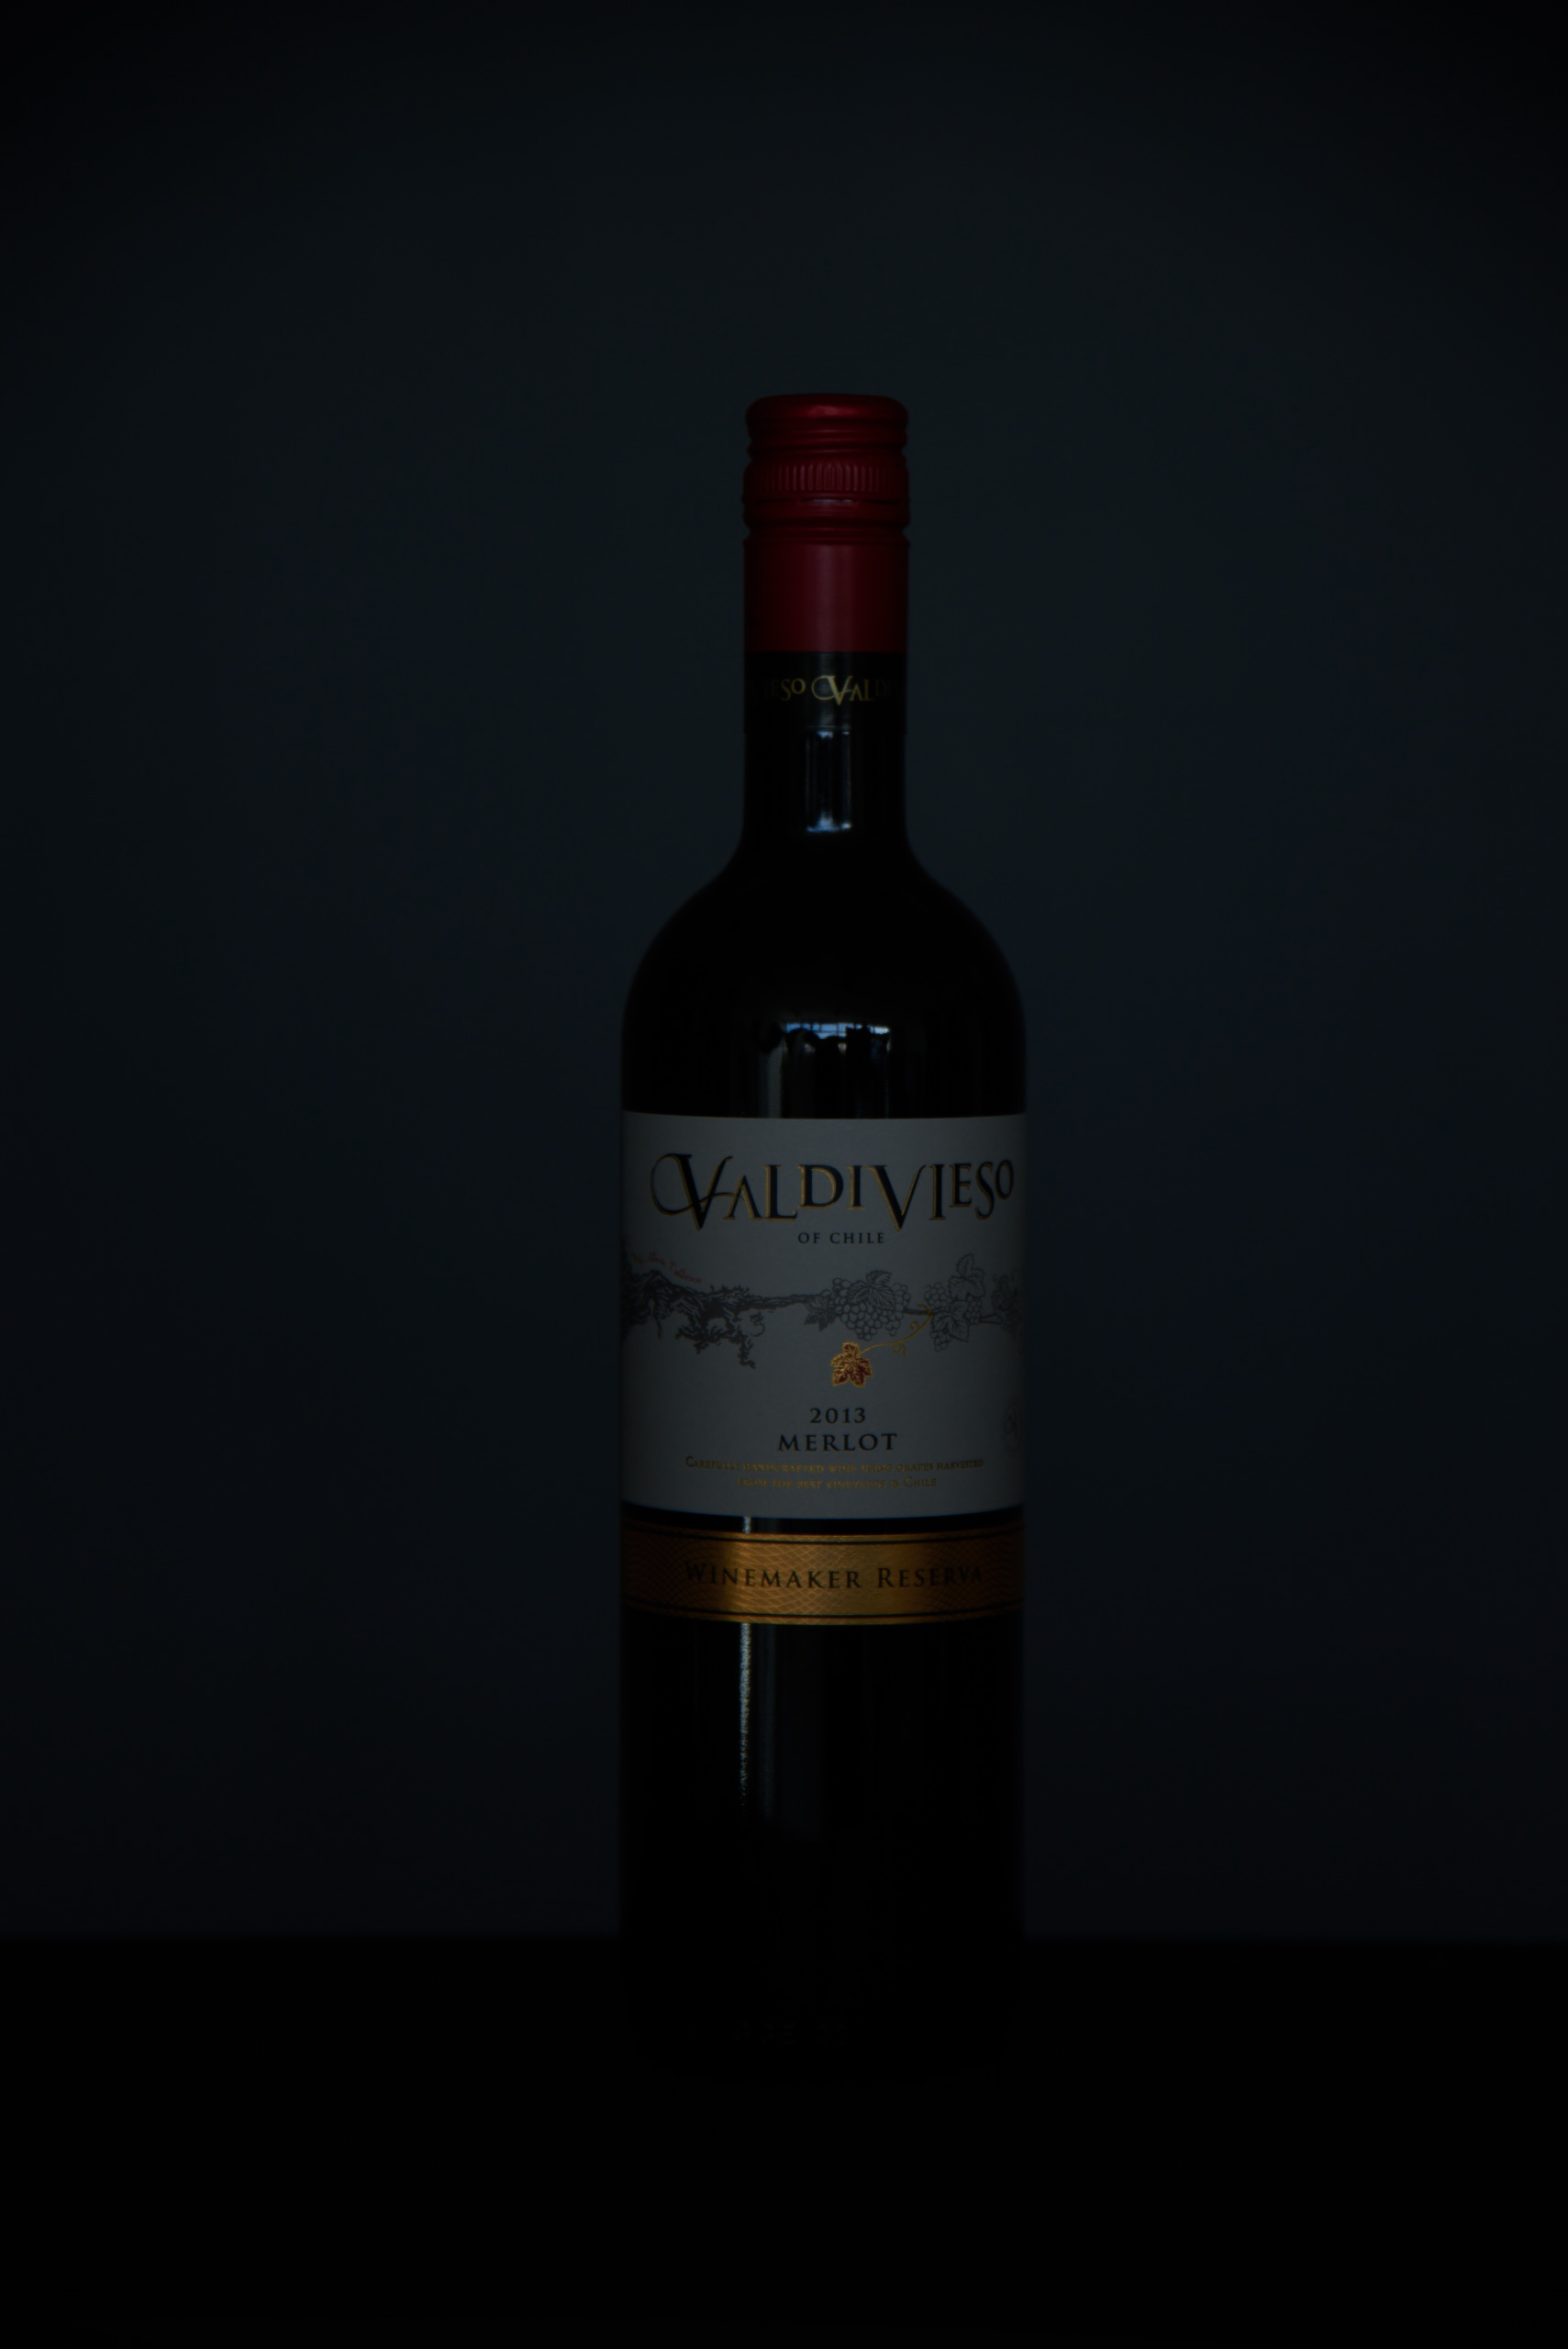
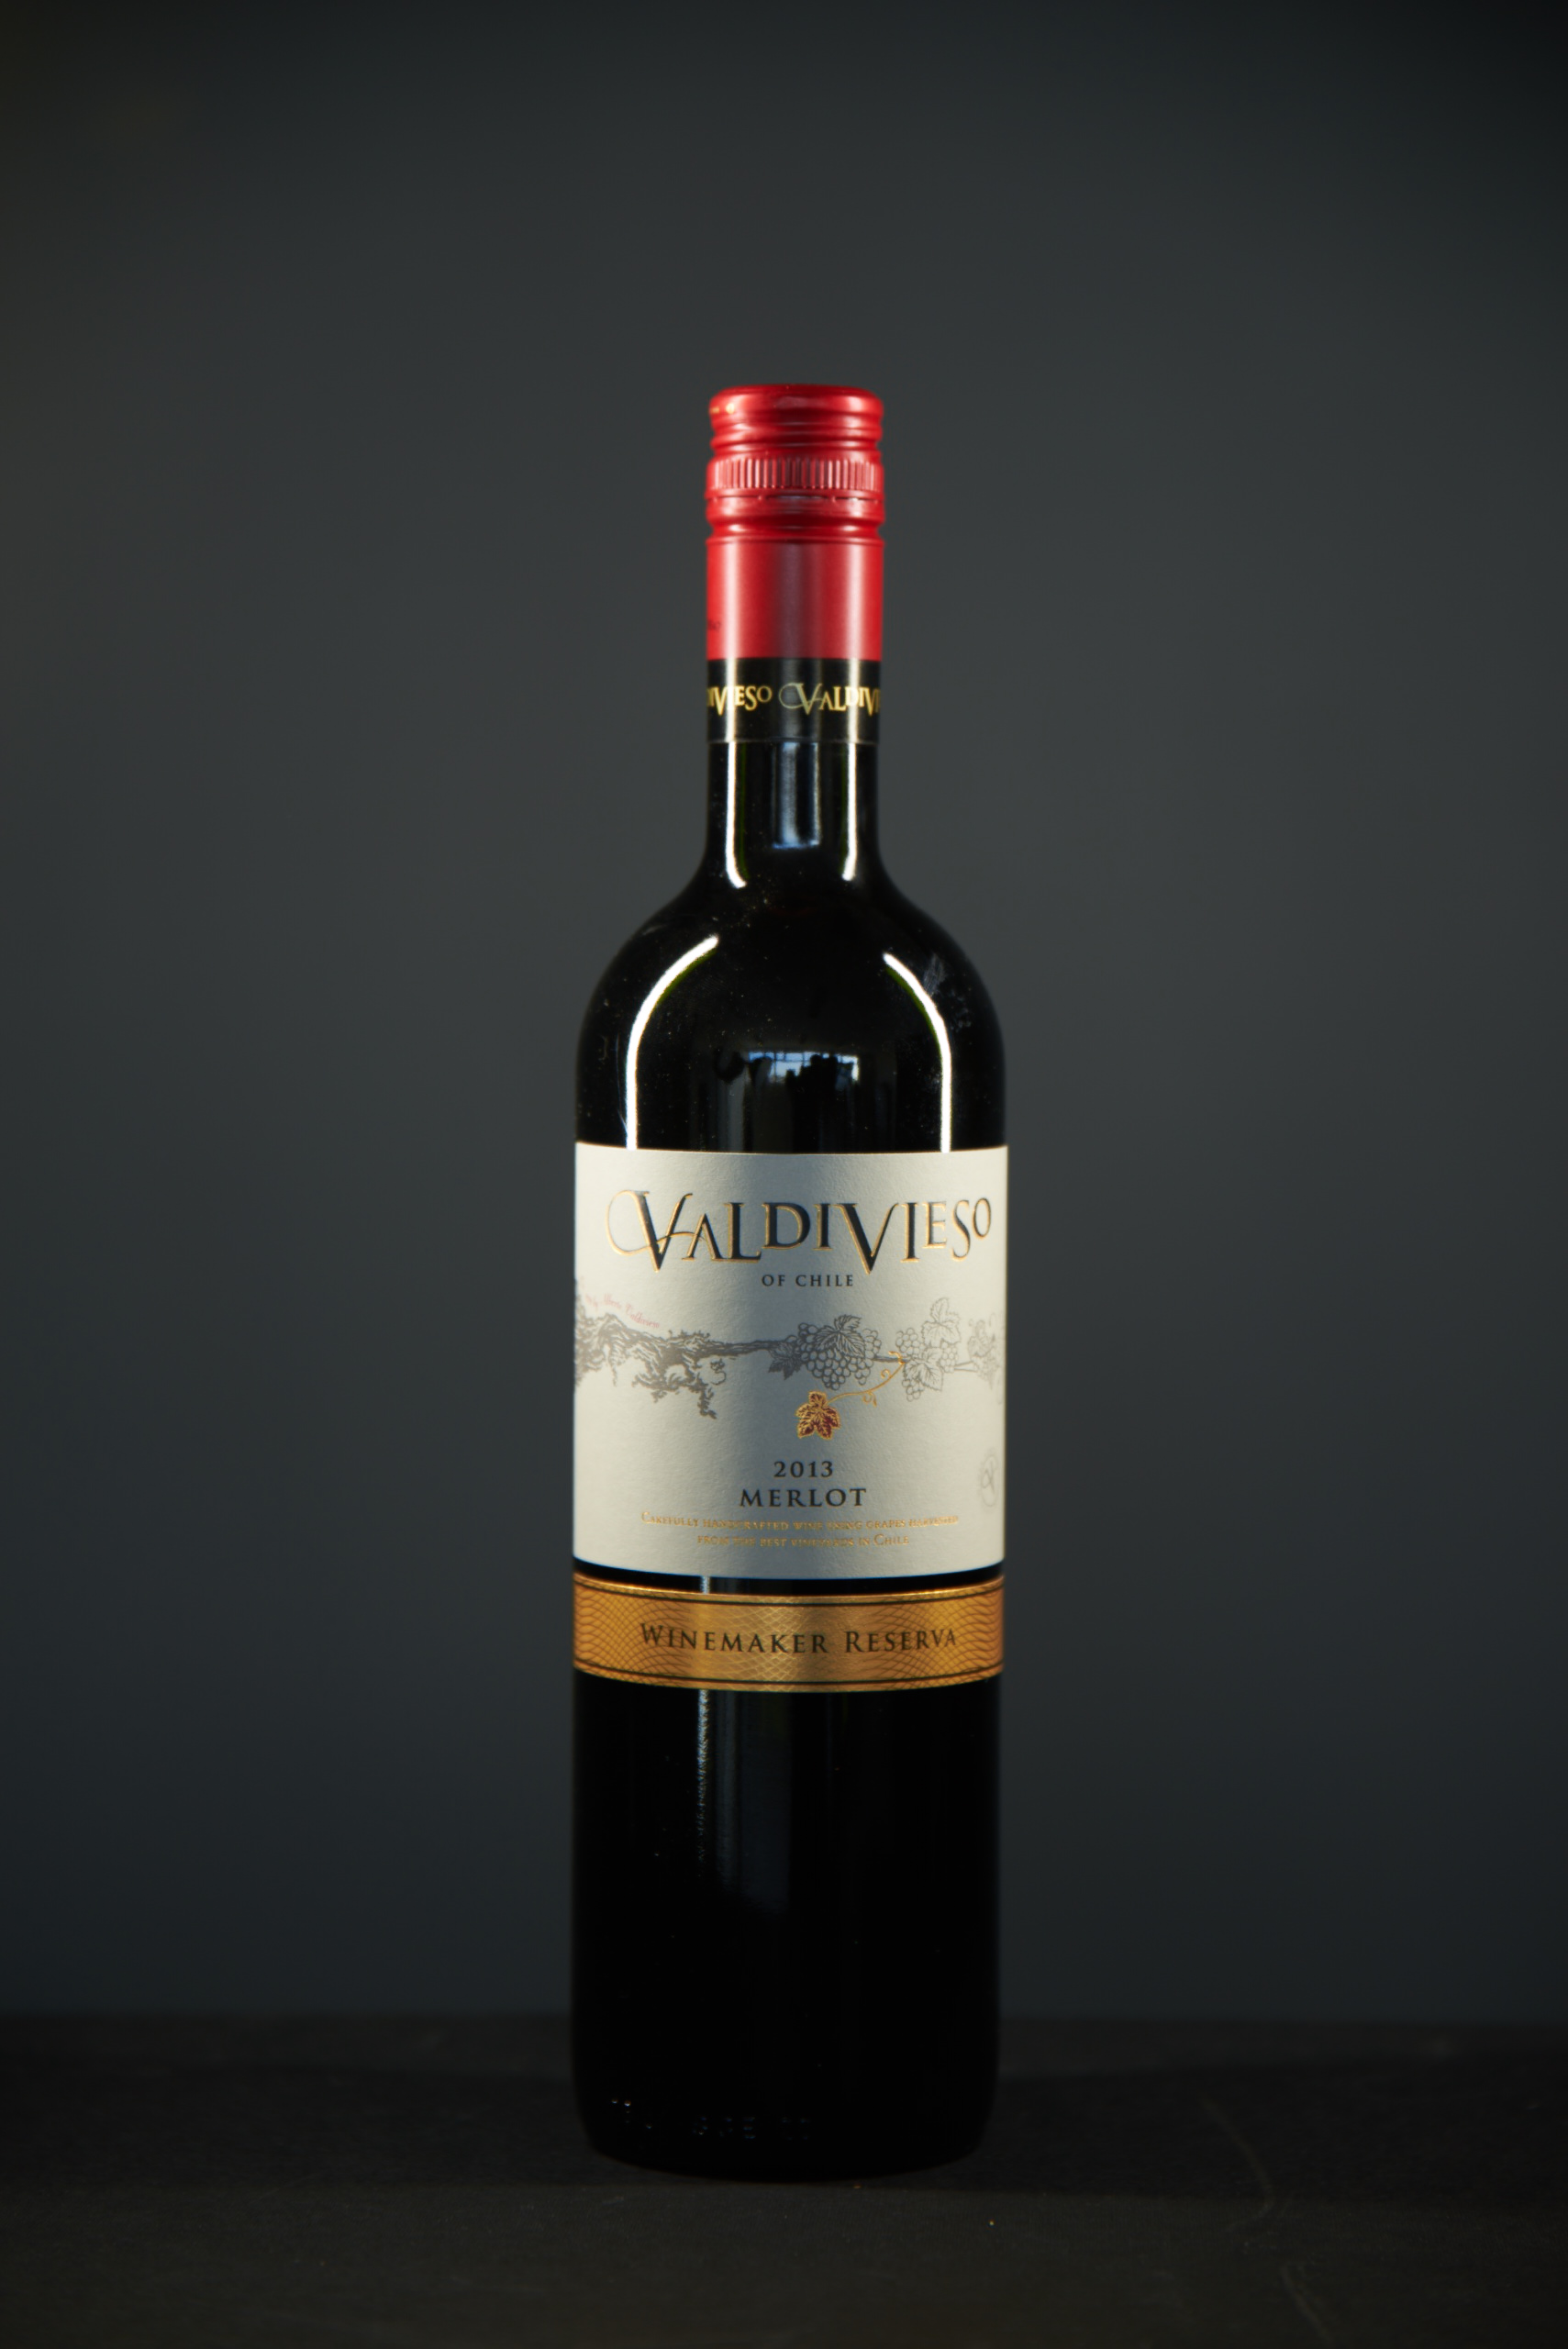
During my visit at the IBC (read my IBC blog HERE) spotted the Pipeline Reporterkit made by the Danish company Brother, Brother and Son. At forst sight I looked like a great product for portrait and product photography. The kit is officially designed for reporters who need a small light kit to lit themselves quick and easily. And for that job it works great! I really think it is a great product voor CamJo, vloggers and other people who have to create video's everywhere.
The Pipeline Reporter Kit
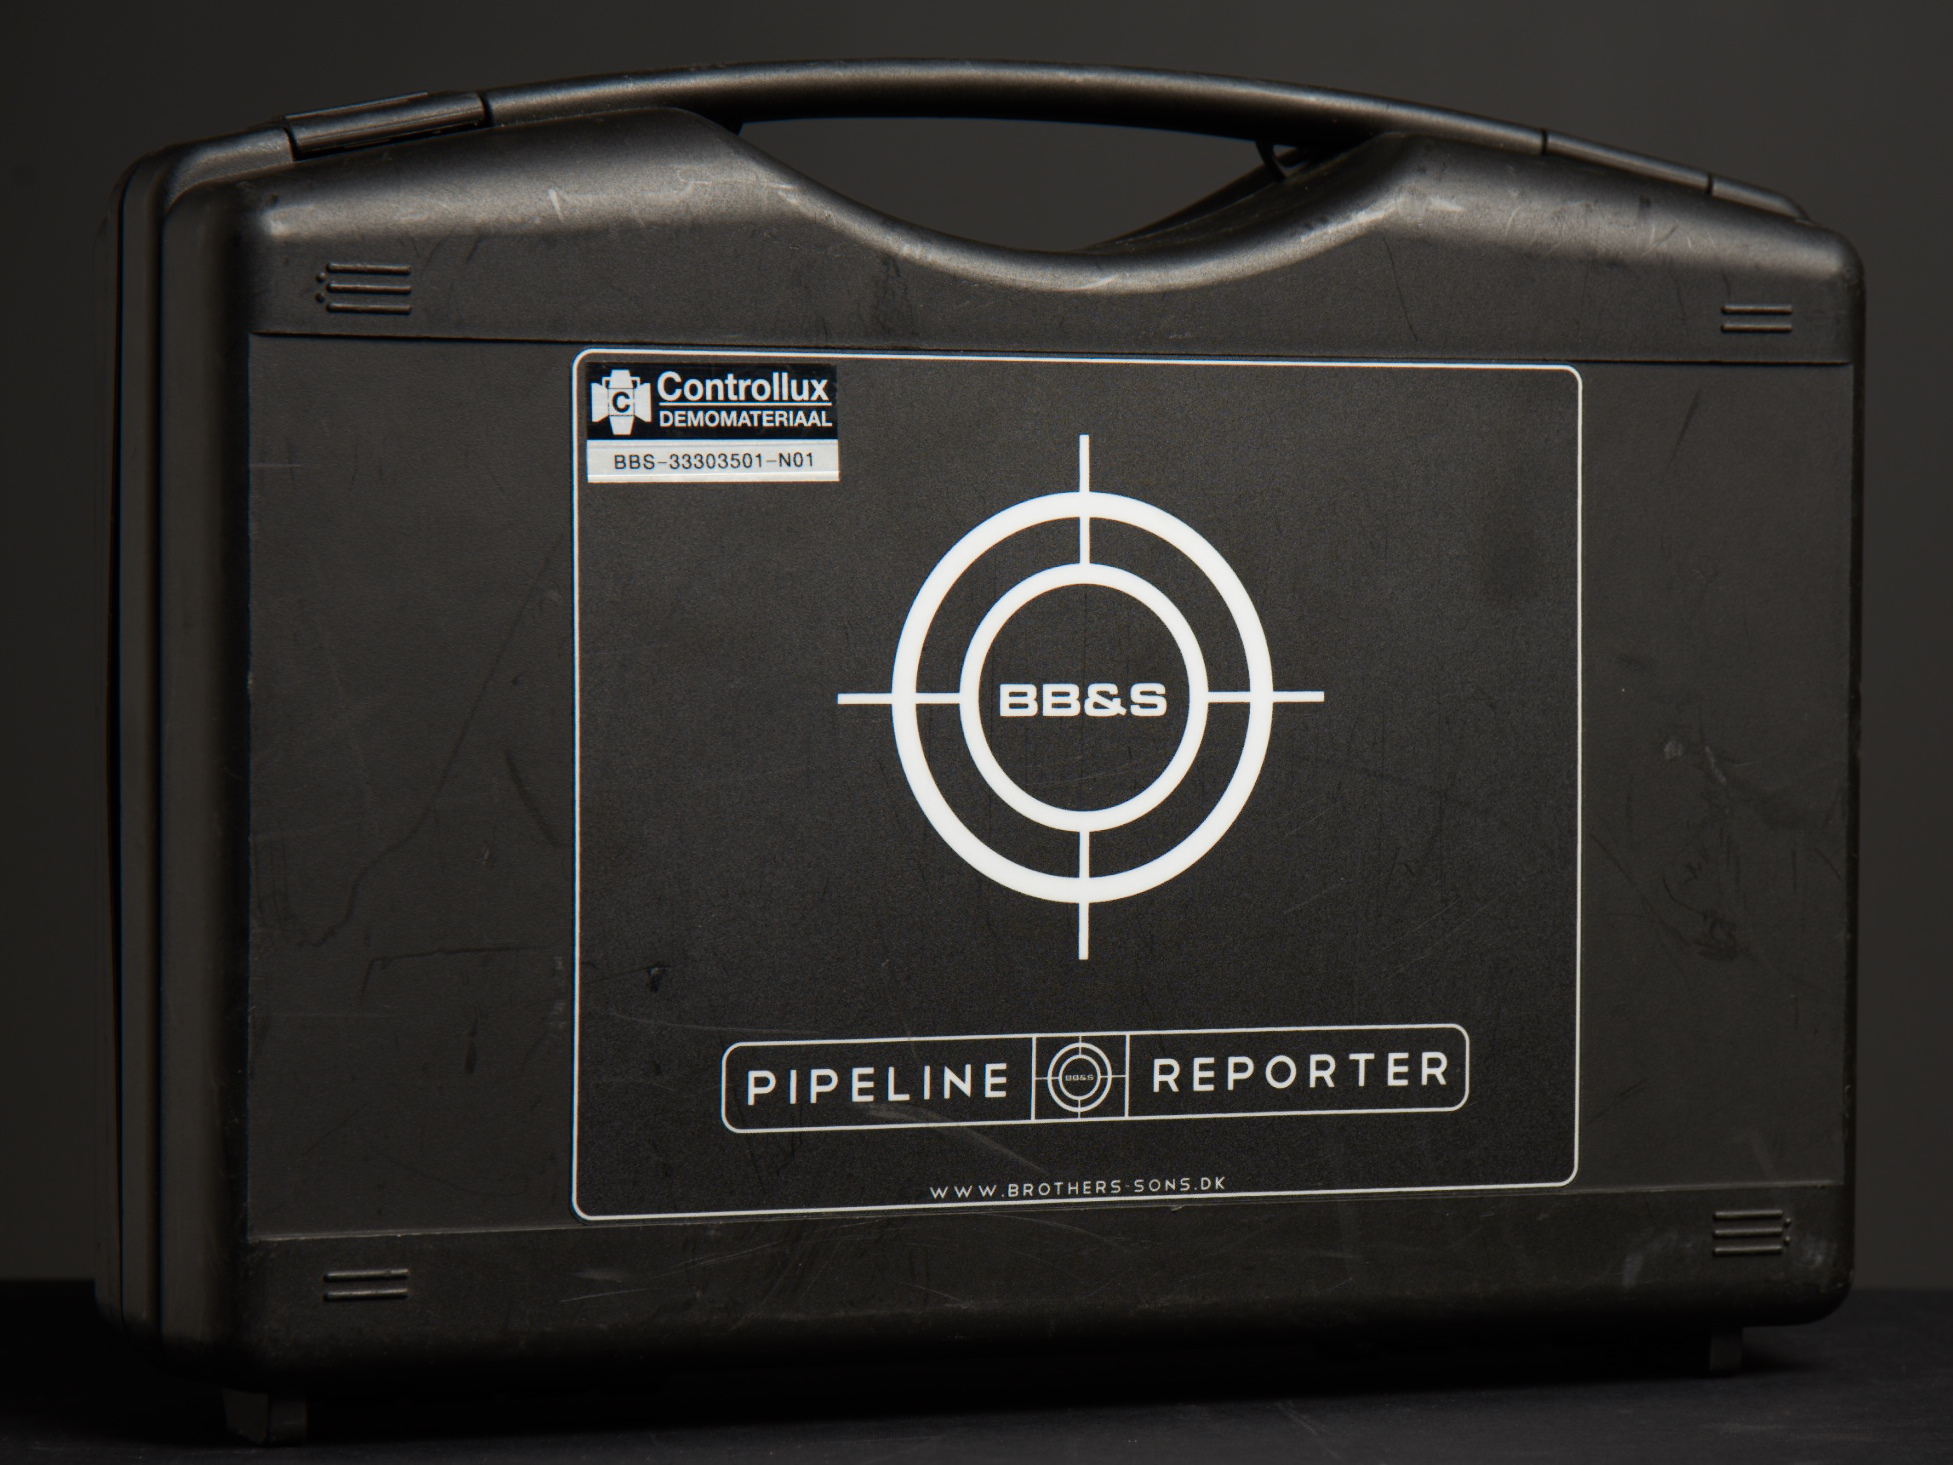

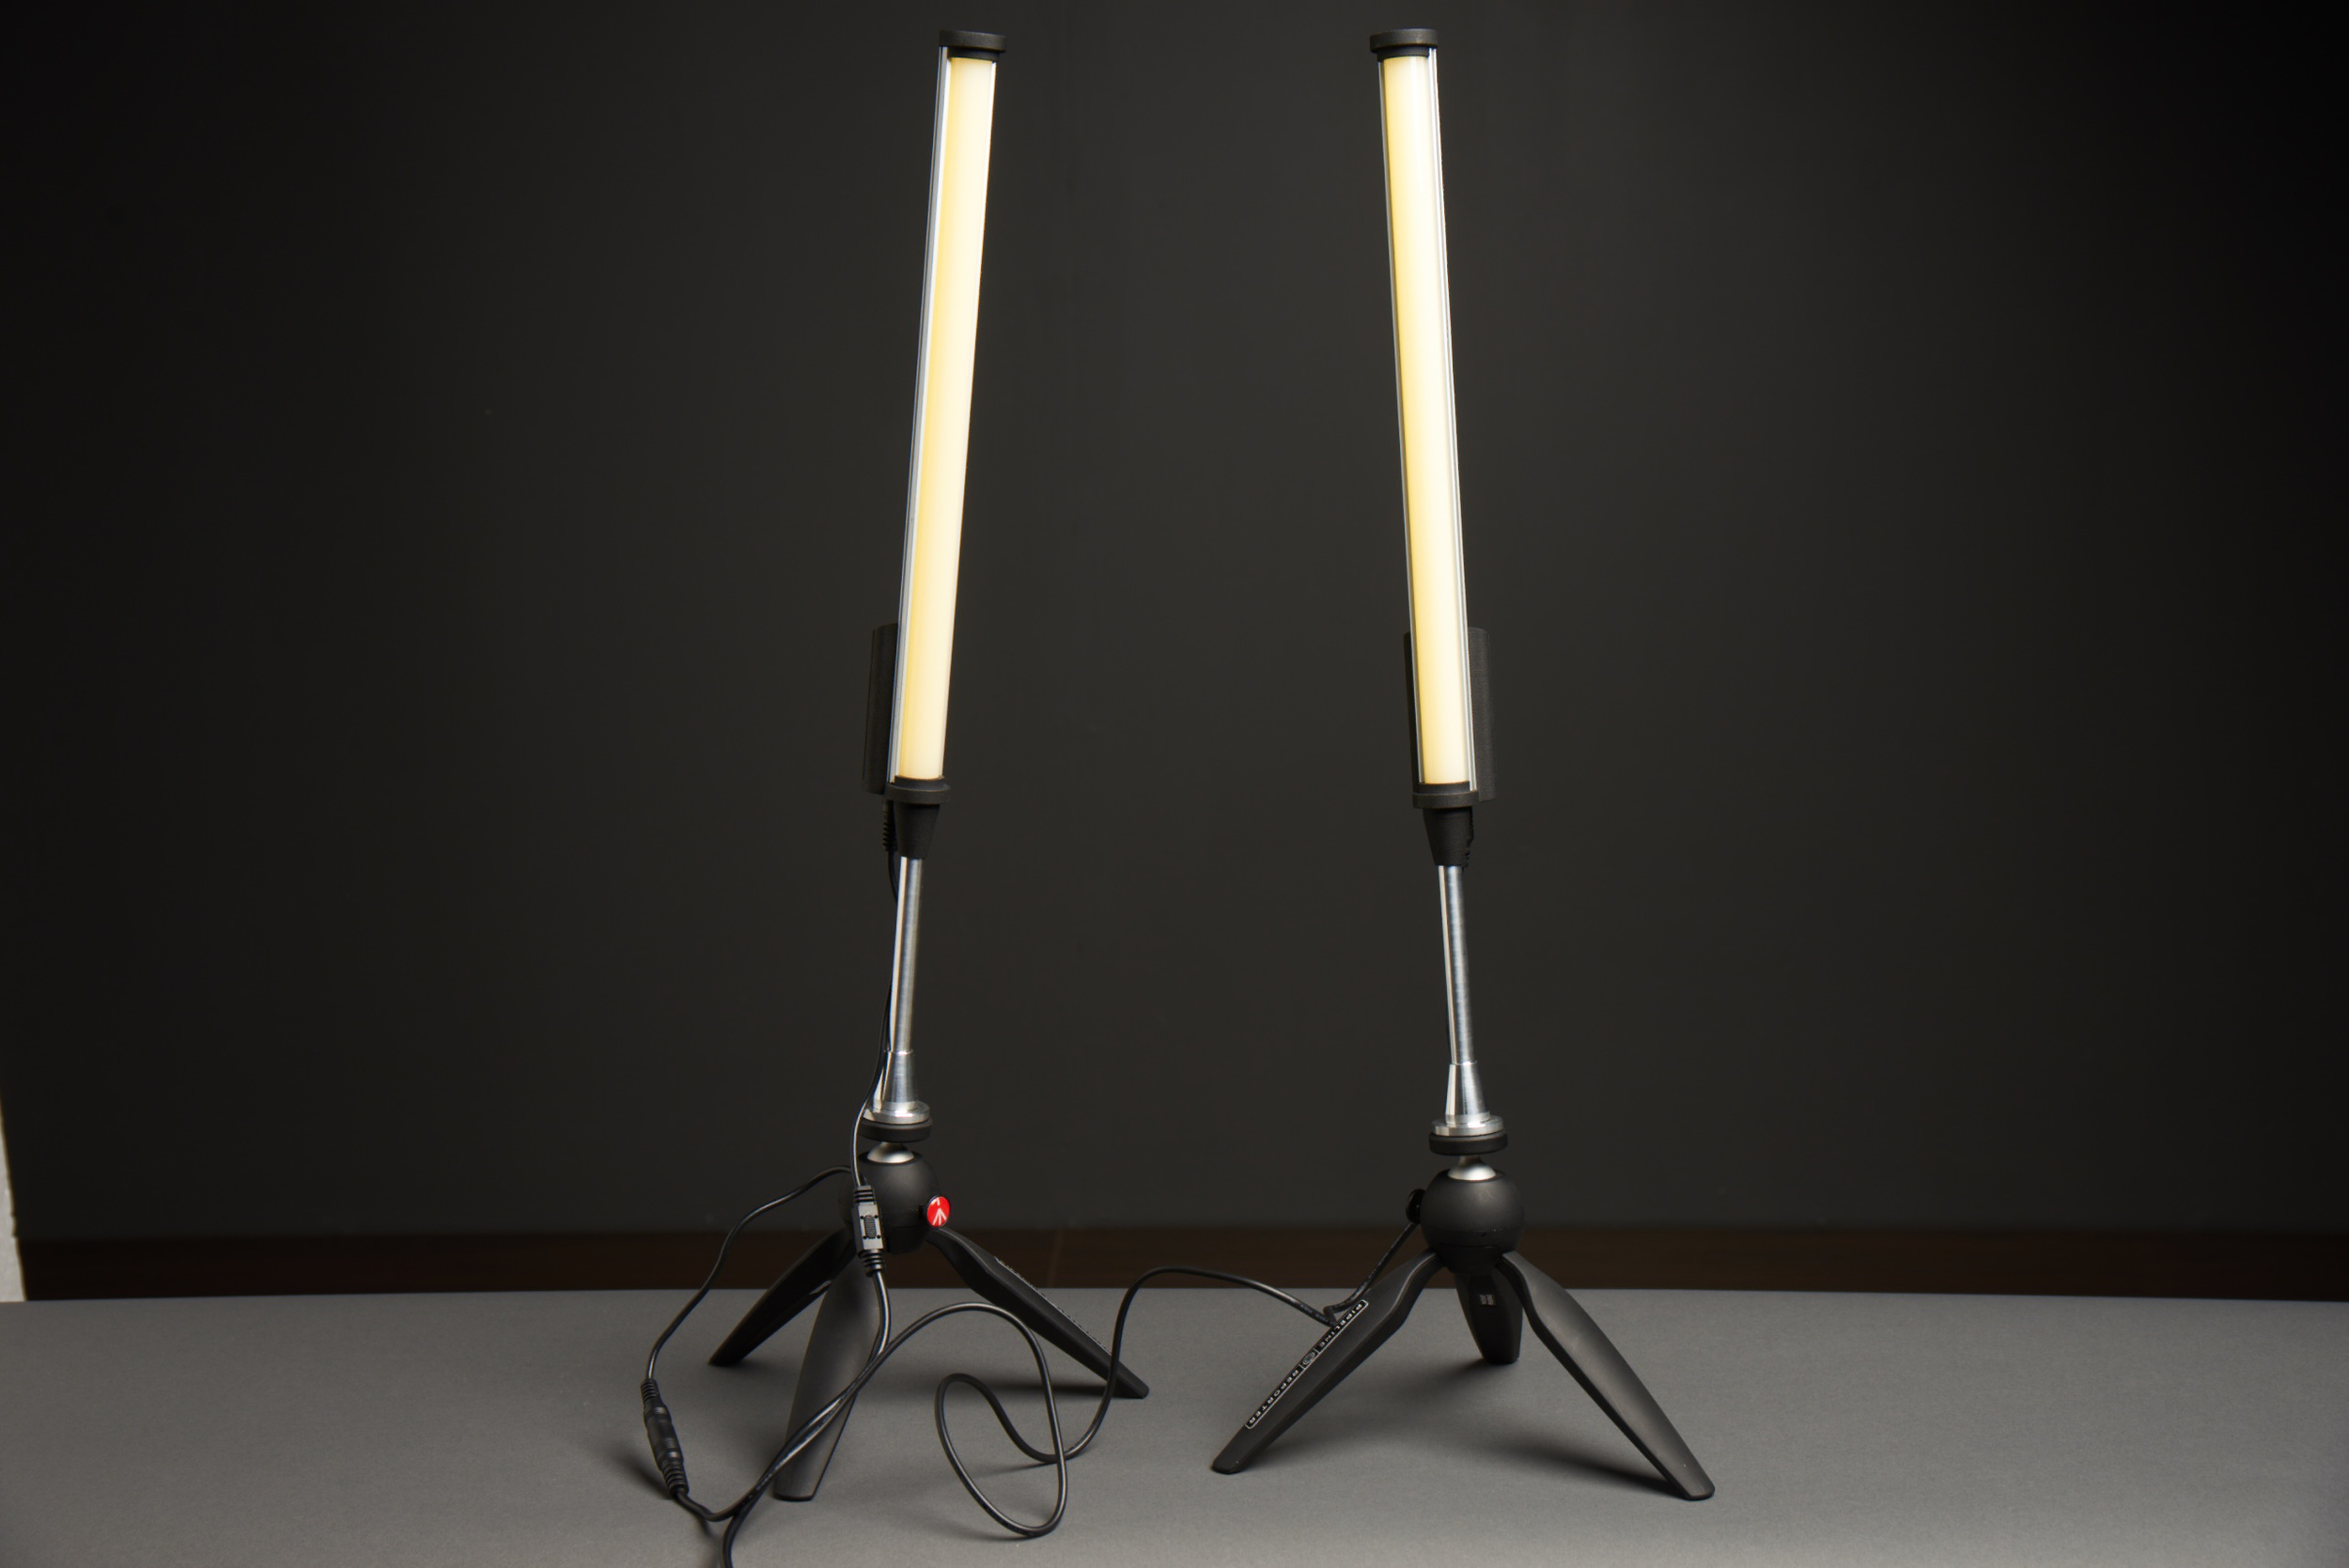
The kit includes 2 small pipe light. Due the phosphor panels you get nice and even light from the two bars. On the back is a small knob to control the power output. You can also change the White balance by chancing the phosphor light bars. There are also two small stand to put the lights on and the adapter and cabling.
The BUT
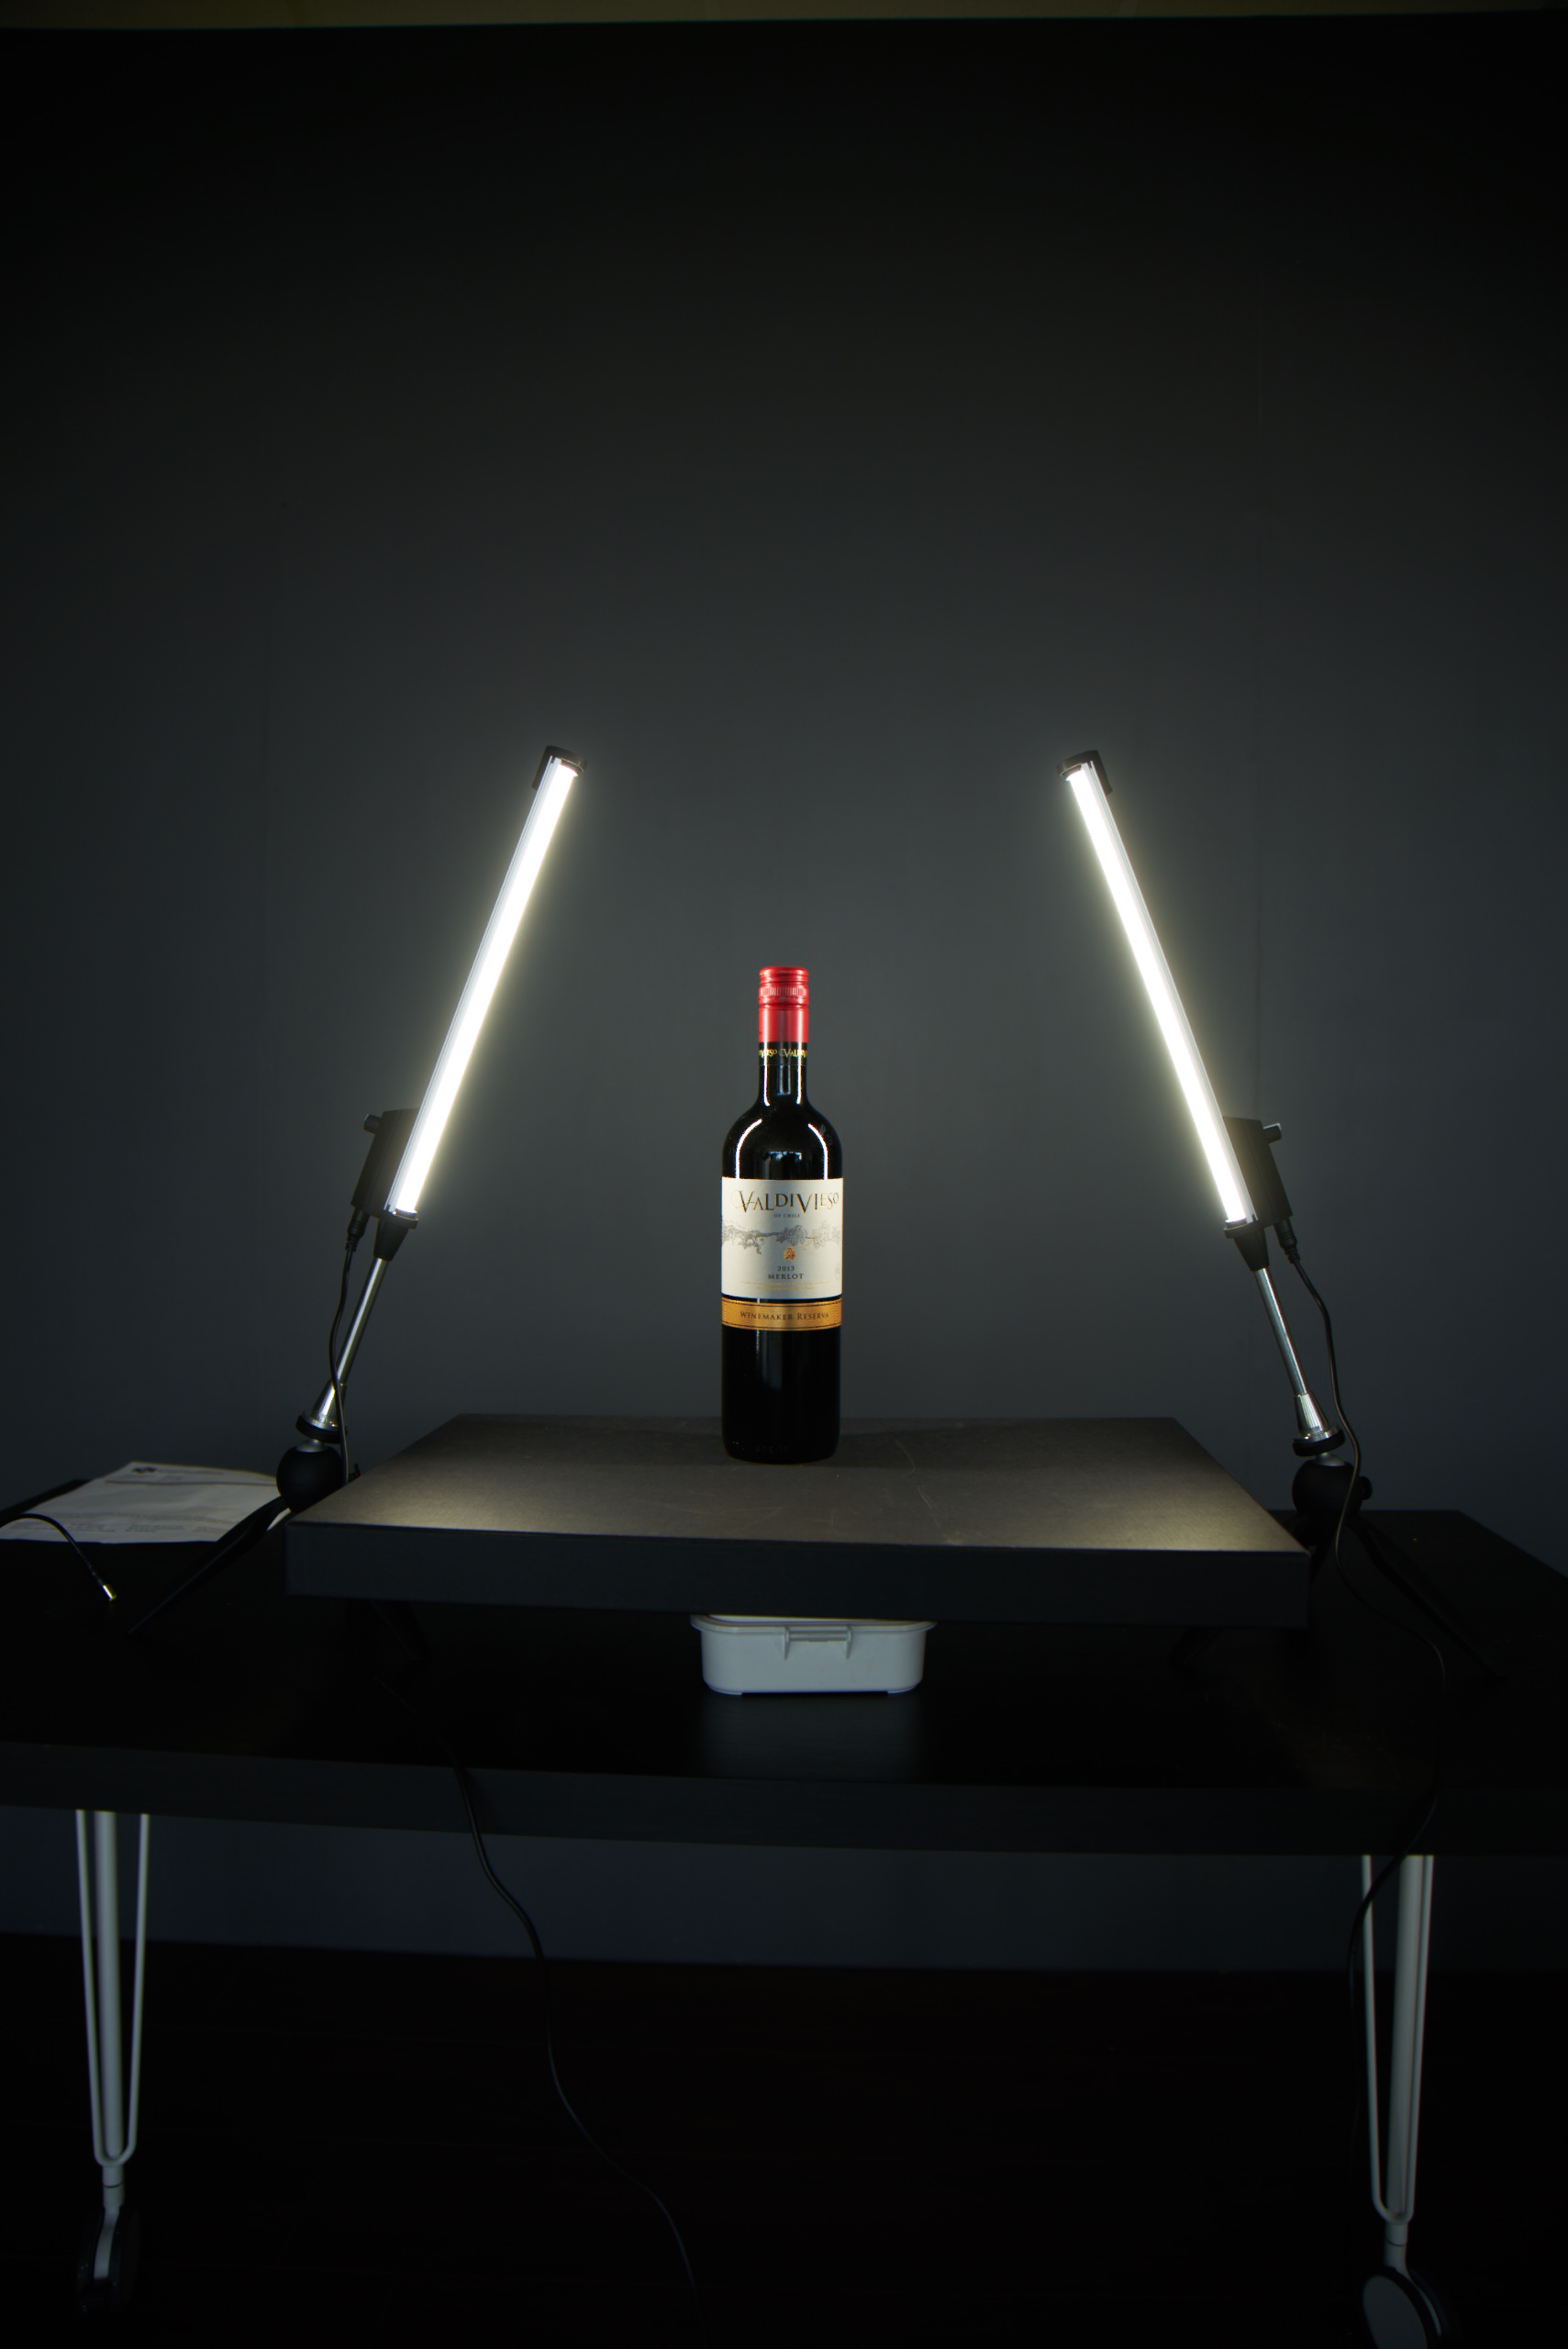
As you might have noticed in the intro there is a great but. But this but is mainly for photography. I was hoping to use this kit a nice light for a kind of Martin Schoeller looking portraits (for more about Martin click HERE) or for product photography. But and now really comes the but! They don't have enough power to really lit somebody when there is normal daylight or TL light. For shooting people and products I had to use longer shutter times, higher ISO of aperture. Which also let a lot of environmental light in. In dark environments I will probably work better. But I mainly have to work during office our and in offices, so for my personal taste it isn't THE product I would like it to be. It are not poor mans Kinolights.
For video the light give enough light to lit up some body enough, but for photo's I want to have control and better quality.
Here are some test shots. There is a shot with and with out the kit on full power.


Conclusion
In my opinion this kit is great for traveling reporters who need a simple lighting setup for every where they might go. For photography I am not so pleased with it as I thought I would be.

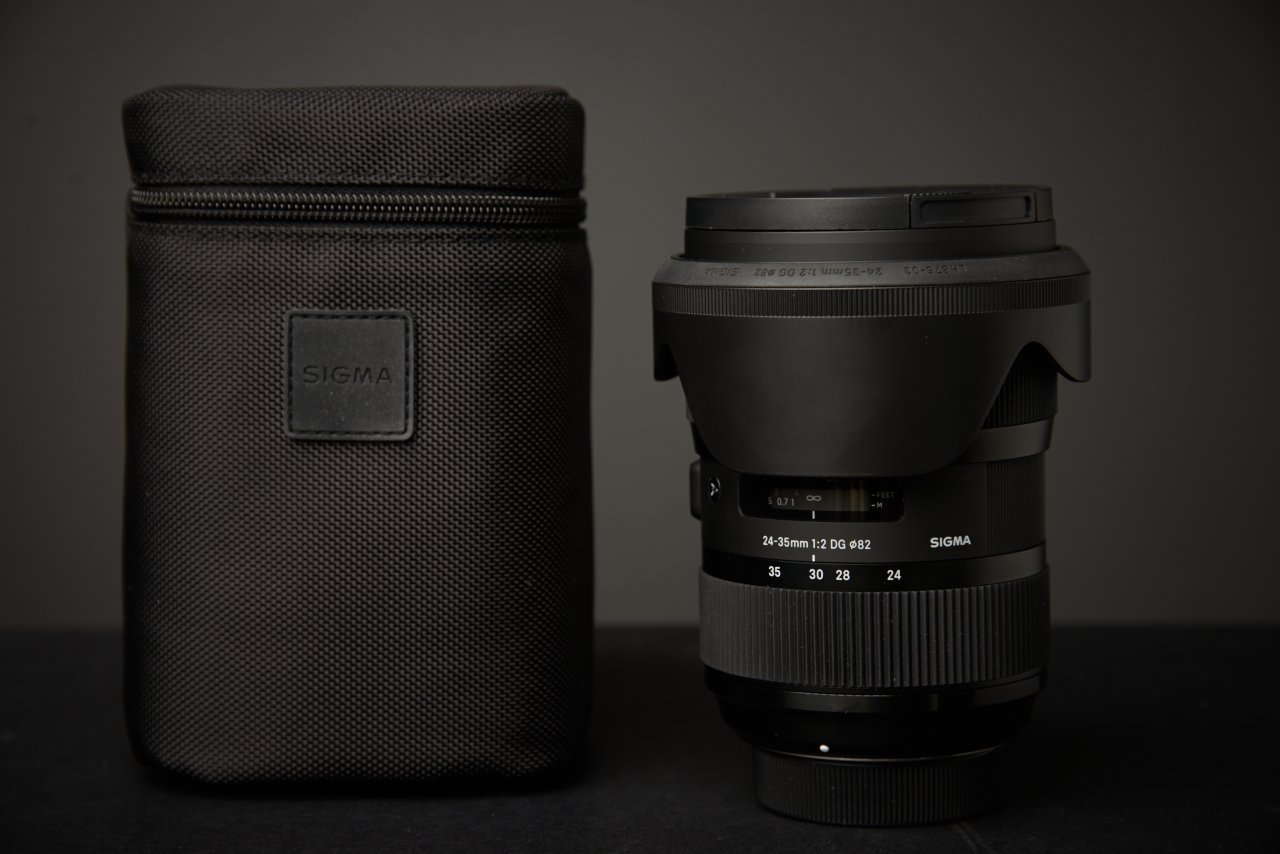
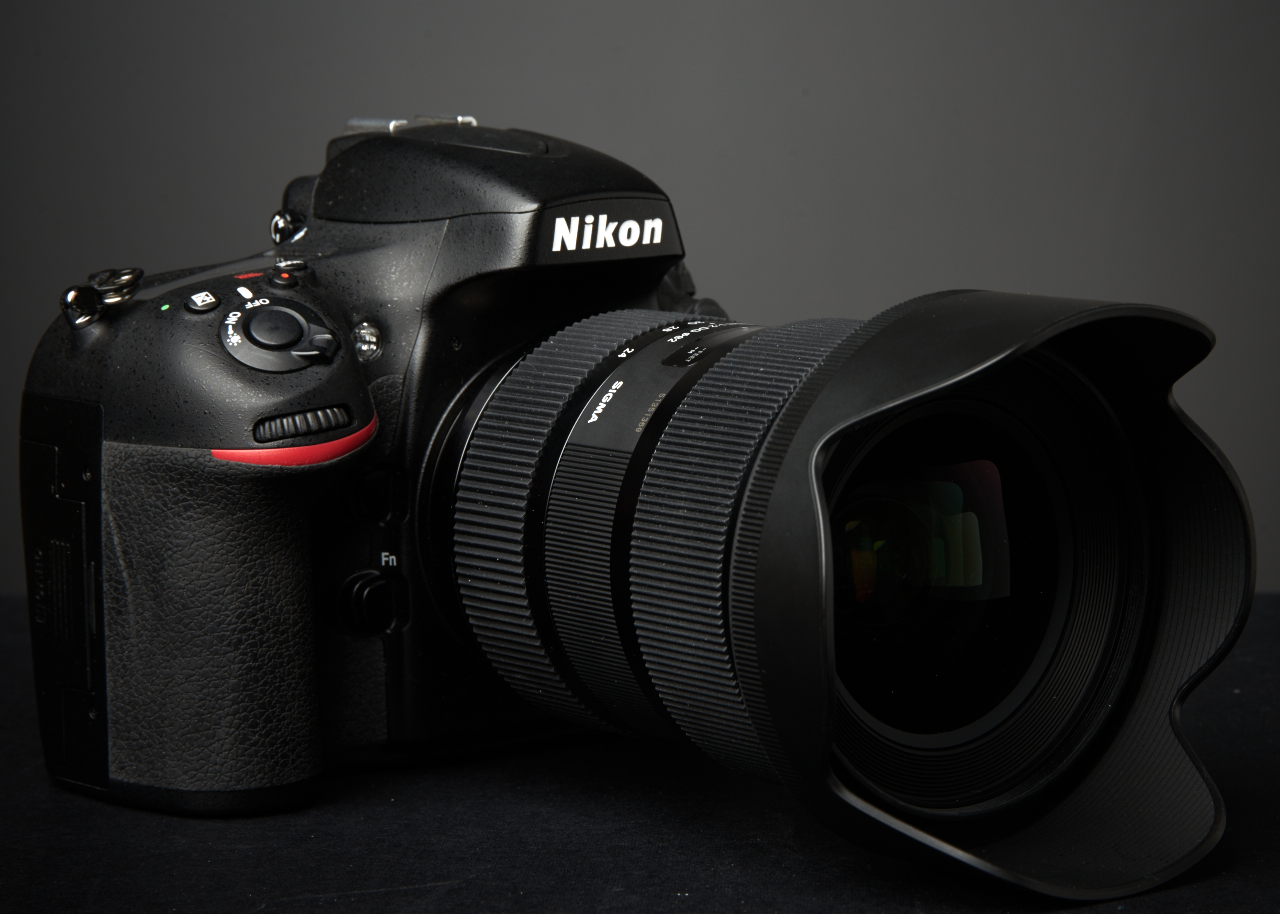
Review: Sigma 24-35mm f2 Art Nikon
For the last week I had the new Sigma 24-35 f2 Art lens for Nikon. I used it during a commercial shoot and on some portrait work. And I must say, I am a little puzzled about this lens. How and why I will tell you further up in this review.
First things first. As you might know. I am not a pixel peeping lab testing reviewblogger. I like to test camera's and lenses in the field and give my opinion based on my experience working with the gear.
The quality of the Sigma 24-35 f2 Art lens
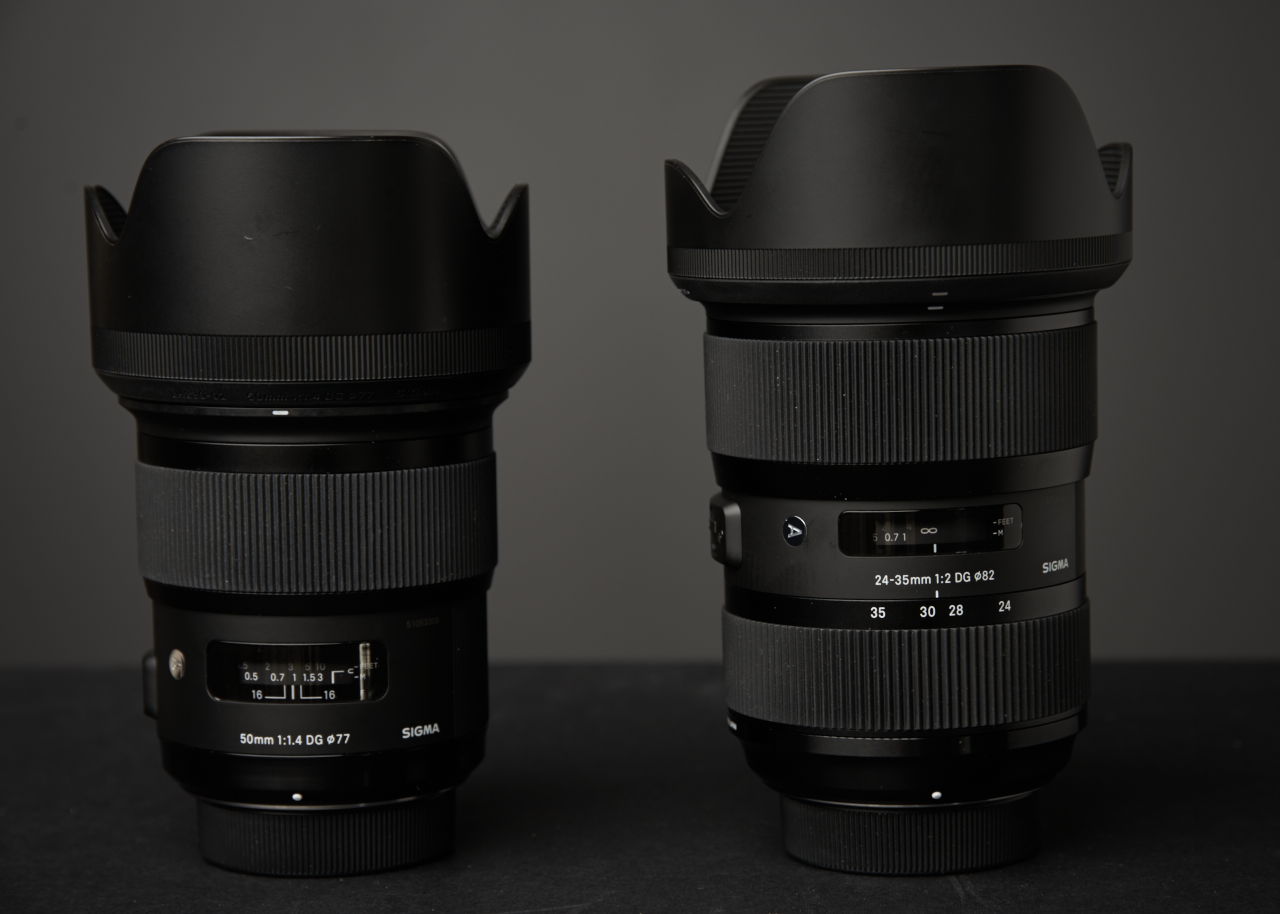
Let's start with the easiest part of the review, the quality of the lens. This is simply excellent. Like all other Sigma Art lenses the Sigma 24-35 f2 Art lens is build really well. It feels nice in you hands, focusses smoothly, feels like a high quality lens and performance as a high quality lens. I must say the lens is large. It is even bigger then my Sigma 50mm f1.4 Art lens. I can't find anything quality wise to say anything bad about the Sigma 24-35 f2 Art lens!
Where to place the Sigma 24-35 f4 Art lens
So now the hard part. Where should I place the Sigma 24-35 f2 Art lens in my current range of lenses, what will it add. While working, a lot of time I was just using my Sigma 24-105 f4. And I forget I had the Sigma 24-35 f2 Art lens in my bag. So later I switched to the Sigma 24-35 f2 Art because I had it and could try it.
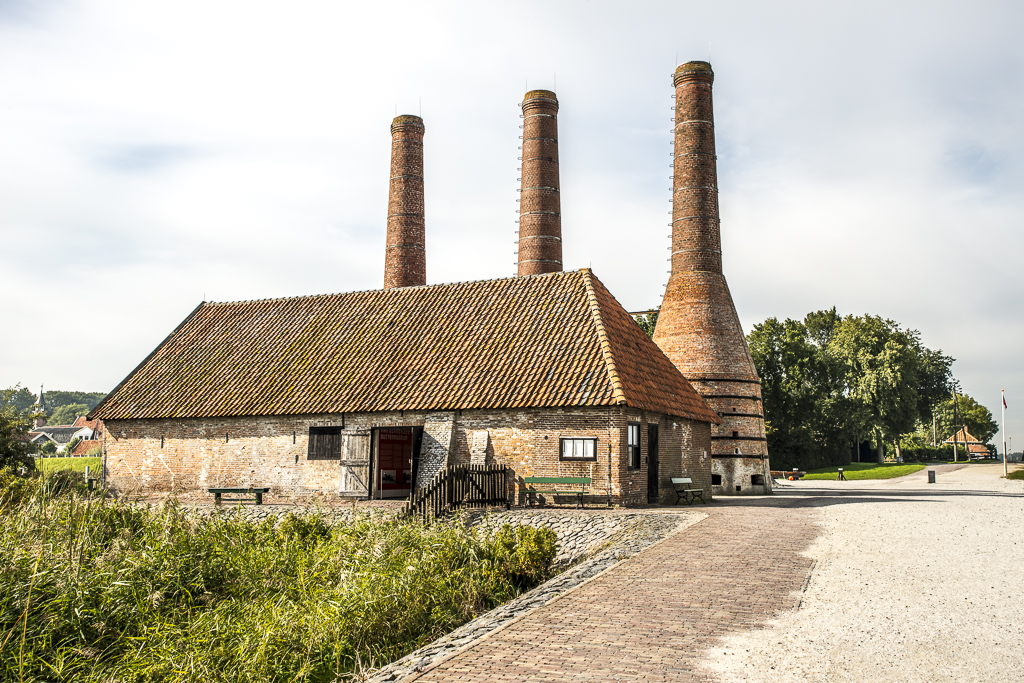
While working with it, the Sigma 24-35 f2 Art lens performed greatly. The zoom range was convenient. When I thought it was a little to wide at 24mm I could zoom in or a little to tight at 35mm I could zoom out. In dark places the f2 was handy, and due the focal length a lot was even in focus at f2. But I could also get a small depth-of-field when getting close to the subject. And you could focus it nice and closely.

A storyteller lens
Working with the lens and thinking about where to place it I slowly was figuring it out. This lens is not build for studio and portrait work but for people in the field and story tellers. If I was a wedding photographer or journalist photographer I would buy this lens. I love the 35mm range. But sometimes it is just a little bit to narrow to tell the story or when you are shooting in small rooms. A 24mm lens is a great lens to get everything in, but a lot of time it is just to wide. When there is to much information and noise in the image. Also the f2 aperture makes it great for working indoors. I could see myself shooting weddings with a 85 1.4 or 70-200 2.8 on one camera and the Sigma 24-35 f2 Art lens on the other and shooting all day without having to swap lenses.
The conclusion
The Sigma 24-35 f2 Art lens is a very high quality lens! And I can recommend it highly to every wedding-, travel- or landscape photographer. Or everybody who doesn't own a basic high quality zoom lens. But for me I don't think it will add enough to my current range of lenses. The Sigma 24-105 f4 Art lens covers the whole range from me, from wide to tele.
I hardly ever use the 24mm, so I am thinking about adding the 35mm art. I love the 35mm range my Fuji X100 and on the Leica M (Monochrome) (check the review for the Leica M type 240 HERE and the the M Monochrome HERE). But sadly the 24-35 f2 properly won't get back in my bag again. Although it is a great lens, it is not my lens.
Before they pass away the Book
introduction
For the people who missed out on this project let's give em a small introduction Before they pass away is a project by (ex-)commercial photographer Jimmy Nelson. When the big budget jobs got smaller and smaller, he got the idea for this personal project. He went to all corners off the globe shooting portraits of some of the last real old tribes which still live like they do for centuries.
Last week I finally got my own copy of the book. It toke me a while before deciding if I would buy it or not. Because it is a little bit expensive at a price of €128,-.
The Book

The book is a really nice thick book. The print quality is beautiful. Every chapter starts with a introduction to the tribe, where they live and what makes them special. After that there is a series off really stunning portraits.
Take also in mind the most of the pictures are taken with an old 8x10 camera. Which has the biggest advantage that it always works also without any power. All tough also keep in mind he also used a Nikon D3.
Behind the scenes
Here are a shot documentary about the shoot with one of the tribes
And here is a nice video of Jimmy talking about the project:
The verdict
Before they pass away is a must have for every photographer and house hold. Yes, it is a bit expensive. But it is one of the most beautiful photobooks I have on my shelf. You can read about all the tribes or just enjoy the photographs.
I have also been to the exhibition in the Leidse Museum voor Volkenkunde, and I can also recommend to visit the exhibition if it is in a town near you!
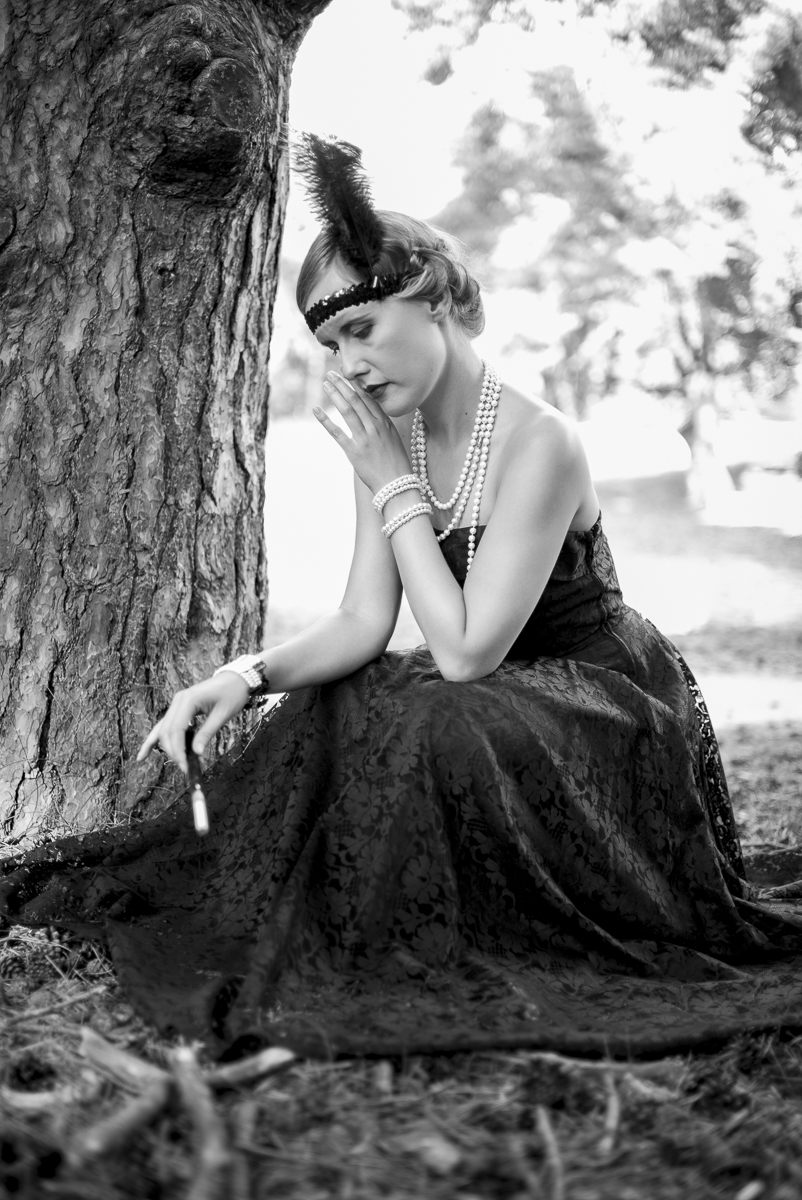
Working with the Leica M Monochrom.
Last weekend I had the opportunity to work with the Leica M Monochrom together with the Summilux 35mm 1.4 asph and Summarit 75mm 2.4. Last year I tested the Leica M (type 240) with the Leica Summicron 35 and 50mm f2., you can read this blog here. Now it was time to test the slightly more expensive black and white only version.
Look and feel
The look and feel of the camera is like all Leica M models. Sleek, sturdy and robust, The Leica M camera’s are build like a tank! Although they don’t look ergonomically, they are really easy to hold and work with. All the buttons you need are on it and nothing you don’t. The Leica M camera’s are pretty bold. But the things they do are great and working is easy!


The packaging
This time I also got the whole packaging experience with the camera. The Packaging of the Leica M Monochrome is what packaging for an expensive camera should be! Although it starts with a simple thin cardboard grey box, it is like a Russian Matroeska. In the great box is another silver grey box, which folds open really nicely. In that box is the real packaging. The top part has a box holding the camera and under that is a door withs gives acces to two small drawers with one holding the manual and warranty papers and the other all the cables, charger and battery.


Some people will say, why spend so much on packaging, better make the camera cheaper. Well, I disagree! Yes you could make it cheaper, but this will only make it roughly 50 bucks cheaper, and on the amount you spend on this camera you want an experience! And this gives you the feel that what you payed is worth it. If you buy a Mercedes you also don’t want the dealer just give you the keys and please leave asap. You want the whole sha-bang!
The use of the camera
In use the Leica M camera’s are (as said before) really easy. The Leica M Monochrom is no exception on this. The body has only a few buttons. Let’s start on the top. The top of the Leica M Monochrome had the on/of switch with the shutter button in the middle of it and the shutter speed dial. With the on/off switch you can choose between, S(ingle), C(ontinuos) and timer mode. Also on the top is a small silver-gray button with the M beside it for movie mode.
On the back is the LCD-screen and on the left the button for: Live view, Playback, Delete, ISO, Menu and Set. And on the right side the D-Pad with the info button. Beside the thumb grip is a small wheel for the exposure compensation and use in the menu.
All in all: just all you need.
For the people new with the Leica M system, you set the aperture with the ring on the lens and the focus is manual!
In the menu are all the things you can set. It also has 3 different black and white toning! Sepia, Selenium and Blue as an extra option!
Working with the camera
Working with this camera was a pleasure. I really loved it. It gave me the feel/love for photography like I had starting with the Fuji X100, but without the quirkiness!
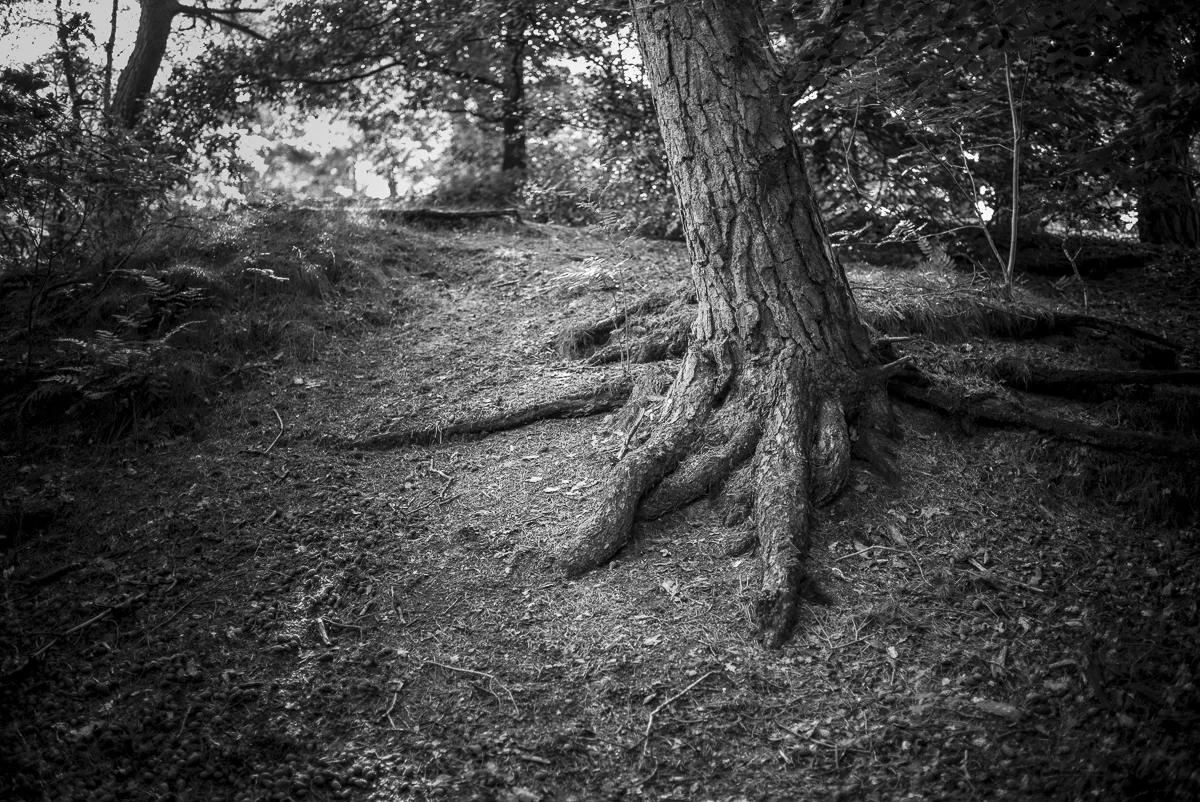
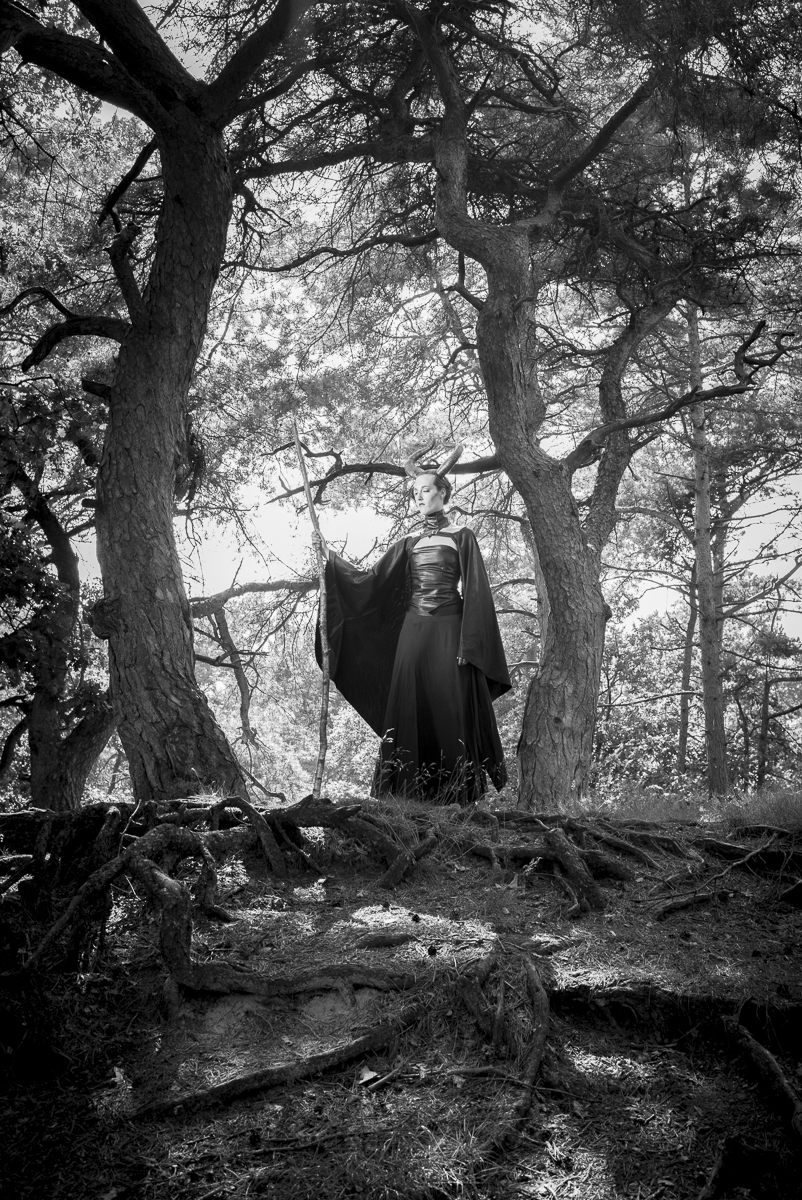
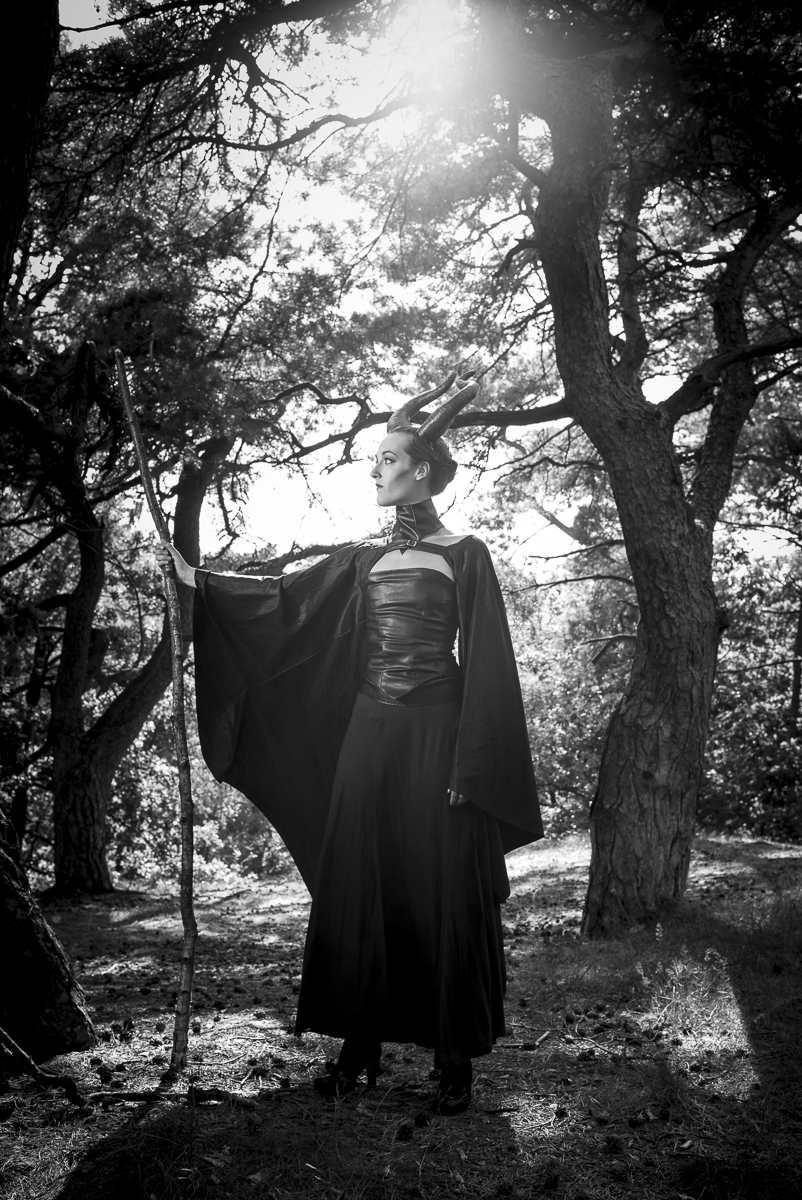
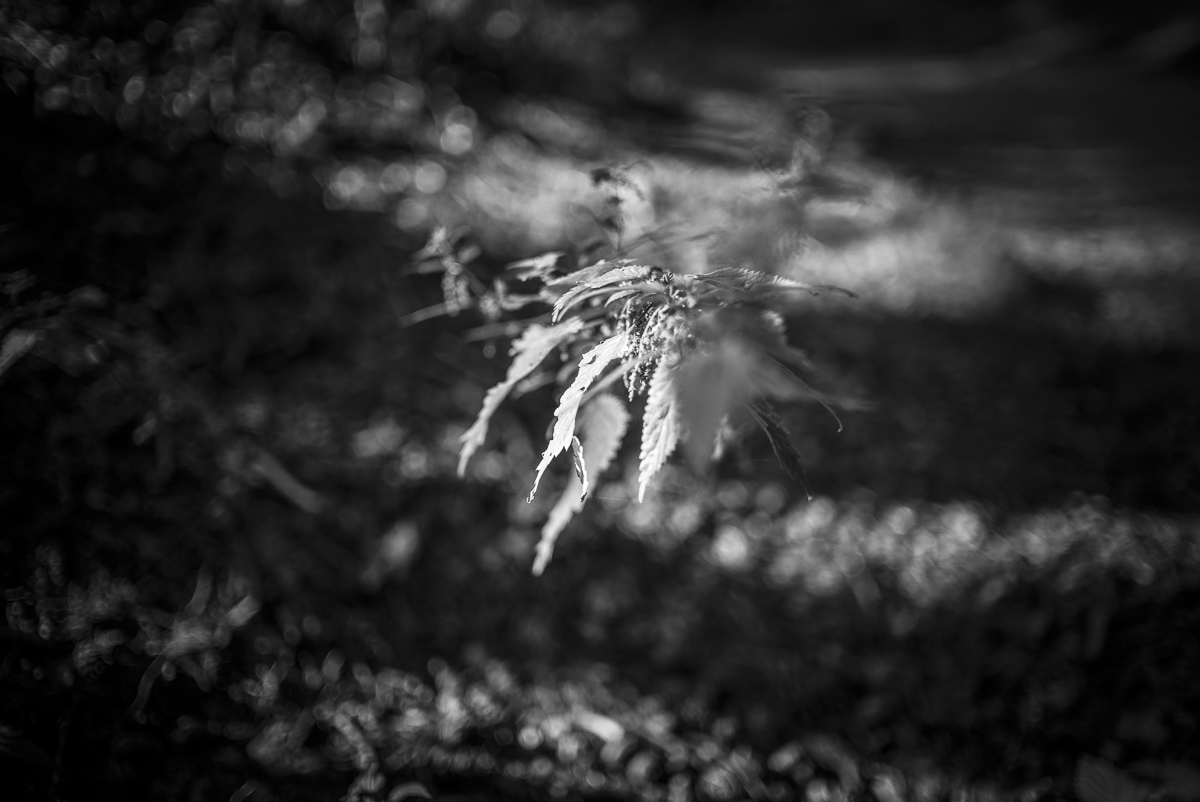
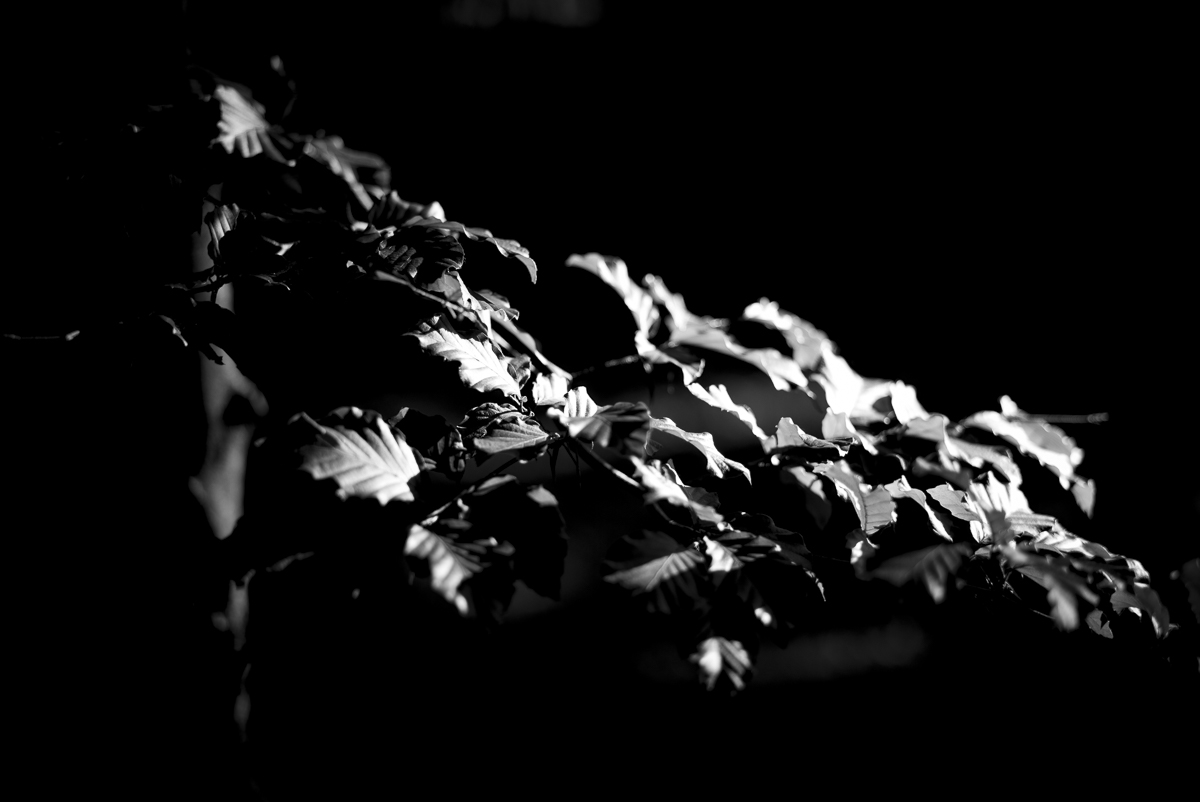
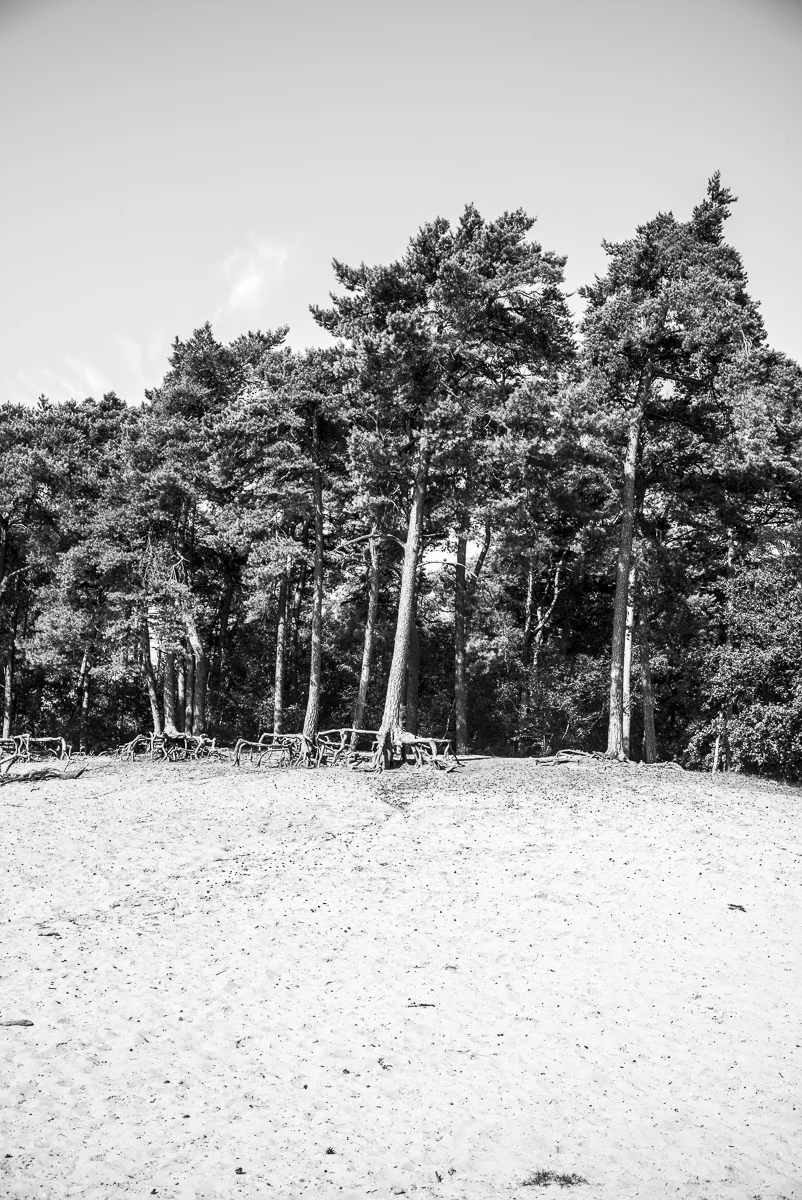
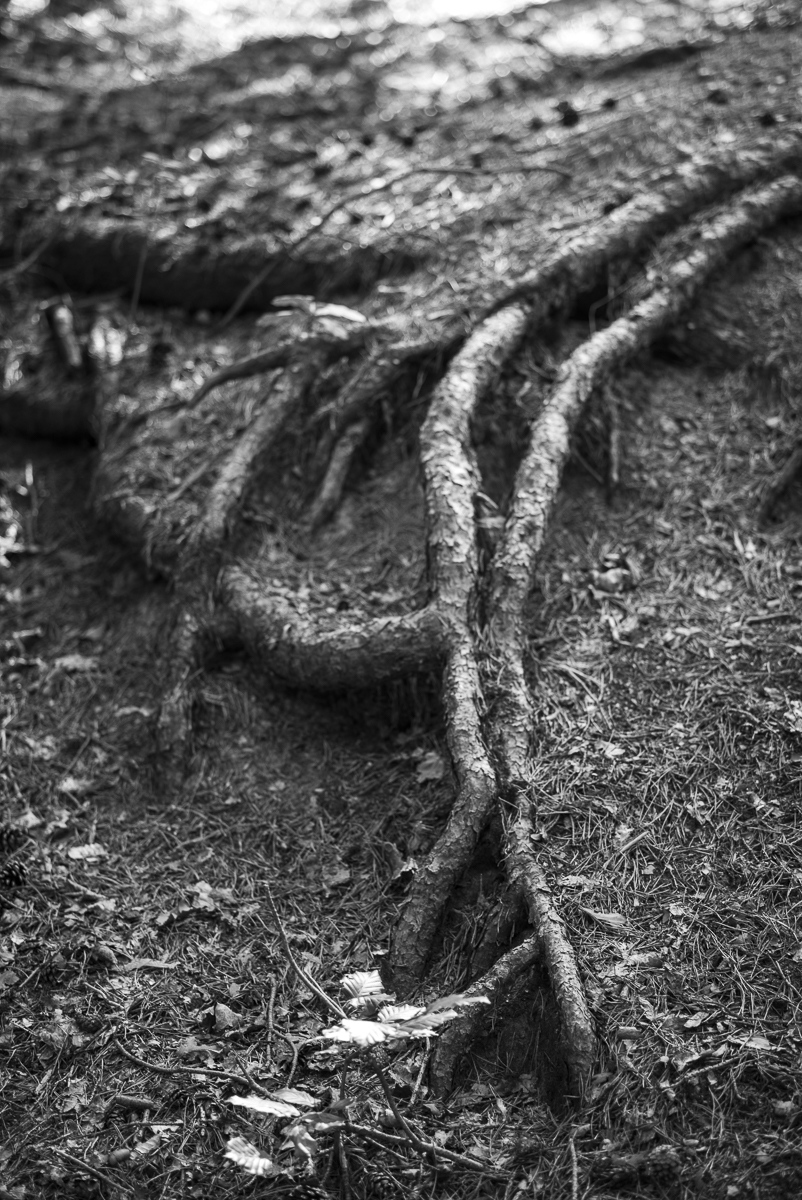
For working with a black and white only camera you need a different mindset! Because with the absence off colour, other things get more important. Now it is about subjet, structure, light, contrast and focus. This camera made me enjoy shooting nature, something I never had done before. Just walking through the forest with some music in my ears searching for structure and little pools of light was almost a zen like experience!
Speaking of focus, the Leica M lenses and focus system are a joy to work with. Even with wider aperture it was easy to get sharp images. The light meter was also easy to use. But mainly I work in Aperture priority mode by setting the speed dial on A.


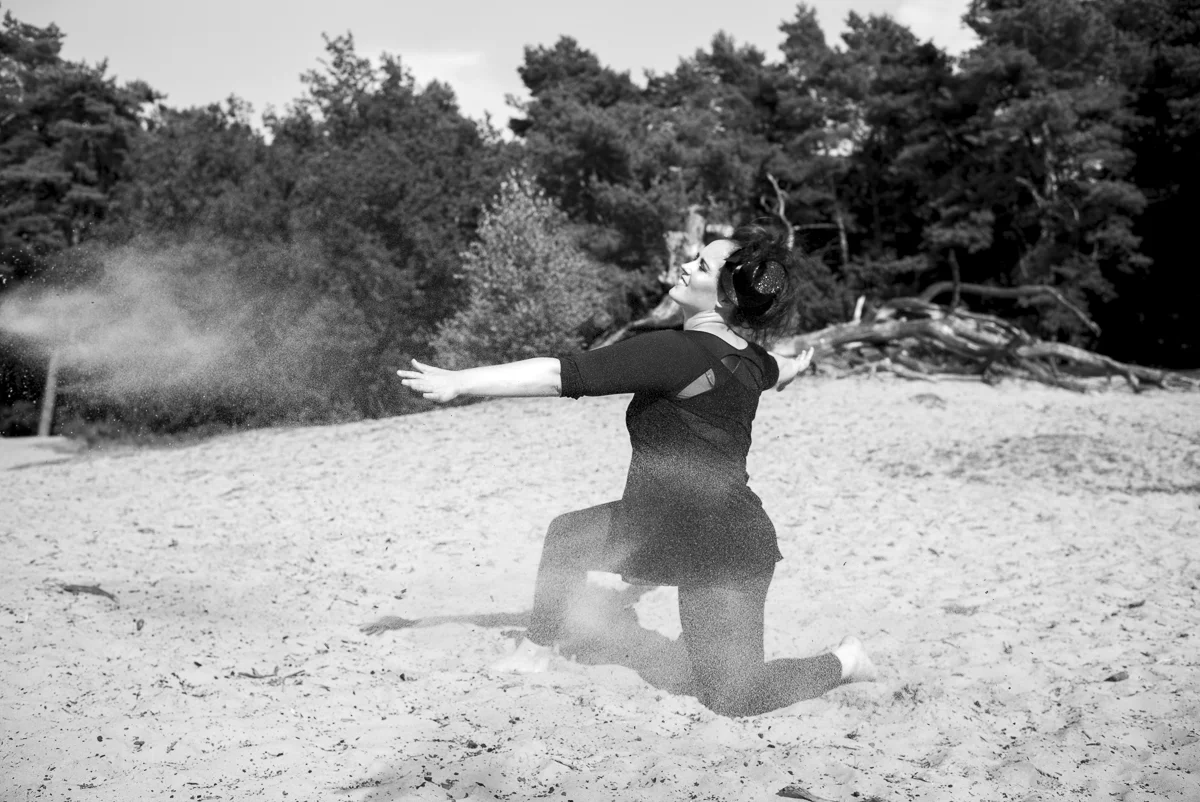
The Shoot
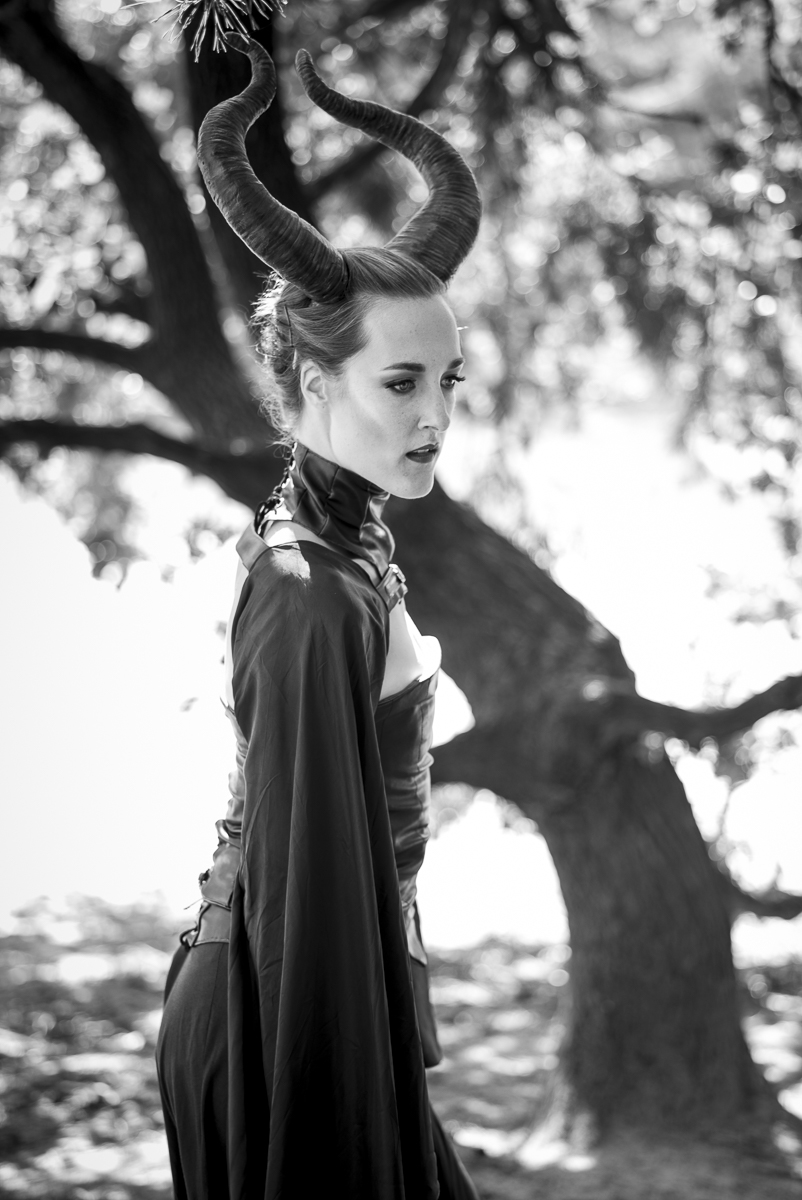
This weekend I organized the Photo Fun Day with a couple of friends (photographers, MUA and models). The target for the day was shooting nice pictures and have fun with each other. Just a relaxed day to shoot some nice work and no pressure
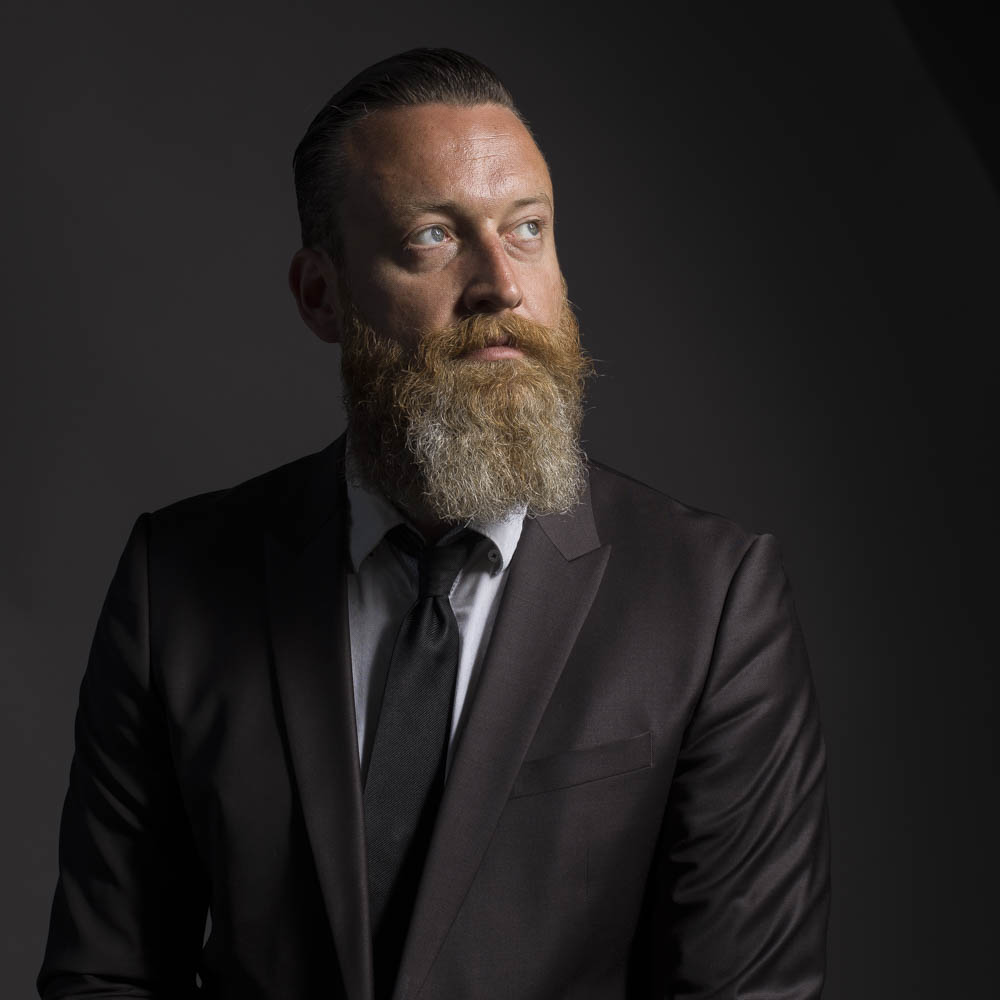
I loved the camera during the day. It was great for the behind the scenes shots because of the quietness, people don’t notice you a lot working with the camera. And during the production it worked great! We did some shots with flash near the house just using the wall as a background.
For light we used the Elinchrom ELB and LiteMotiv 120 sofbox.
The only thing I don’t like about the Leica M Monochrom for studio use is that you can’t go below ISO320. This means you always have to use small aperture values. This means that you can’t work easily with smaller depth of fields using flash and balancing natural light. Also during the shots in the forrest this gave some issues and challenges.


Later during the shoots I switched back to using natural light only and the camera was killing it! This camera is really build for use with natural light. Or in the studio with studio light only.


Another dislike is the writing speed to the card. It took a while for the camera to write from the buffer to the card. Especially when shooting with small burst. But once you know this you can keep it in mind. It isn’t a camera build for speed.
(Post edit: I got the advice from that faster 90mb/s cards can help)
If you look at the Histogram keep in mind that it shows the histogram of the RAW DNG file and not the preview jpeg. So if you blow out your highlight, it is gone!


The Summilux 35mm 1.4 asph
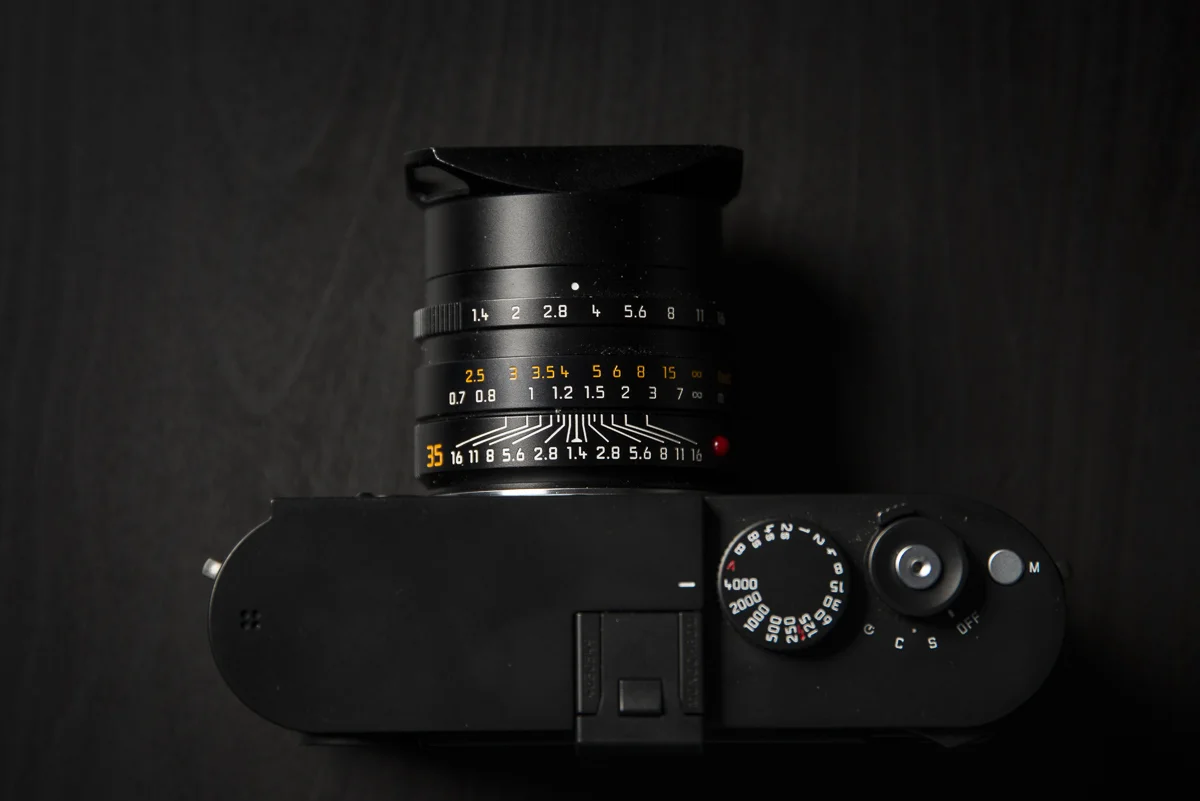
The Leica Summilux 35mm 1.4 asph is THE lens for the Leica M system that everybody should buy or start with! I already loved and got used with the 35mm field of view with my Fuji X100. It is for me thefield of view for allround shooting. You can shoot with on the street, landscapes, portraits, wedding, reportage, fashion and everything else. And the Leica Summilux 35mm 1.4 asph is IMHO the lens for this job. It is wide enough to capture a scene, but close enough to not get to much in the scene you don’t want. Low on distortion.
The bokeh is the best I have ever seen! The details are sharp, the transition is butter smooth and the look is killer. Don’t know anything else to say beside I love this lens!!!


The Summarit 75mm 2.4
The Summarit 75mm 2.4 lens was the surprise lens for me. It is a new lens in the Leica range and is targeted as the “Budget” portrait lens. To be honest, I was a little bit skeptical with it. It has a 2.4 aperture and the 75mm focal length. But I was very pleasantly surprised with it. It was sharp, great bokeh, smooth focussing, nice depth-of-field and had a nice compression!


Although it has a 2,4 aperture it has a small enough depth of field for portraits to create a nice out of focus background and large enough to keep the important thing in focus. Especially while focussing manually. Take in mind also that in the studio I hardly never photograph below f5.6. So a really wide aperture isn’t needed.


It think that if you start with Leica and you want a portrait lens, this is the go-to lens and it is definitely on my list!
Working in post
After the shoot I imported everything in Lightroom CC. I first tried Capture One Pro 8 but I noticed it had problems reading some of the DNG files.
In Lightroom the images look a bit flat. But Rob from Transcontinental warned me for this. The DNG shows you the whole dynamic range. So you need to adjust it in LR. But with a few simple tweaks with the blacks, whites, shadows, highlights and clarity sliders the images turned into great contrastfull black and white images.
Even being digital they have a great analog feel, especially when printed. The prints from the Leica M Monochrom could easily been made years a go. But with all the advantages of working digital!
High ISO
Because the days where sunny I didn’t had a lot of chance to shoot en test the camera on high ISO. But the few I shot with it on higher ISO’s where great. No noise, just nice fine grain!

The Conclusion.
The Leica M Monochrom is one of the best camera’s I ever used! Together with the lenses they create some of the nicest photo’s I made this year! It also brought back some joy in photography and let me explore new kinds of photography. Many of this has nothing to do with the technical aspects of the Leica M Monochrom. This camera gave me a new way of thinking and working. It pushes you to higher levels with your photography. Because the camera doesn’t correct all your mistakes with auto-focus, IS, d-lighting and other tricks the only one to blame for bad pictures is yourself. And because the camera gives really detailed photo’s you get those mistakes back, hard a little bit like when I was using the Hasselblad CFV-50c (read more about this here)
Off course there are a few things I would like to improve! The ability to shoot ISO100 natively would be great for really sunny days and studio work. The writing speed to the cards would also help. But beside that I don’t know.
For the people wandering which to get the Leica M of M Monochrom, this is the question to ask: Do you need colour? Personally I would love the Leica M Monochrom, but starting with Leica I would pick the Leica M (type240) to start, because I also do a lot of colour portraits for clients. If I would shoot black and white 95% of the time go straight to the Leica M Monochrom. For the clients who want colour, say you only work black and white. And they will only book you voor black and white anyway because you won’t post any colour work anymore in a long time after buying the Leica M monochrom.
For the people who think it is a way to expensive camera….. yes it is, but a handmade Rollce Royce is also a way to expensive compared to an cheaply mass made asian made car!
If you have any feedback or questions, please post them in de comment section below!


Print for sale
An exclusive selection of pictures are now on sale in the store in limited edition. Click here for more information
Review: Hasselblad CFV-50c
Hi all,
Zoals jullie misschien al eerder gelezen hebben mocht ik van Hasselblad importeur Pro Spirit de Hasselblad CFV-50c lenen. Vandaag wil ik graag mijn review van deze digitale achterwand met jullie delen.
Dit is een real-life review. Ik bespreek vooral over hoe ik de camera gebruikt heb als portretfotograaf. Tevens ga ik alleen in op de dingen die ik belangrijk vind als gebruiker. Omdat ik de CFV-50c alleen tijdens de dagen van het project heb gebruikt, heb ik geen kans gehad om alle uithoeken van deze digitale achterwand uit te diepen. Mocht je nog vragen hebben, laat het me weten en neem anders contact op met de mensen van Pro Spirit!
Introductie van de CFV-50
De Hasselblad CFV-50c is een 50 megapixel (6200 x 8272) CMOS-sensor digitale achterwand gemaakt om te gebruiken met de klassieke Hasselblad V-serie camera’s. De ratio van de sensor is een soort van 4:3 in tegenstelling tot de 2:3 van 35mm camera’s. Het voordeel van de CMOS is dat je nu ook hogere ISO-waarde kunt gebruiken met de camera tot zelfs 6400! En ja dat is heel wat voor een middenformaat camera. Met de DALSA sensoren kwam je niet hoger dan 400. De sluitertijd varieert van 1/800 tot 32 minuten afhankelijk van welke body en lens je gebruikt.


Werken met de CFV-50
Het eerste wat ik graag wil delen is dat Middenformaat camera’s geen camera’s zijn om snel mee te werken. Het gaat bij middenformaat camera’s om kwaliteit boven kwantiteit. Houd er ook rekening mee dat de foto’s gemiddeld 65MB bij RAW 3FR en 154MB bij TIFF 8 bit zijn.
Het monteren van dan de back is zeer simpel. Dit werkt het zelfde als de analoge filmbacks. Tevens in tegenstelling tot digitale achterwand van andere fabrikanten heb je geen extra snoeren nodig om de CFV-50- back met de lens te koppelen om de sluiter te synchroniseren met de digitale achterwand. Het design past prachtig bij de oude body’s. Het enige wat afwijkt is de batterij die iets uit steekt. Verder zou je denken dat je met een compleet analoge setup werkt.


De interface en de knoppen ga ik verder niet op in. Dit wijst zichzelf!
Tevens zit er bij de CFV-50c een speciaal matglas. Deze geeft duidelijk aan wat de ratio is van de beeld sensor. Zo weet je hoe je moet kaderen.
Tijdens de sessies maakte ik gebruik van 1 studio lamp. De Broncolor Move 1200L samen met de Para 133. Dit gaf een zeer mooi dynamisch beeld in combinatie met de CFV-50c. De Move 1200L synchroniseren is ouderwets via de lange kabel. En niet vanwege nostalgie, maar meer omdat ik het verloopkabeltje naar de trigger niet kon vinden. Nu moet ik wel zeggen, dat ik met lange kabel fijner vind omdat je anders de trigger nergens kunt vast zetten. Deze camera’s zijn nooit ontworpen als reportage camera’s met flitsschoen.
Tijdens de sessies had ik de CFV-50c via de firewire kabel aangesloten op mijn MacBook pro, om zo direct te kunnen terugkijken wat we maakten. Het andere voordeel is dat de CVF-50c dan ook voeding krijgt via de kabel en je geen batterijen nodig hebt! Zorg er tevens voor als je niet via thetering fotografeert dat je voldoende snelle geheugenkaarten bij je hebt als je veel wilt fotograferen!


De foto’s
De eerste foto’s die je maakt zijn even schrikken! Je verwacht dat zo’n camera met de eerste klik gelijk de meeste fantastische foto’s maakt. Maar nu komt de truc. Deze opstelling maakt de foto’s niet voor jou. Hij is namelijk zo goed, dat hij elke fout die jij als fotograaf maakt, genadeloos terug geeft! Dit zijn geen camera’s dit het werk voor je doen.
Als je op de digitale achterwand kijkt krijg je als preview een ongecomprimeerde RAW foto te zien. Op een gewone DSLR is dit een al verscherpte en gecomprimeerde JPEG variant. Dit is even wennen. Ook als je via Thetering naar de laptop naar de gratis Hasselblad Phocus software fotografeert zie je dit. Deze camera heeft een groot dynamische bereik van 13-stops, en de software laat alles zien wat er in de foto zit. Je zal dus moeten leren om even een profiel met iets meer contrast te maken en verscherping te maken. Dit zorgt dat je een reëler beeld hebt van wat je maakt.
Als je dit door hebt, en je gaat met de camera werken. Dan krijg je ook geweldige foto’s!
De sessies
Tijdens de sessie heb ik eerst via de viewfinder van de Hasselblad 500c/m gefilmd en vervolgens gefotografeerd. Dit was een heerlijke manier om te werken. Het viel me ook op dat ik veel minder foto’s dan normaal nam. Normaal schiet ik tijdens een portretsessie snel 200 tot 300 foto’s. Nu lag het gemiddelde op 20 tot 50. Dit zorgde dat het kiezen van de juiste foto’s een stuk sneller ging, Ook zat er meer rust in de sessie.


Het moment dat de kwaliteit van een middenformaat echt floreert is het moment wanneer je print. En vooral ook groter print. Dan komt er zo’n mooie extra feel uit deze camera’s. Iets wat niet te beschrijven is, maar het geeft net dat randje wat het verschil maakt!
De conclusie.
De Hasselblad CFV-50c is een geweldige digitale achterwand voor gebruik op de oude Hasselblad camera’s. Maar het is er ook één met een leercurve voor jou als fotograaf. Zoals eerder gezegd het is geen snelheidsmonster en iedere fout krijg je terug. En daar ben jij als fotograaf als enige de schuldige van. Want jij bedient de camera en de digitale achterwand legt alleen vast wat jij doet!
Deze body is in mijn mening vooral voor portret-, landschaps-, en straatfotografen. Vooral voor fotografen die de tijd willen en kunnen nemen om een geweldig beeld vast te leggen!
Adobe Lightroom Mobile review
Naast de update warin onder andere de Fuji X Camera profielen worden ondersteund is er nu ook Lightroom Mobile! Zojuist heb ik het een eerste test gegeven. Het was eerste even zoeken hoe ik de collecties moest toevoegen. Voorzover ik het nu geprobeerd hebt werkt het alleen met nieuwe Collecties in Lightroom. Eenmaal gescynct was het iPad tijd
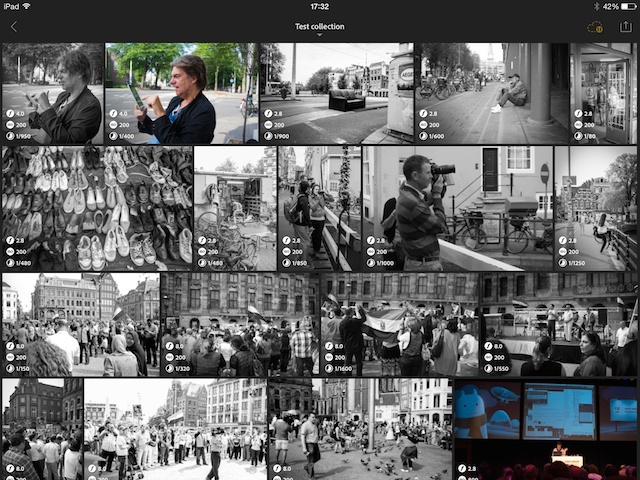
Aan het begin krijg je als eerste een overzicht van alle foto's in de collectie. Door met 2 vingers te tikken kunnen je door de Meta data heen.
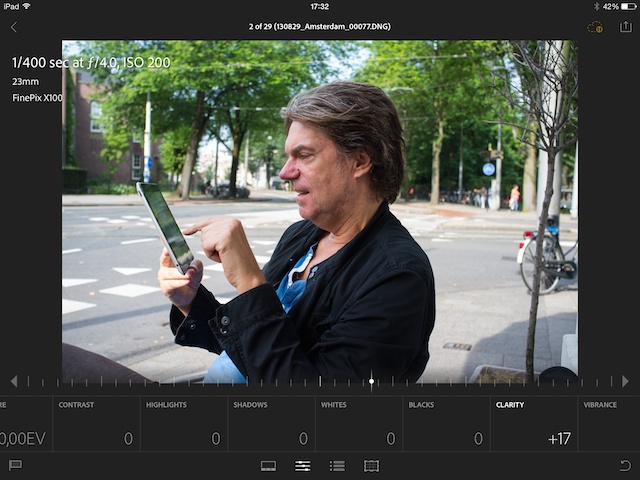
Bij een geopende foto kun je makkelijk de basis bewerkingen doen. Denk hierbij aan contrast, belichten, schaduwen, hooglichten, saturation, vibrancy en croppen etc. Ook kun je foto's flaggen of rejecten
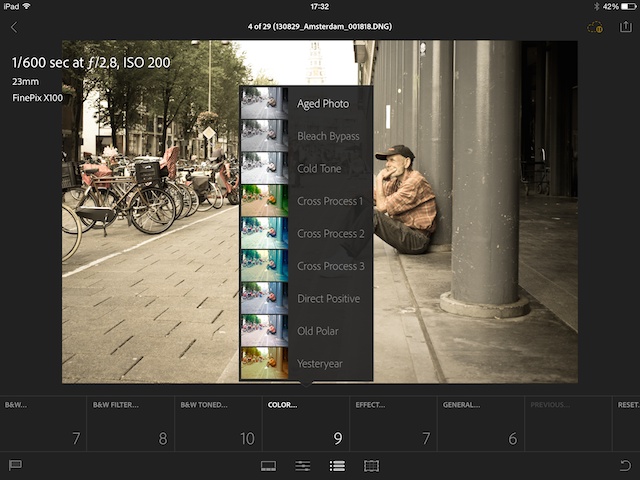
Naast zelf bewerken kun je ook kiezen uit diverse presets
Het was leuk om even met Lightroom op de iPad te spelen. Of ik het echt ga gebruiken weet ik nog niet. Wat ik graag zou zien is dat je tijdens een shoot live foto's naar de iPad kunt sturen zodat je kant makkelijk mee kan kijken, of dat je direct aanpassingen kan doen bij de binnen komende foto's.
Kortom de basis is leuk. of het er helemaal is weet ik nog niet.
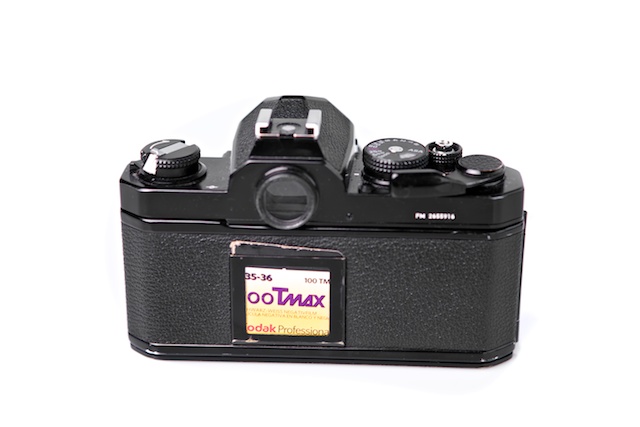
Analoog avontuur: Nikon FM
Ik heb het eerder deze week al even voor bij laten komen, één van mijn nieuwe liefde is mijn Nikon FM 35mm camera met de standaard 50mm F2.0 lens. Na de hype van de Nikon DF> leek het me leuk om een blog aan de inspiratiebron van de Nikon DF te wijden.
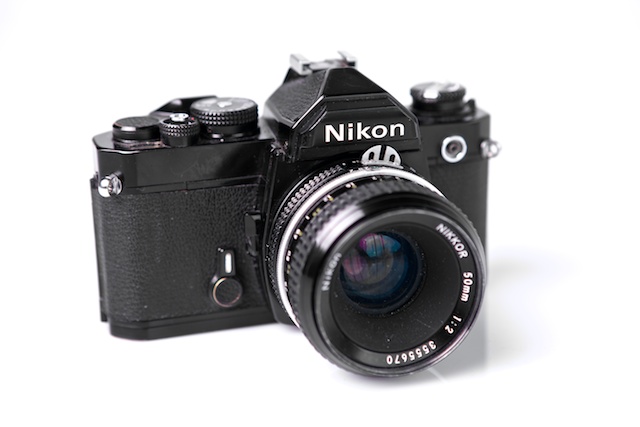
Hoewel het ontwerp van de Nikon DF geleend is van de FM serie zijn er grote verschillen, kijk alleen al naar het formaat. Trouwens genoeg over de DF, deze blog gaat over de FM. De FM is een volledig manueel instelbare camera. In tegenstelling van de FE en FG heeft de Nikon FM geen automaat standen. Wel heeft hij een licht meter ingebouwd.
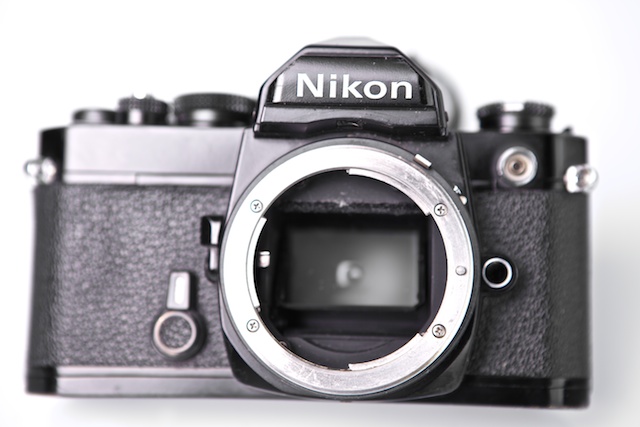
Body
De body is relatief compact in tegenstelling tot de huidige Full Frame camera's. Alleen gaan er in plaats van CF kaartjes rollen 35mm film in. Verder bevat de camera alle knoppen die je nodig hebt.
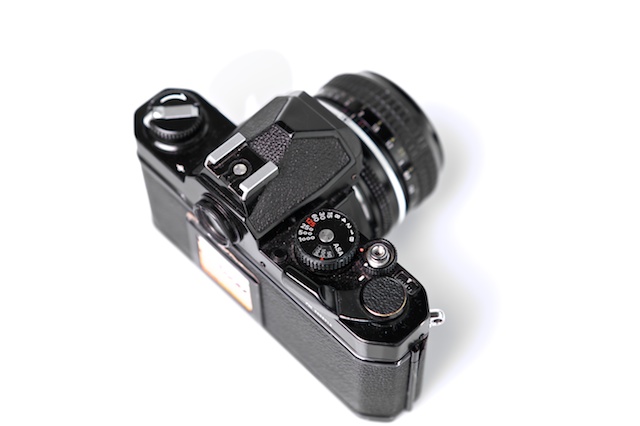
Bediening
Bovenop zit links de film terugwind knop/slinger. Vervolgens de Hotshoe voor flitsers, De sluitertijd en ISO knop, de ontspanner en de doorwindhendel. Om batterijen te besparen wordt de lichtmeter pas actief als je de doorwindhendel een eerst stukje "open" draait. Mocht je batterij leeg raken kan je de camera nog steeds blijven gebruiken. Doe dat maar eens met je high-tech DSLR! Je kan dus met deze camera altijd werken, of het nu heet of ijskoud is! De licht meter was de eerste met het 80/20 principe.
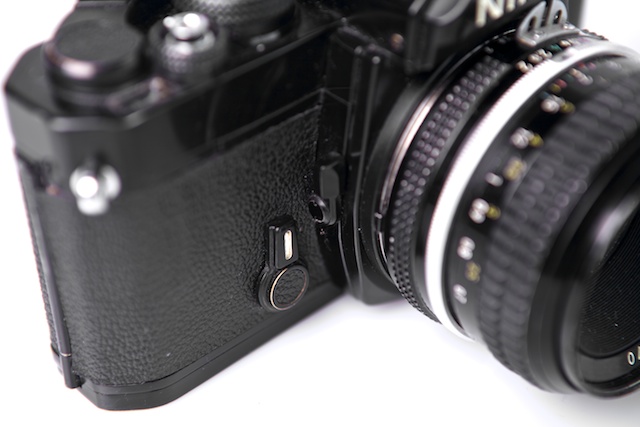
Links onder de sluitertijd knop bevind zich nog een heel klein knopje, of eigenlijk is het een schuifje. Door deze schuif naar links te duwen voor het door draaien, kan je een multiple exposure shot maken. Oftewel je ontspanner wordt wel gespannen maar je film niet doorgeladen.
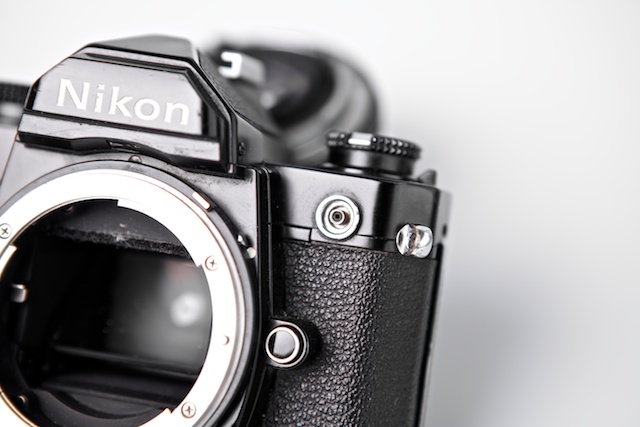
Sync
Naast de flitsschoen bevat de camera oom een pc-sync poort om flitsers aan te sluiten per kabel. De X-sync tijd is trouwens 1/125th wat heel snel is voor de tijd waar hij uit komt. Meestal was het maximale 1/60.
Film
In de camera gaat 35mm film waarmee je gemiddeld 36 foto's kunt maken. Zelf gebruik ik meestal Kodak Porta 160 of Kodak Tmax100 film.
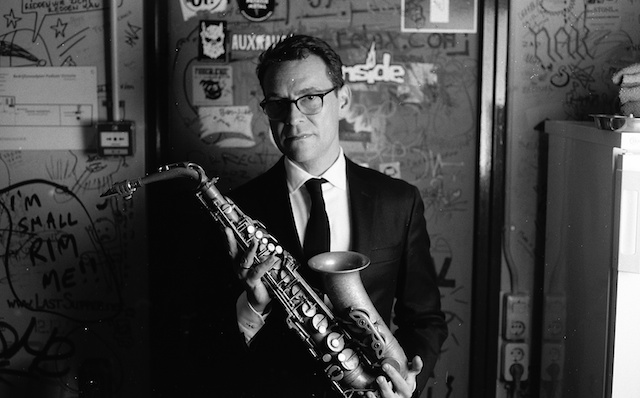
Hieronder staan enkele foto's gemaakt van Benjamin Herman met de Nikon FM en Kodak Tmax100 film en de YongNuo YN-560 en Westcott Apollo 28" softbox