Review: Hasselblad H5D-40
Review of the Hasselblad H5D-40
The next camera I want to buy is a Medium format camera. I currently mainly use the Nikon D800 and D610 camera’s with Sigma lenses, which are great. A lot of times when I see pictures and think what is it that makes this different and standing out it was shot on a medium format camera. So I am doubting between the Hasselblad CFV50-c digital back which I used for the Jazz Museum Rotterdam project (read the review HERE) or the Hasselblad H5D-40 camera.
So for the Ferry Tales project, Pro Spirit (Distributor Hasselblad in the Netherlands) was so kind to loan me a Hasselblad H5D-40 with the HC80mm lens (which is basically the Hasselblad “kit” lens) and the Hasselblad HC 150mm lens.
It’s not about the megapixels. To start this review I first want to set something straight. I have seen a lot of videos about how the Sony A7RII are kicking but with medium format camera’s with high resolution photos and comparable dynamic range for a quarter of the price of a medium format camera. But a medium format is NOT only about the high megapixel count!
The big difference is the sensor size. A medium format sensor is all most three to four times bigger than a full frame sensor. This has a few advantages. At first it gives the pixels a little bit more room to breathe. And give a nicer compression and more beautiful depth of field.
The second is the different aspect ratio. A full frame camera has a 2x3 ratio while medium format have a 6x4.5 or 3x4 ratio. Which is great for portraits, and use for print because the ratio is closer to the ratio of print.
The Camera
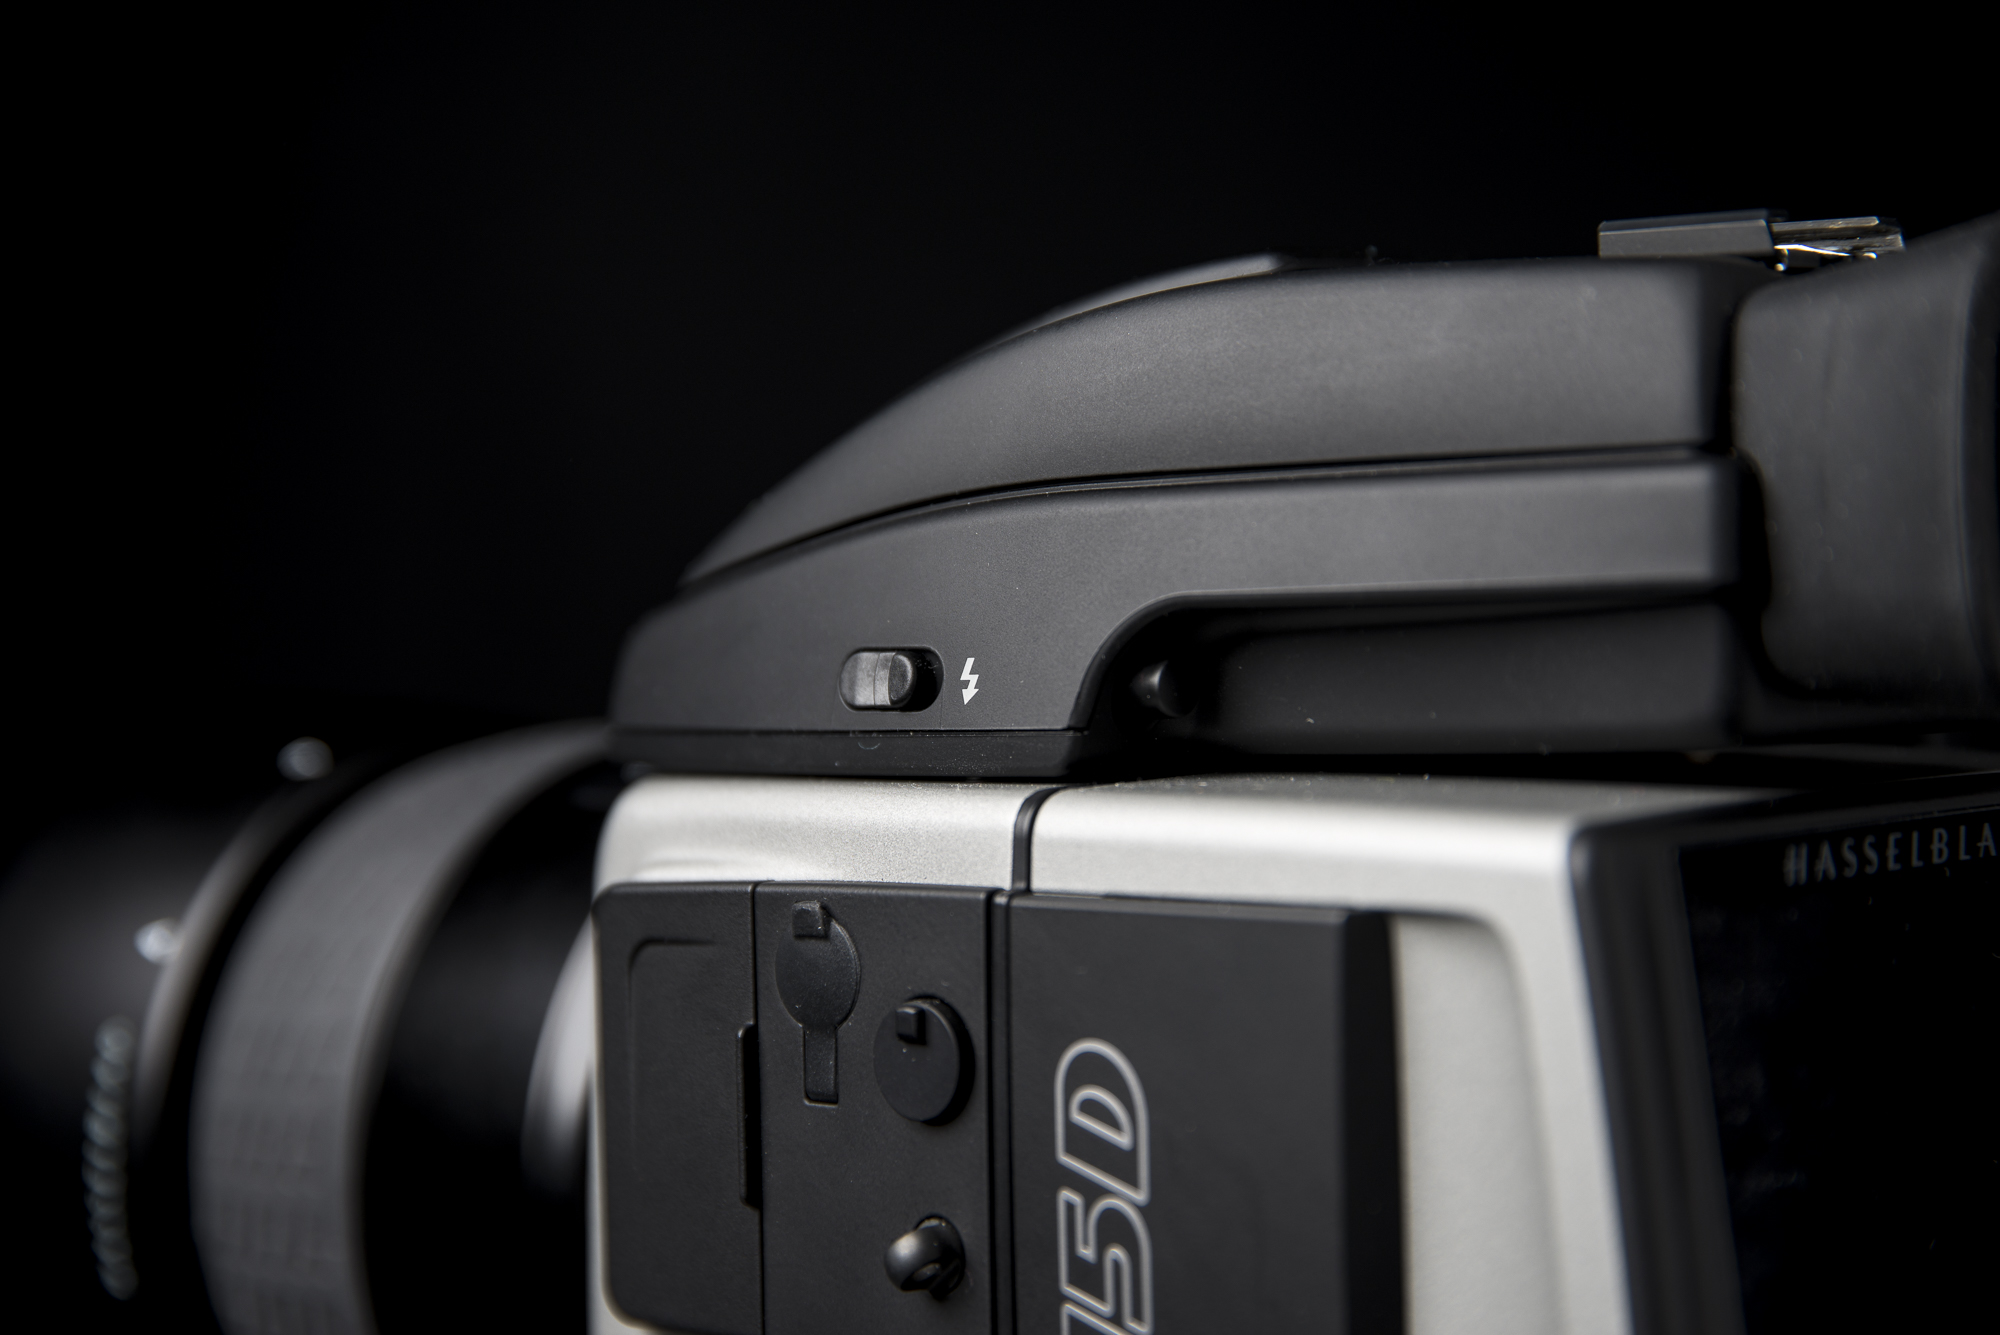
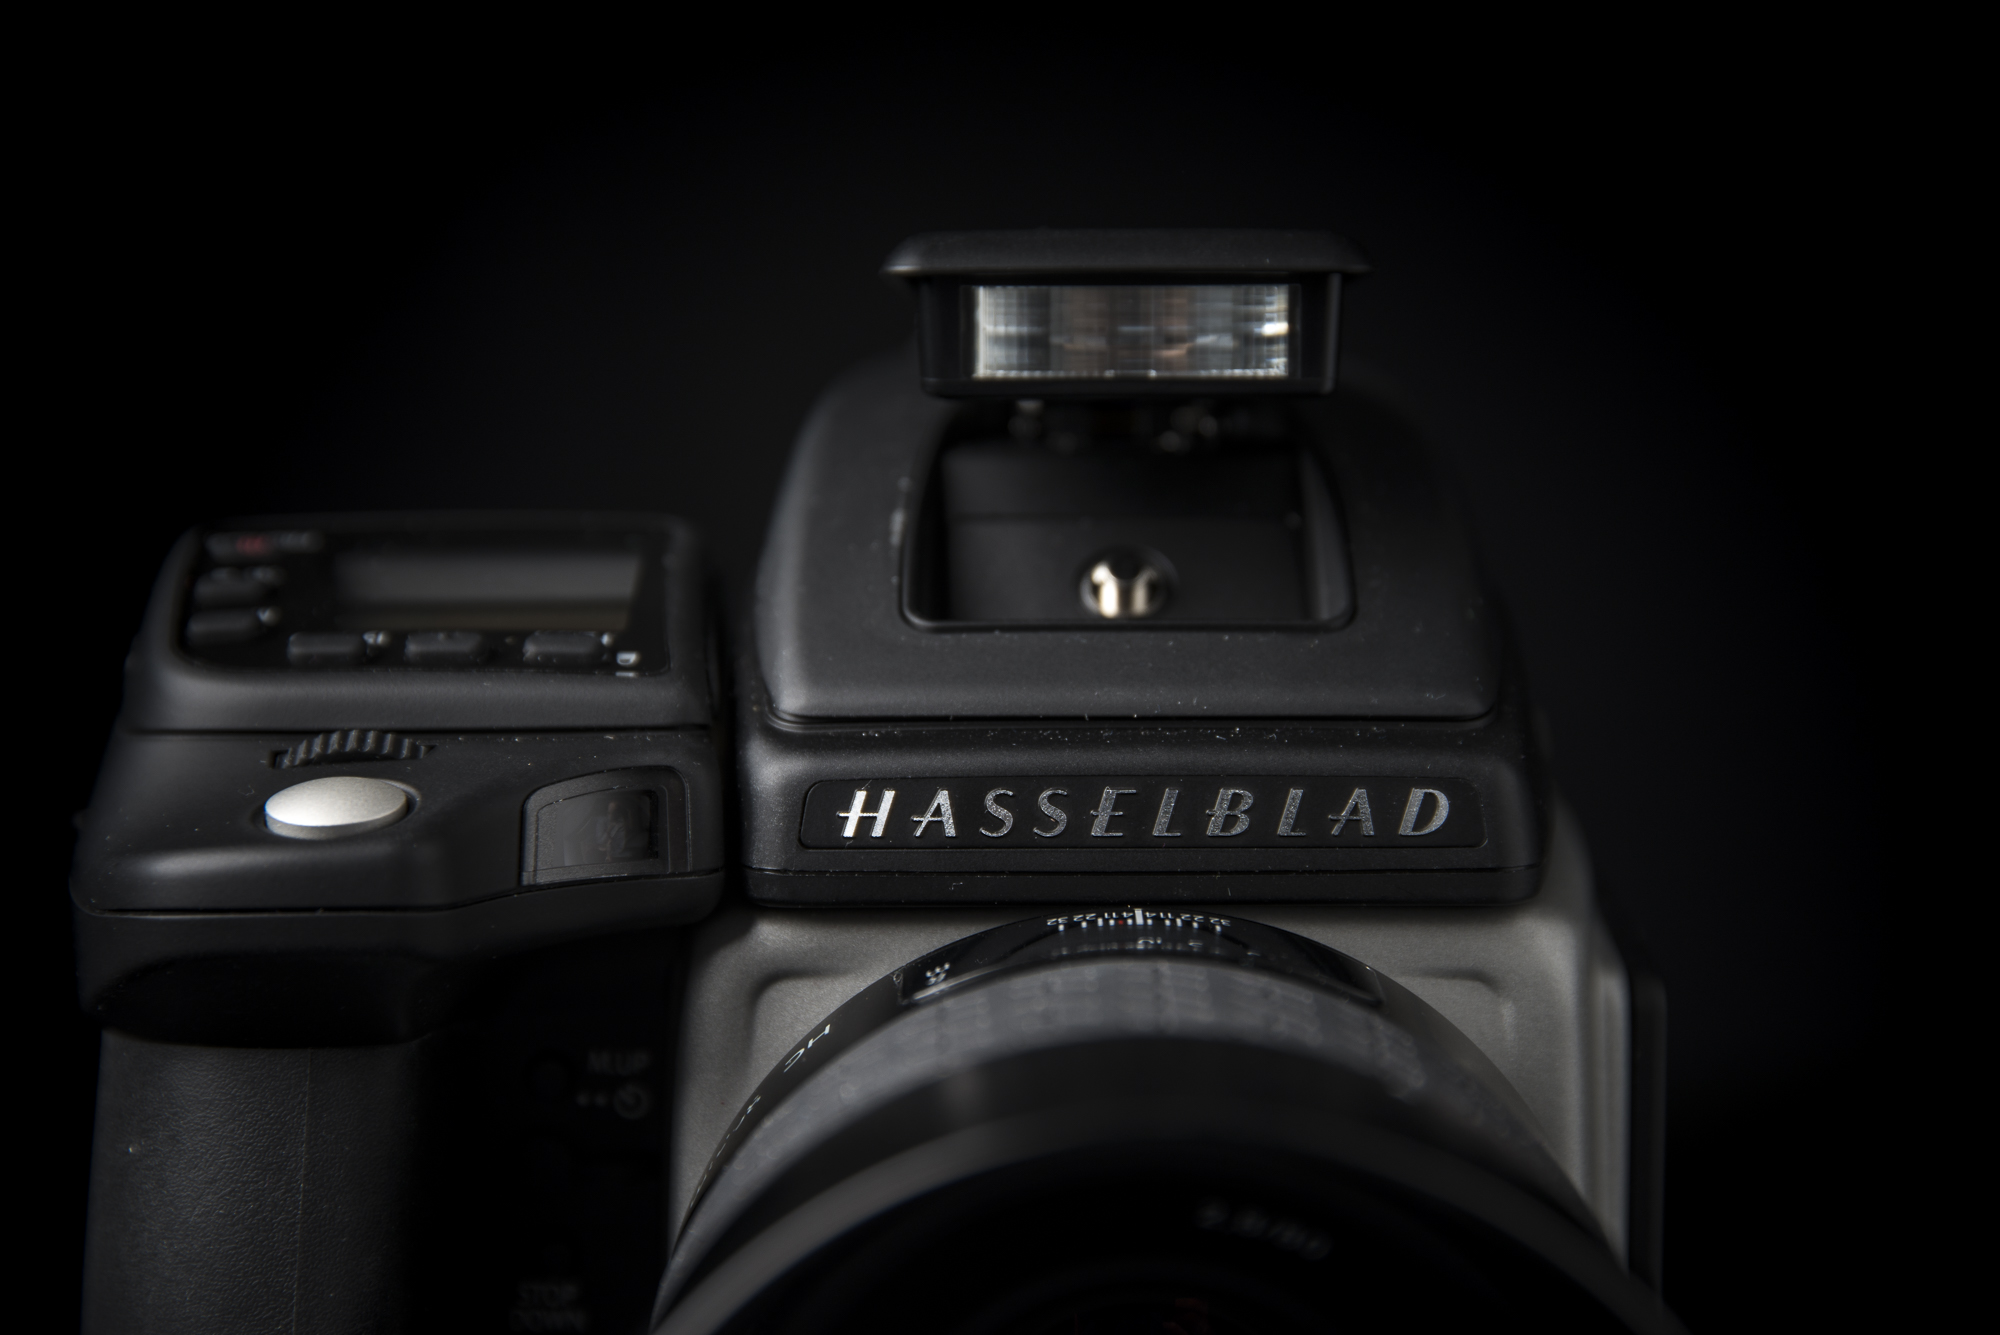
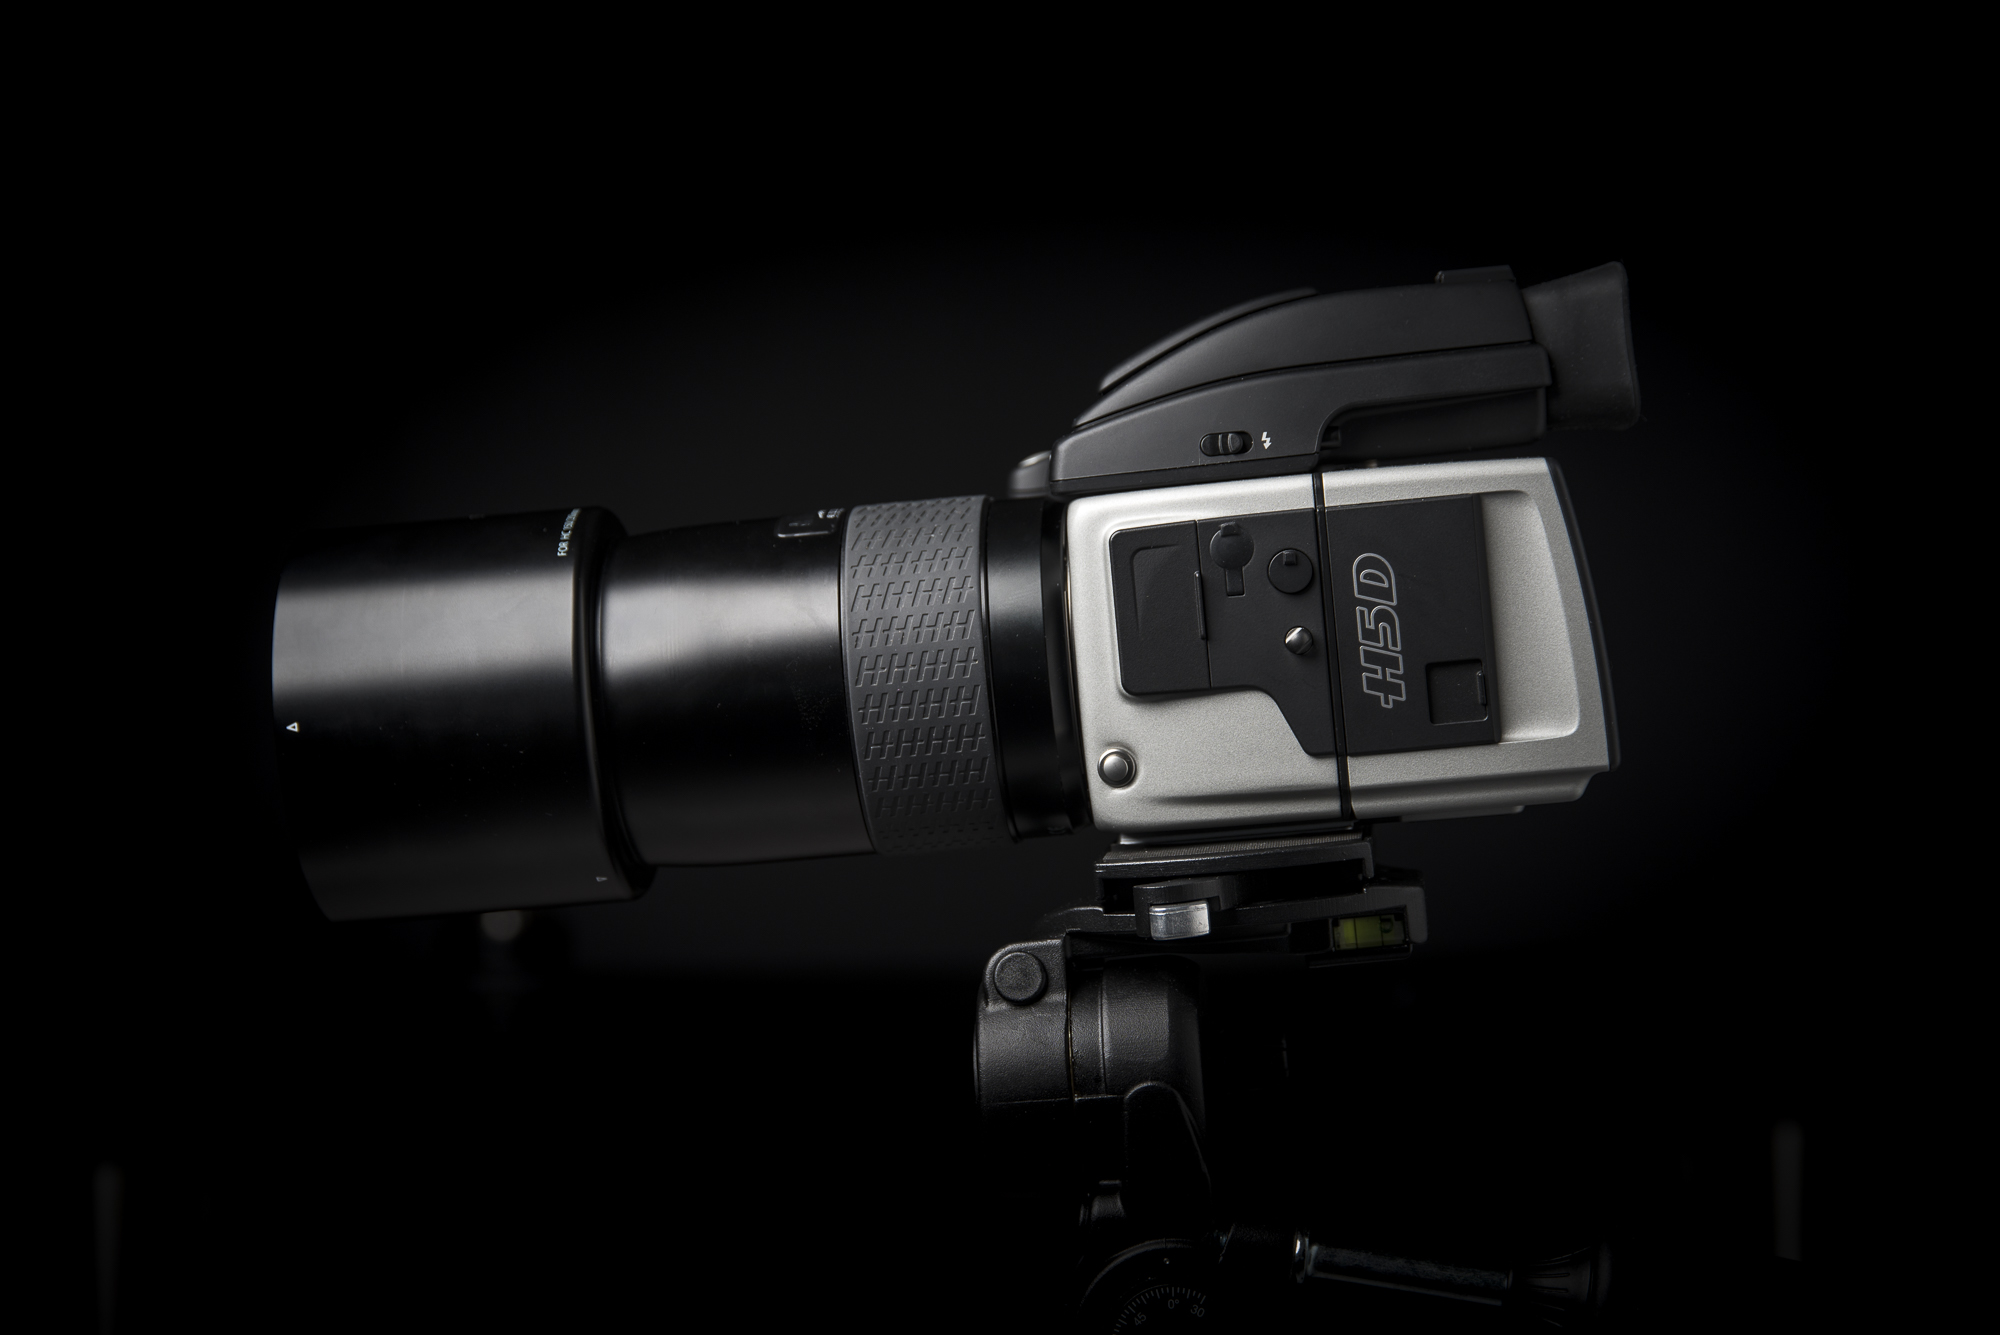
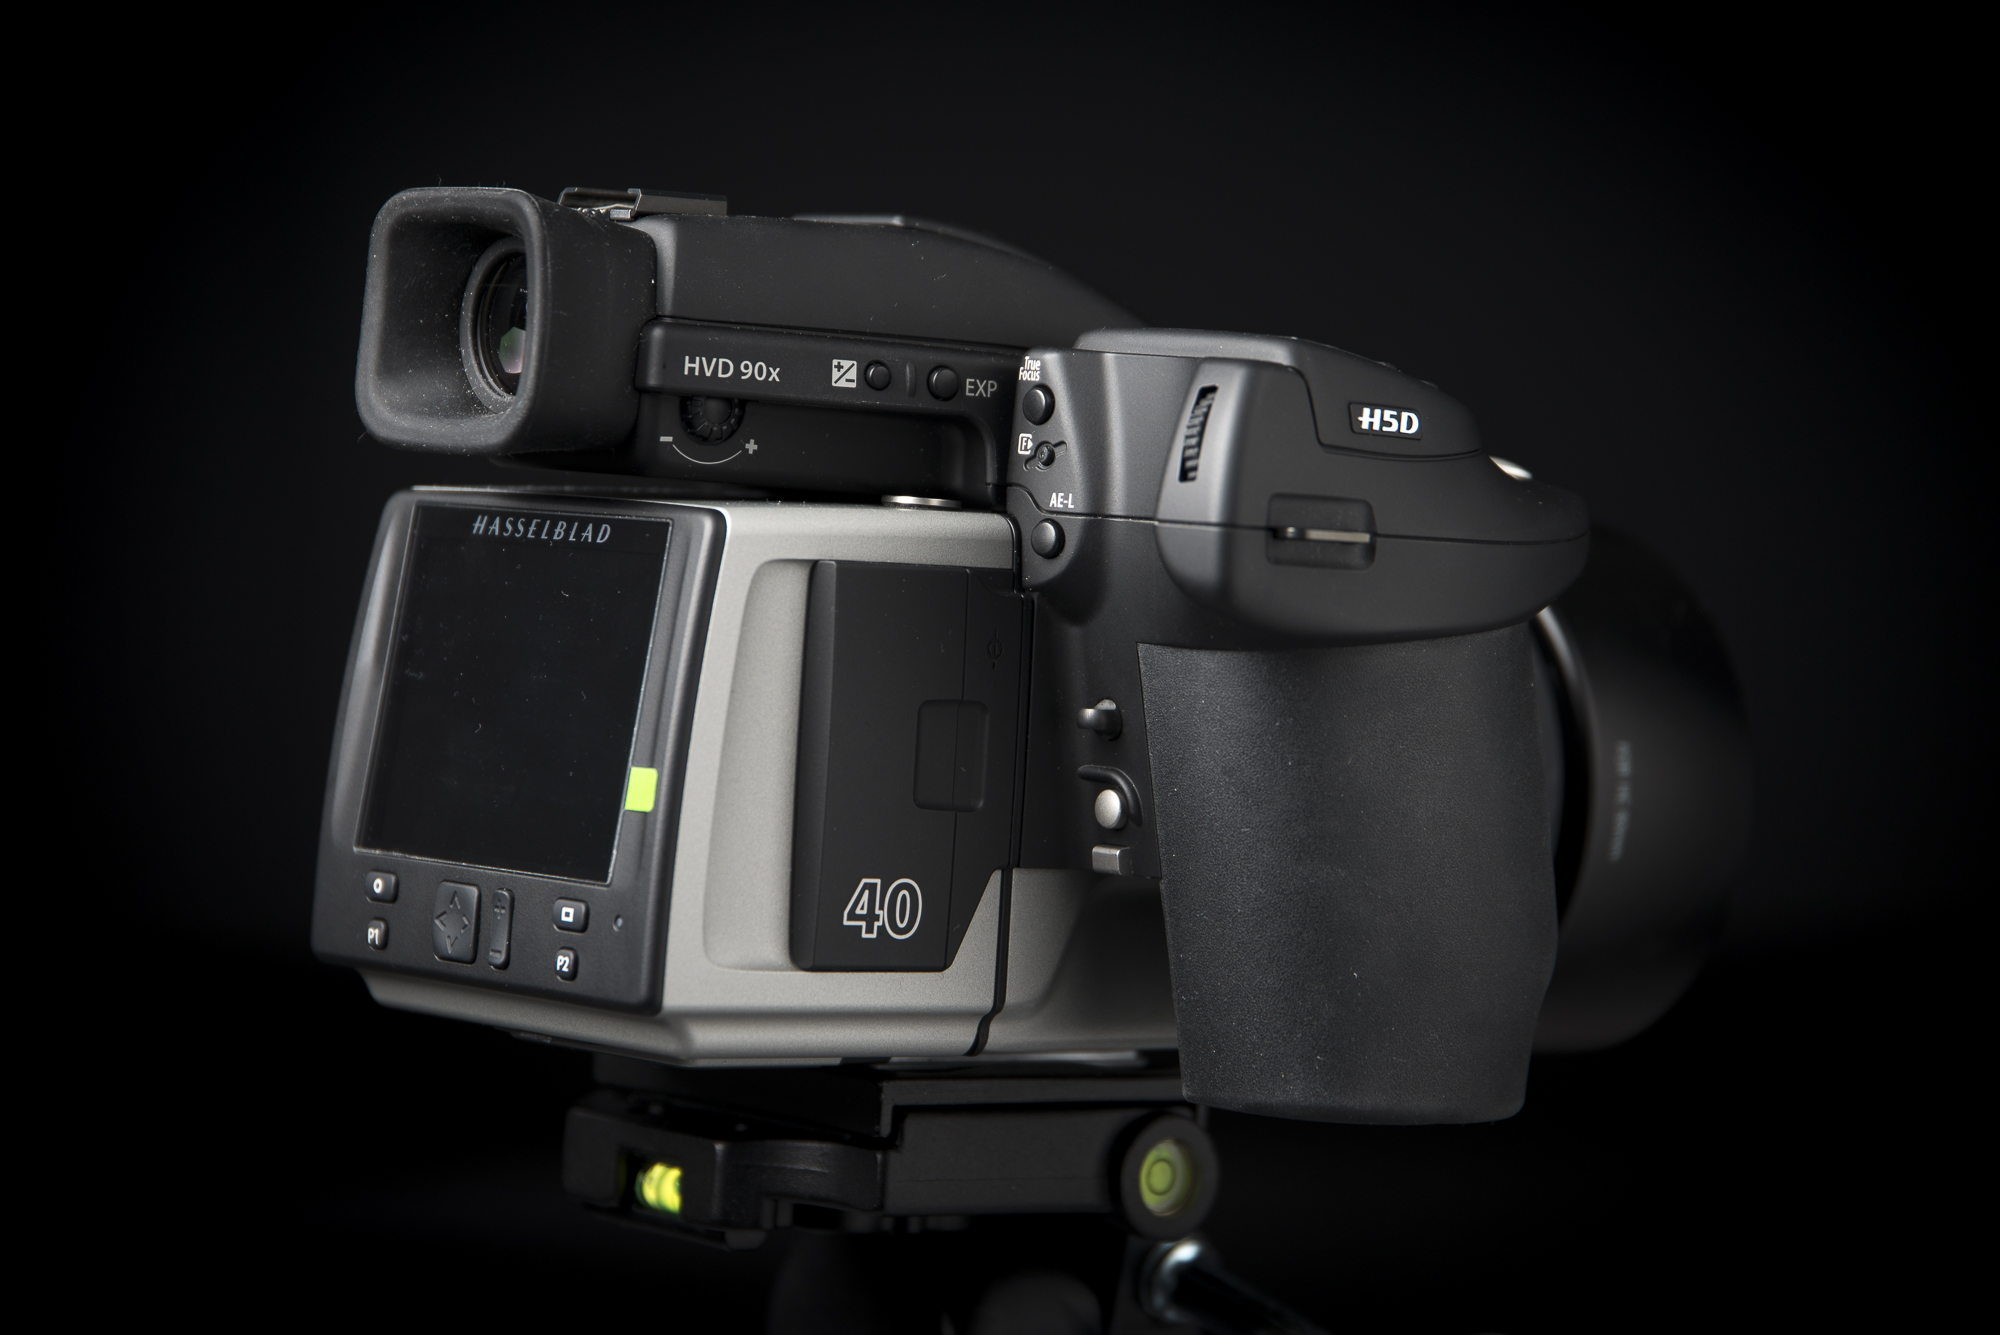
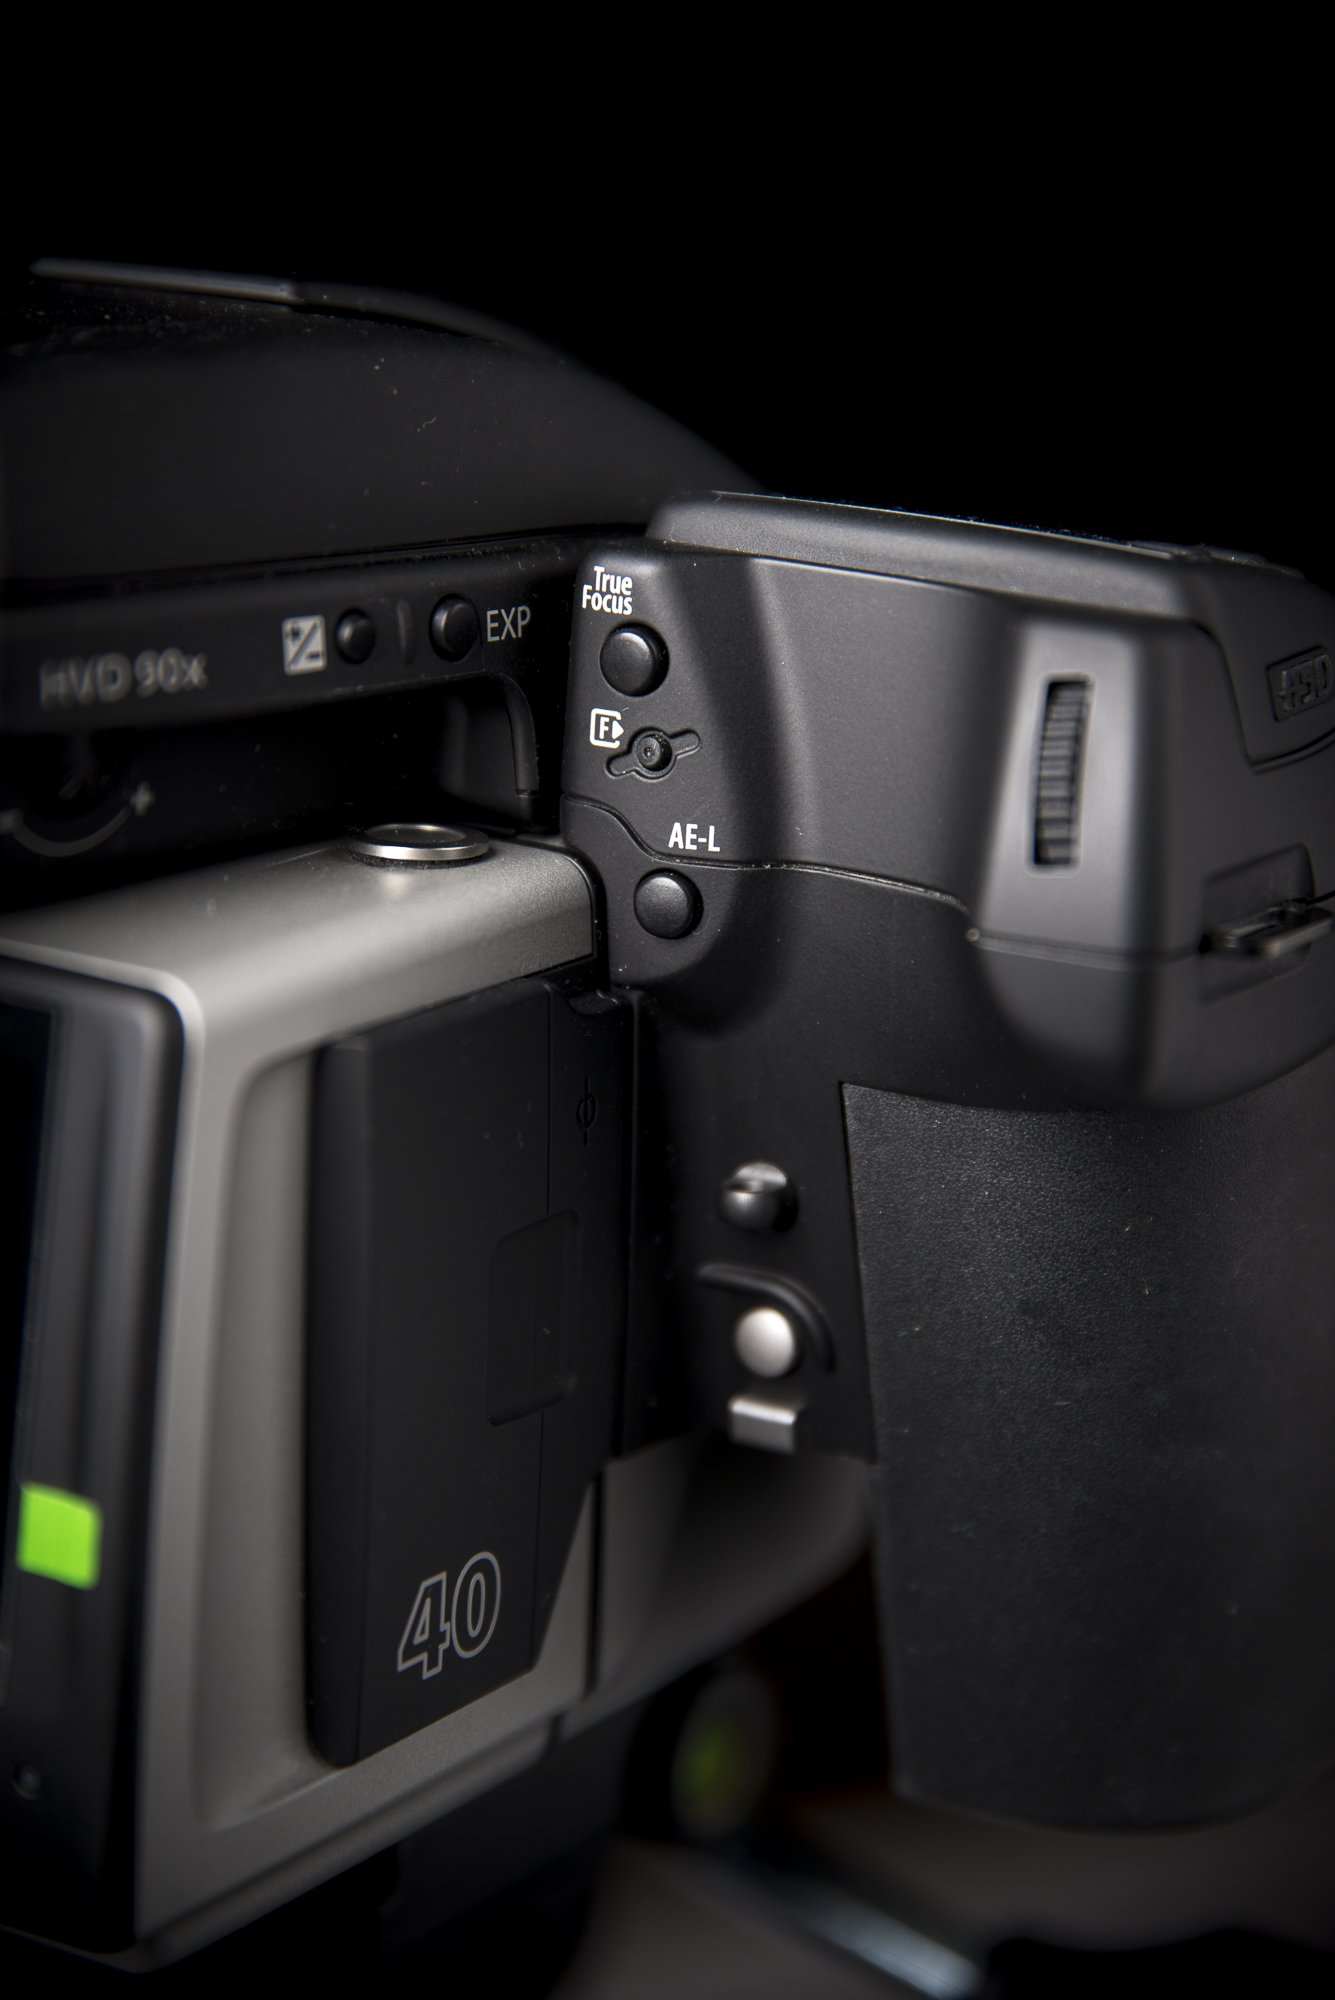
The Hasselblad H5D-series body is built like a tank, but also heavy. I mostly used the Hasselblad HC80mm on it. Which is 68mm on 35mm eqv. Which was for me almost all I needed for the project. I only used the Hasselblad HC150mm on a few shots during the project.
The grip of the button is big but a little thin for my taste and the buttons like the mirror lock-up were a little bit small and too deep to access easily if you were working handheld. All the other buttons are good. I have held a H4D and preferred the H5D buttons and body. It felt more natural.
True Focus
The True Focus system was really welcome! As you might know, a Hasselblad camera has only one focus point in the middle. So you have to constantly focus and recompose if you change the shot. Because when you change the angle of the camera, the focus plane changes, and especially with smaller depth of fields, this means you miss critical focus. The True Focus function calculates the changes in the angle and corrects the focus. This means that when you focus and recompose the immage stays sharp.
Do note that when you move back or forward this is not being compensated. It only works on the up/down and left/right angles.
Phocus software and (app)
A pro of Hasselblad is that they have a free basic editor/library called “Phocus”. Although it is the best RAW-converter for Hasselblad files I mainly used it for shooting tethered to my iMac and rating the photos. Most of the editing was done in Lightroom CC because it has better/faster integration with Photoshop. But that was mainly because for the project I had to do a lot of extra photoshopping and stylizing. For the Jazz Museum project last year I almost did all the editing in the Phocus software program!
I also really loved the free Phocus App. I had this on my iPad, with this app I could walk around the studio while shooting and review the image and rate it on the iPad. I could also use it to show the model the images and guide to where I wanted them without them having to leave their place. Or I could use it to remotely fire the camera. So I could be on another place changing light or guide the model without being hid behind the camera and lighting.
The lenses
For the project I had three lenses the 80mm f2.8, the 150 f4 and 50-110 3.5-4.5. One thing before I go into my opinion of the lenses, the image quality of all the lenses are fantastic! So I will not go into image details but more the feel of the lenses and what I used them for!
HC 80mm f2.8
This is the Hasselblad “Kit” lens. and what a lens it is! I really loved this one! I could photograph nice environmental portraits with it or really unclose without any distortion. If there was only one lens I would be allowed for the rest of my life, this would probably be it!
HC 150 3.2
This is what I thought would be THE portrait lens. And it is, but I didn’t use it a lot. Because of the length of the lens I sometimes had to get to much distance between me and the subject if I wanted a bit more than a head shot. So preferred the HC 80mm a little bit more. Non the less, this is a great piece of glass. And if I would be a fulltime headshot photographer this would be it.
The HC 50-110 3.5-4.5
This is standard zoom lens for the Hasselblad system and the most all-round lens. But it has a big disadvantage. It is HEAVY!!! With the weight of 1650g it is too heavy to shoot handheld all-day or use it as a walk around lens. But the zoom capability made it really all-round and easier to compose my shots.
The photos
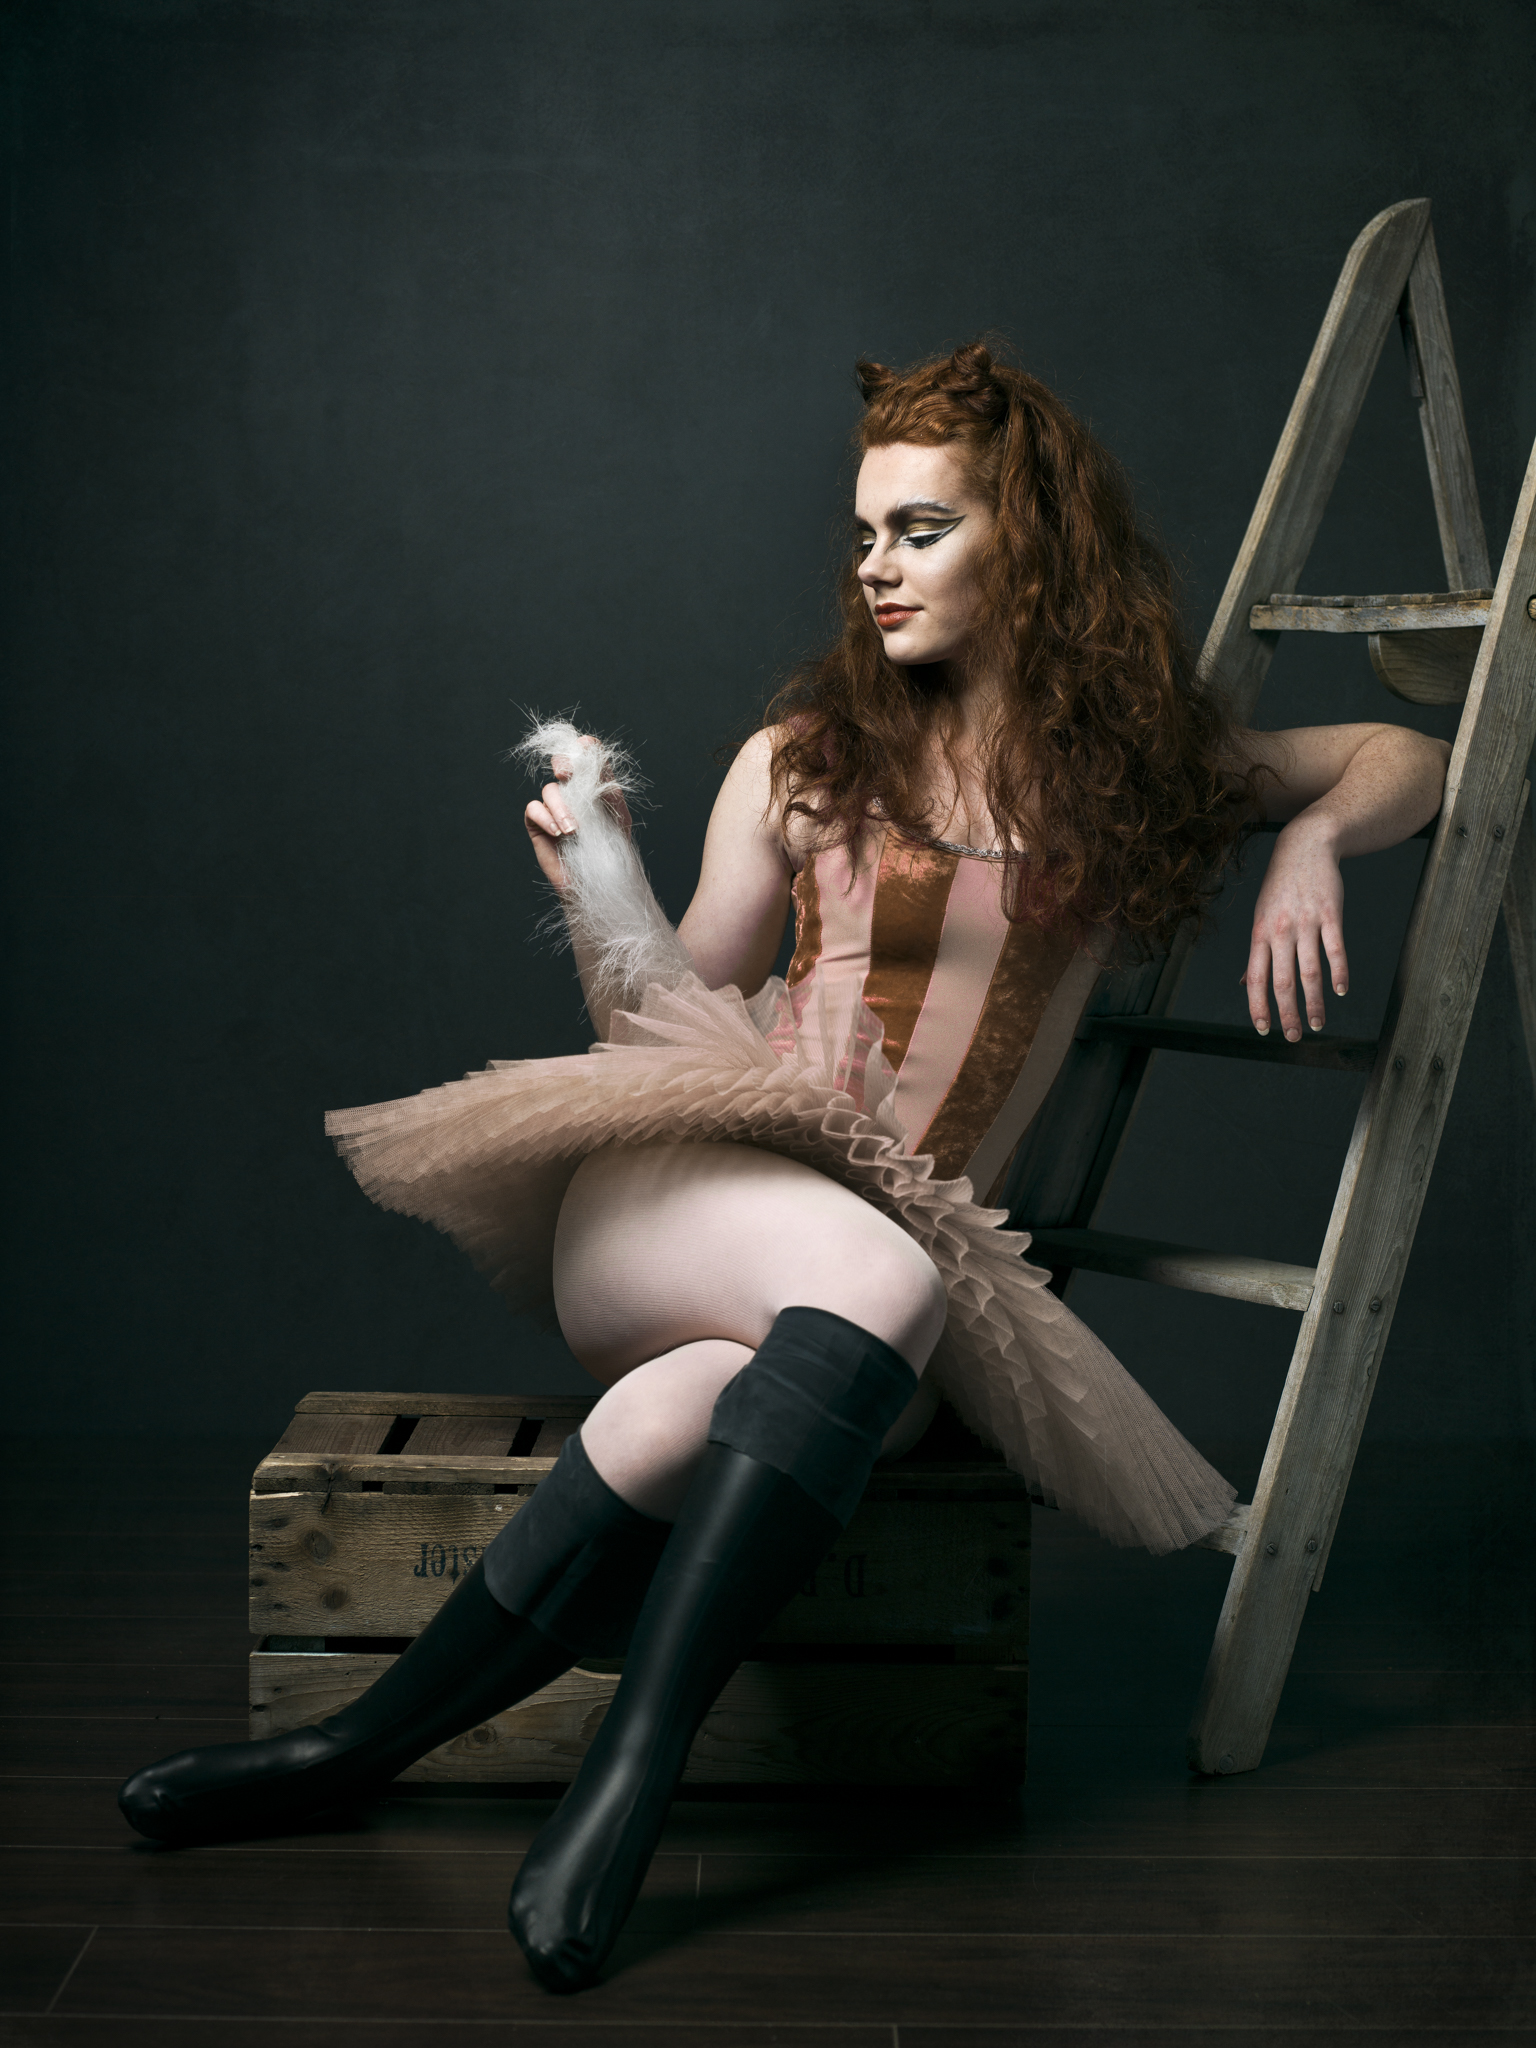
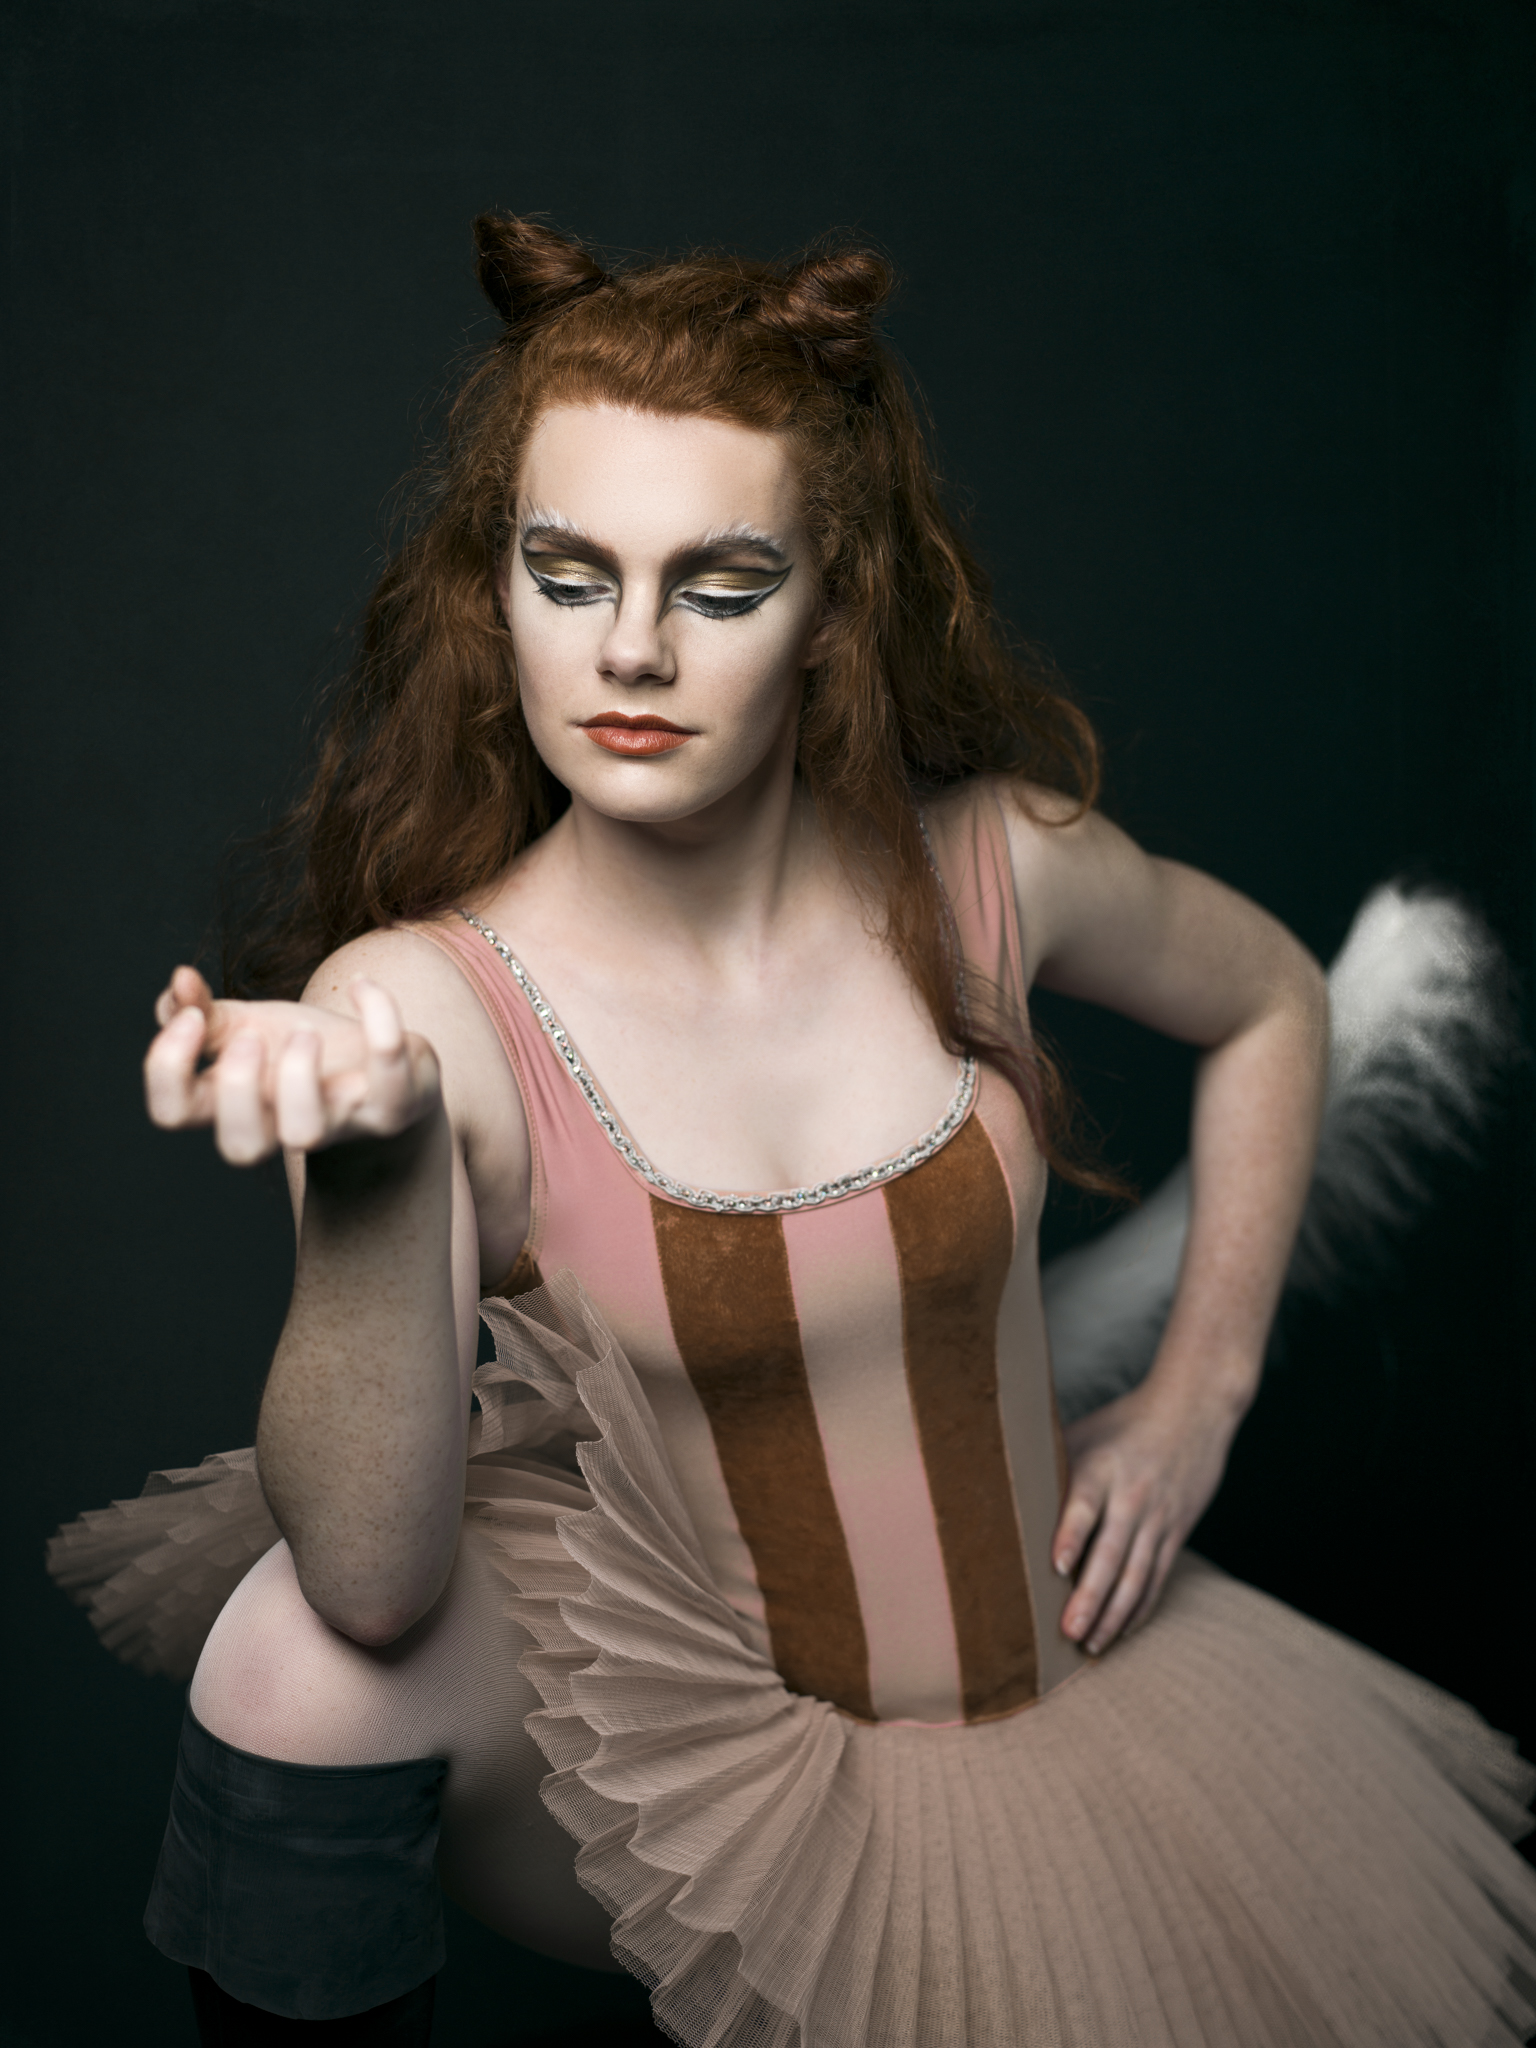
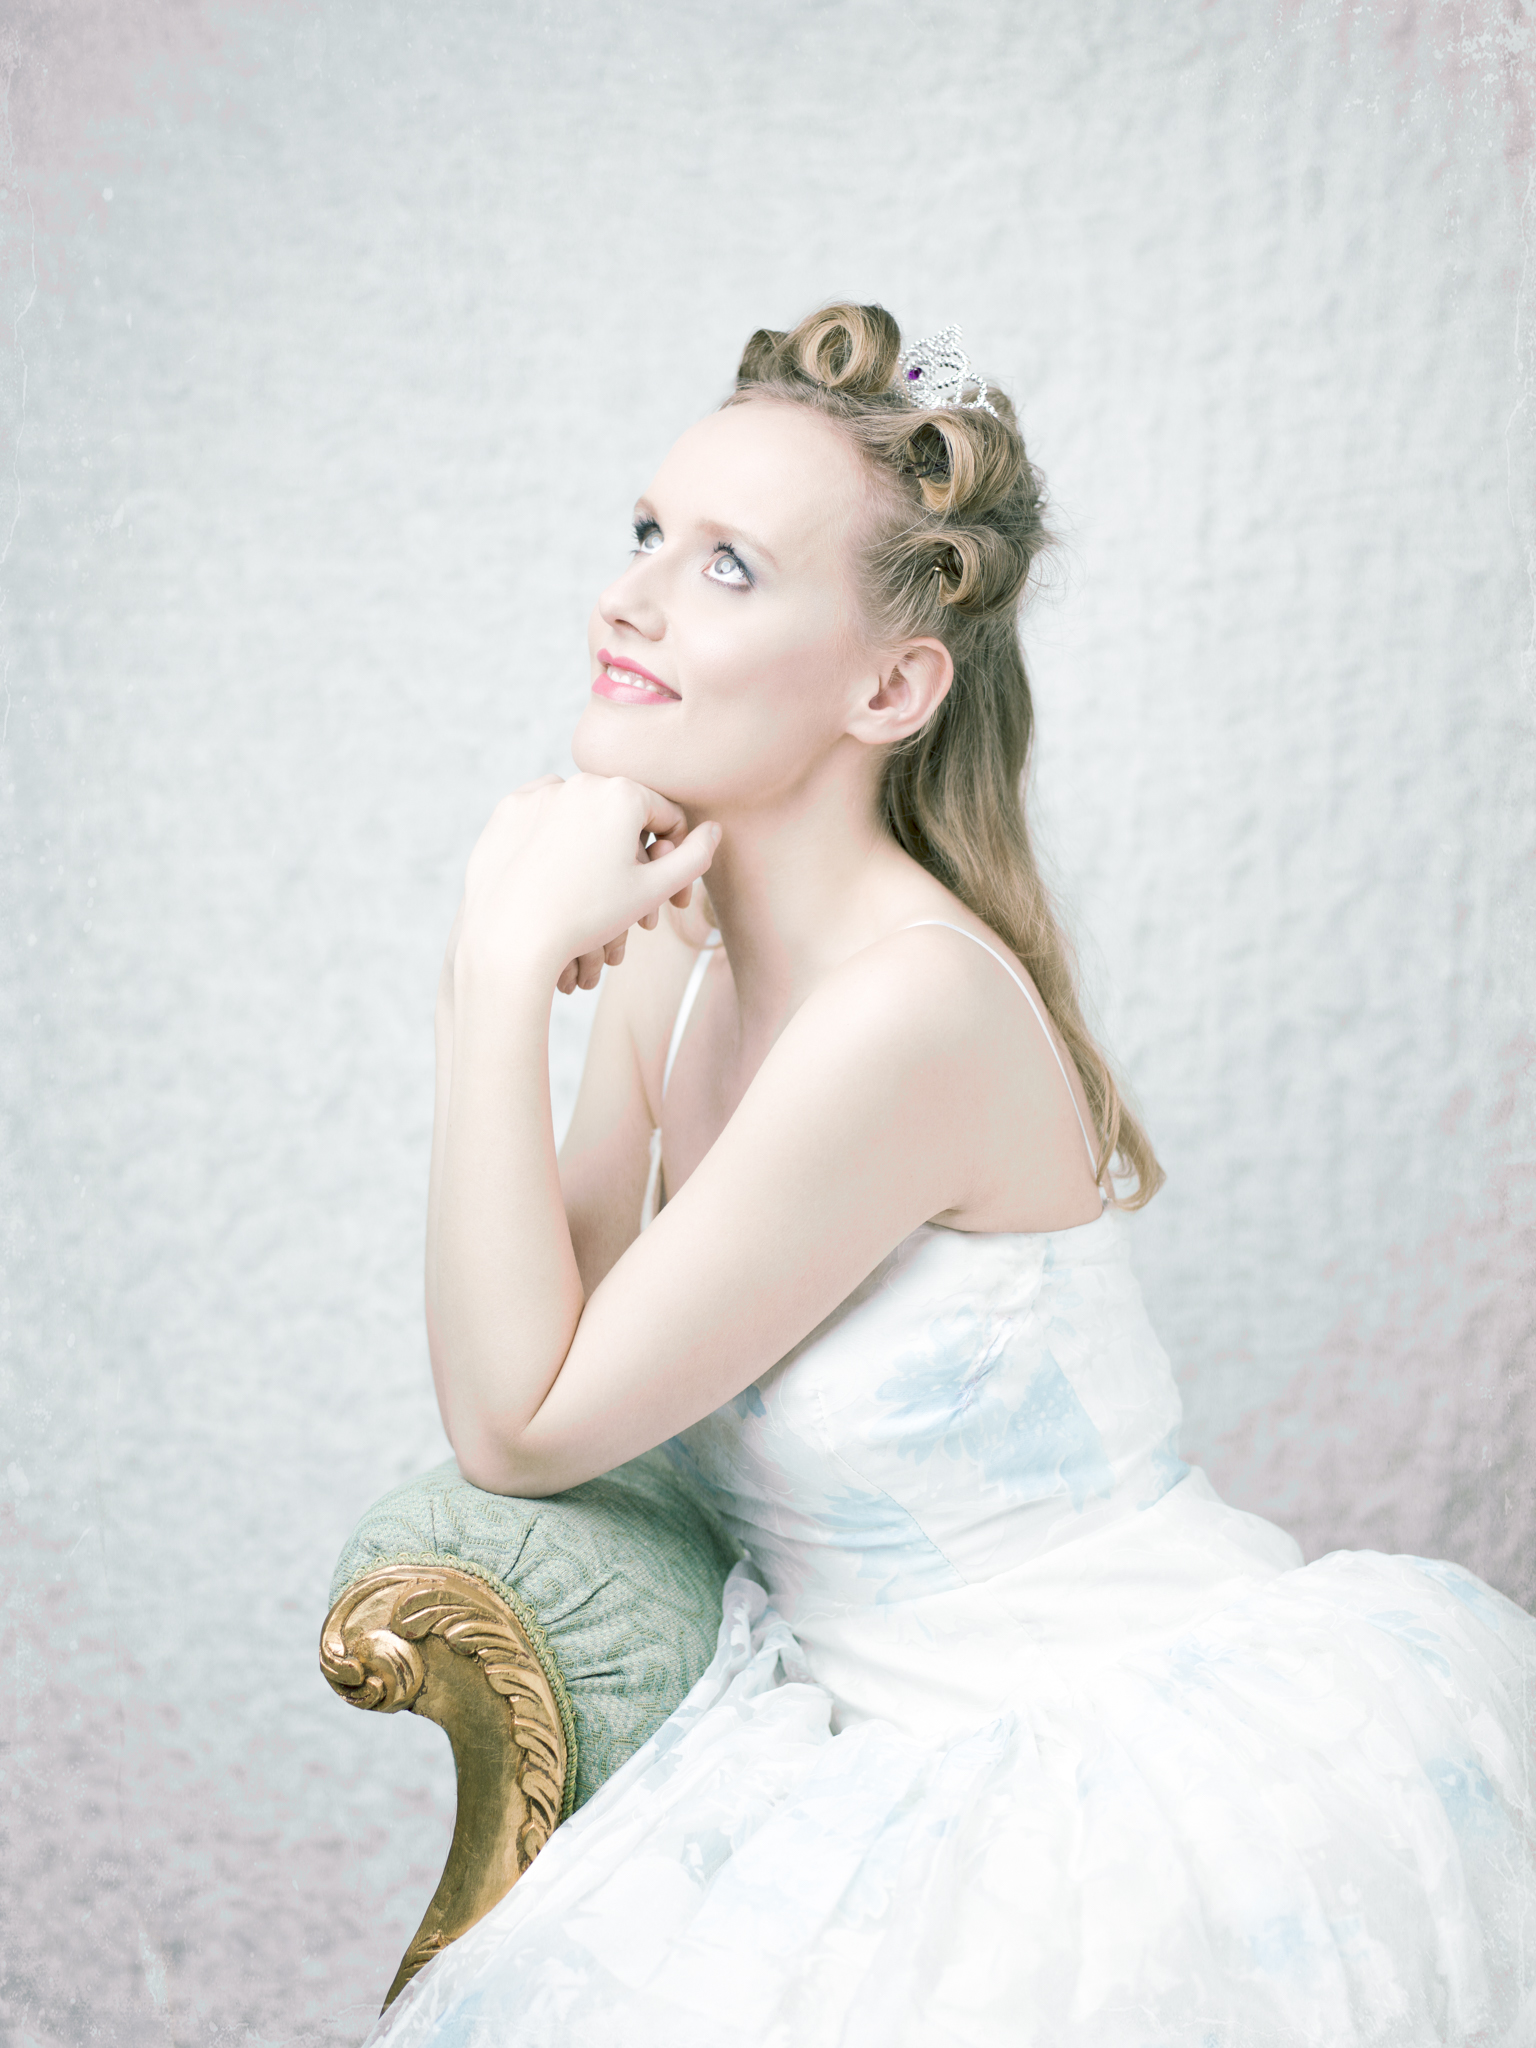
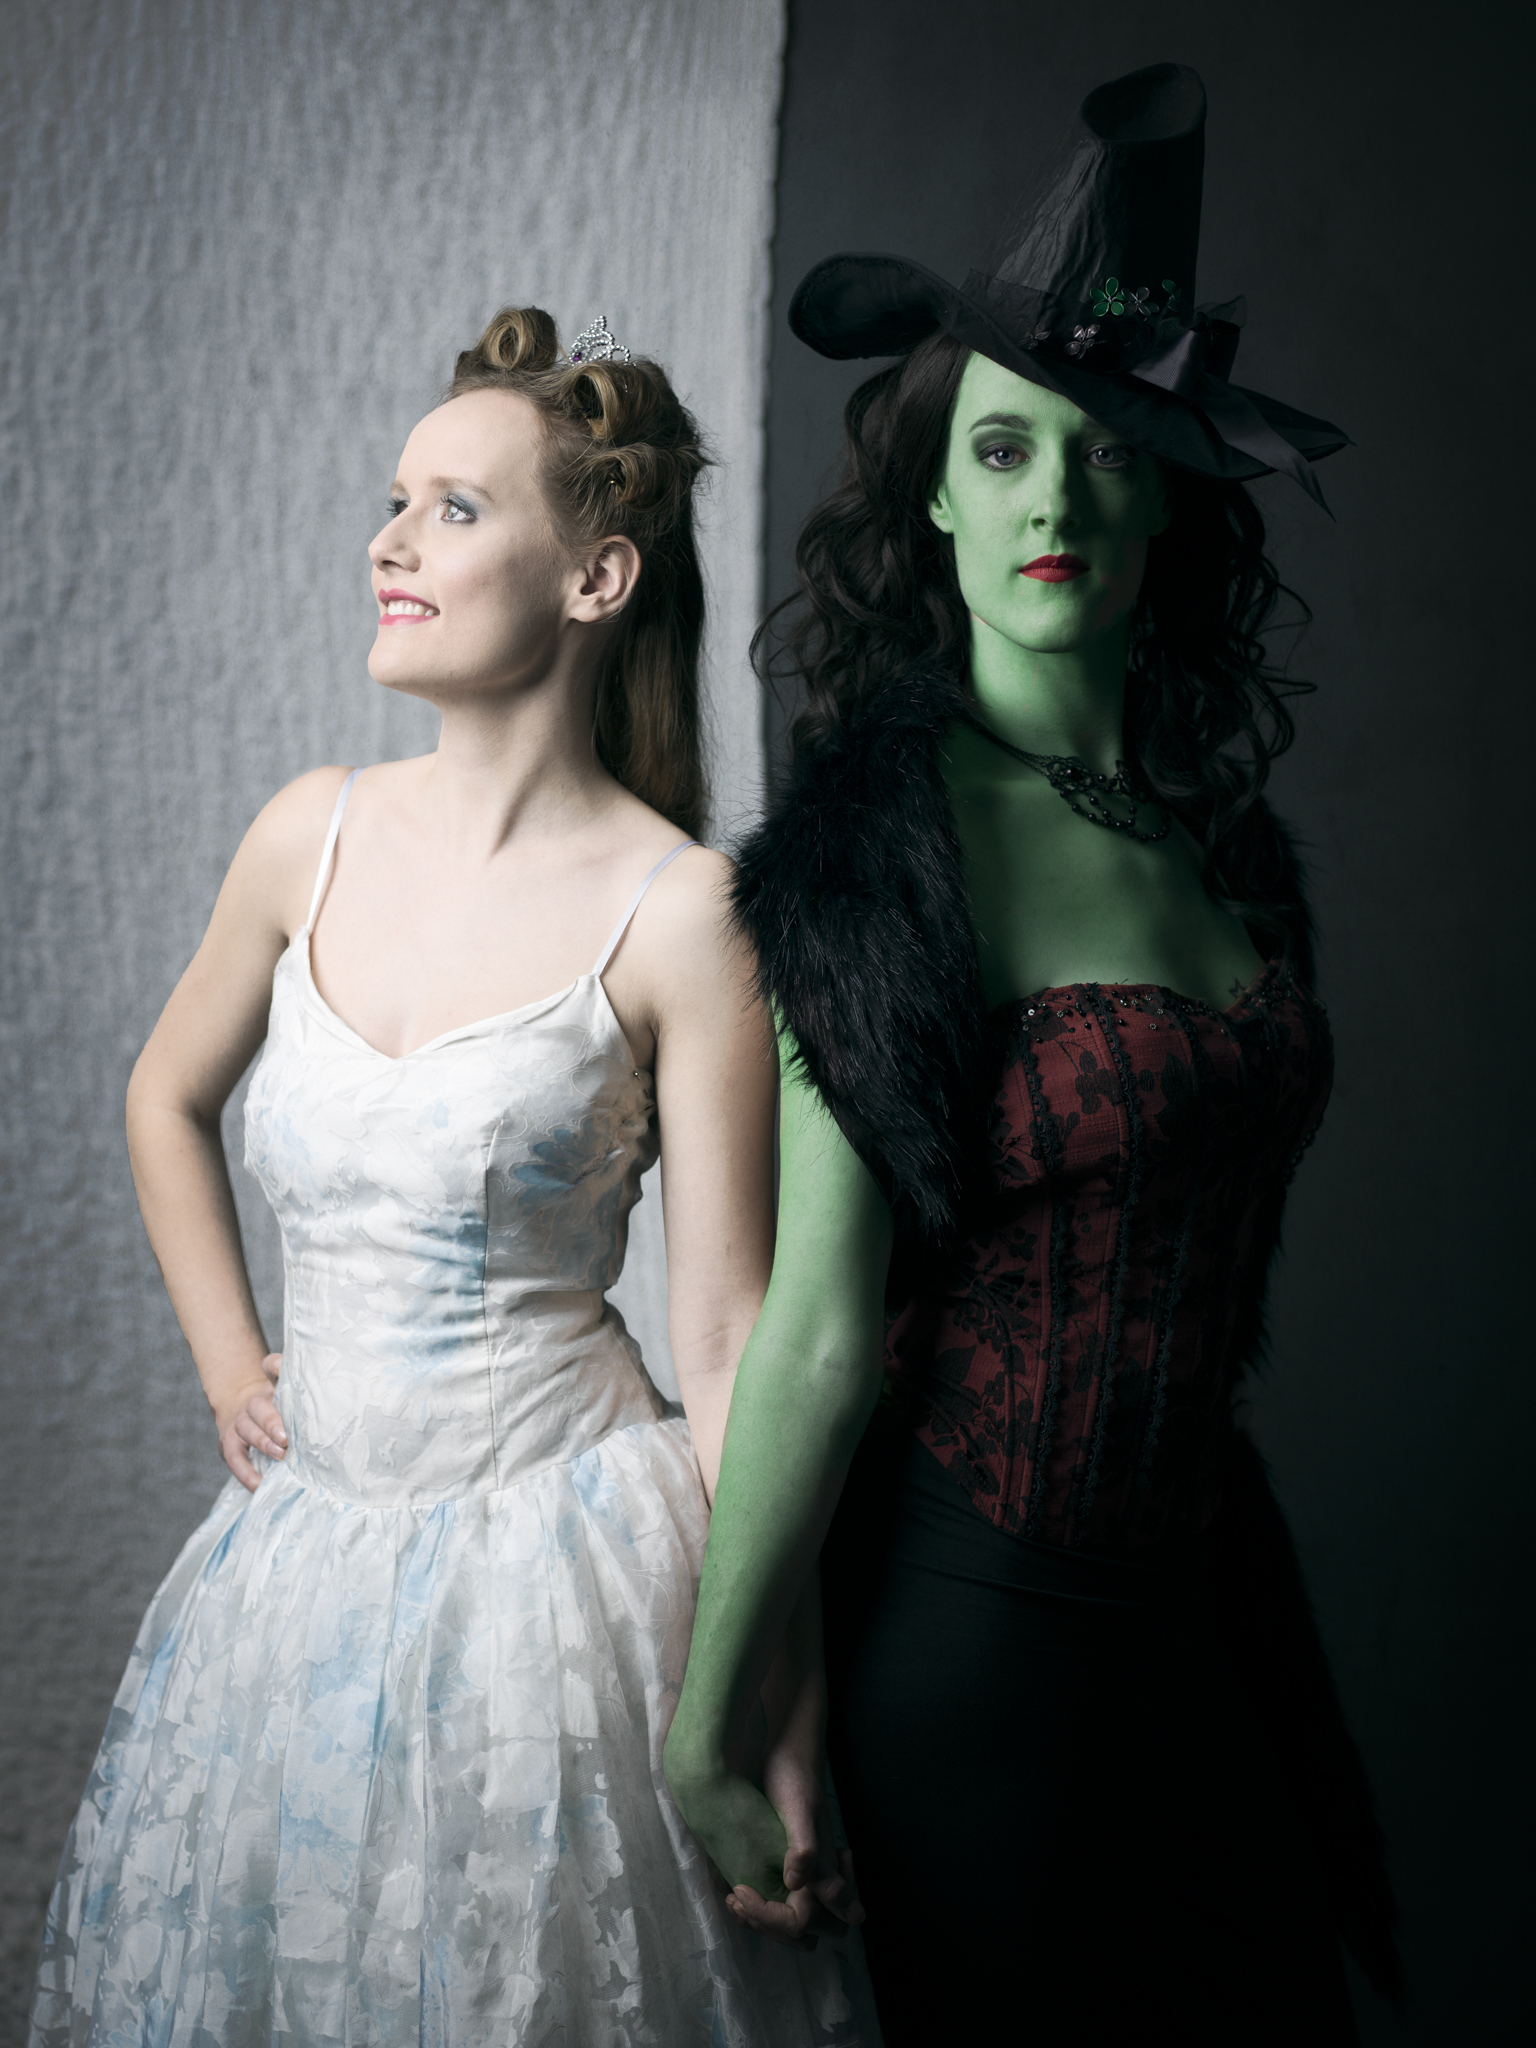
The photos from this camera are just amazing especially the color and skin tones. And you can get a lot out of the RAW-files. There is a lot of detail and dynamic range to play with. Straight out of camera the pictures all-ready looked “Finished”. Of course you have to do a little bit of styling to get it to your own style and taste. But you get the point…
Also in post with retouching the 40 megapixels files where a blessing. There was so much information and detail you could retouch with great precision. But maybe this is also a con, because you really see all the mistakes and flaws also.
But where for me the big files really started to shine were on print. I made some A3 an A2 test prints and they already looked nicer then the 35mm shots. It is that thing that when you look at a photo and think what is that thing what makes this photo just that bit more special.
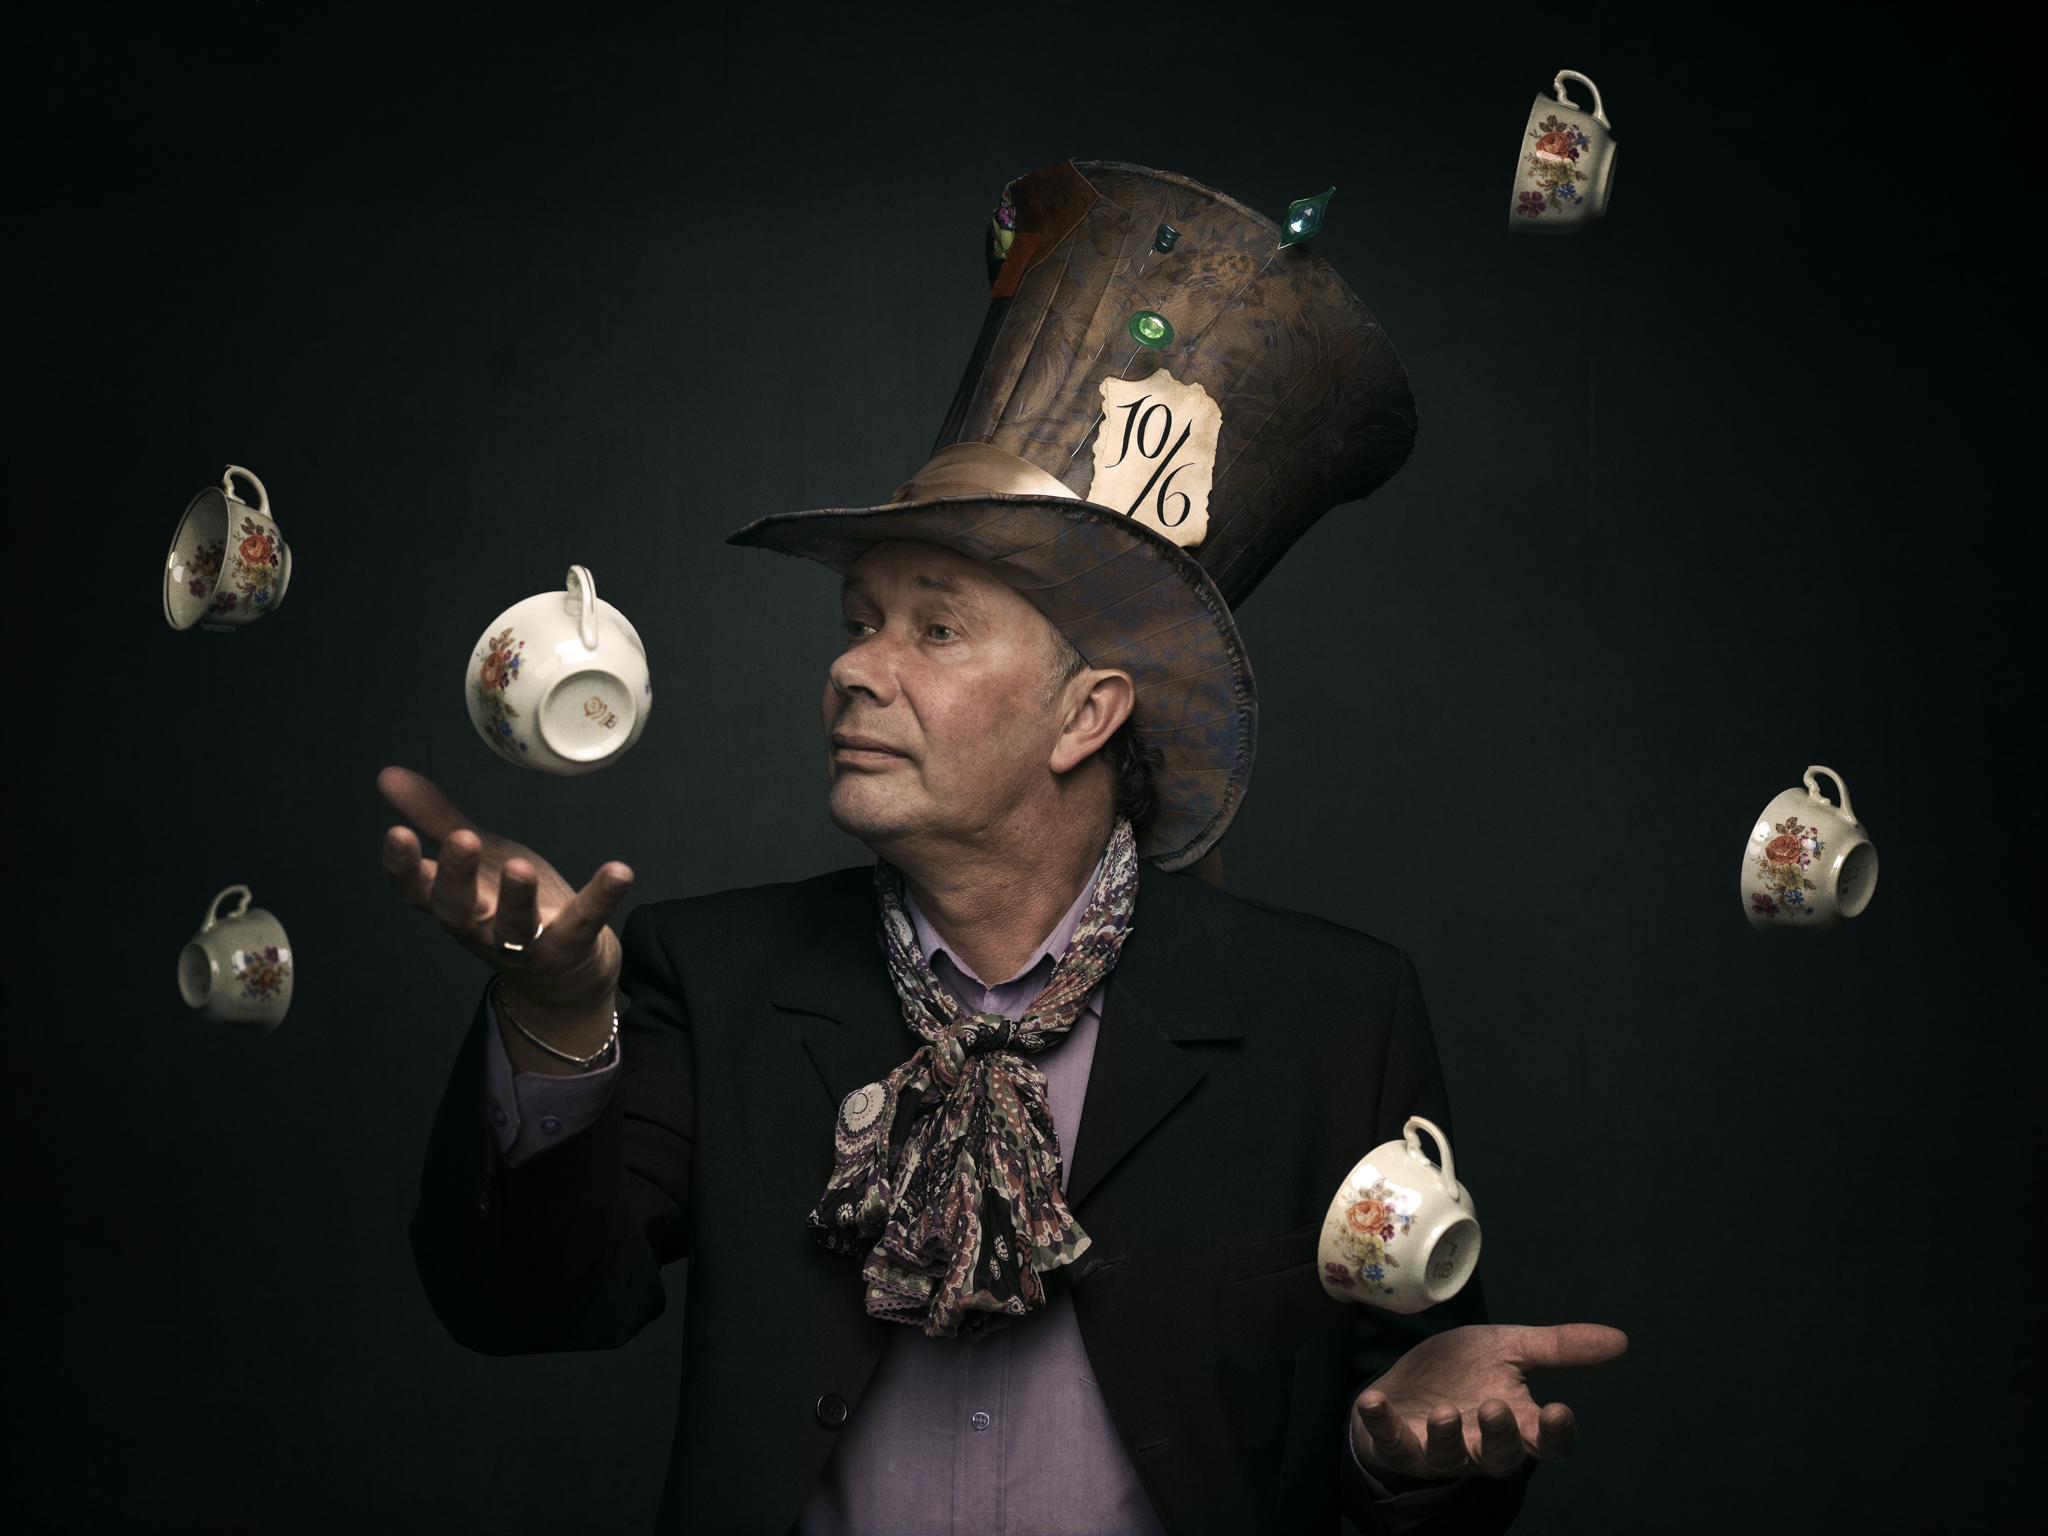
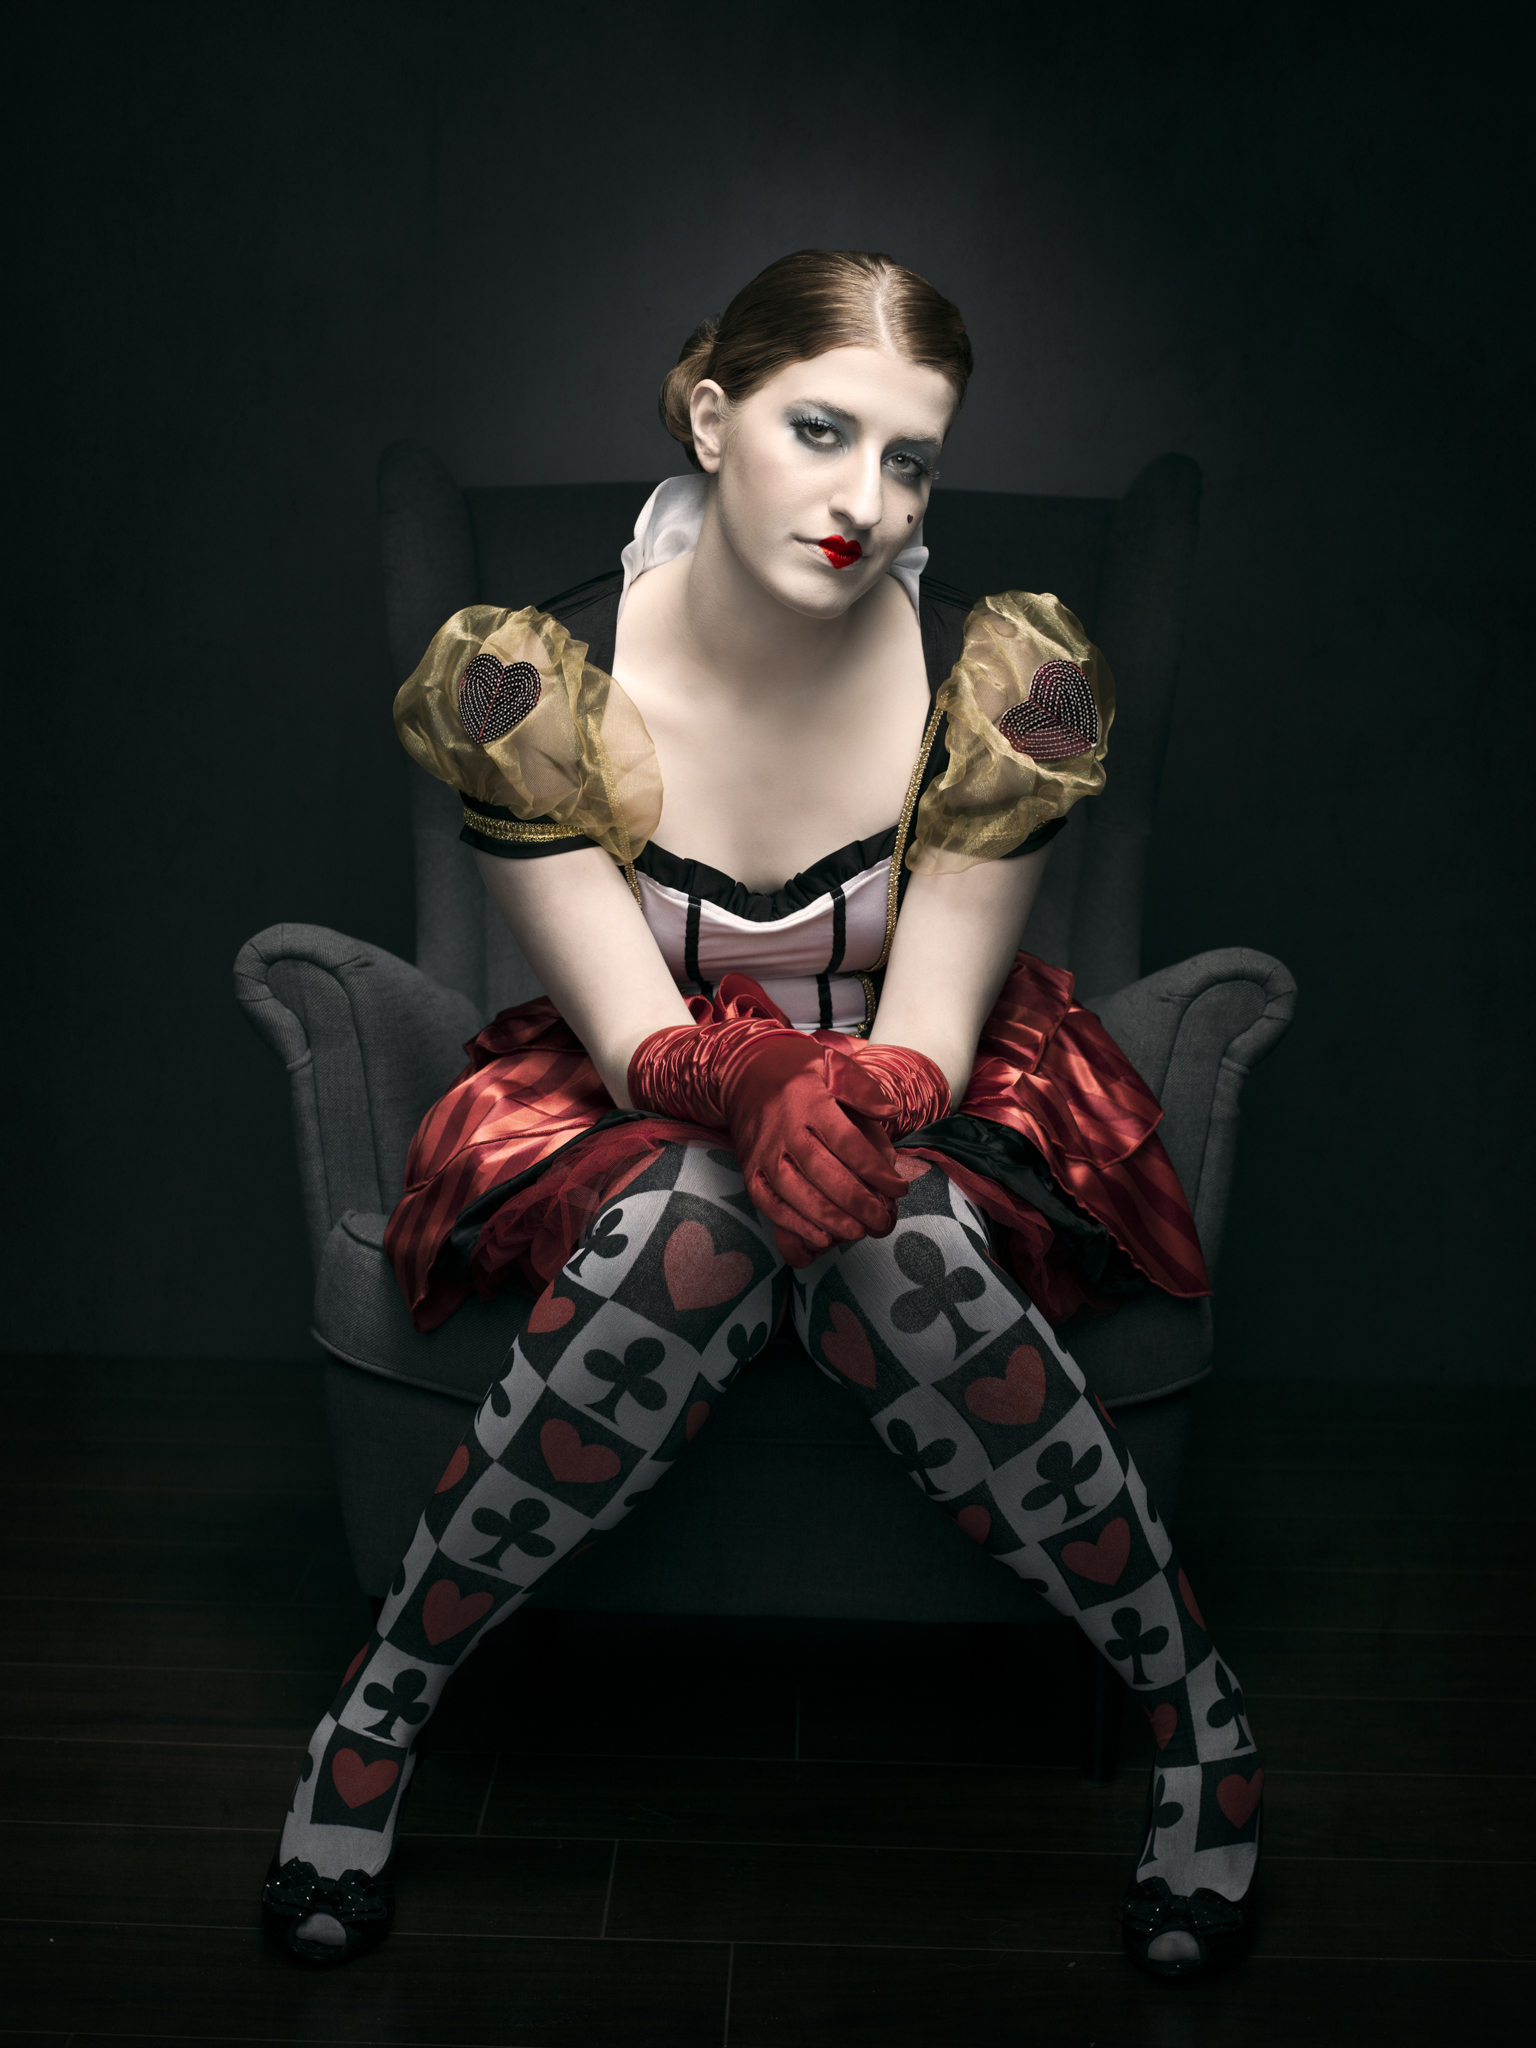
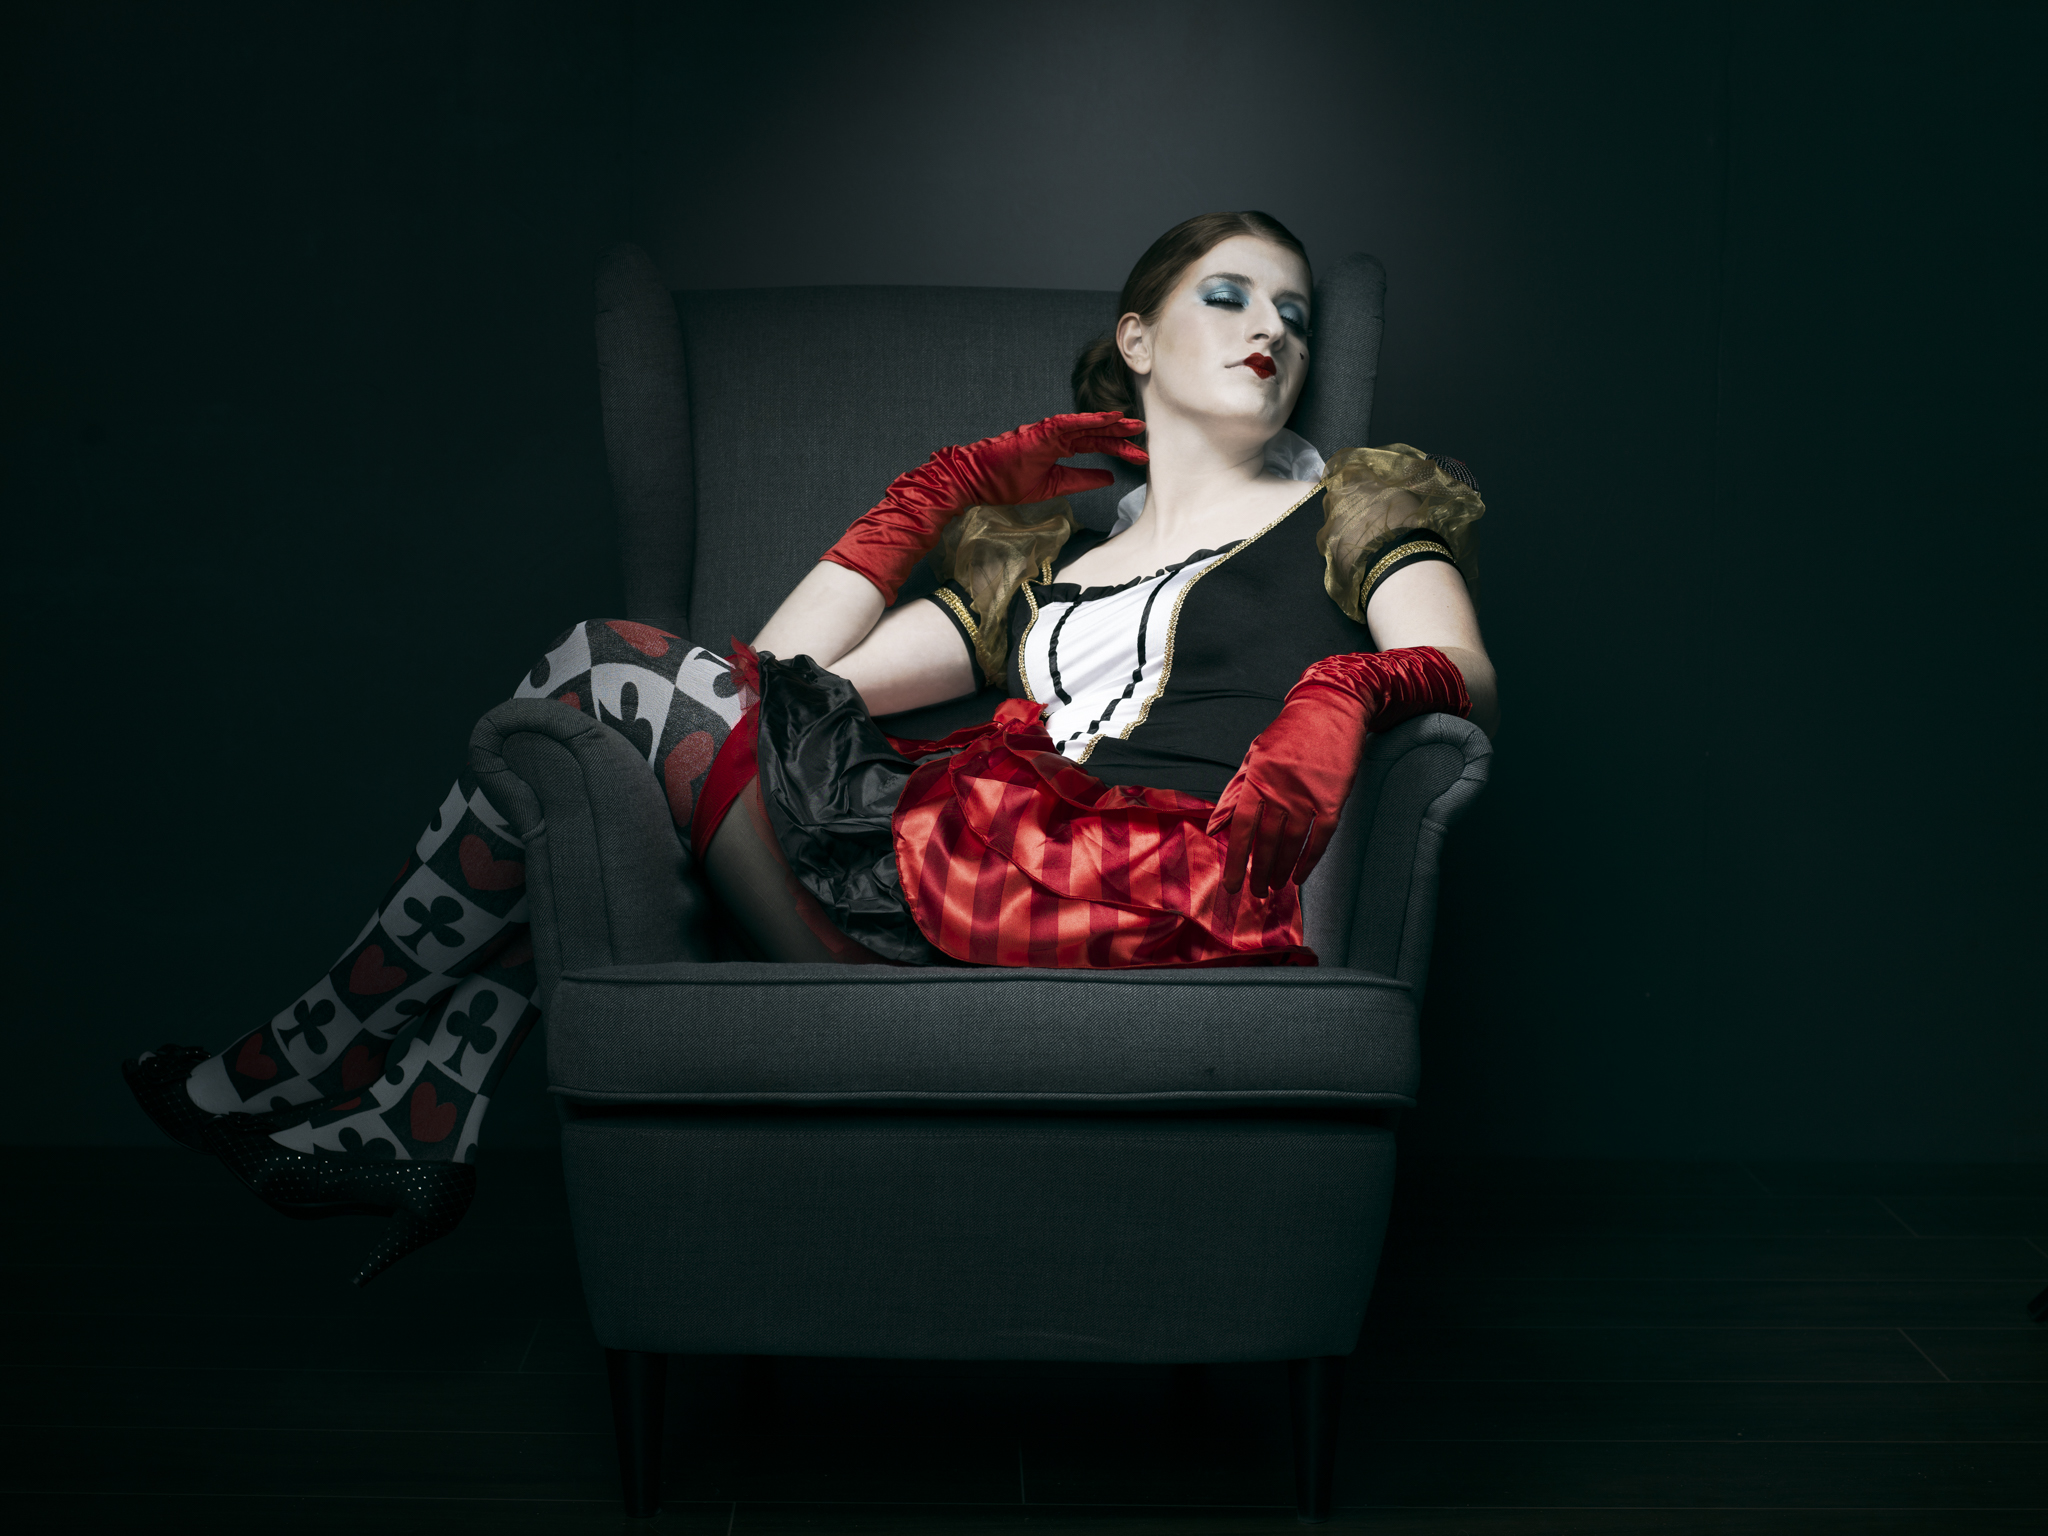
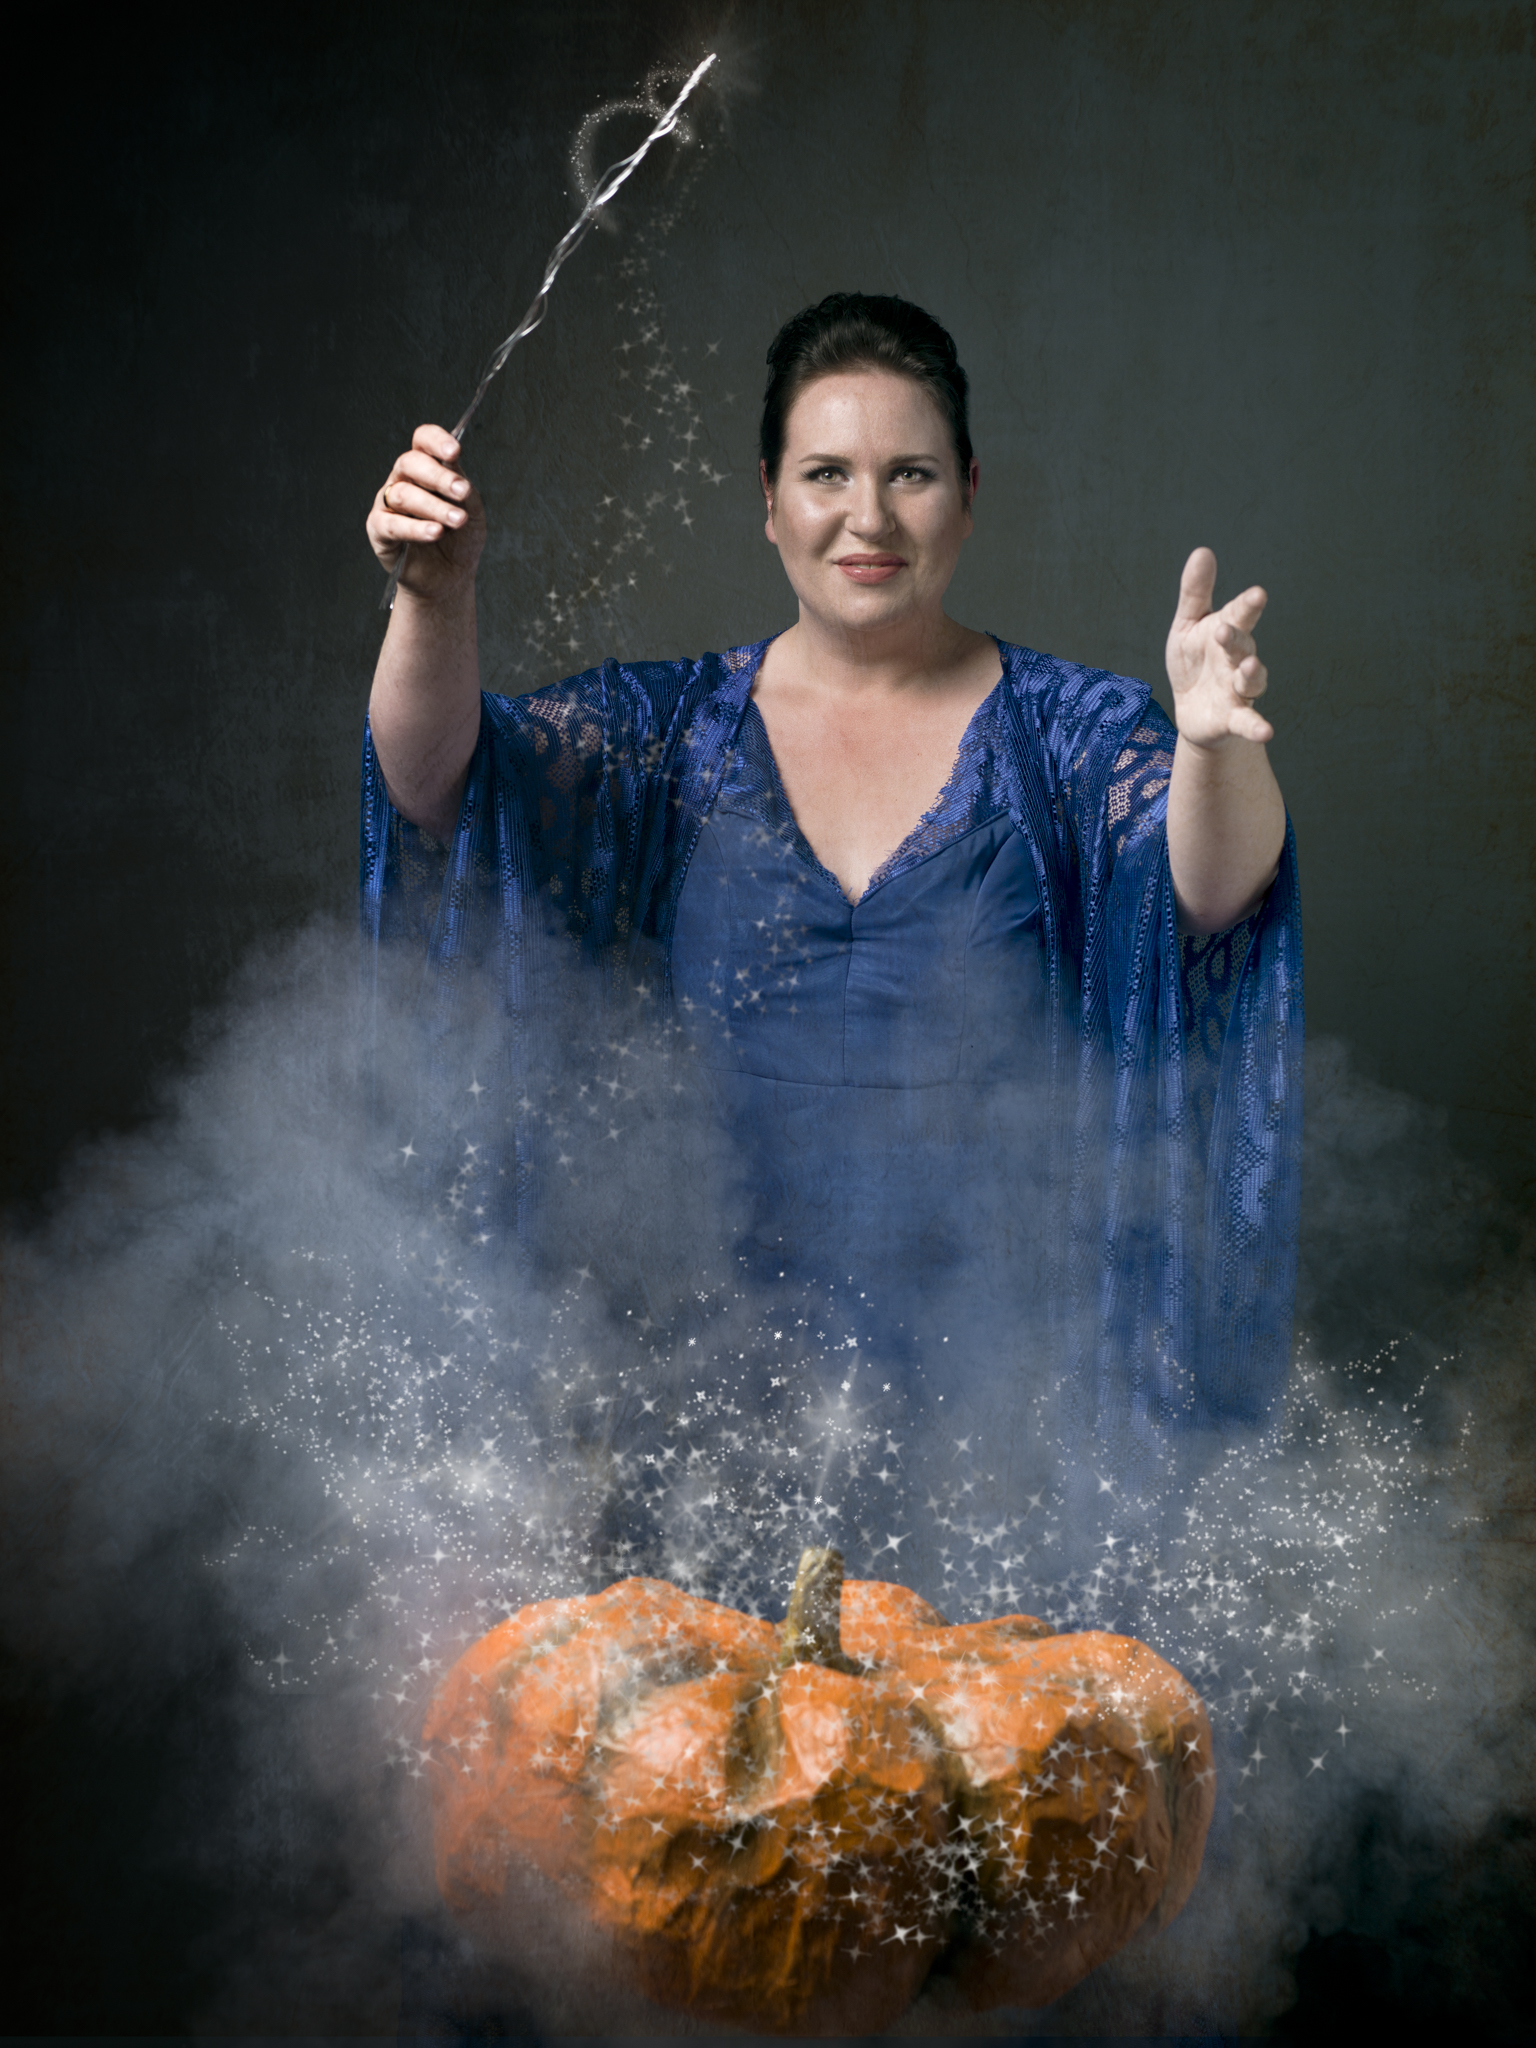
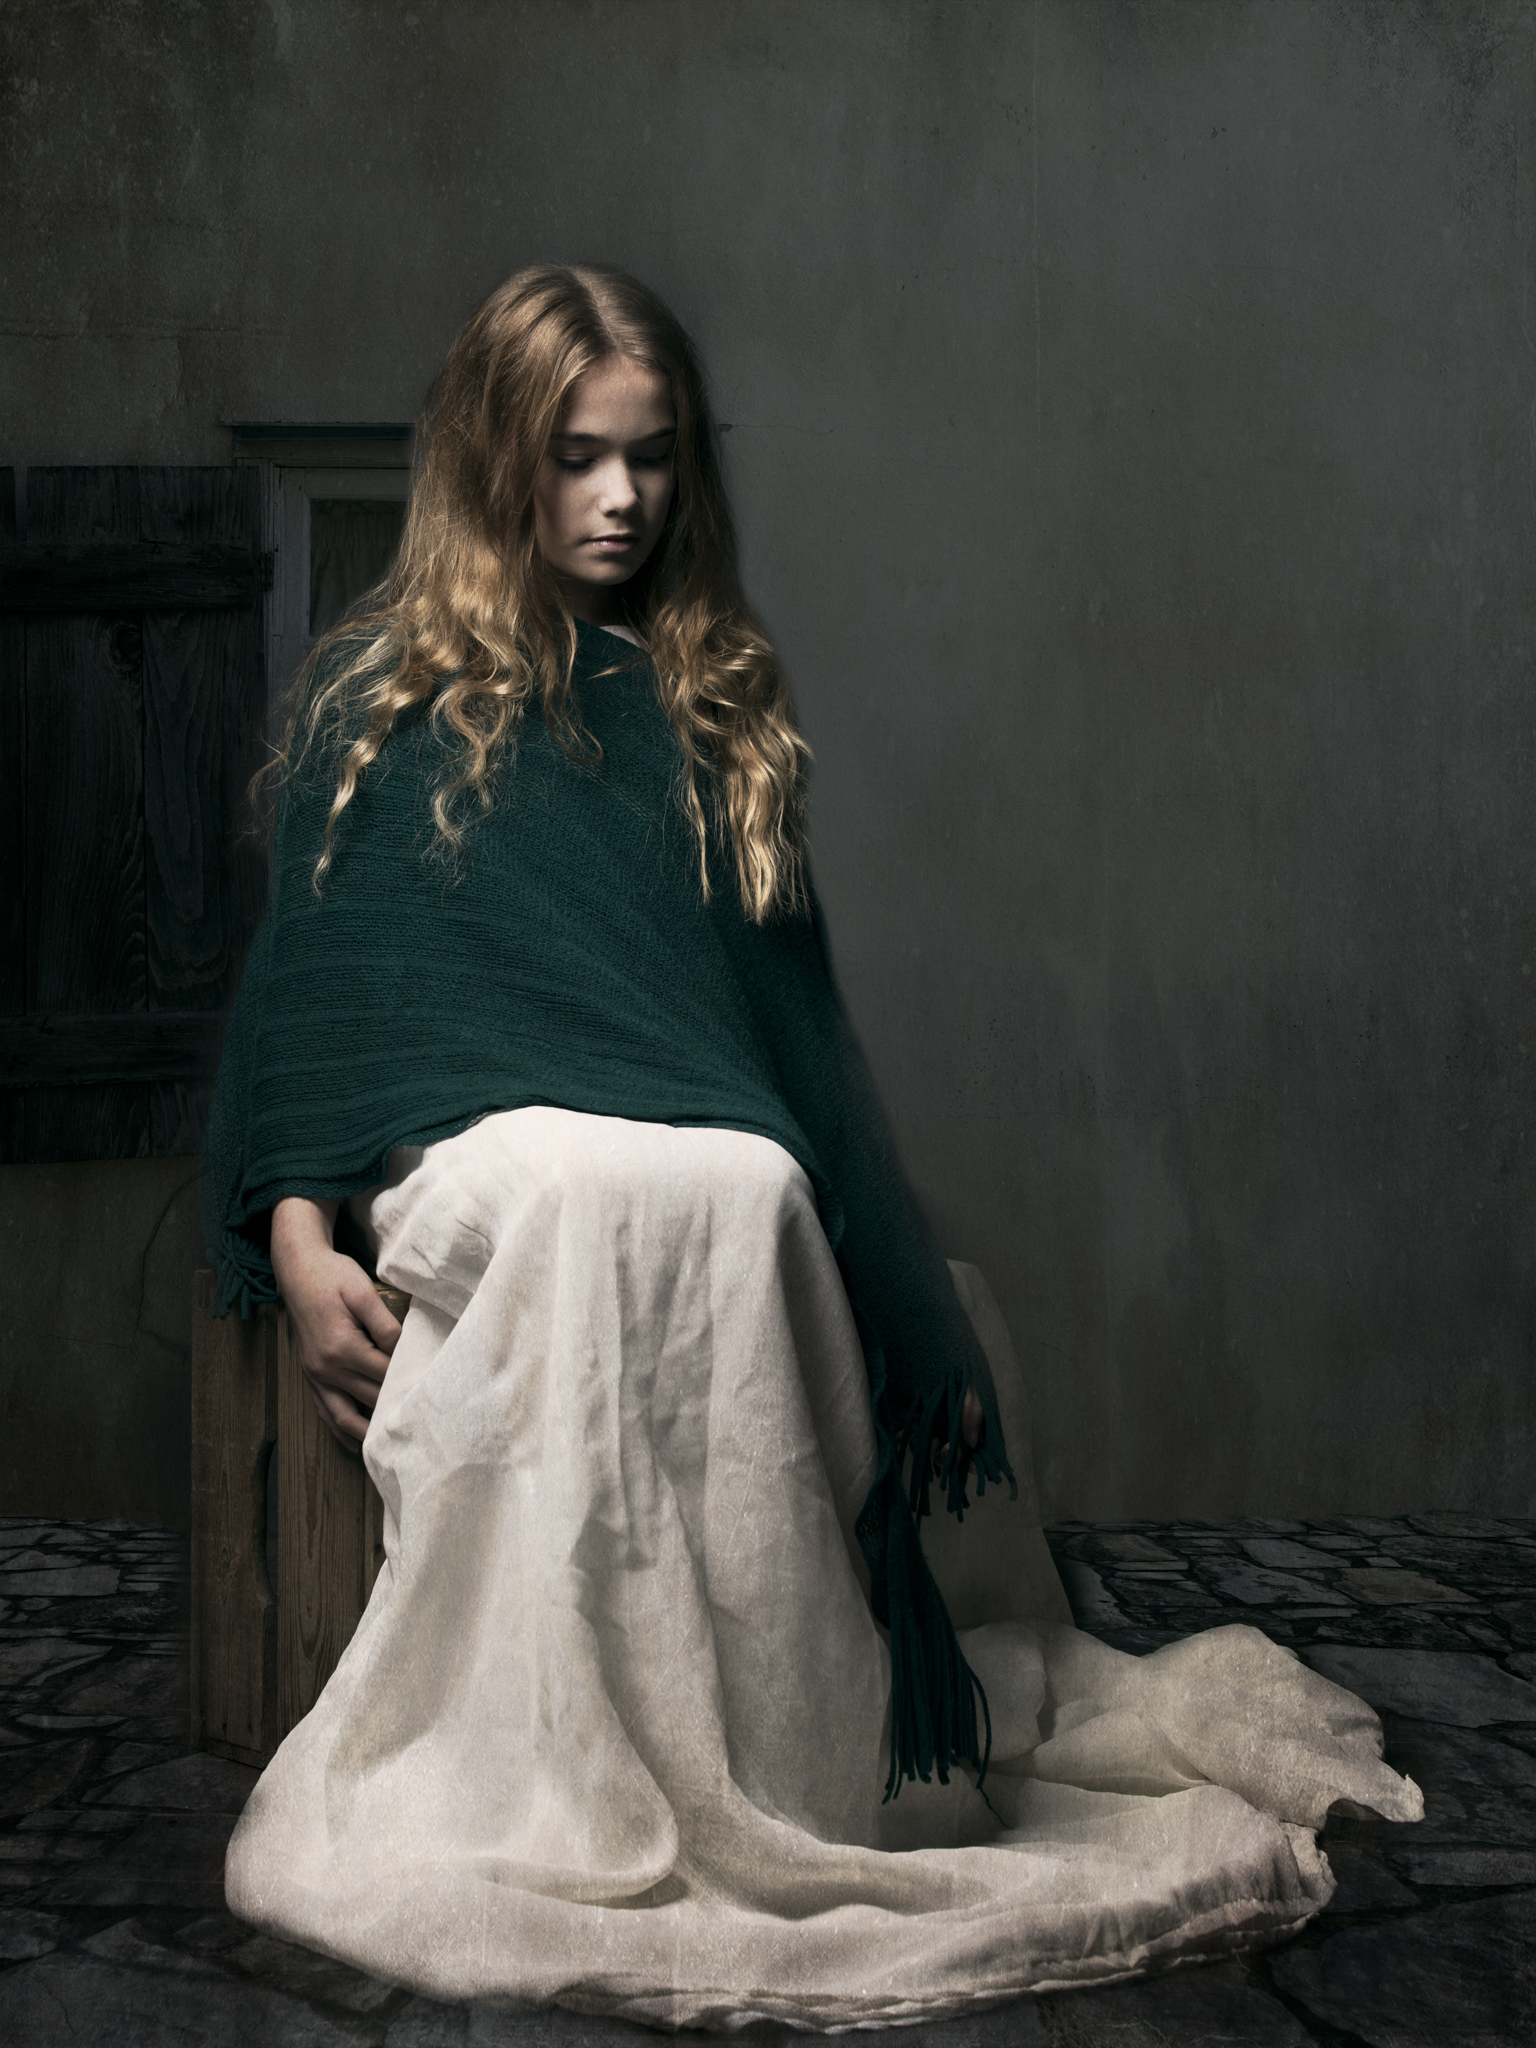
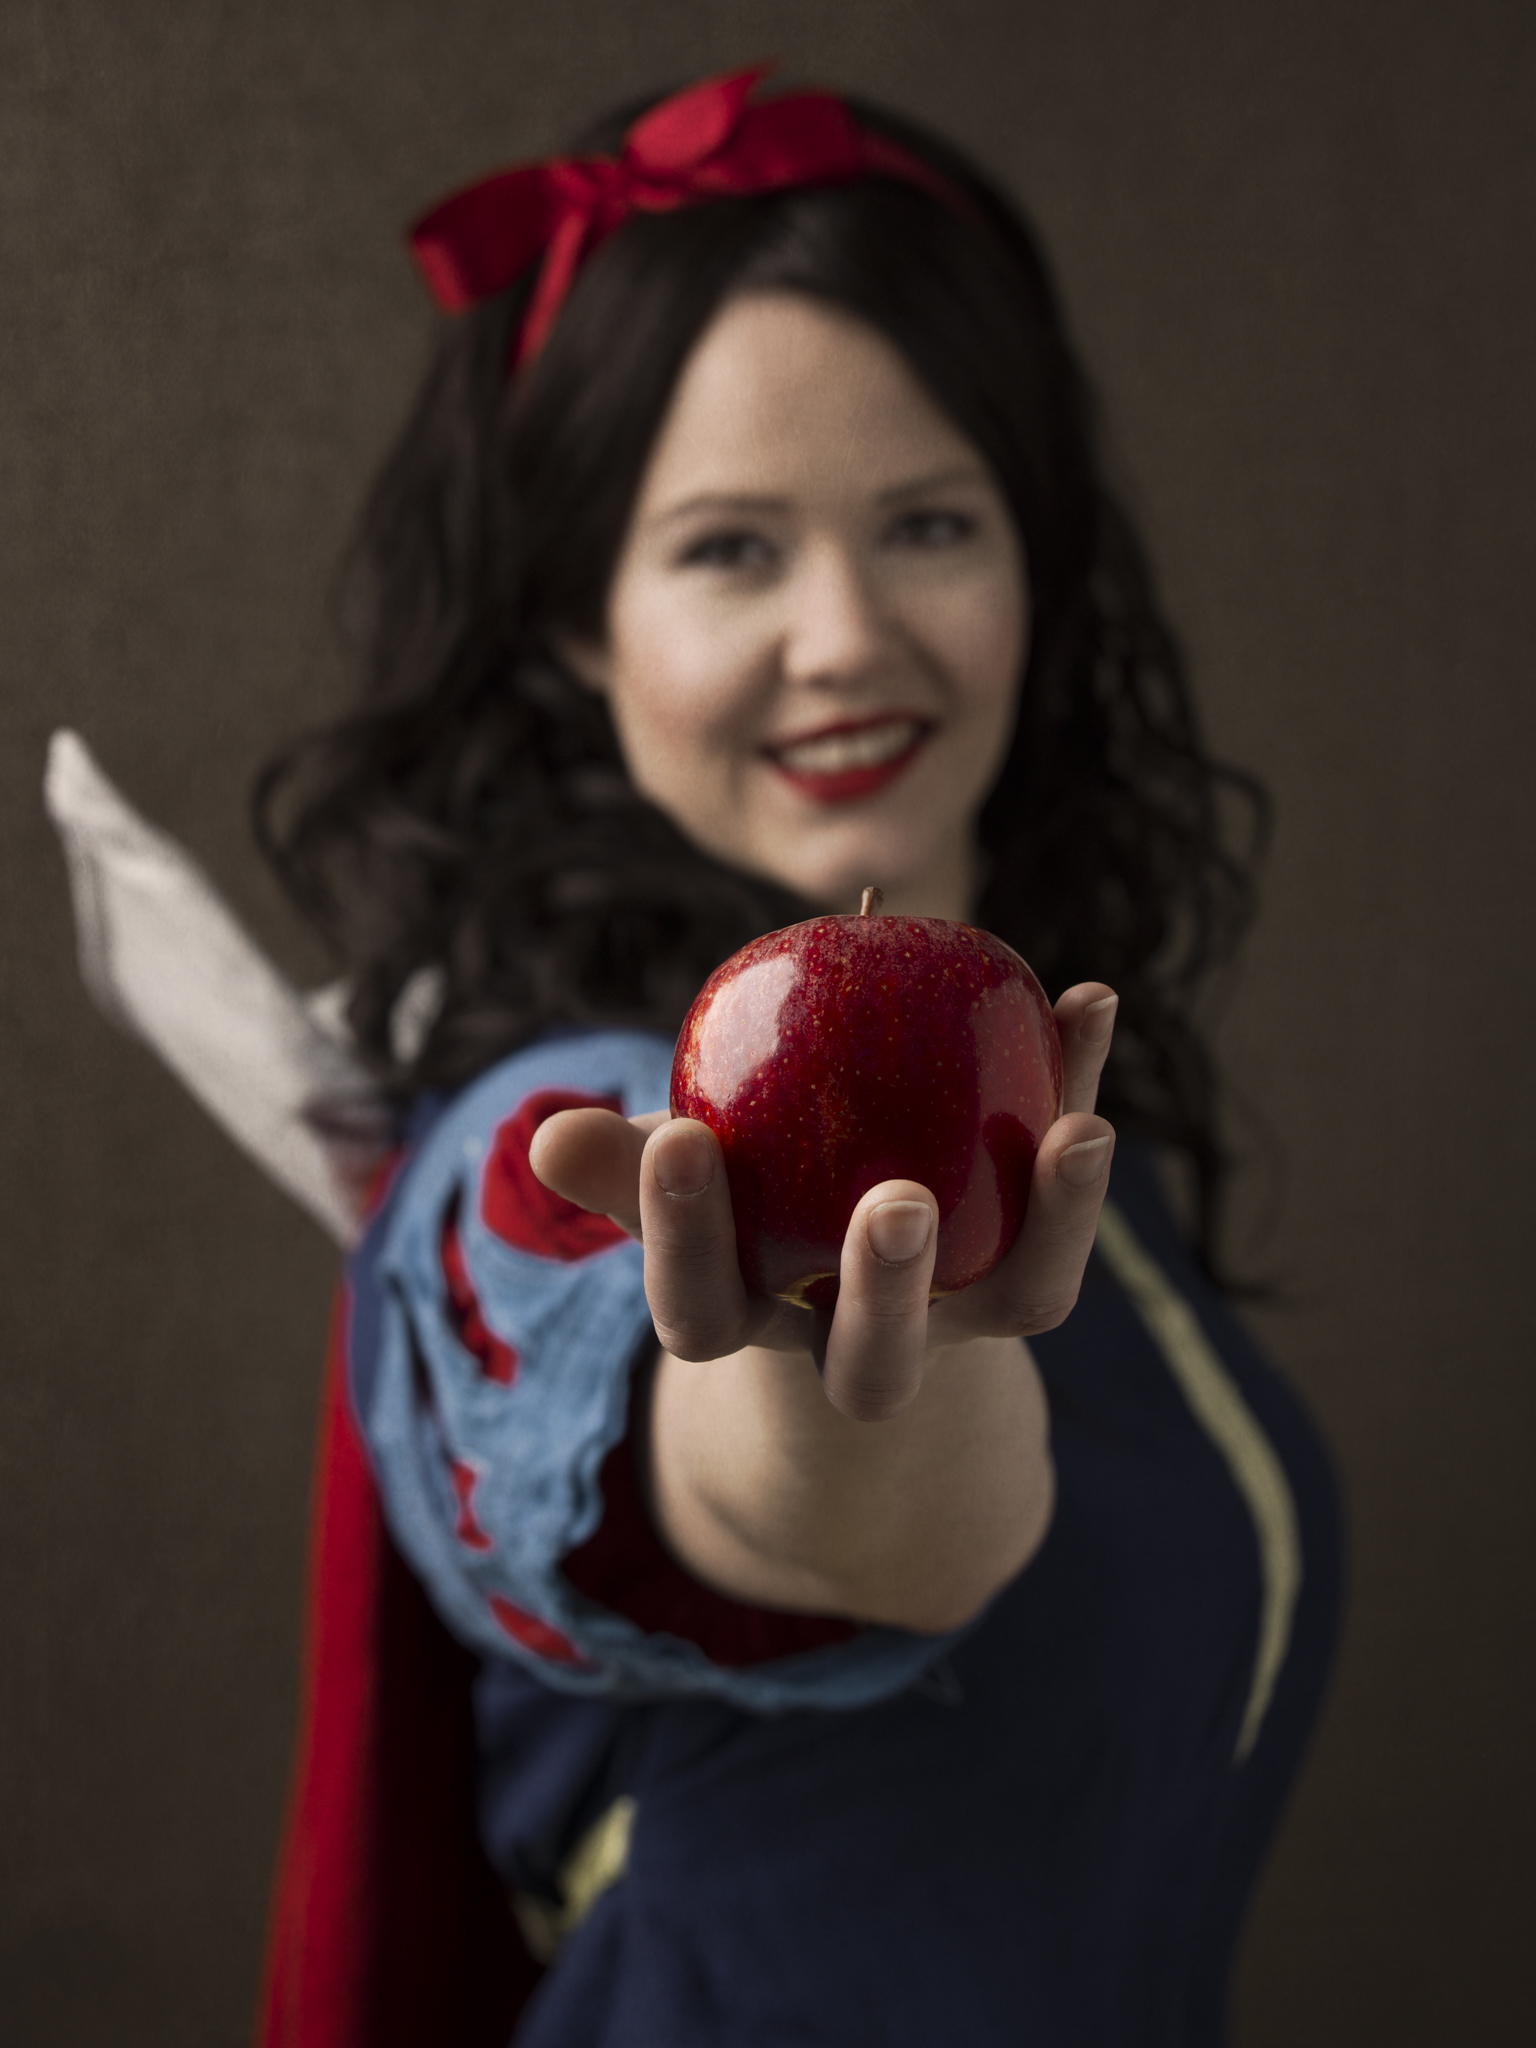
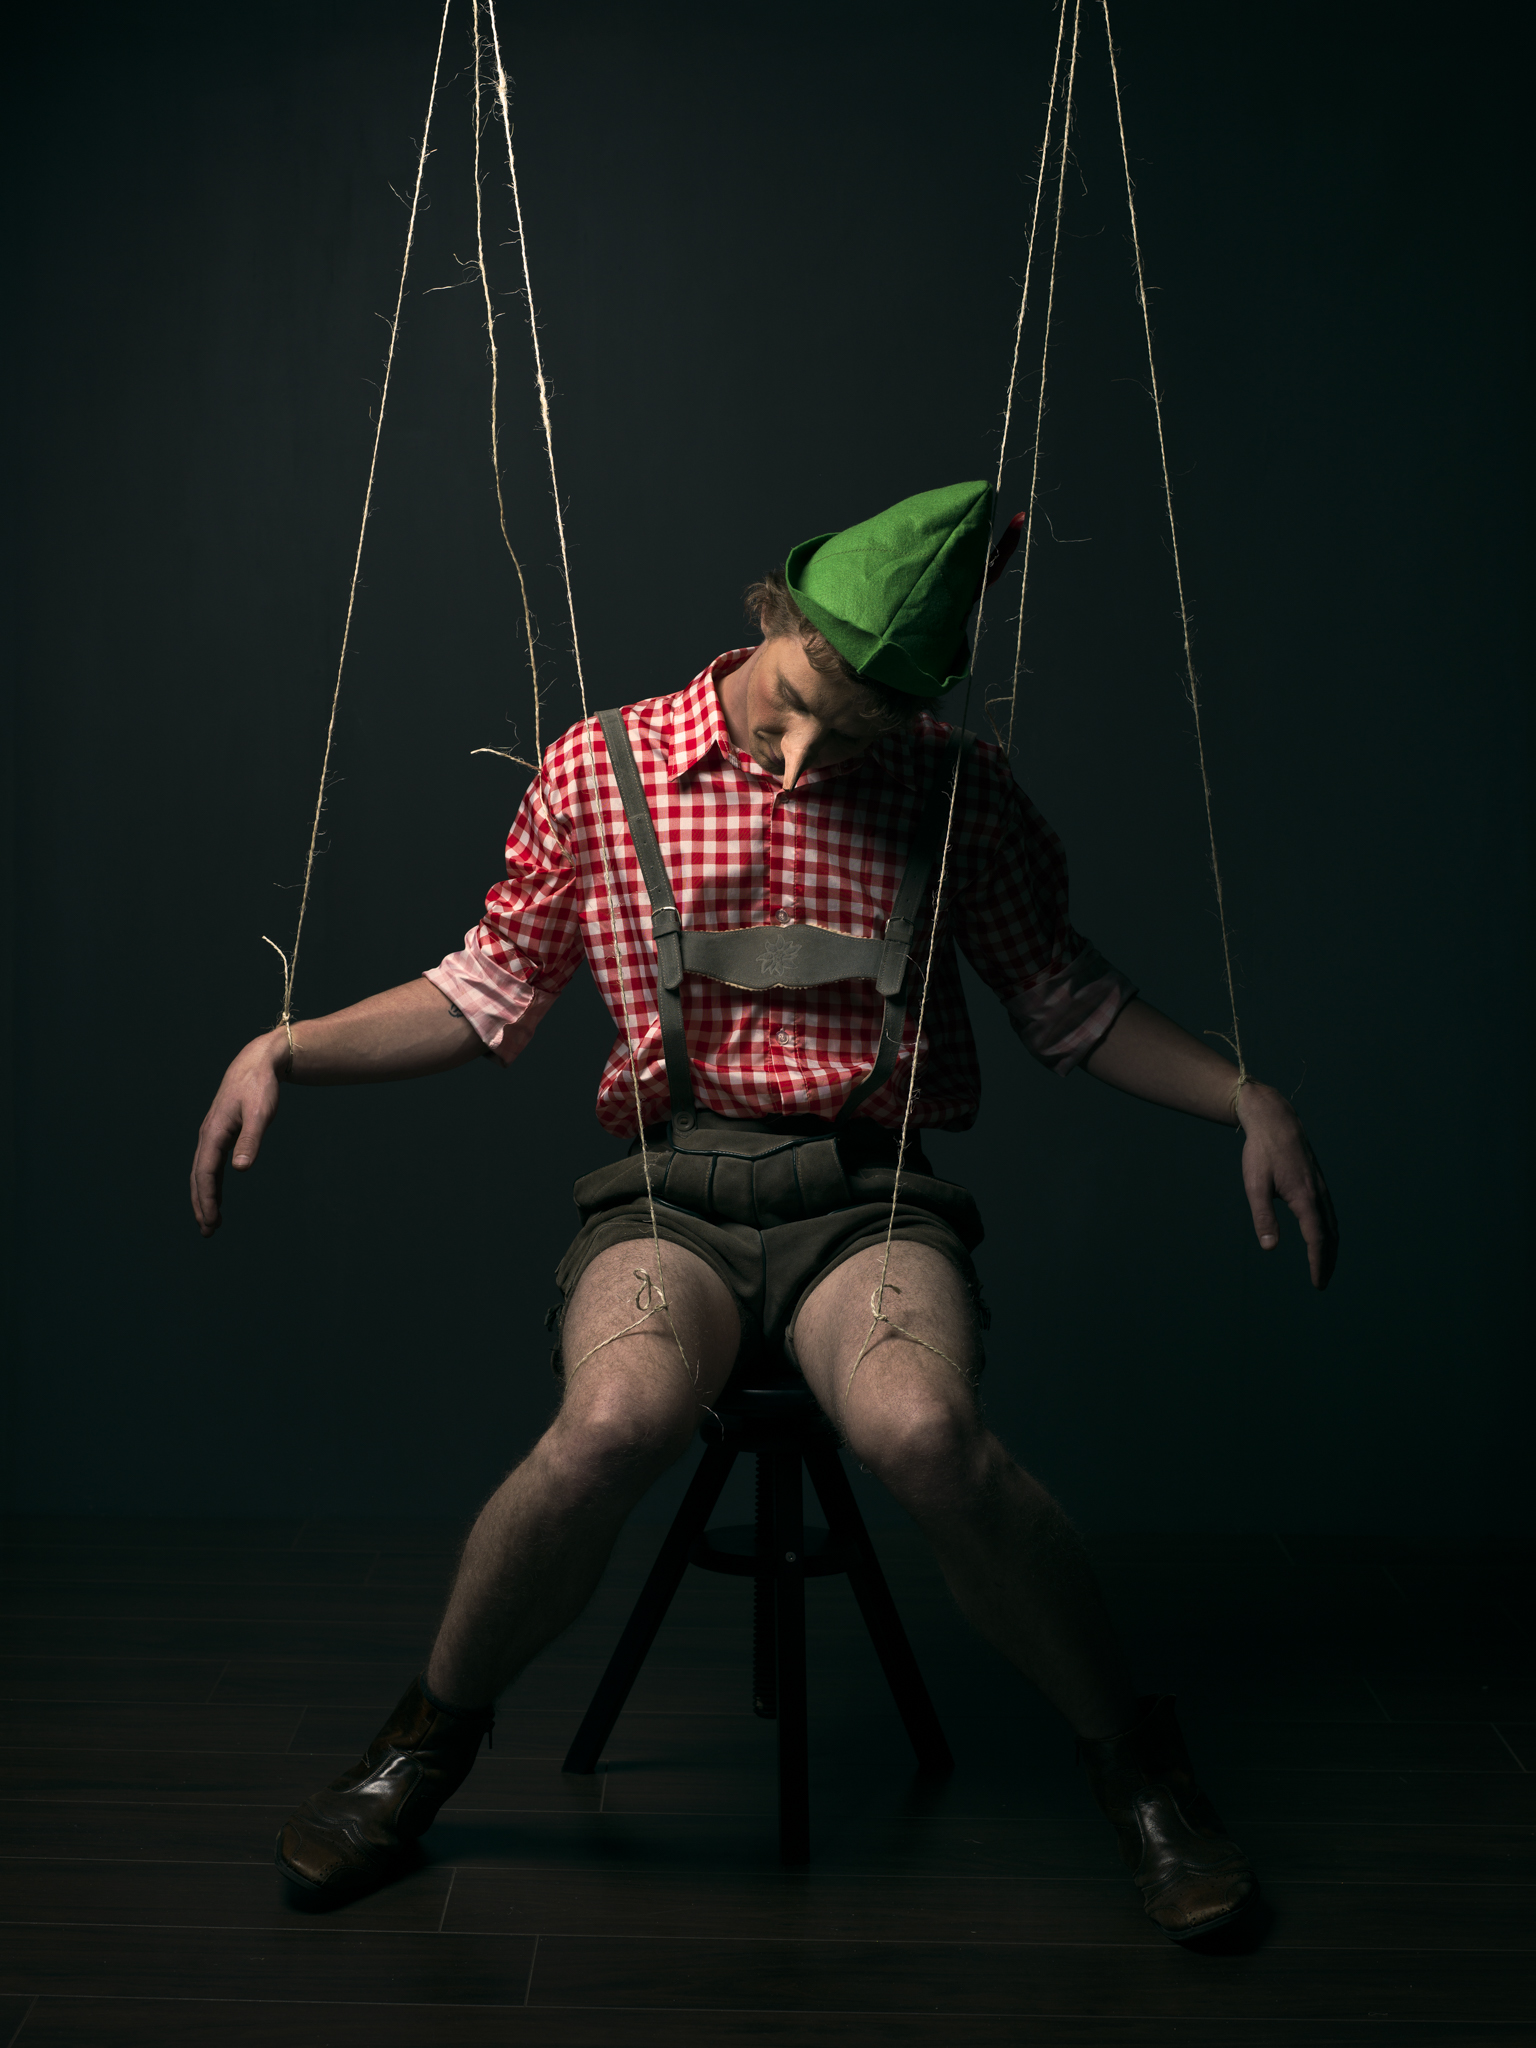
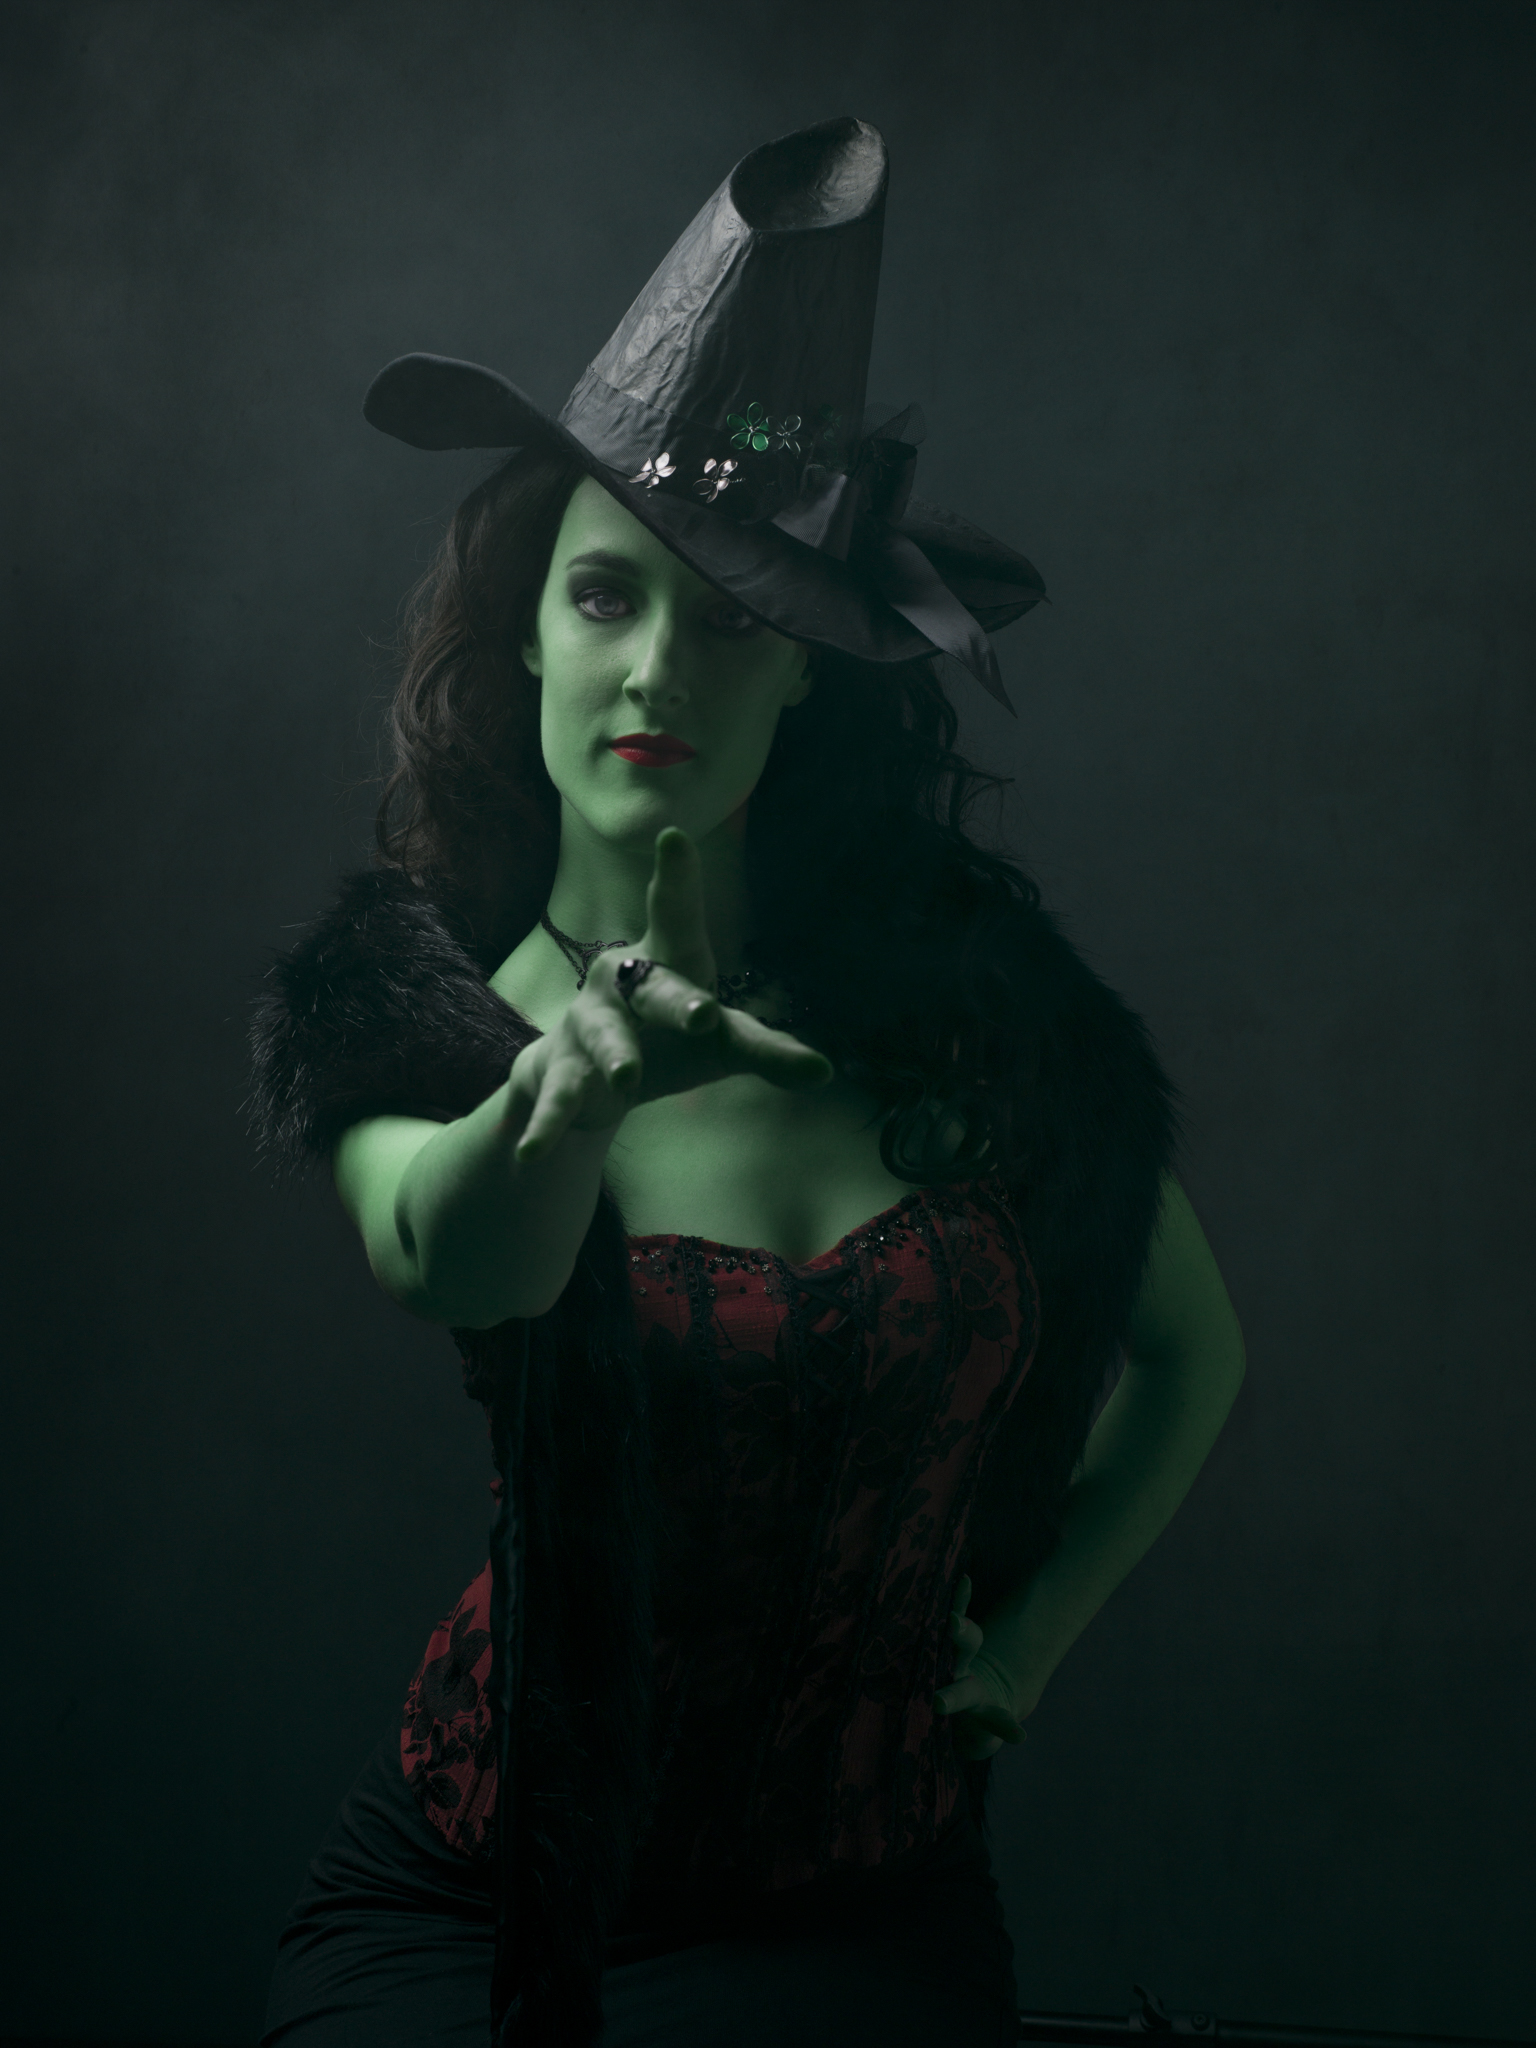
Below are a few images form the Ferry Tales project:
The cons
Of course the medium format cameras are not jack of all trades. Medium format cameras are for me best in the studio or controlled environments. Although the newer CMOS-sensor cameras are also better with High ISO I wouldn’t see myself using it with a concert or while traveling (alone) or shooting a wedding. Of course they are great for landscapes and outdoor commercial work, but they are heavy. And not to forget with the bigger mirror they are louder!
The H5D-40 still has the CCD-sensor which basically means, don’t shoot over ISO 400. Every once in a while the camera will error up, which means you have to remove the battery to fully restart the camera.
The last con is the dust. I don’t know how, but these cameras eat dust. Two or three times I had to remove the back to blow the dust of the sensor.
The conclusion.
The Hasselblad H5D-40 is the ultimate camera to start with as the next level up from 35mm camera’s. It will not be everybody’s cup of thee. They are heavy and get dusty really fast. But when you’re working commercial or as an art-/landscape-/portrait-photographer who sells prints these cameras are essential! Like I said the camera gives you that thing when you look at it and think what is that thing which is just making this images that bit more special.
And yes they are a bit expensive to start with. But if I look at the amount of gear I bought through the years I could have bought 2 or 3 of them. So for the next year I am going to save up and buy one! because it will give me that next level to make me stand out!
If you like the review please leave a comment below!
PS:
Please keep in mind, that the images will be as good as you are as a photographer. Is your lighting, settings, composition or whatever wrong… The camera won’t fix it! It has less fancy stuff to correct your mistakes then a DSLR of Mirrorless camera!
Belle shoot
Hi all,
Currently I am working on a series of personal work called "Ferry Tales". I am going to shoot a couple of friends as there favorite fairy tale person. And not only Disney related!
As a start I did a Belle shoot a couple of months a go. Here is the Behind the scenes timelapse of the whole shoot.
As you can see, the lighting is really simple. Mainly just one big Elinchrom Rotalux 150 indirect deep octa. Sometimes I added the strip with a grid for an accent light.
You can but a limited edition art print in the shop now, click here for more information.

