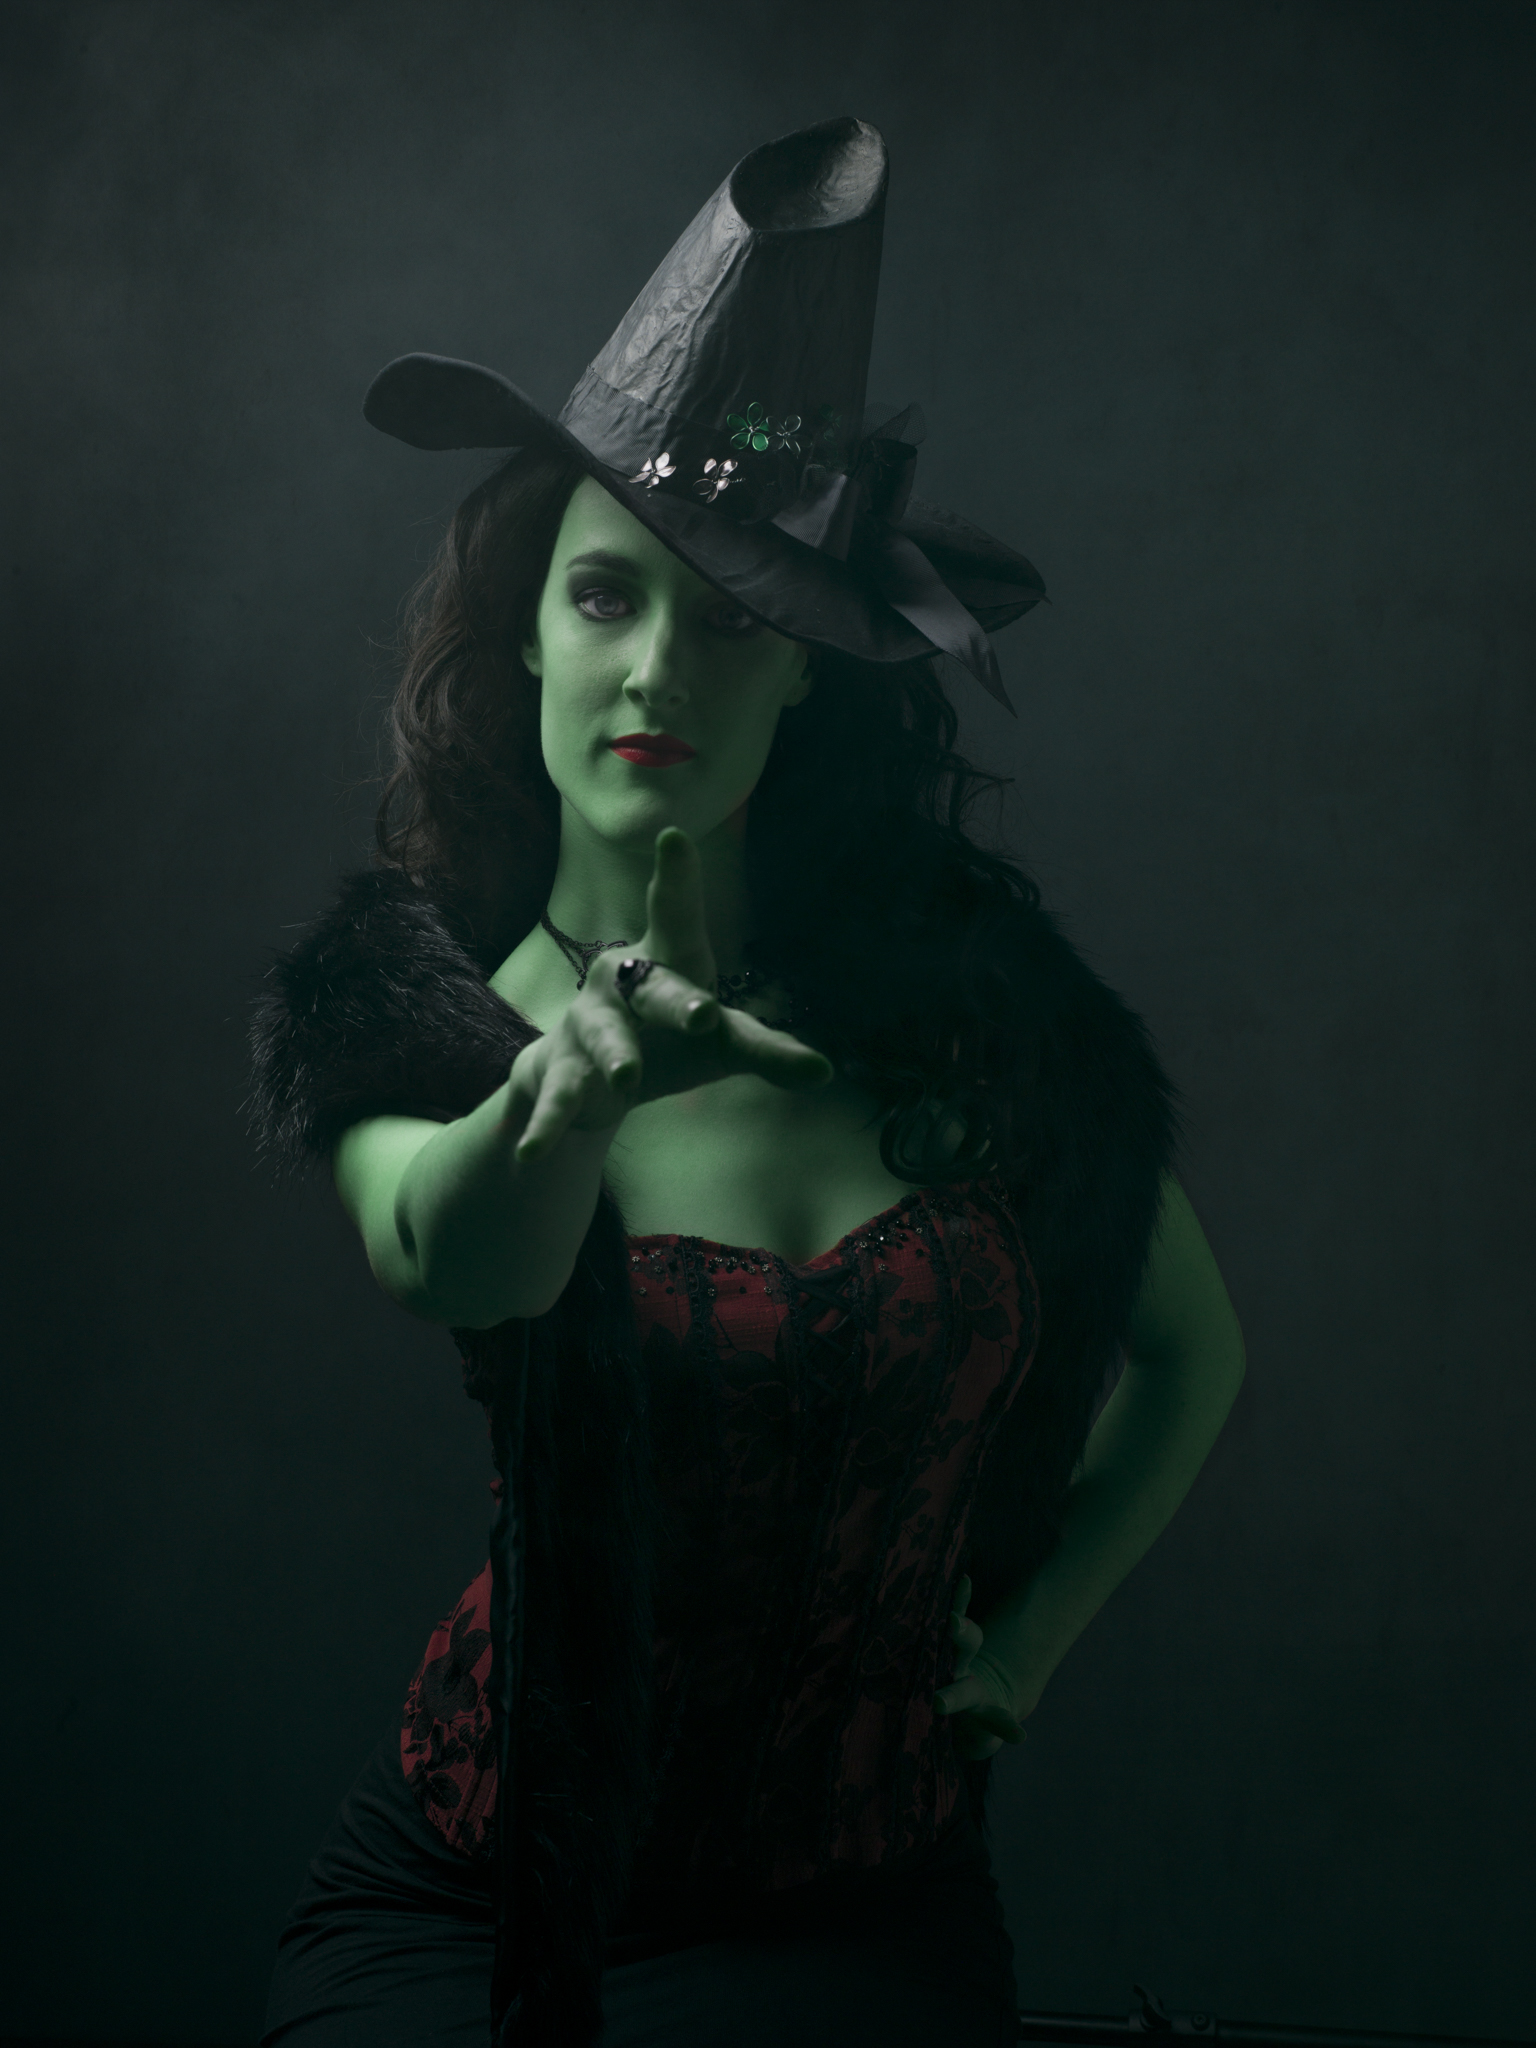
Verkeerd gebruik van het accent licht
Het valt mij de laatste tijd steeds meer op dat de zelfde fout gemaakt wordt bij portretfotografie. In de advertenties zie je steeds vaker dat er gebruik gemaakt wordt van een Hoofdlicht op de persoon en een accentlicht in de achterkant van het model. Echter wordt deze bij veel fotograferen verkeerd gebruikt!
Zie het voorbeeld hier onder:
Ik heb hier op een 1-op-1 ratio het licht gemeten. Namelijk het hoofdlicht (Elinchrom RX one met een Elinchrom Portalits 66x66cm softbox en een Elinchrom RX One met een 90x35 strip softbox met een grid) beide op f8 uitgemeten.
Zoals je kunt zien is het accentlicht hier te vel! Het oog is namelijk zo geprogrammeerd eerst naar het lichtste gedeelte te kijken in een foto. Dus als je nu naar de foto kijkt gaan je ogen het eerste naar de nek van de persoon. Dit wil je dus niet!
Op de foto hier onder heb ik het accent licht 2 stops onder het hoofdlicht uitgemeten, dus op f4. Als je nu kijkt is de foto veel rustiger en vriendelijker:
Hier onder heb ik nog even de foto geplaatst zonder accent licht en de goedkoopste tweede lamp die je kunt kopen, namelijk de reflector!
Verschillende portretfoto's zonder je lamp te verplaatsen
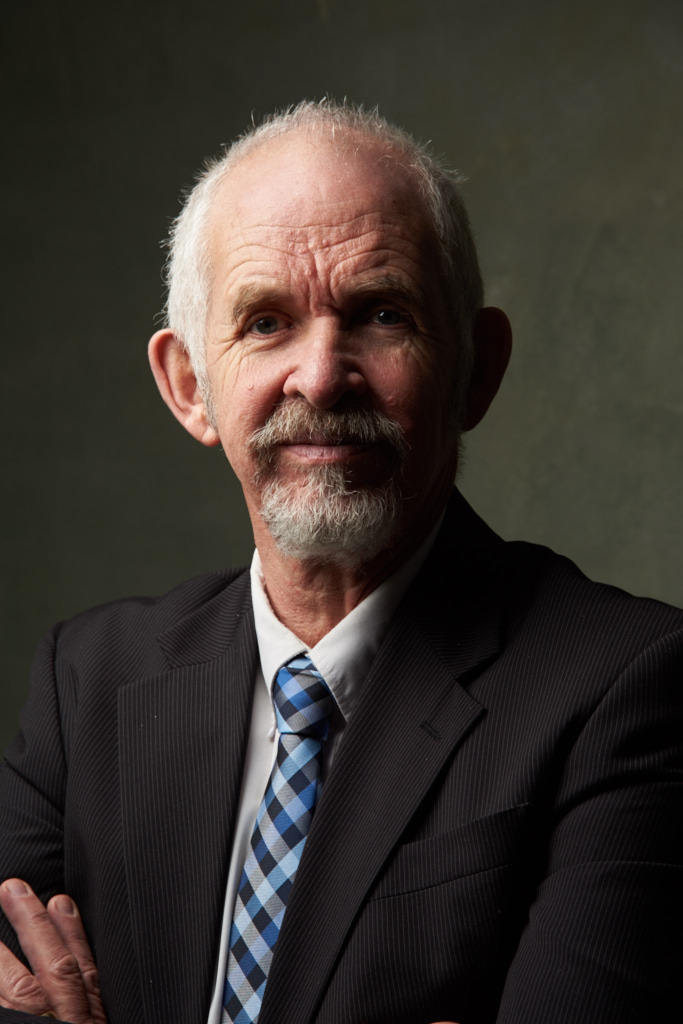
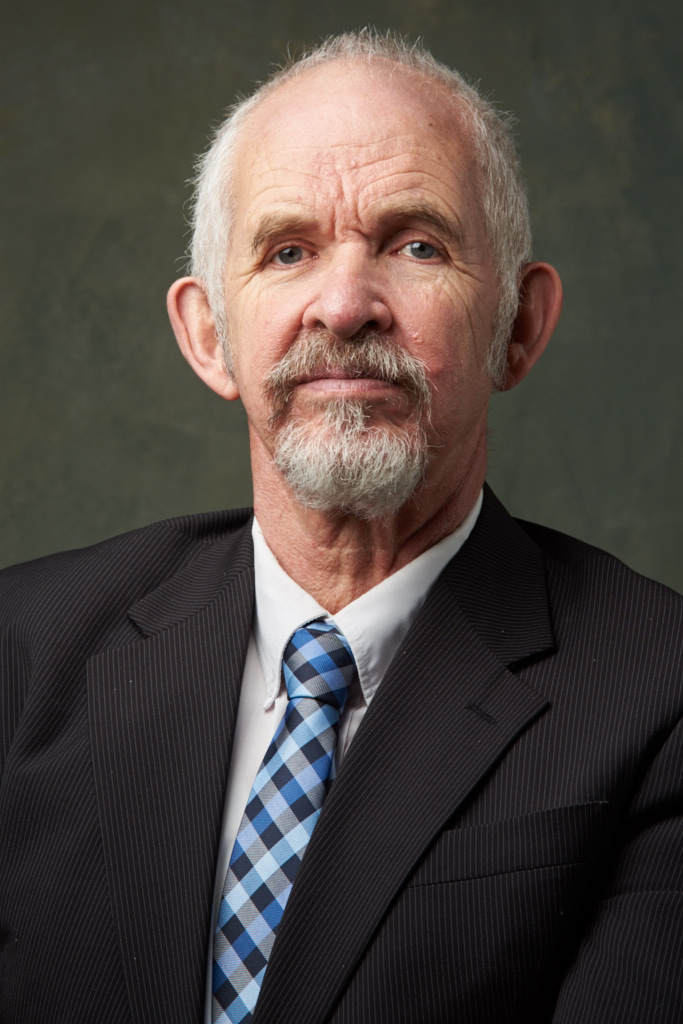
Afgelopen zaterdag heb ik weer de workshop Basis flits- en portretfotografie gegeven. Tijdens de workshop heb ik aten zien hoe het zonder je lamp hoeft te verplaatsen snel een aantal verschillende portretfoto's kunt maken.
Ik heb een Elinchrom RX one met een Elinchrom Portalite 66x66 cm softbox op 45 graden van het model 45 graden naar beneden en met de lichtmeter uitgemeten op f8. Op de onderstaande foto's kan je zien dat je snel de sfeer kan veranderen puur door je model iets te laten draaien op de kruk of je eigen hoek te veranderen.

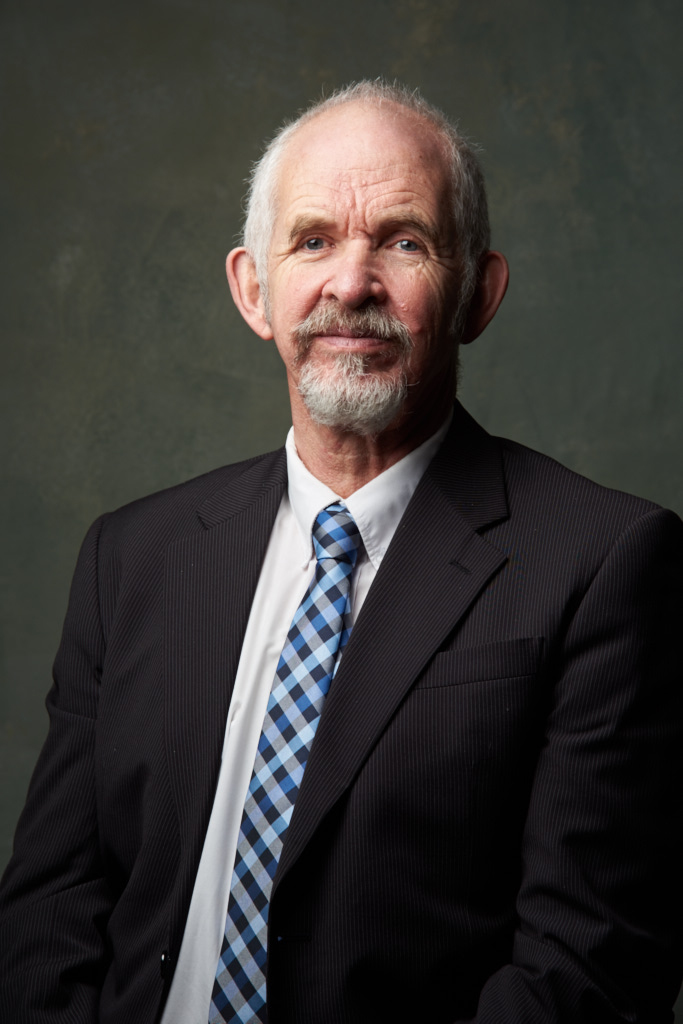
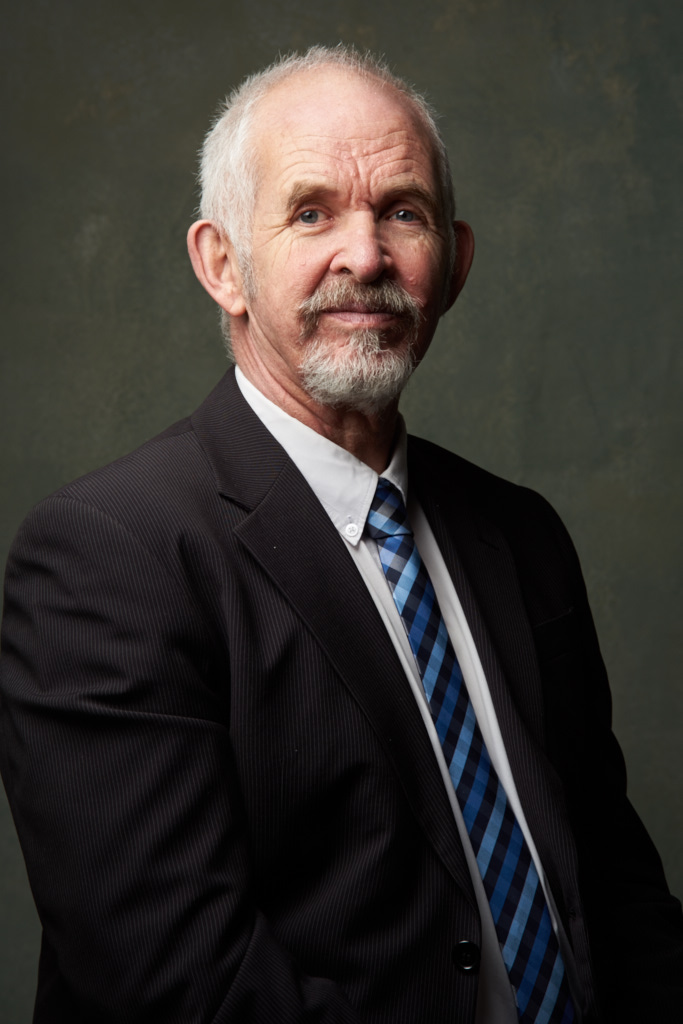
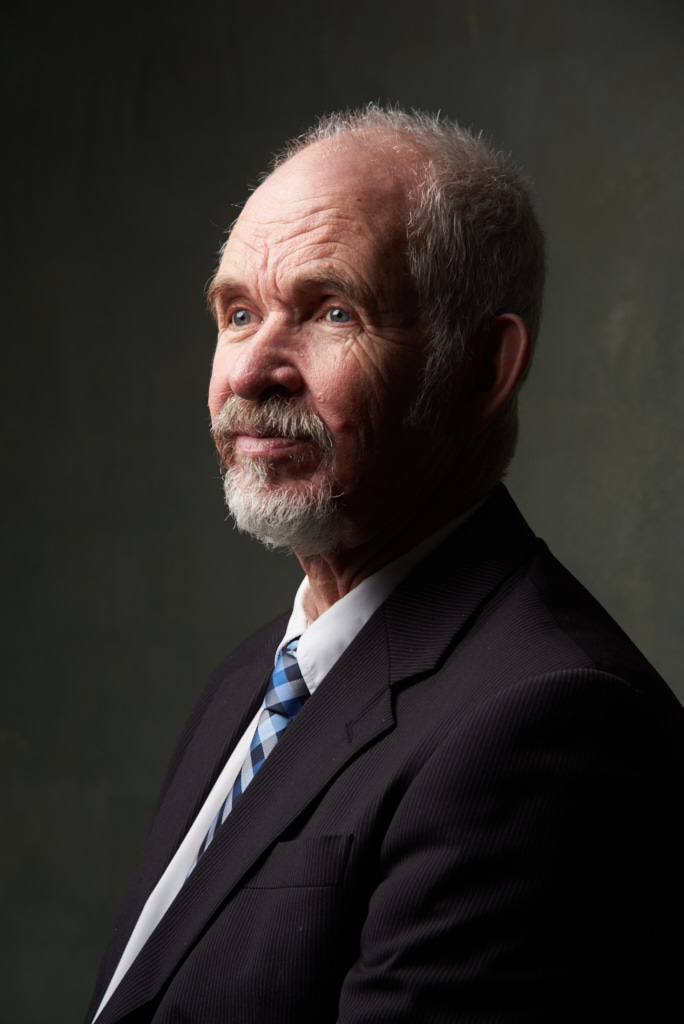
Even snelle disclaimer: dit zijn een paar snelle voorbeelden geschoten tijdens workshop om de cursisten te illusteren wat zoal zou kunnen. Natuurlijk kunnen de poses en cropping beter en kan ik nog meer variaties maken!
Productfotografie
Zo vandaag bezig geweest met aantal test shoots op het gebied van productfotografie. Vooral het goed krijgen van zwart op zwart. Hier even paar eerste (direct uit camera) shots. Binnenkort meer!
Feedback is welkom!
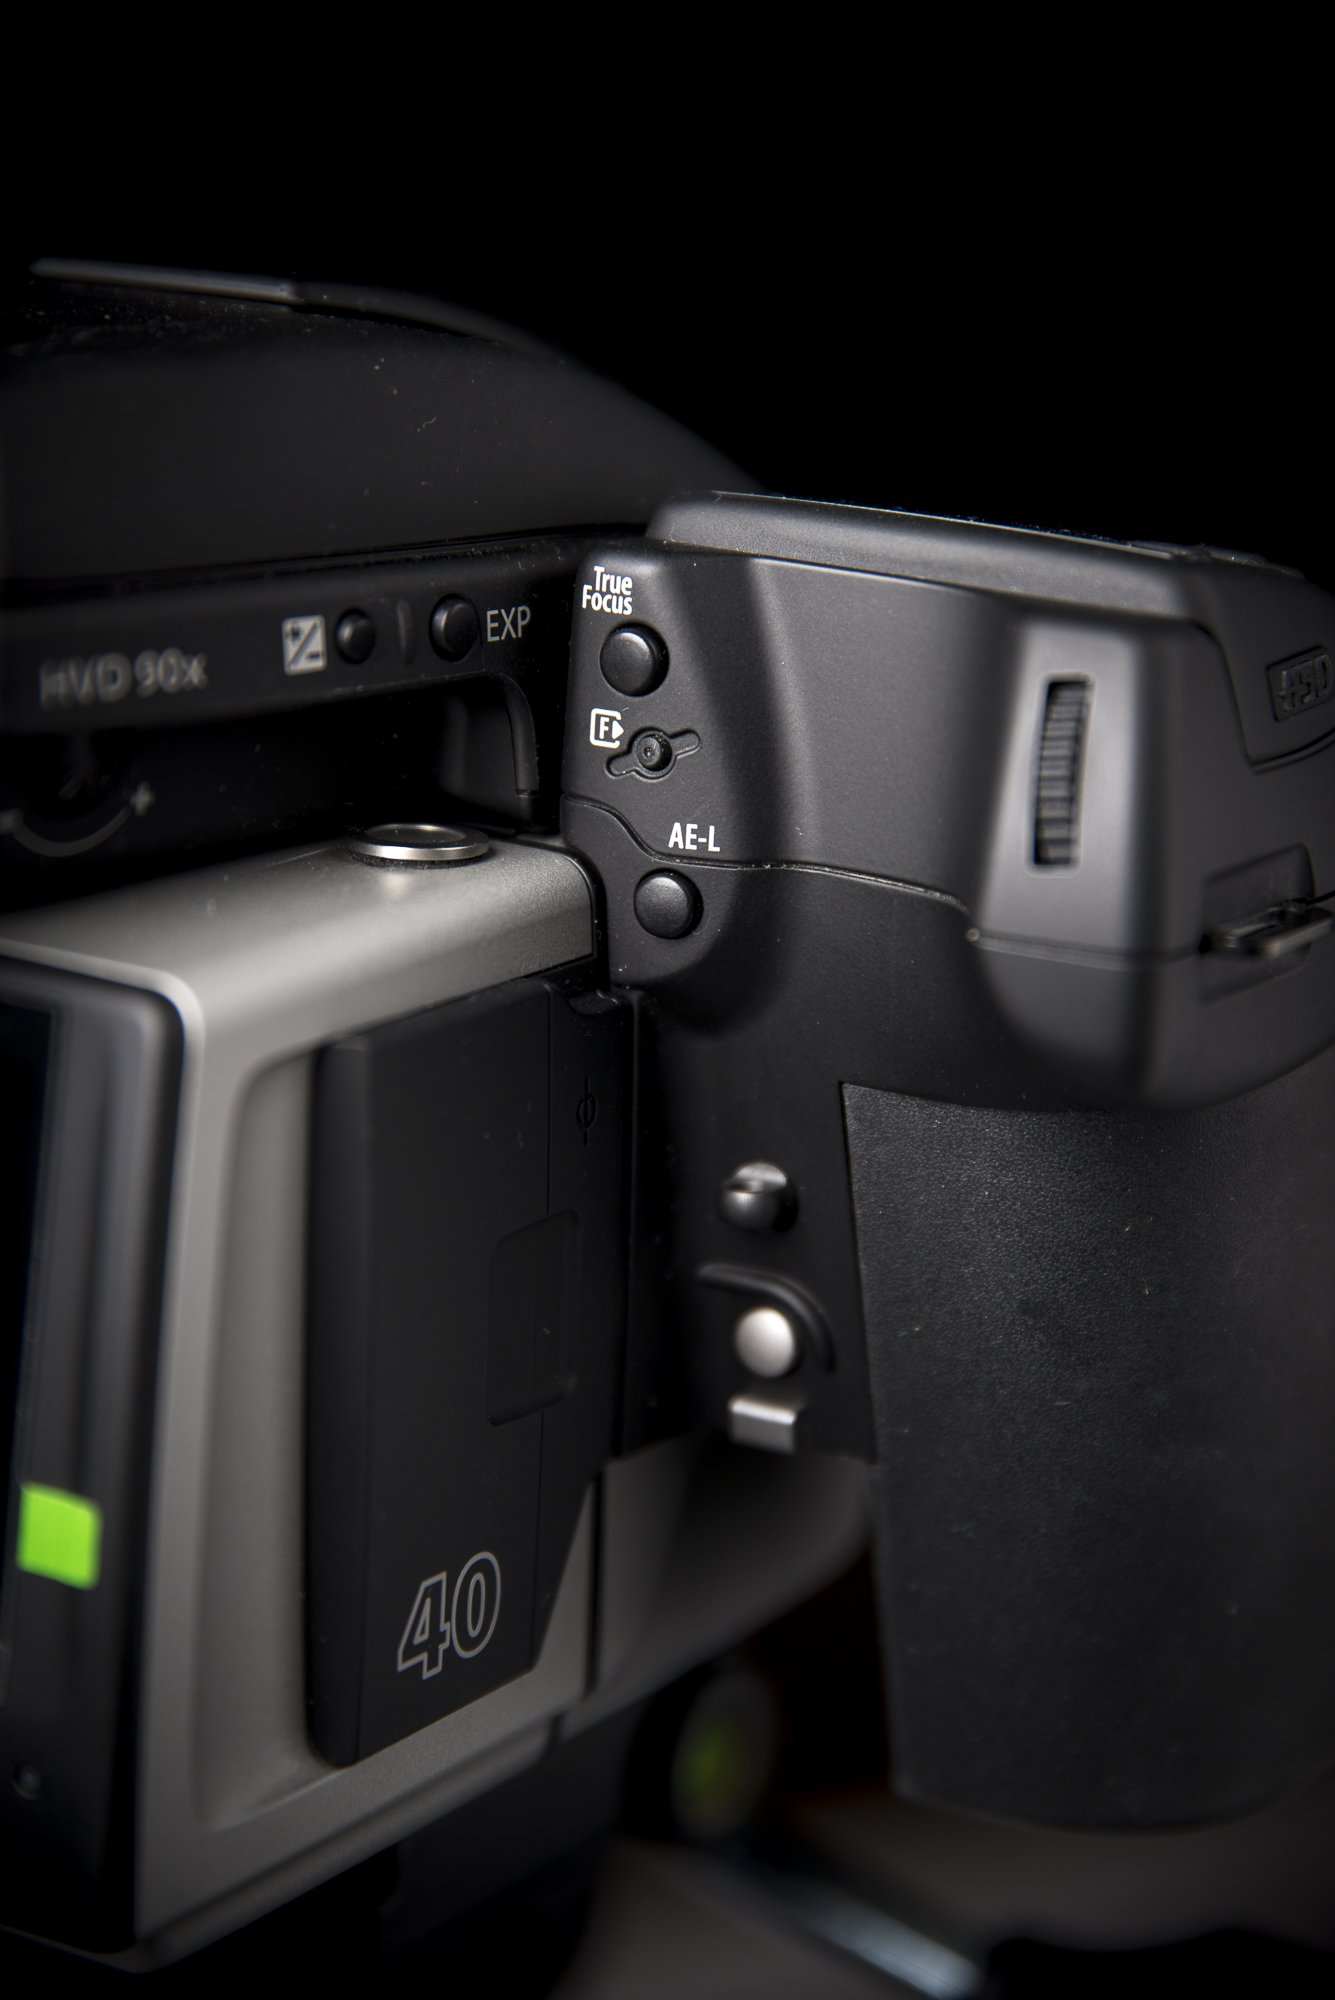
Review: Hasselblad H5D-40
Review of the Hasselblad H5D-40
The next camera I want to buy is a Medium format camera. I currently mainly use the Nikon D800 and D610 camera’s with Sigma lenses, which are great. A lot of times when I see pictures and think what is it that makes this different and standing out it was shot on a medium format camera. So I am doubting between the Hasselblad CFV50-c digital back which I used for the Jazz Museum Rotterdam project (read the review HERE) or the Hasselblad H5D-40 camera.
So for the Ferry Tales project, Pro Spirit (Distributor Hasselblad in the Netherlands) was so kind to loan me a Hasselblad H5D-40 with the HC80mm lens (which is basically the Hasselblad “kit” lens) and the Hasselblad HC 150mm lens.
It’s not about the megapixels. To start this review I first want to set something straight. I have seen a lot of videos about how the Sony A7RII are kicking but with medium format camera’s with high resolution photos and comparable dynamic range for a quarter of the price of a medium format camera. But a medium format is NOT only about the high megapixel count!
The big difference is the sensor size. A medium format sensor is all most three to four times bigger than a full frame sensor. This has a few advantages. At first it gives the pixels a little bit more room to breathe. And give a nicer compression and more beautiful depth of field.
The second is the different aspect ratio. A full frame camera has a 2x3 ratio while medium format have a 6x4.5 or 3x4 ratio. Which is great for portraits, and use for print because the ratio is closer to the ratio of print.
The Camera
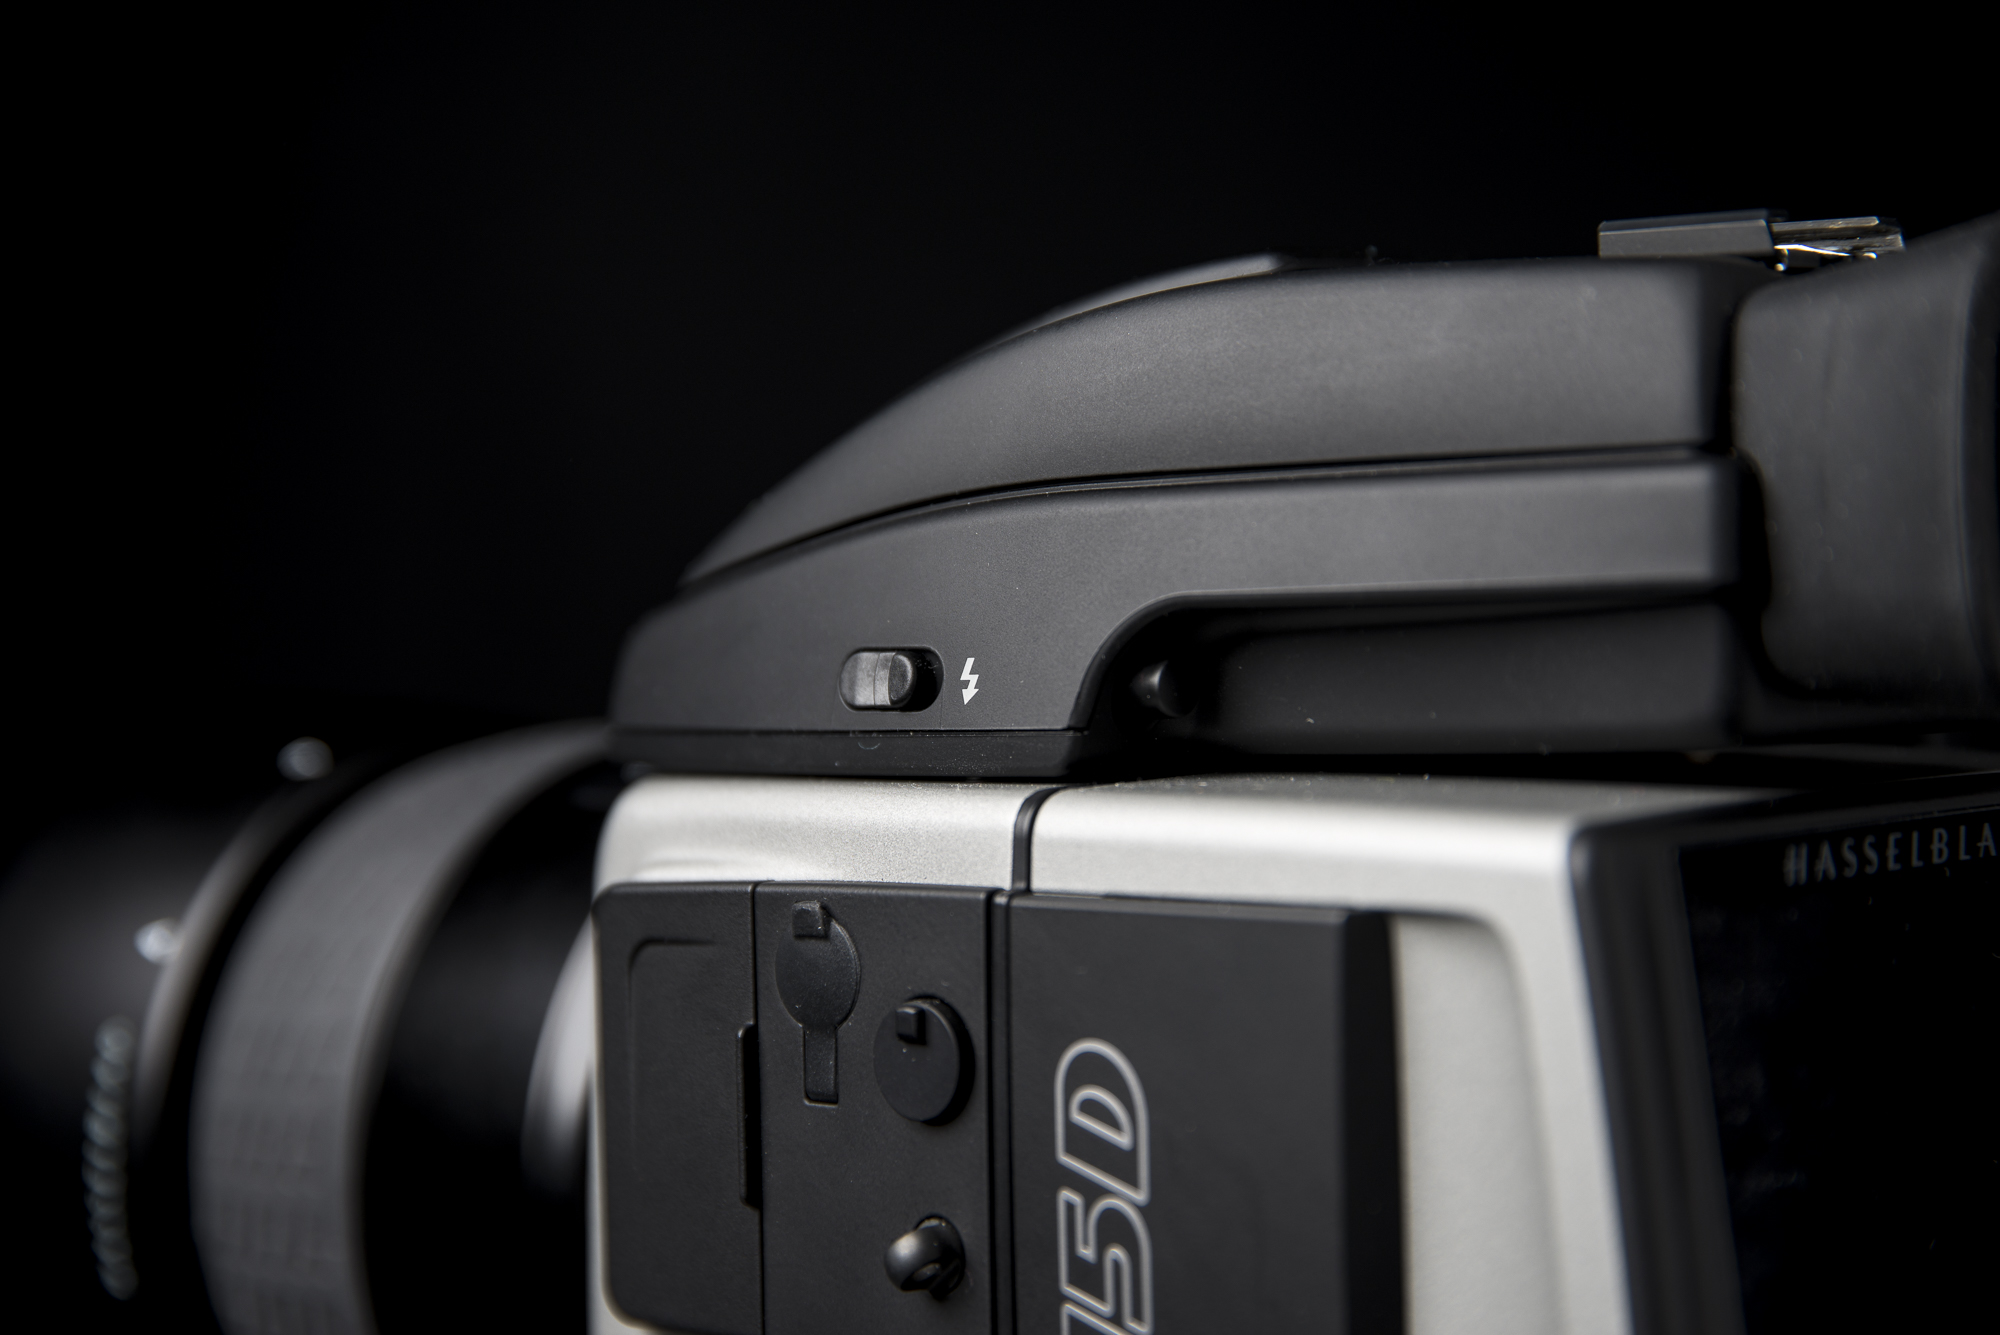
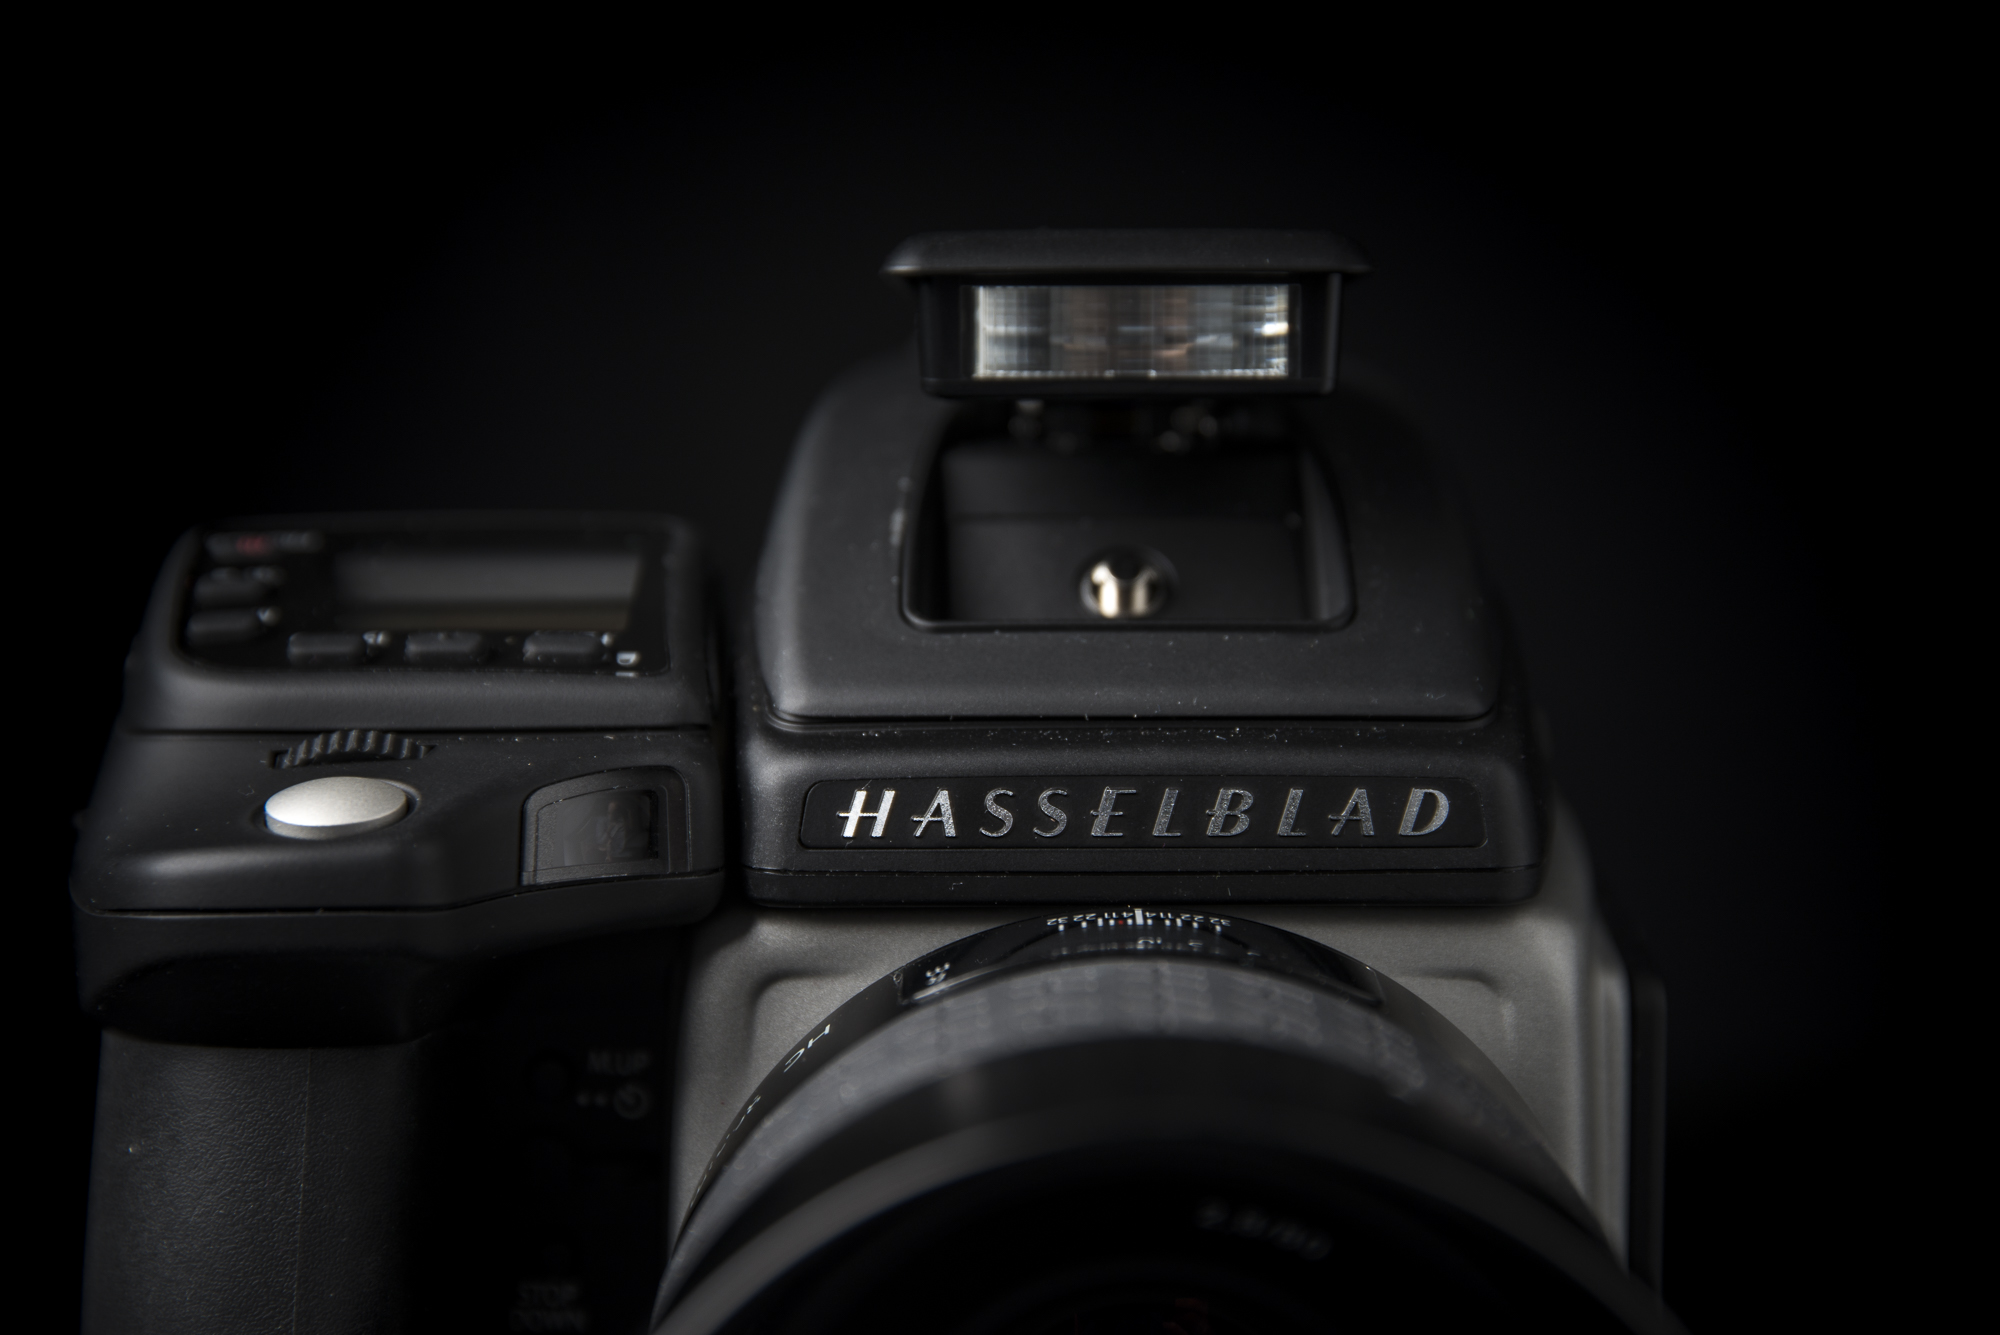
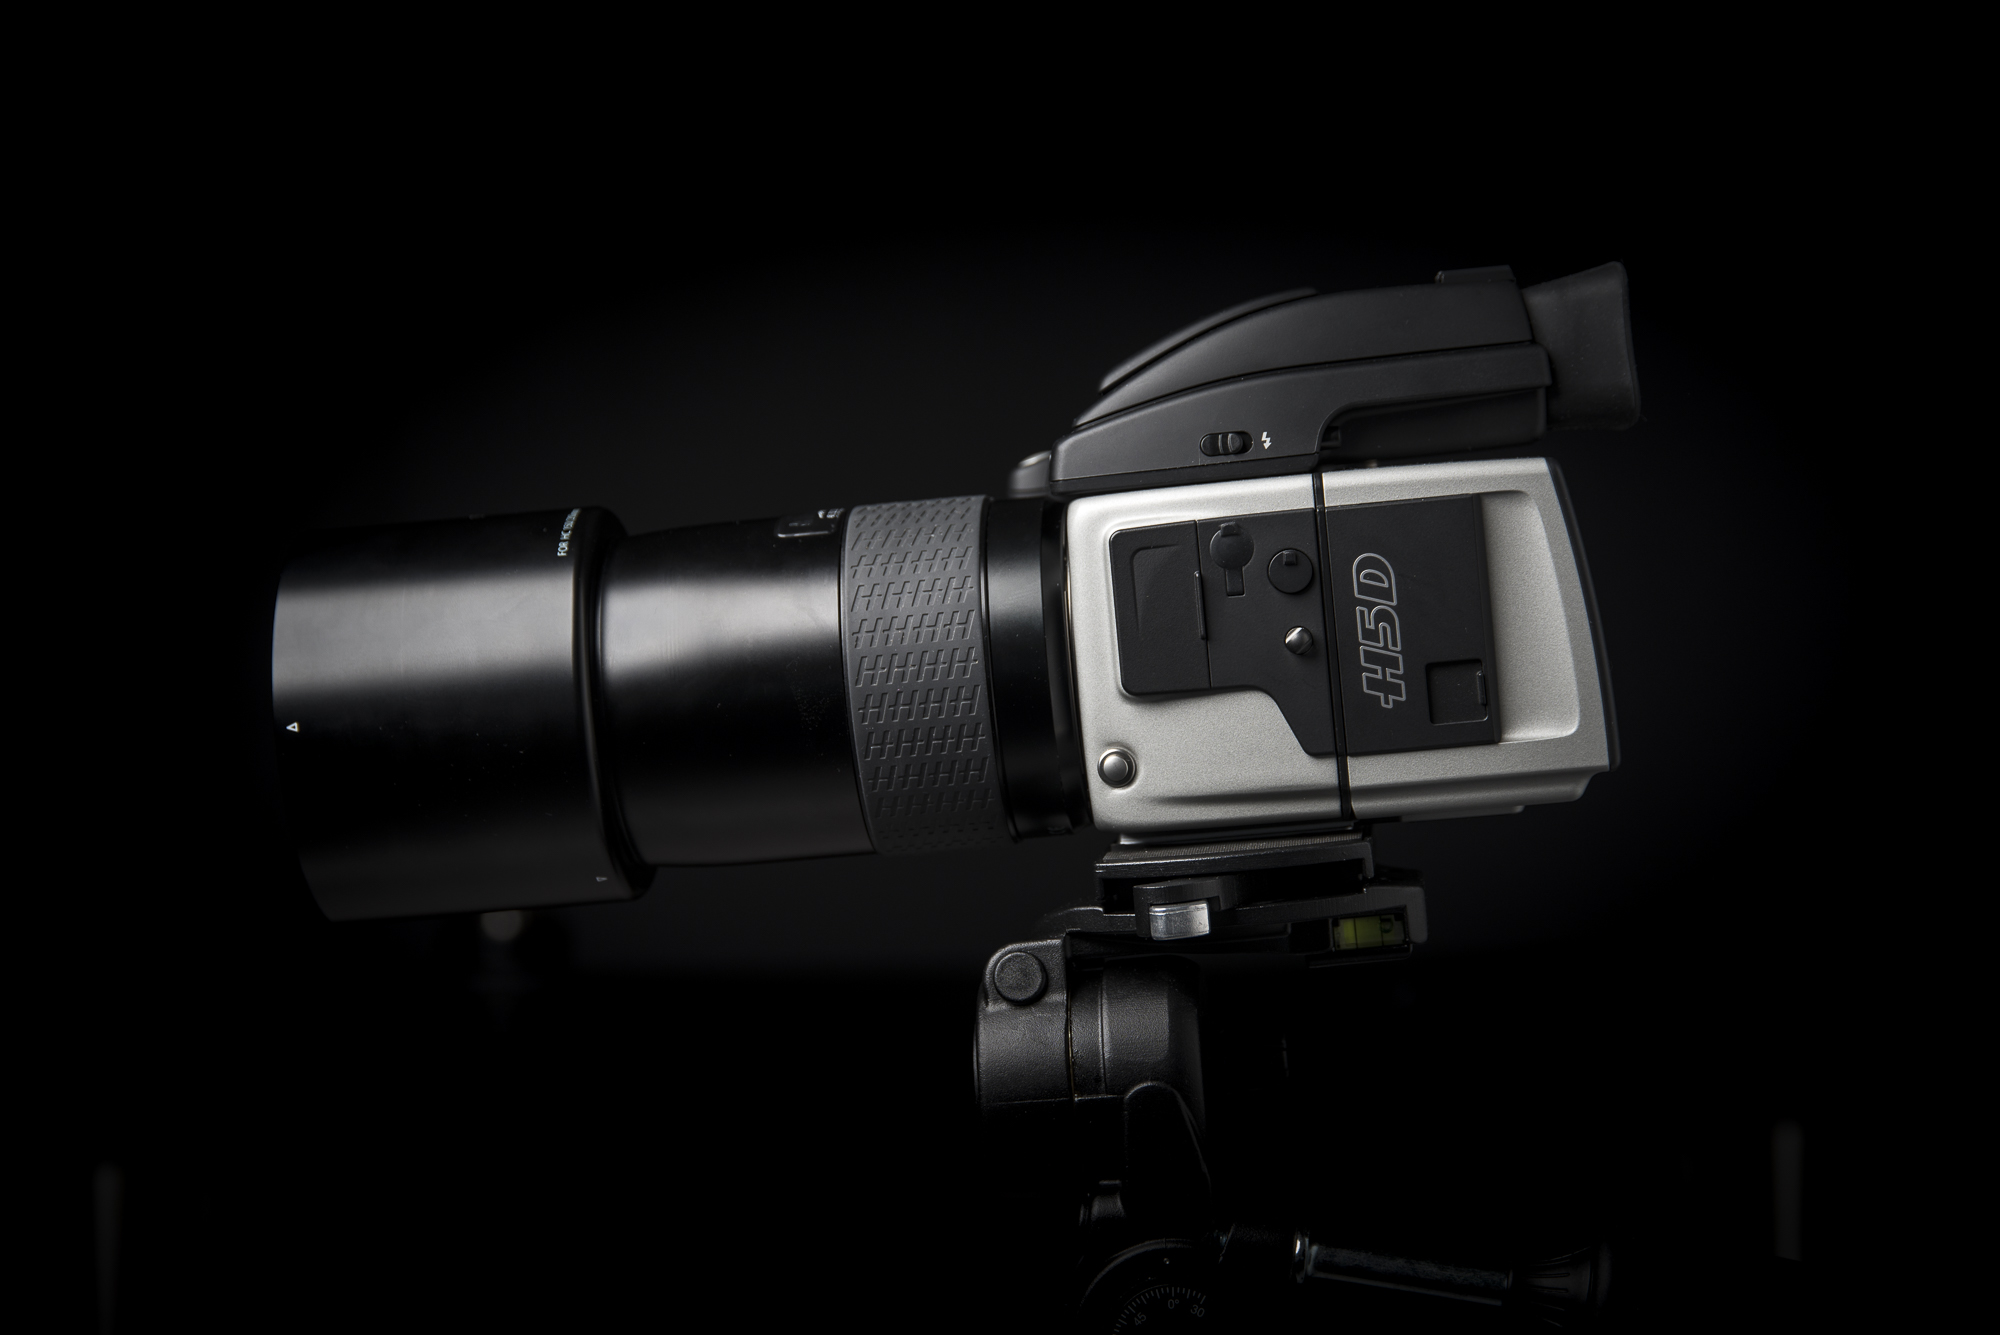
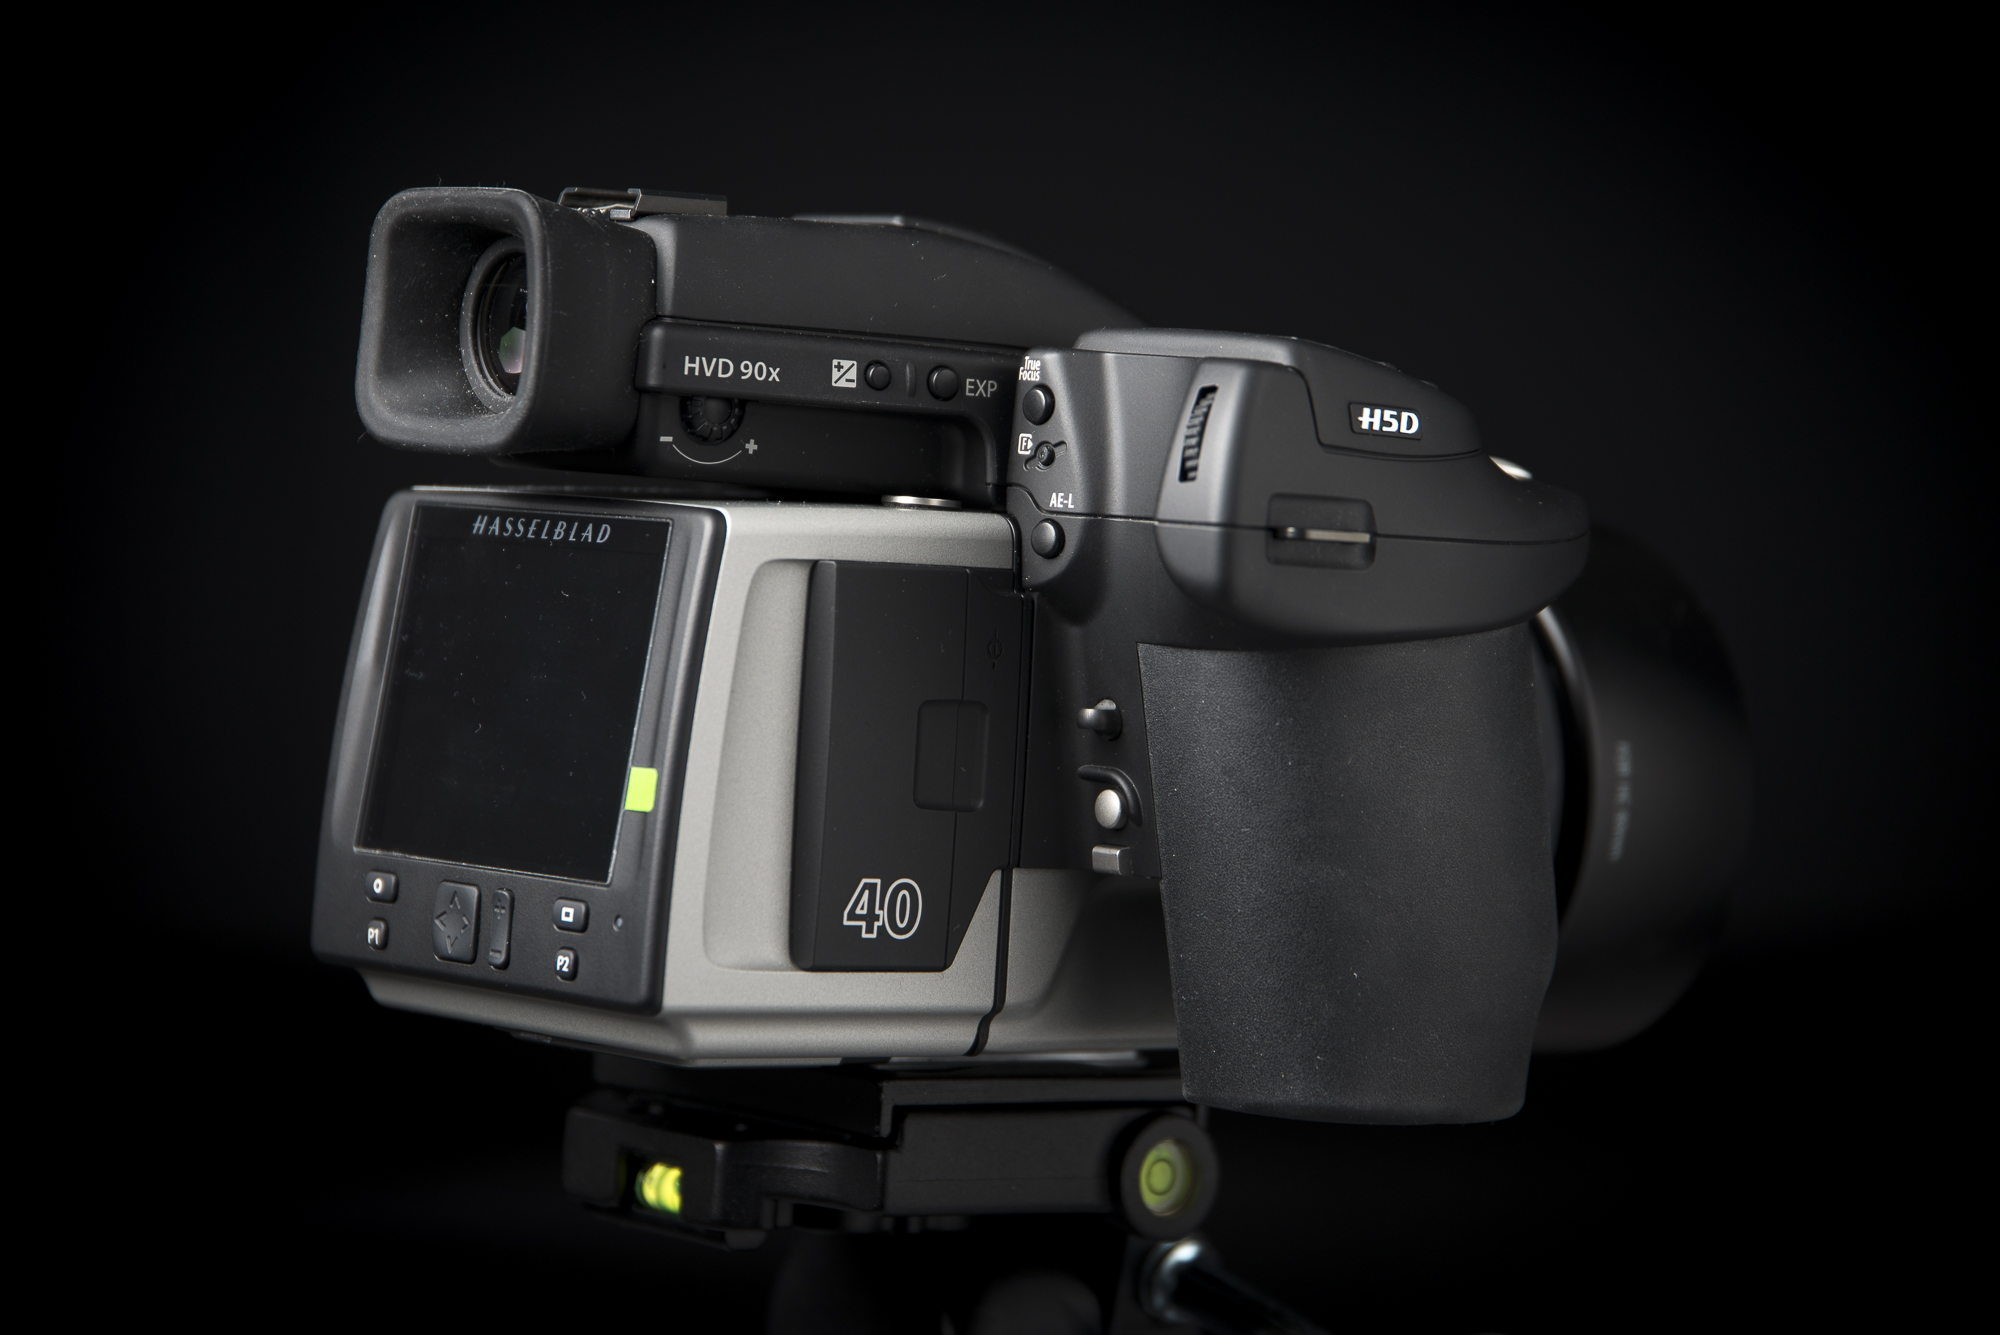
The Hasselblad H5D-series body is built like a tank, but also heavy. I mostly used the Hasselblad HC80mm on it. Which is 68mm on 35mm eqv. Which was for me almost all I needed for the project. I only used the Hasselblad HC150mm on a few shots during the project.
The grip of the button is big but a little thin for my taste and the buttons like the mirror lock-up were a little bit small and too deep to access easily if you were working handheld. All the other buttons are good. I have held a H4D and preferred the H5D buttons and body. It felt more natural.
True Focus
The True Focus system was really welcome! As you might know, a Hasselblad camera has only one focus point in the middle. So you have to constantly focus and recompose if you change the shot. Because when you change the angle of the camera, the focus plane changes, and especially with smaller depth of fields, this means you miss critical focus. The True Focus function calculates the changes in the angle and corrects the focus. This means that when you focus and recompose the immage stays sharp.
Do note that when you move back or forward this is not being compensated. It only works on the up/down and left/right angles.
Phocus software and (app)
A pro of Hasselblad is that they have a free basic editor/library called “Phocus”. Although it is the best RAW-converter for Hasselblad files I mainly used it for shooting tethered to my iMac and rating the photos. Most of the editing was done in Lightroom CC because it has better/faster integration with Photoshop. But that was mainly because for the project I had to do a lot of extra photoshopping and stylizing. For the Jazz Museum project last year I almost did all the editing in the Phocus software program!
I also really loved the free Phocus App. I had this on my iPad, with this app I could walk around the studio while shooting and review the image and rate it on the iPad. I could also use it to show the model the images and guide to where I wanted them without them having to leave their place. Or I could use it to remotely fire the camera. So I could be on another place changing light or guide the model without being hid behind the camera and lighting.
The lenses
For the project I had three lenses the 80mm f2.8, the 150 f4 and 50-110 3.5-4.5. One thing before I go into my opinion of the lenses, the image quality of all the lenses are fantastic! So I will not go into image details but more the feel of the lenses and what I used them for!
HC 80mm f2.8
This is the Hasselblad “Kit” lens. and what a lens it is! I really loved this one! I could photograph nice environmental portraits with it or really unclose without any distortion. If there was only one lens I would be allowed for the rest of my life, this would probably be it!
HC 150 3.2
This is what I thought would be THE portrait lens. And it is, but I didn’t use it a lot. Because of the length of the lens I sometimes had to get to much distance between me and the subject if I wanted a bit more than a head shot. So preferred the HC 80mm a little bit more. Non the less, this is a great piece of glass. And if I would be a fulltime headshot photographer this would be it.
The HC 50-110 3.5-4.5
This is standard zoom lens for the Hasselblad system and the most all-round lens. But it has a big disadvantage. It is HEAVY!!! With the weight of 1650g it is too heavy to shoot handheld all-day or use it as a walk around lens. But the zoom capability made it really all-round and easier to compose my shots.
The photos
The photos from this camera are just amazing especially the color and skin tones. And you can get a lot out of the RAW-files. There is a lot of detail and dynamic range to play with. Straight out of camera the pictures all-ready looked “Finished”. Of course you have to do a little bit of styling to get it to your own style and taste. But you get the point…
Also in post with retouching the 40 megapixels files where a blessing. There was so much information and detail you could retouch with great precision. But maybe this is also a con, because you really see all the mistakes and flaws also.
But where for me the big files really started to shine were on print. I made some A3 an A2 test prints and they already looked nicer then the 35mm shots. It is that thing that when you look at a photo and think what is that thing what makes this photo just that bit more special.
Below are a few images form the Ferry Tales project:
The cons
Of course the medium format cameras are not jack of all trades. Medium format cameras are for me best in the studio or controlled environments. Although the newer CMOS-sensor cameras are also better with High ISO I wouldn’t see myself using it with a concert or while traveling (alone) or shooting a wedding. Of course they are great for landscapes and outdoor commercial work, but they are heavy. And not to forget with the bigger mirror they are louder!
The H5D-40 still has the CCD-sensor which basically means, don’t shoot over ISO 400. Every once in a while the camera will error up, which means you have to remove the battery to fully restart the camera.
The last con is the dust. I don’t know how, but these cameras eat dust. Two or three times I had to remove the back to blow the dust of the sensor.
The conclusion.
The Hasselblad H5D-40 is the ultimate camera to start with as the next level up from 35mm camera’s. It will not be everybody’s cup of thee. They are heavy and get dusty really fast. But when you’re working commercial or as an art-/landscape-/portrait-photographer who sells prints these cameras are essential! Like I said the camera gives you that thing when you look at it and think what is that thing which is just making this images that bit more special.
And yes they are a bit expensive to start with. But if I look at the amount of gear I bought through the years I could have bought 2 or 3 of them. So for the next year I am going to save up and buy one! because it will give me that next level to make me stand out!
If you like the review please leave a comment below!
PS:
Please keep in mind, that the images will be as good as you are as a photographer. Is your lighting, settings, composition or whatever wrong… The camera won’t fix it! It has less fancy stuff to correct your mistakes then a DSLR of Mirrorless camera!
Een "Oliphant: achtergrond maken
Veel van mijn favoriete fotografen als Sue Bryce en Annie Leibovitz gebruiken vaak achtergrond doeken van Oliphant. Omdat deze echter erg duur zijn heb ik besloten er zelf één te gaan maken! Na wat zoeken naar tutorials heb ik materiaal besteld en ben ik vrijdag aan de gang gegaan met de verfkwast (roller). Om voor mijn portretfotografie een eigen achtergrond te maken. Ik ben begonnen met een stuk canvas van 1.60 x 2.00, en als dit slaagt ga ik een grotere maken!
Capture One Ambassadeur!
Hi All,
As you might know I am a great fan of Capture One software for my RAW editor! I use it for all my photo's! The nice thing is I became an ambassador for Capture One. And the nice thing with this is that I now can let you enjoy this too! Everyone who uses this code: AMBFERRYCOP Will get a 10% discount on there license!
Een verrassende portretlens
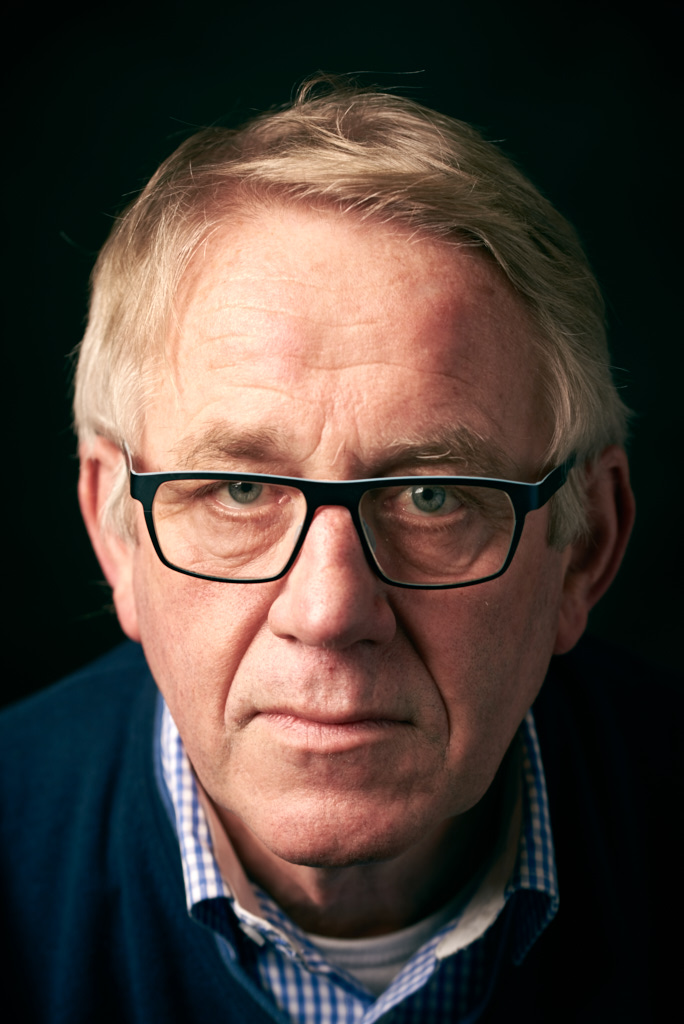
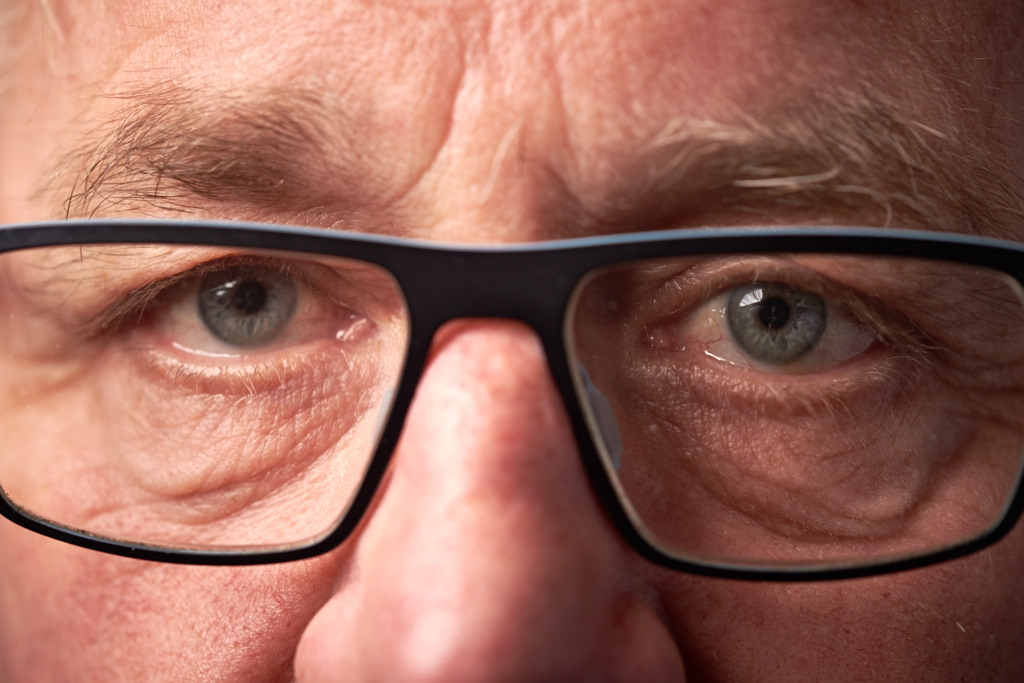
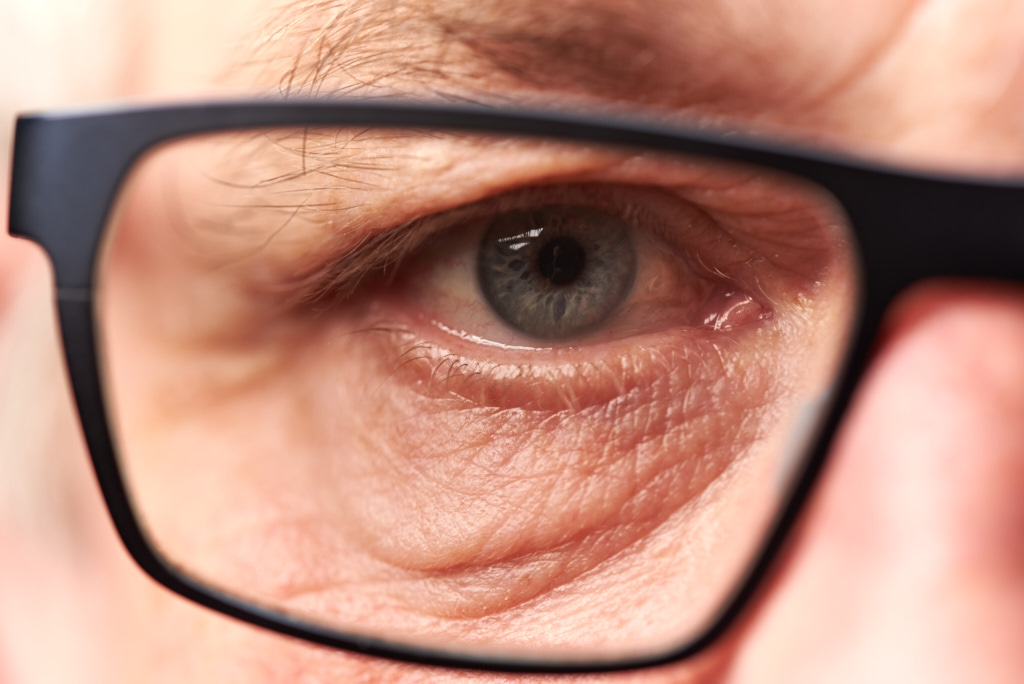
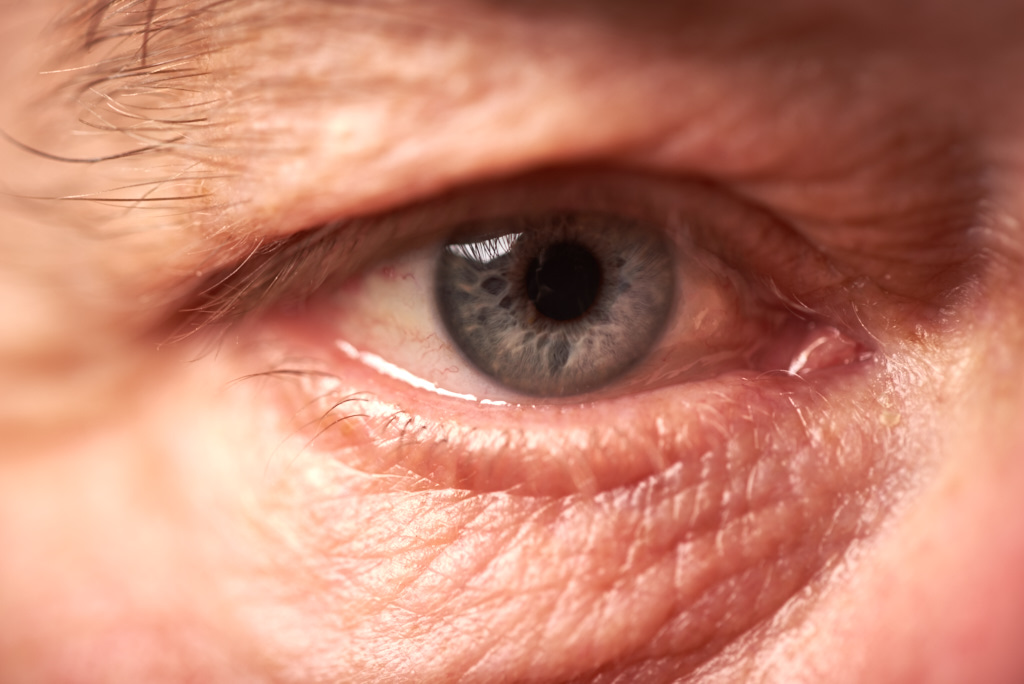
Vandaag heb ik aan het einde van de workshop "Fotograferen als Rembrandt" die ik bij Sigma Benelux gegeven heb de Sigma 105mm 2.8 Macro geprobeerd. Deze stond al op mijn lijstje voor mijn natuur en product werk, maar ik dacht laat ik hem ook eens testen als portret lens. En ik moet zeggen ben zeer blij verrast met de Sigma 105mm 2.8 Macro als lens voor portretfotografie!
Persoonlijk zit ik te wachten op de Sigma 85mm art lens. Maar deze zal nog wel even duren :(. Dus nu is de Sigma 105mm 2.8 Macro erg op mijn lijst gestegen. Met de Sigma 24-105 f4 Art werkte ik al voor, met name de 105mm afstand is deze prachtig voor portretten, maar de Sigma 105mm 2.8 Macro gaf het toch een extra dimensie naar mijn idee. Vooral het macro gedeelte op bijvoorbeeld alleen een oog geeft een heel mooi effect, Dus deze lens wil ik nu echt ook voor mijn portretfotografie gaan gebruiken.
Hier onder staan een paar voorbeeld foto's waarbij cursist Hans Tromp even als model fungeerde! Alle foto's zijn gemaakt met de Nikon D750 op 1/1260 f5,6 ISO 100 en de Sigma 105mm 2.8 Macro

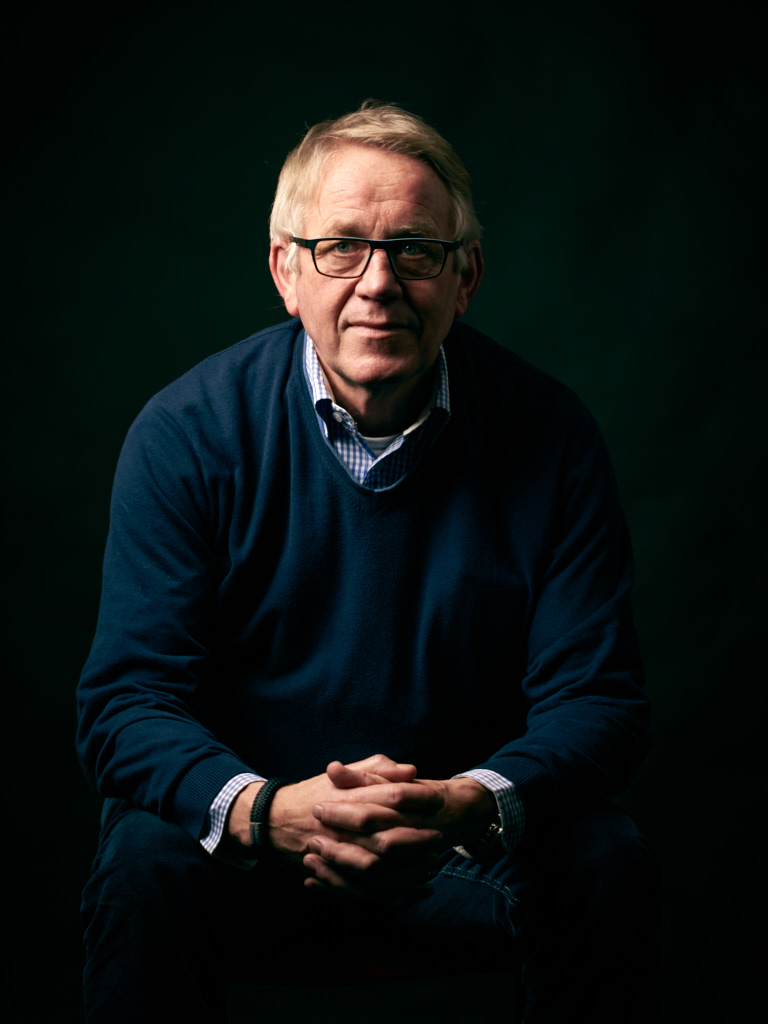
Als je meer wil leren over portretfotografie , de eerst volgende portretfotografie workshop is op 13 februari
Op "Jacht naar licht" met Sigma!
Op 20 februari zal ik de eerste workshop "Jacht naar Licht" geven in samenwerking met Sigma Benelux!
Tijdens deze workshop ga ik je alles leren om te beginnen met natuurfotografie. Denk hierbij aan het leren herkennen van goed natuurlijk licht en gebruiken van minder licht. De invloed van compositie. Macro en landschap's fotografie, kleur, compositie, etc.
Omdat de workshop in samenwerking is met sigma zullen er ook diverse lenzen van Sigma aanwezig zijn om te gebruiken. Zo kan je ook de beste lenzen gebruiken als je die niet in je eigen arsenaal hebt!
Schrijf je nu in op de website van Sigma Benelux
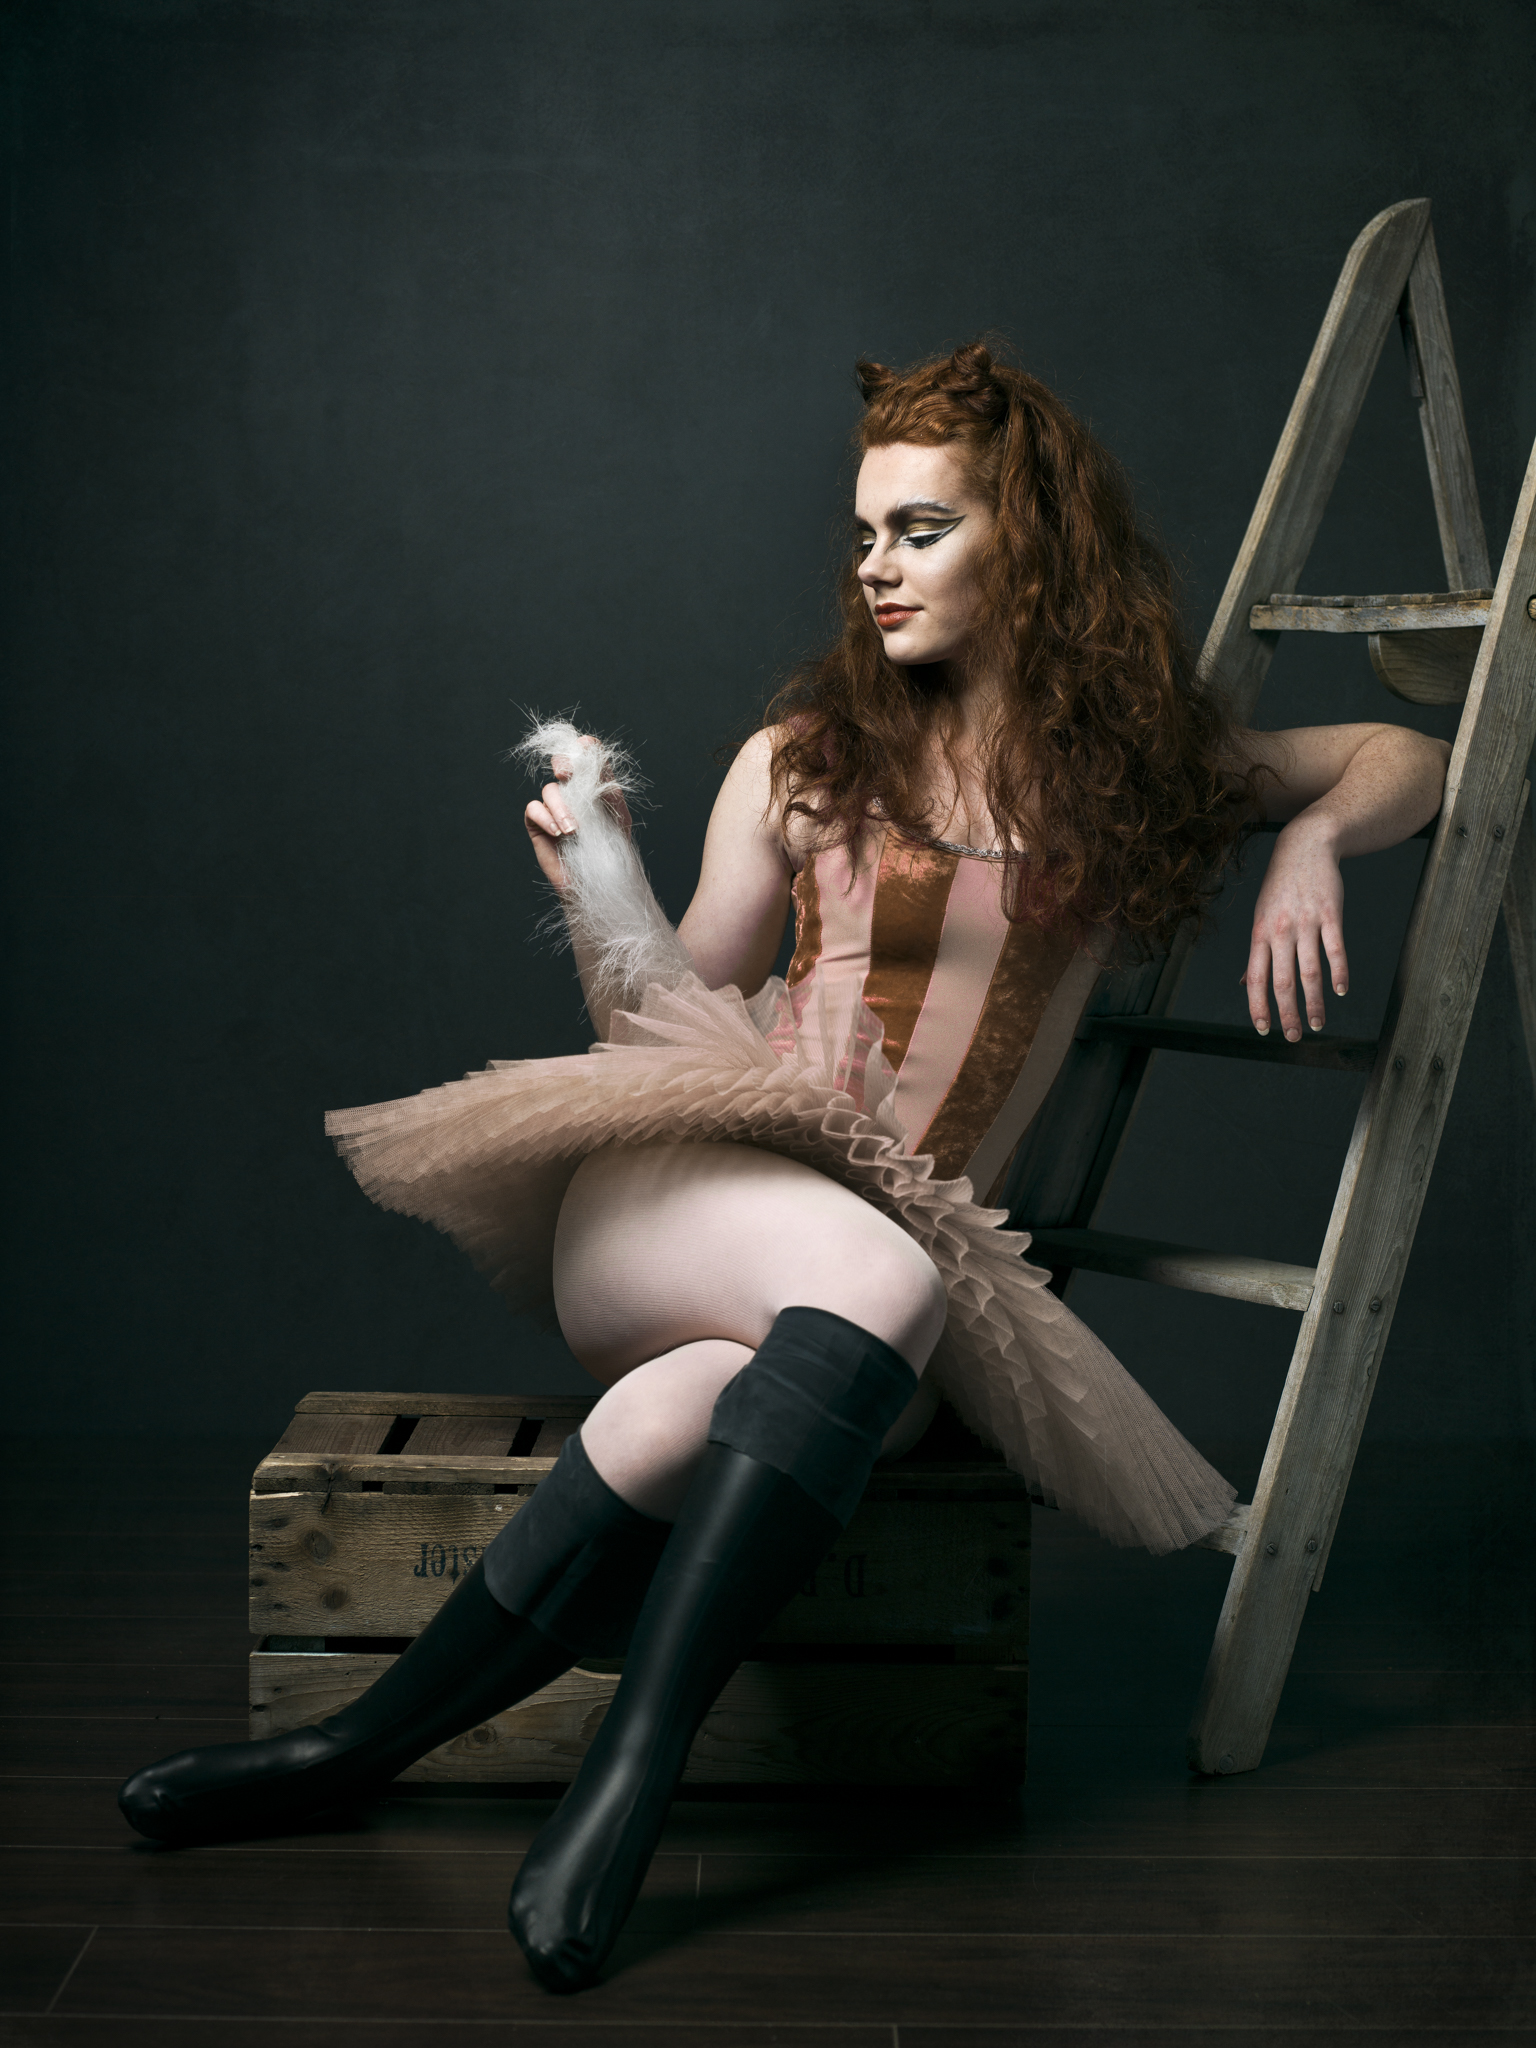
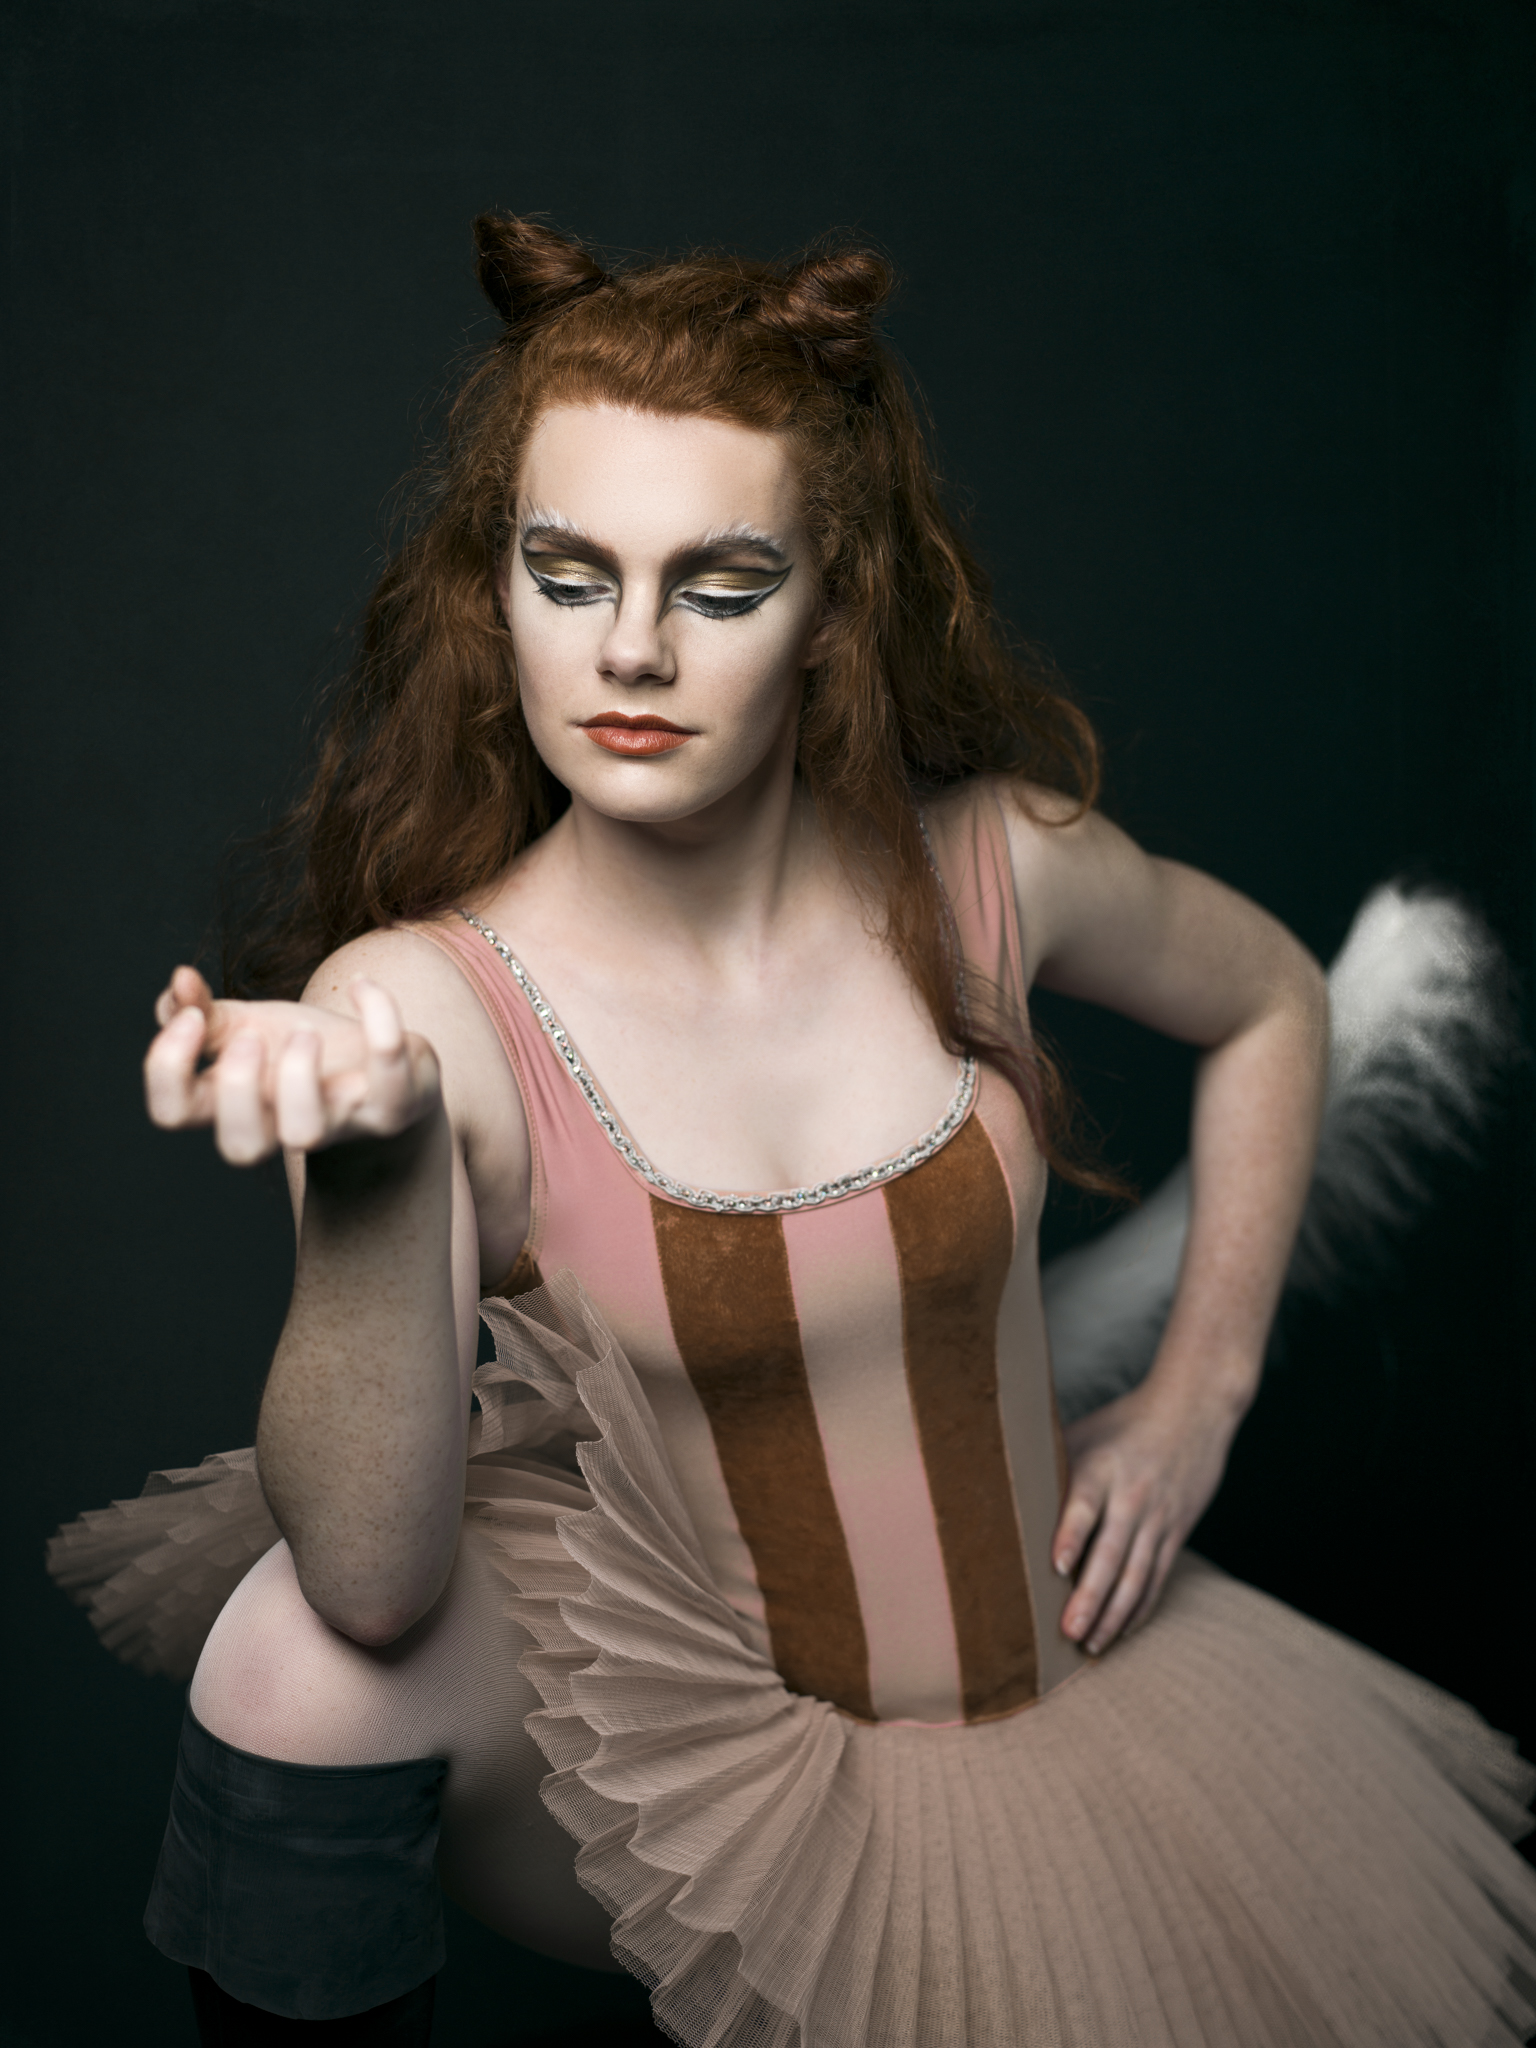
Ballet portretsessie
Afgelopen vrijdag heb ik weer een Ballet portretsessie gedaan met Nienke. Ik wilde graag even mijn nieuwe Nikon D750 testen en ik heb aantal test foto's gemaakt met de Nikon D7200 en de Sigma 18-300 3.5-6.3 DC Macro OS HSM contemperary lens. Hiermee ben ik gisteren ook de hele dag mee op pad geweest door Rotterdam voor een video over deze lens. Maar later hierover meer! Hier onder even een paar van de resultaten va de ballet portretfotografie sessie met Nienke.
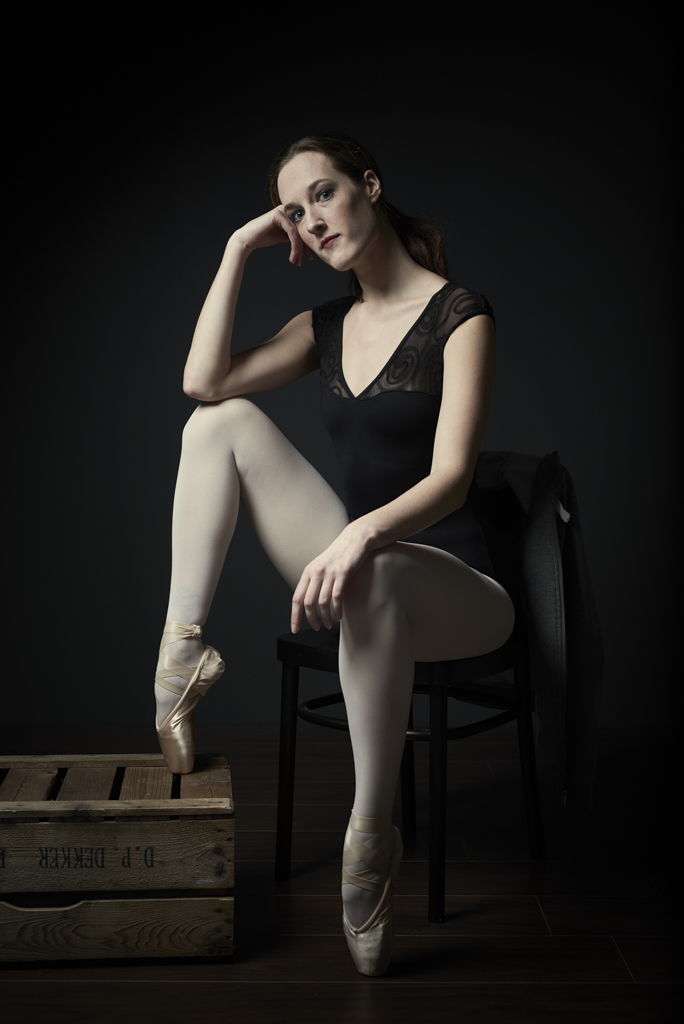
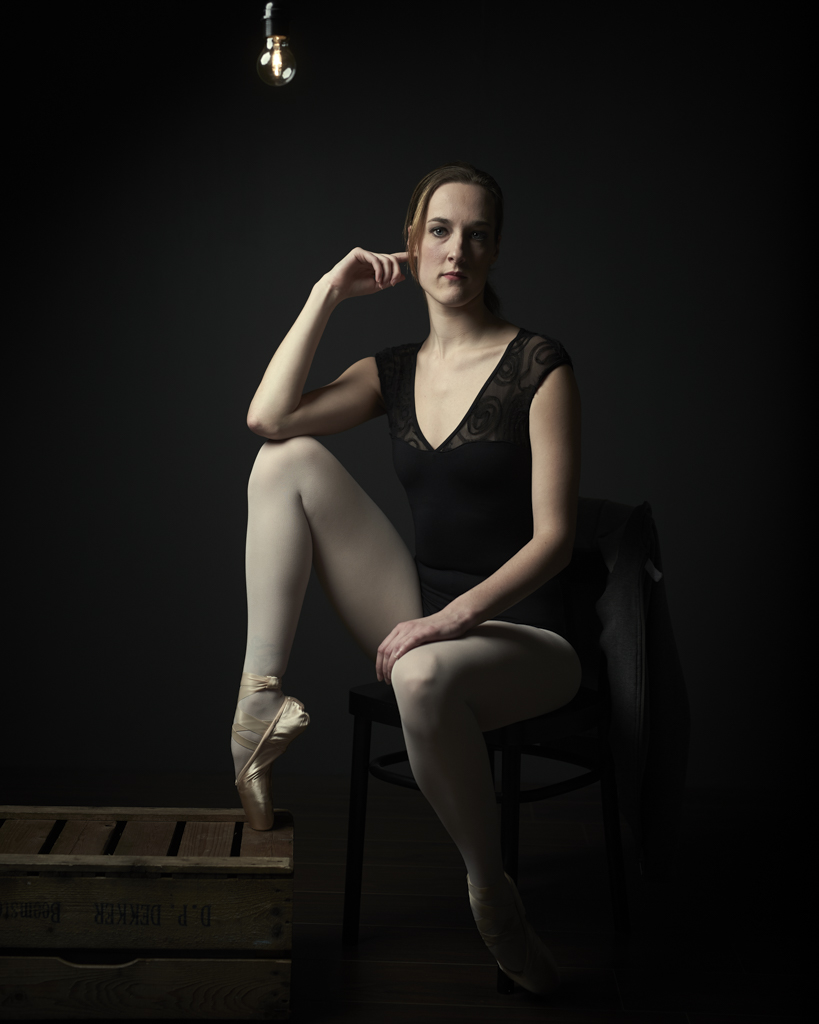
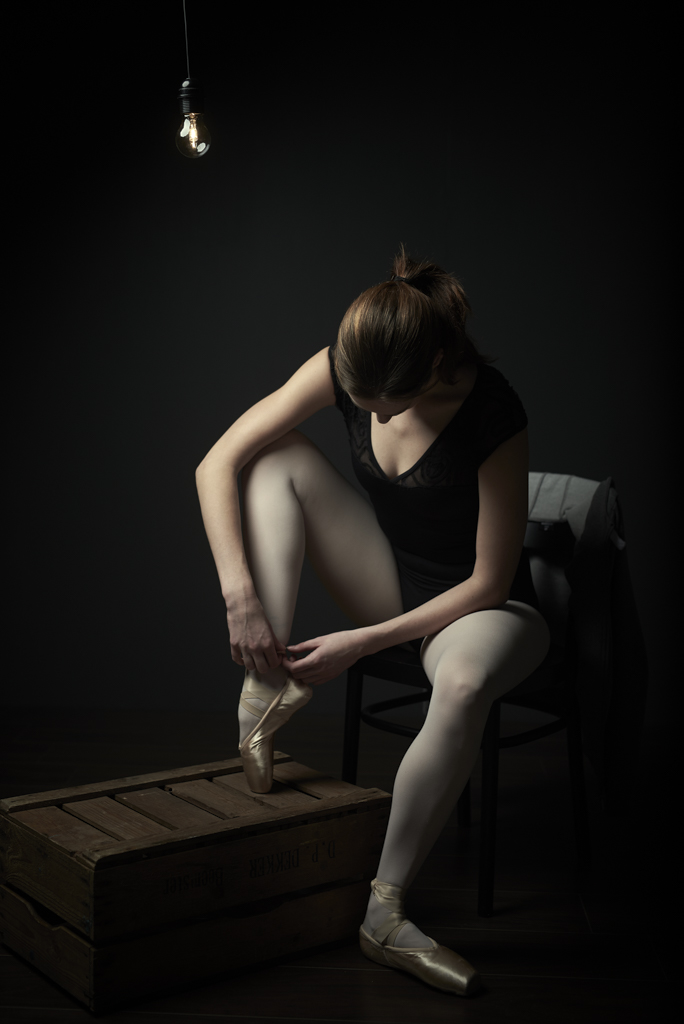
Voor de fotografen onder ons. Als je wil leren hoe dit ook te maken, 13 februari is er weer een workshop portretfotografie en 26 februari een workshop "Fotograferen als Rembrandt", deze zal gegeven worden bij SIGMA Benelux. Kijk op WORKSHOPS pagina voor meer informatie
Workshop results: Dance Photography
Past weekend I gave two workshops. Here are the results of the workshop of Saturday, the workshop Dance photography. We started off with a couple of portraits of the dancers and then made a few real action dance photo's
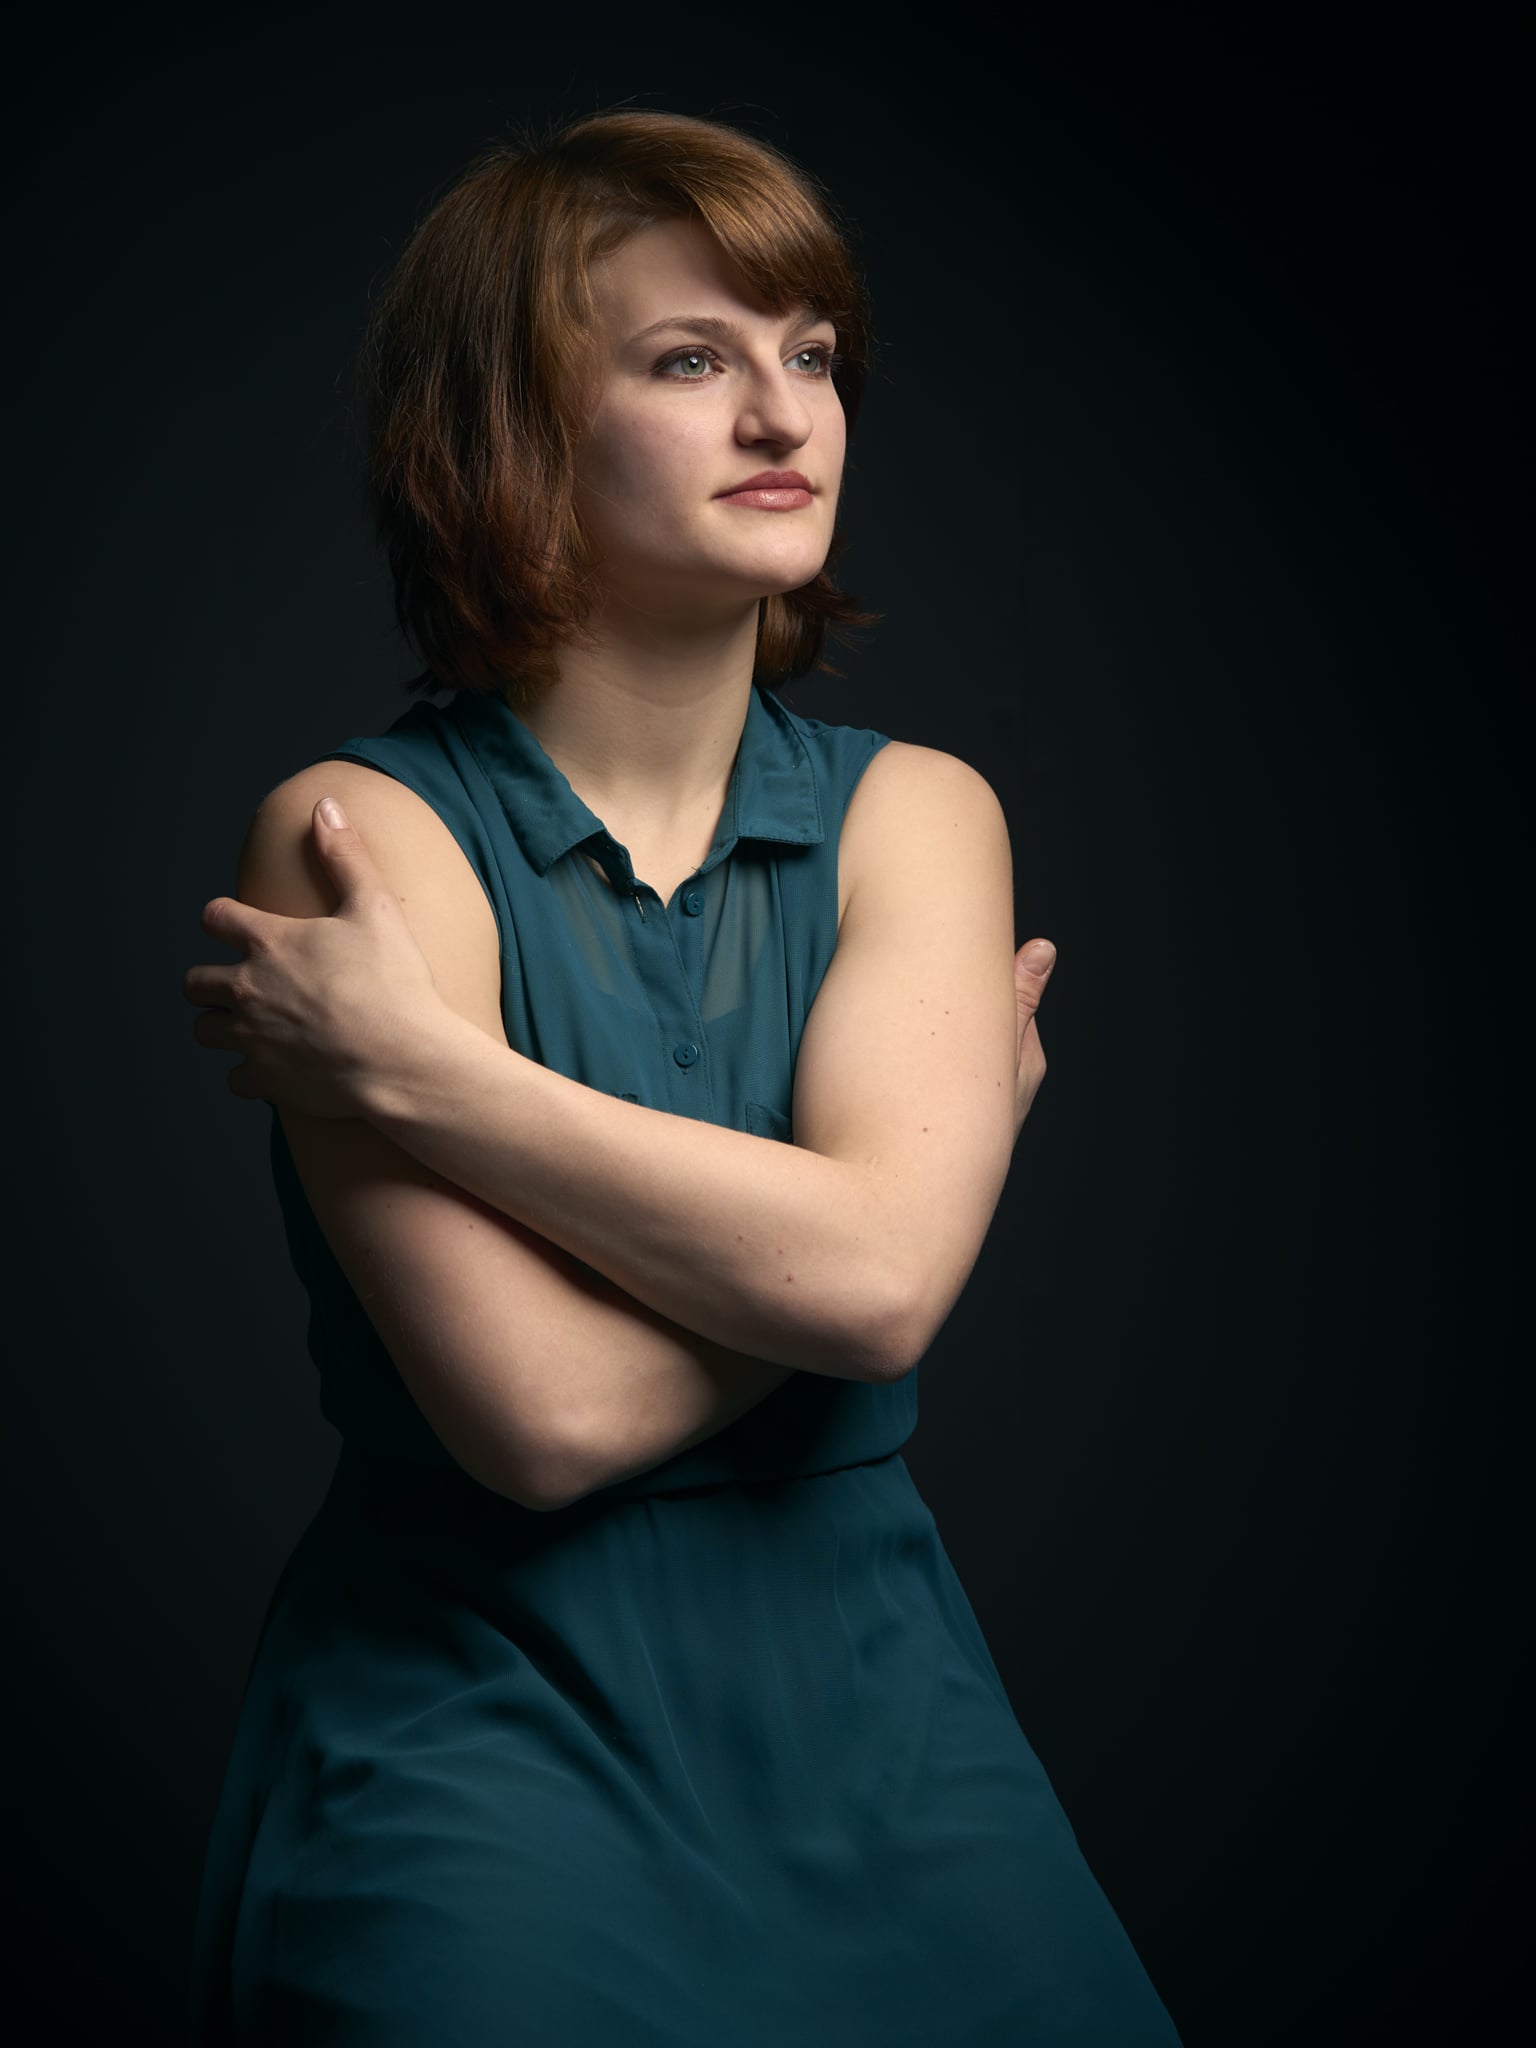
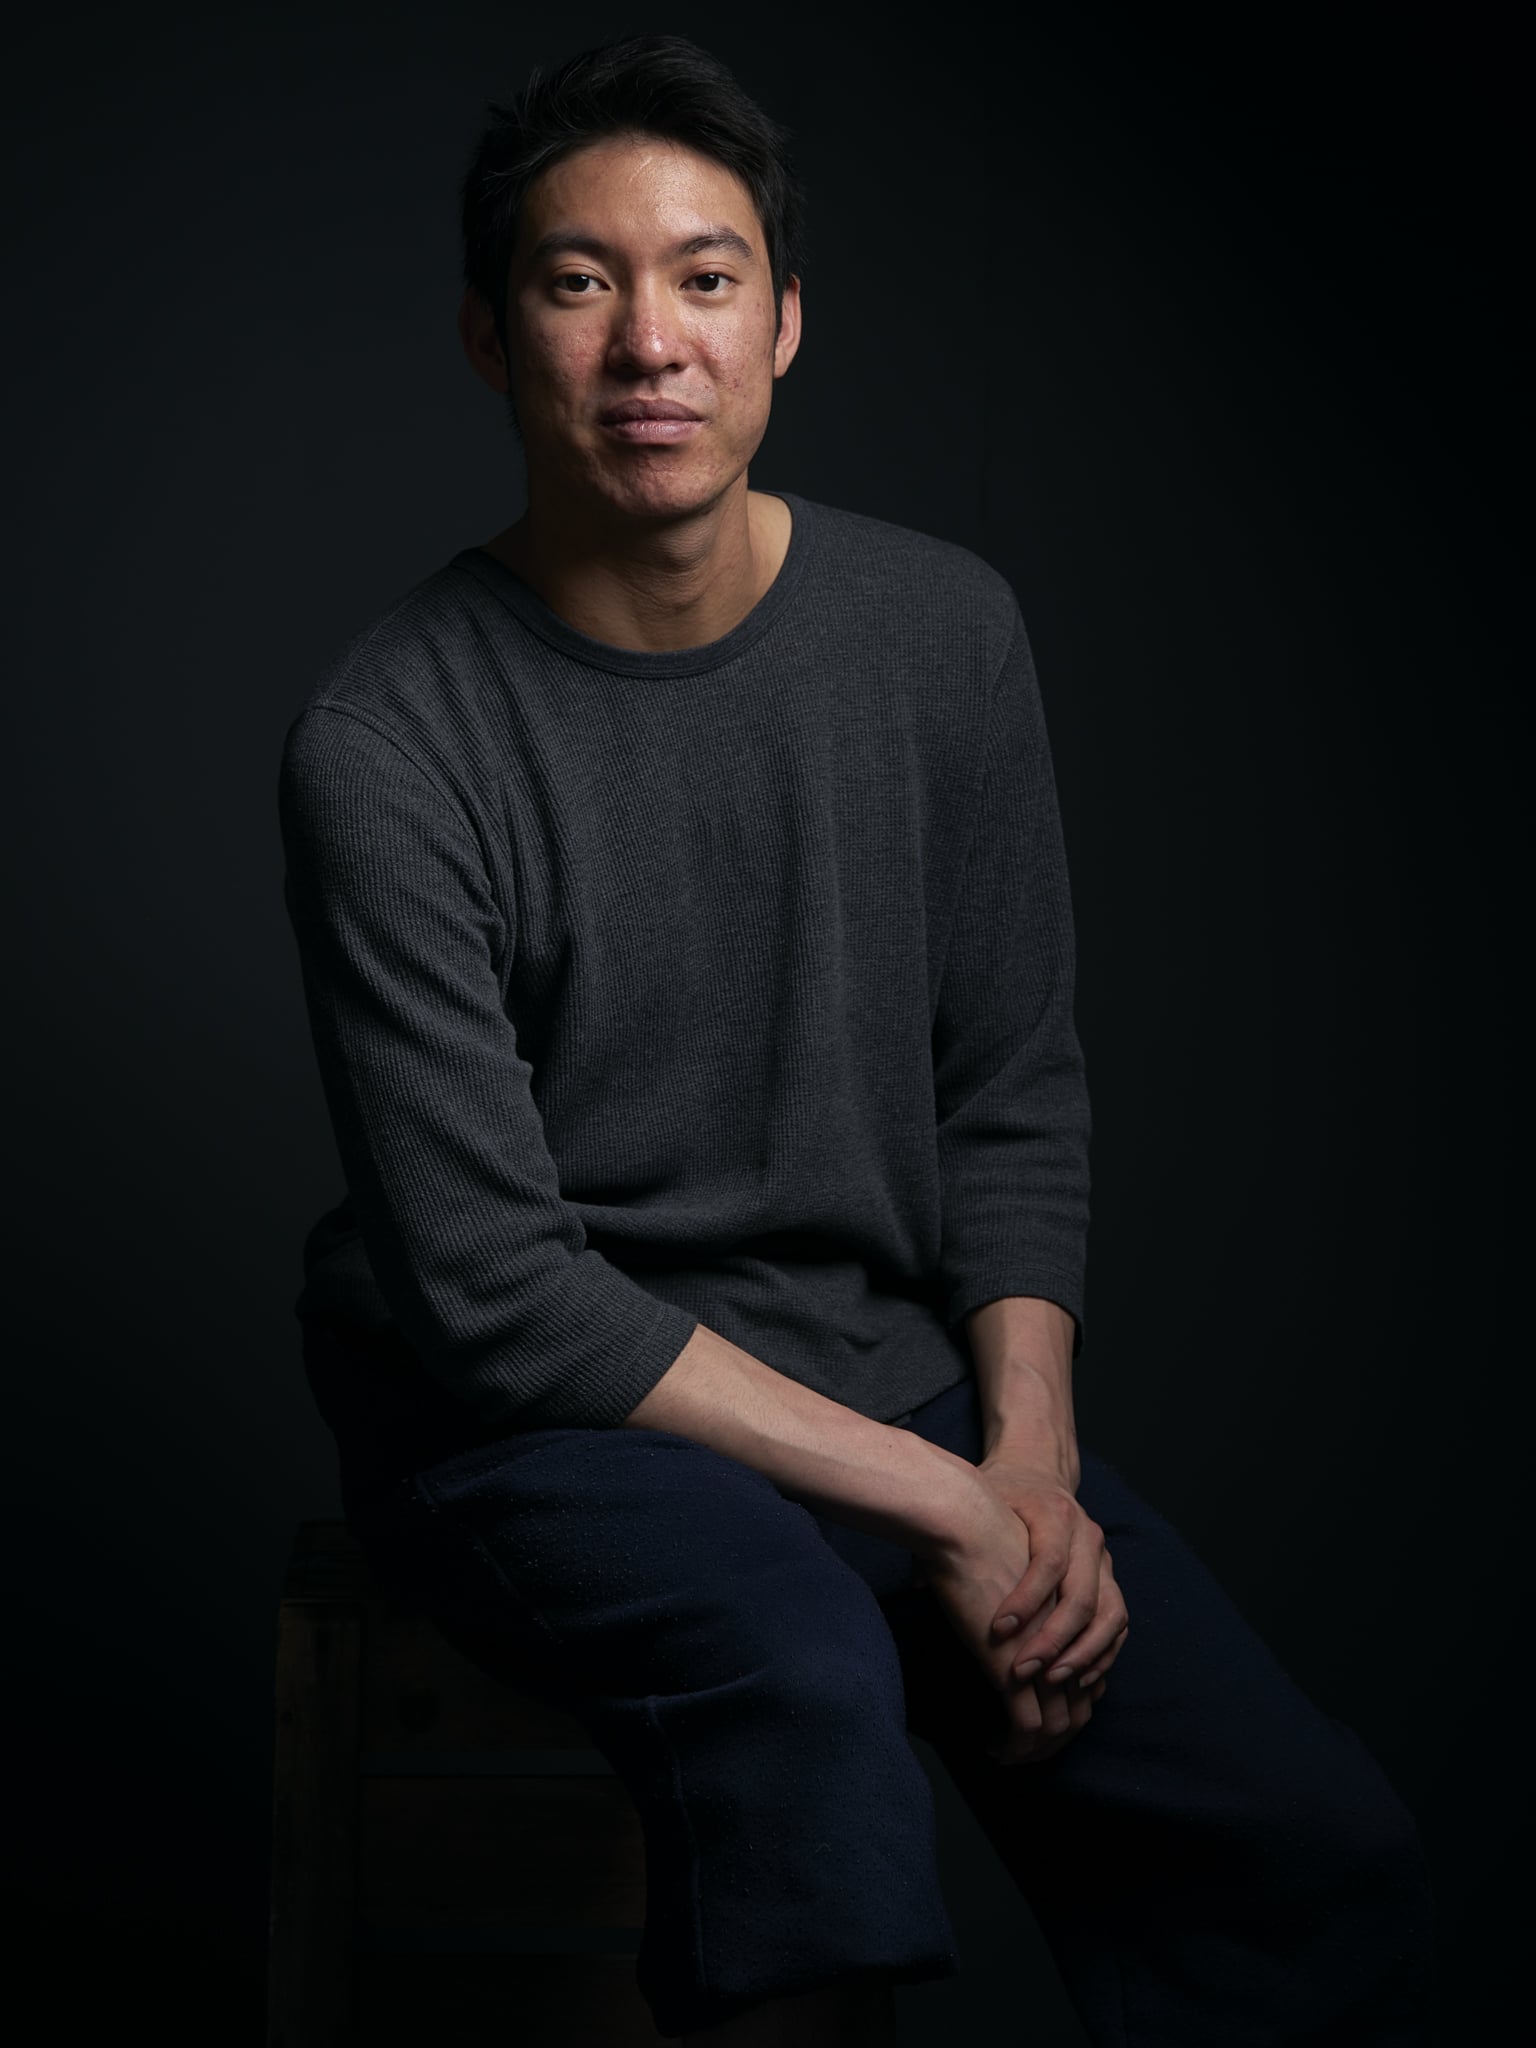
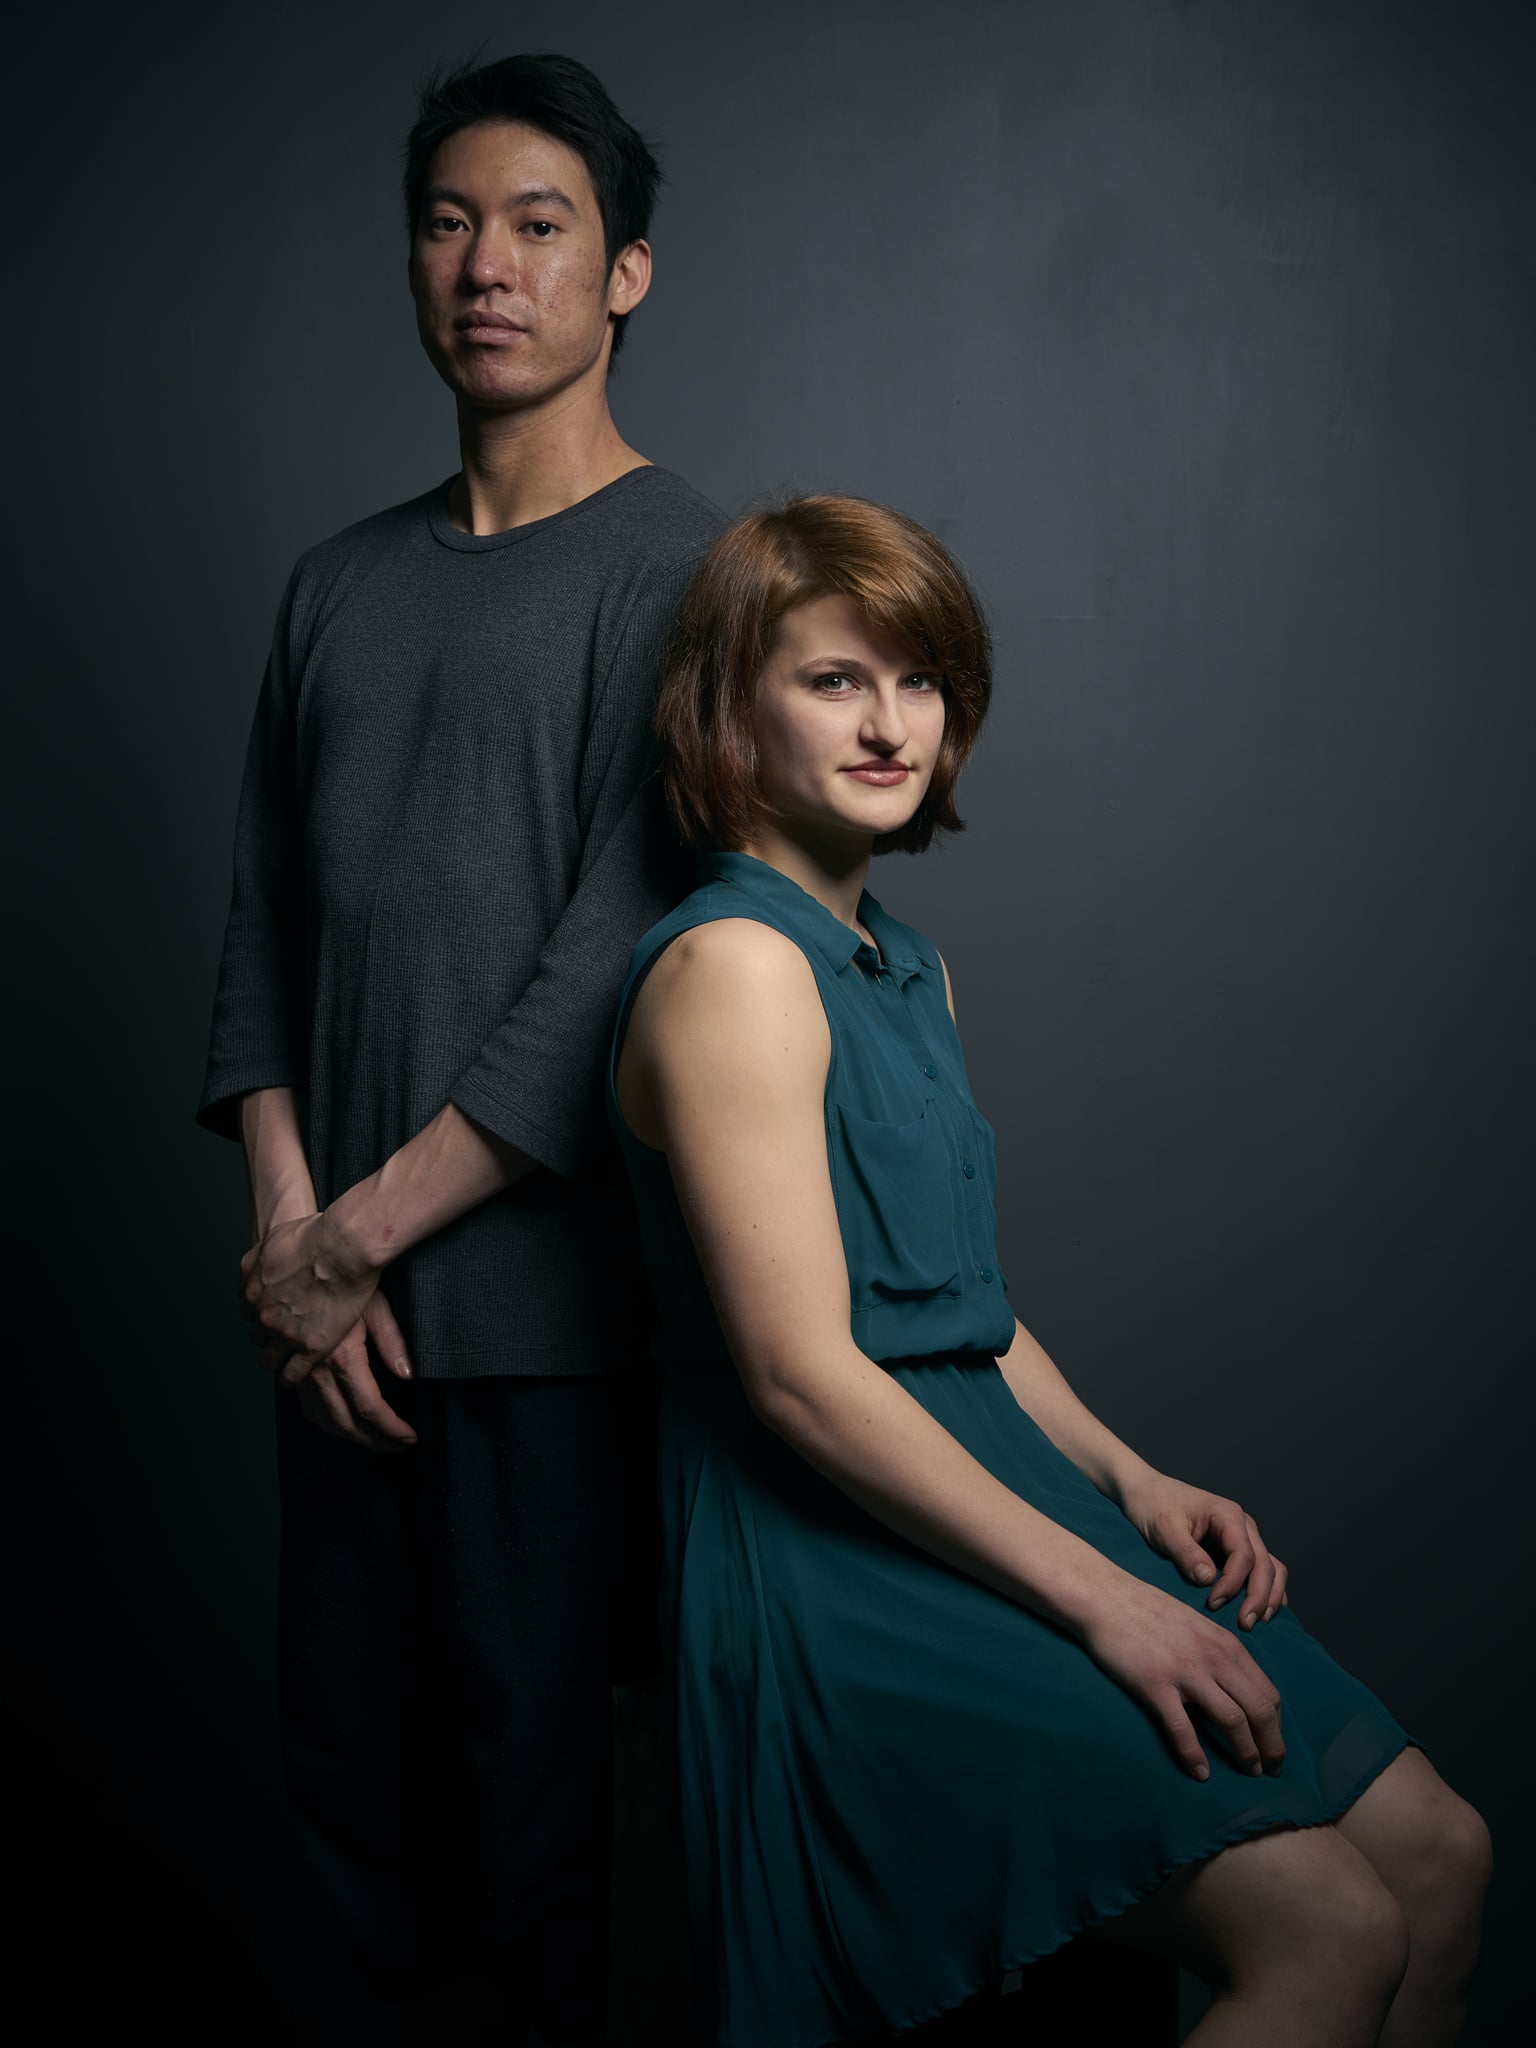
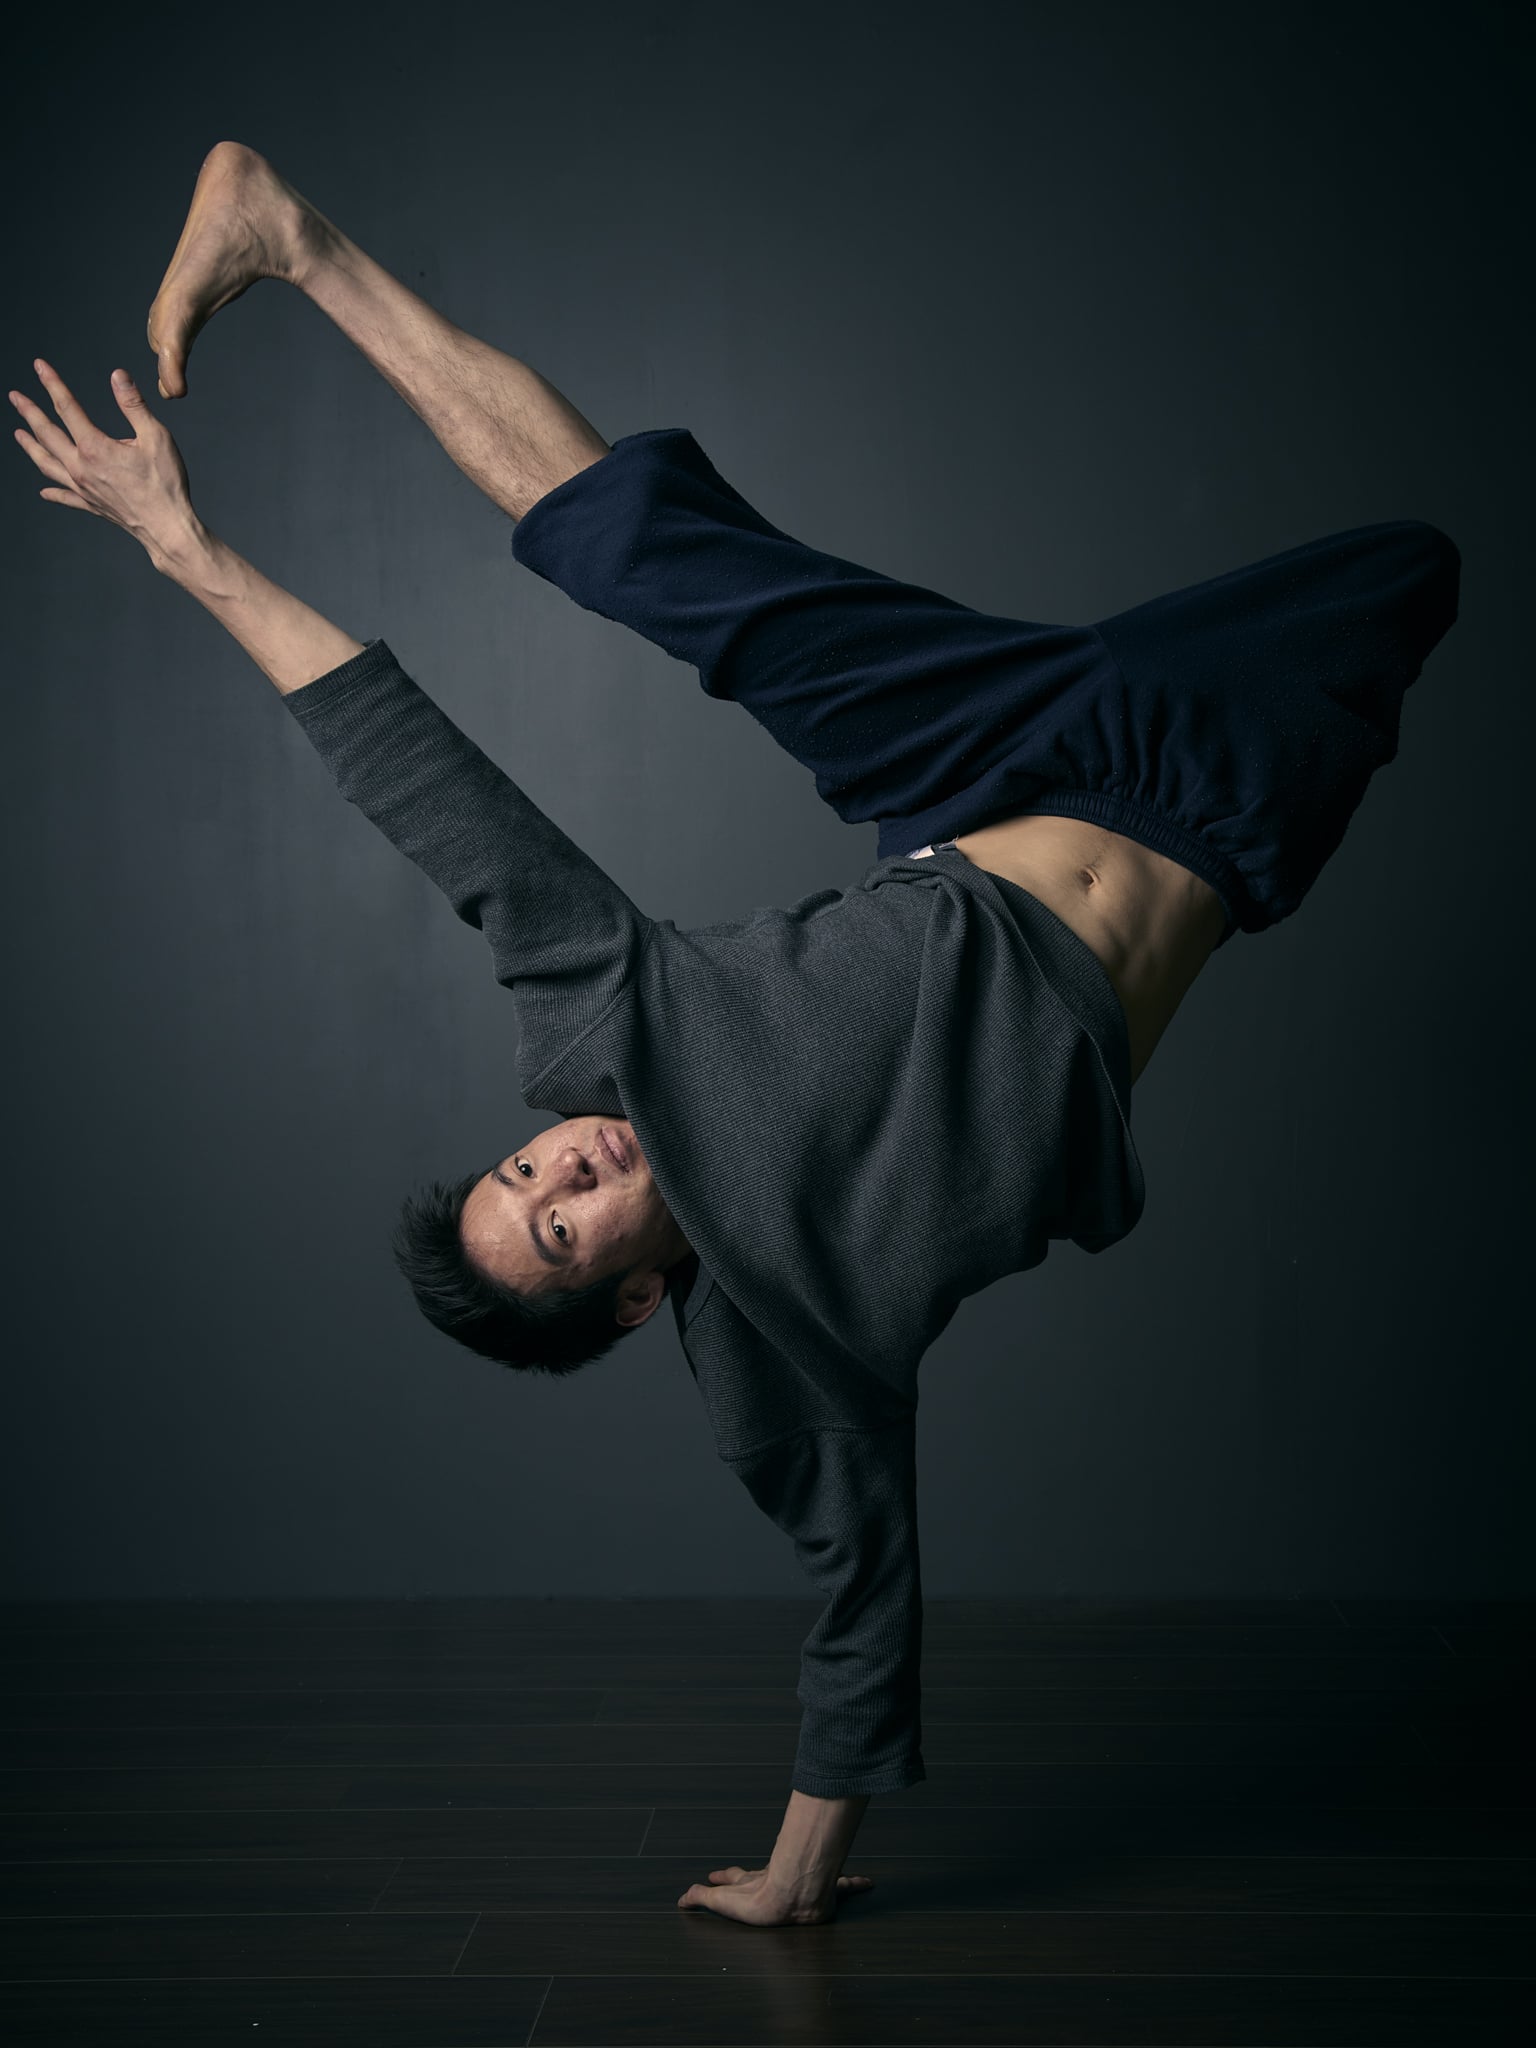
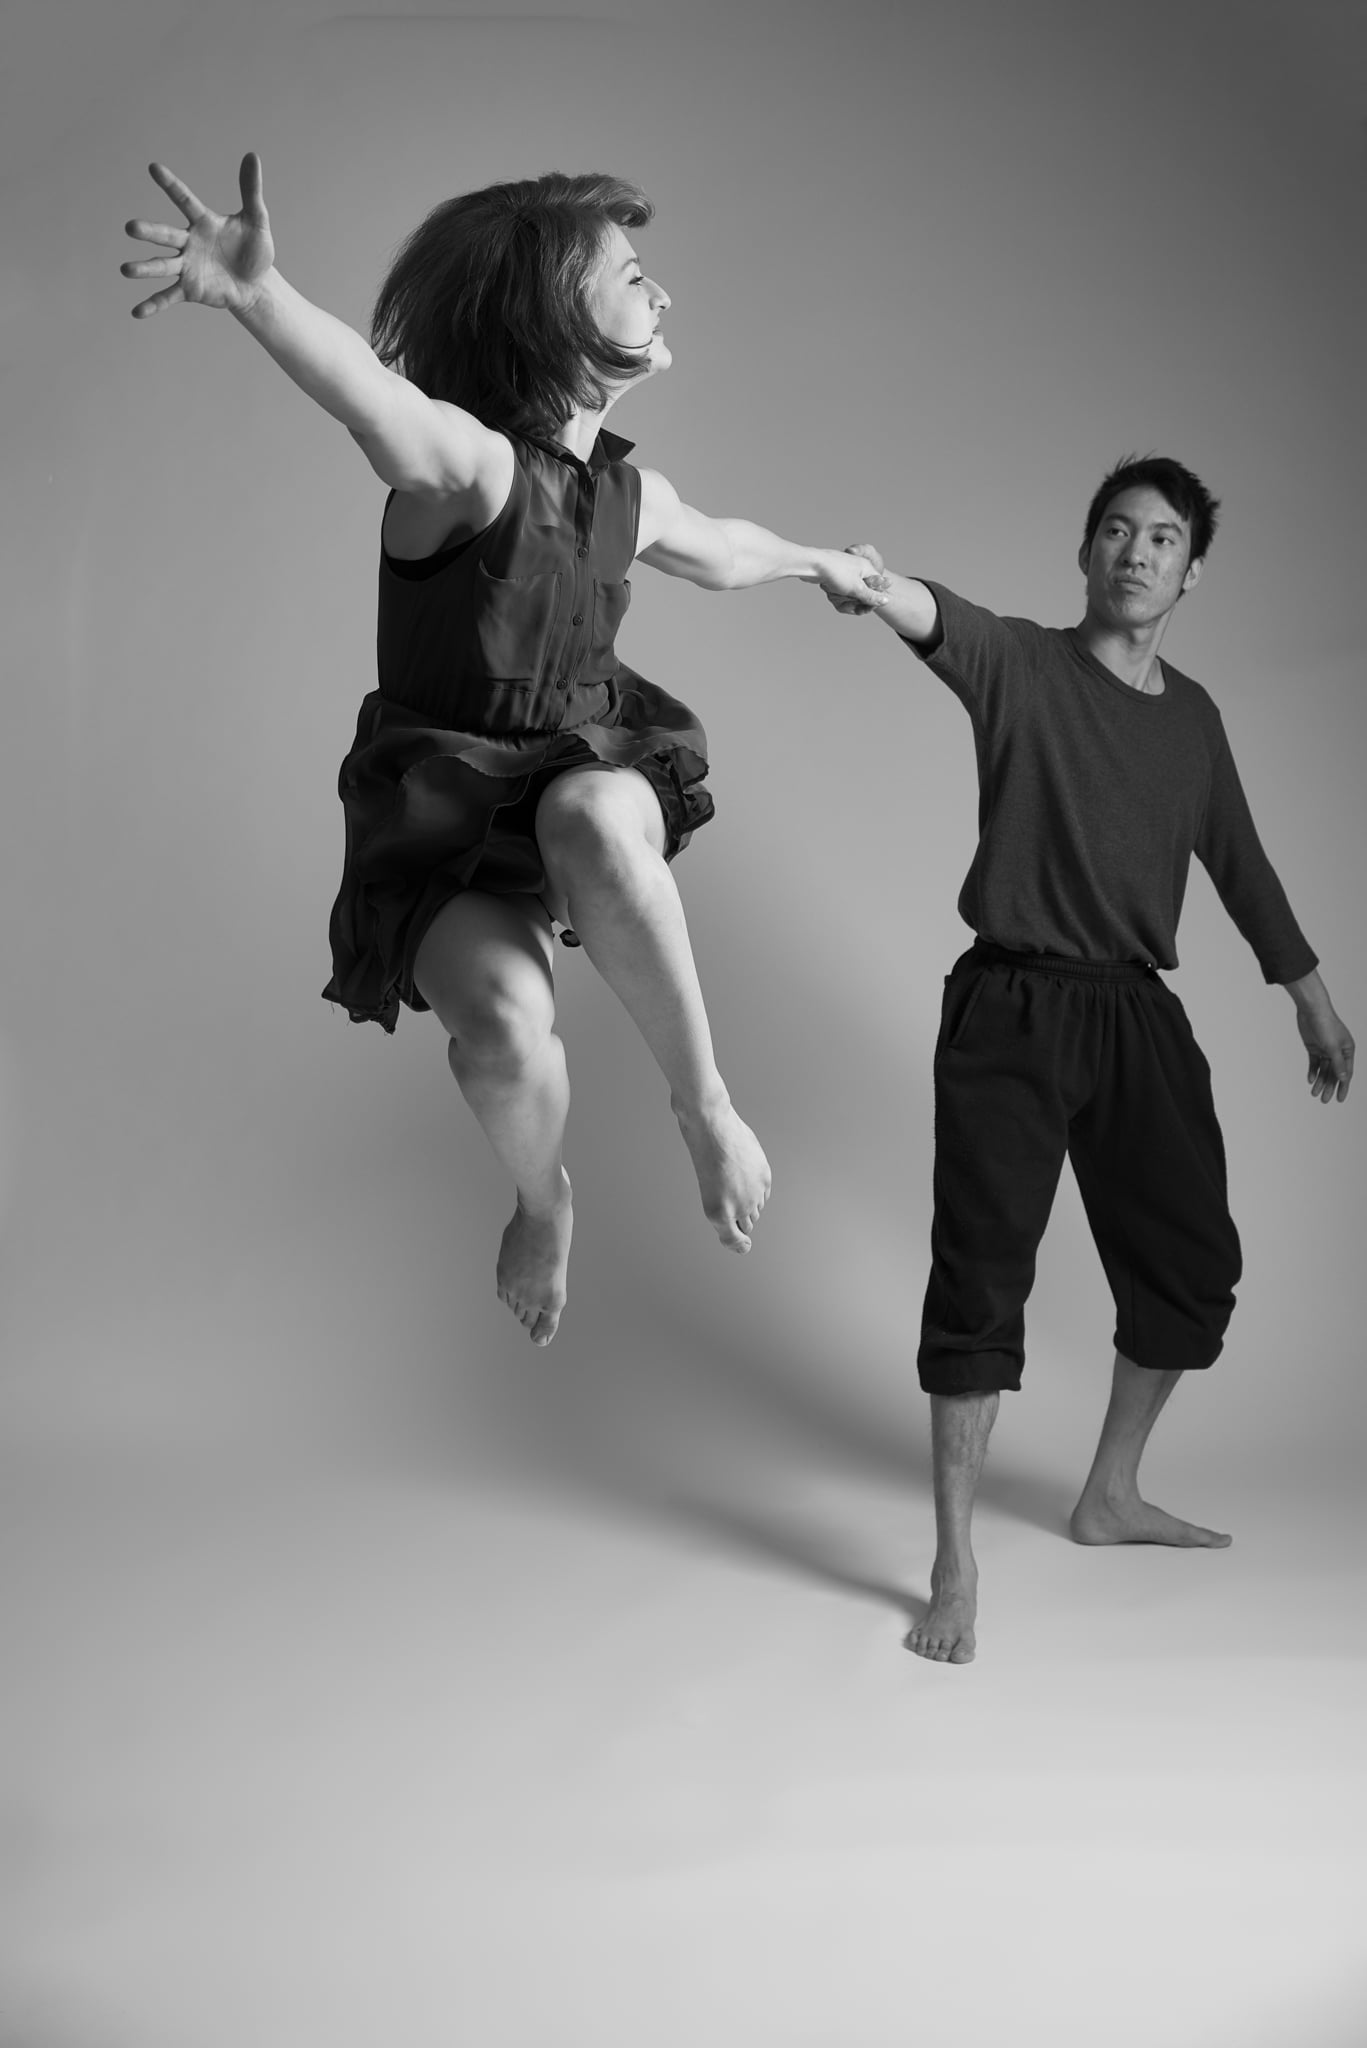
Alle photo's where made with the Nikon D800 with the Sigma 24-105 art lens.
Monday, Blogday: the Box Office
The holidays are over so Monday, Blogday is back! Today with the edit of the Box Office. I got inspired by some work of Brooke Shaden and with the upcoming Fantasy Studio photography next sunday I wanted to do some extra practicing!
So here it is the Box Office! Below is the video of the Photoshop edit!
Workshop Portretfotografie
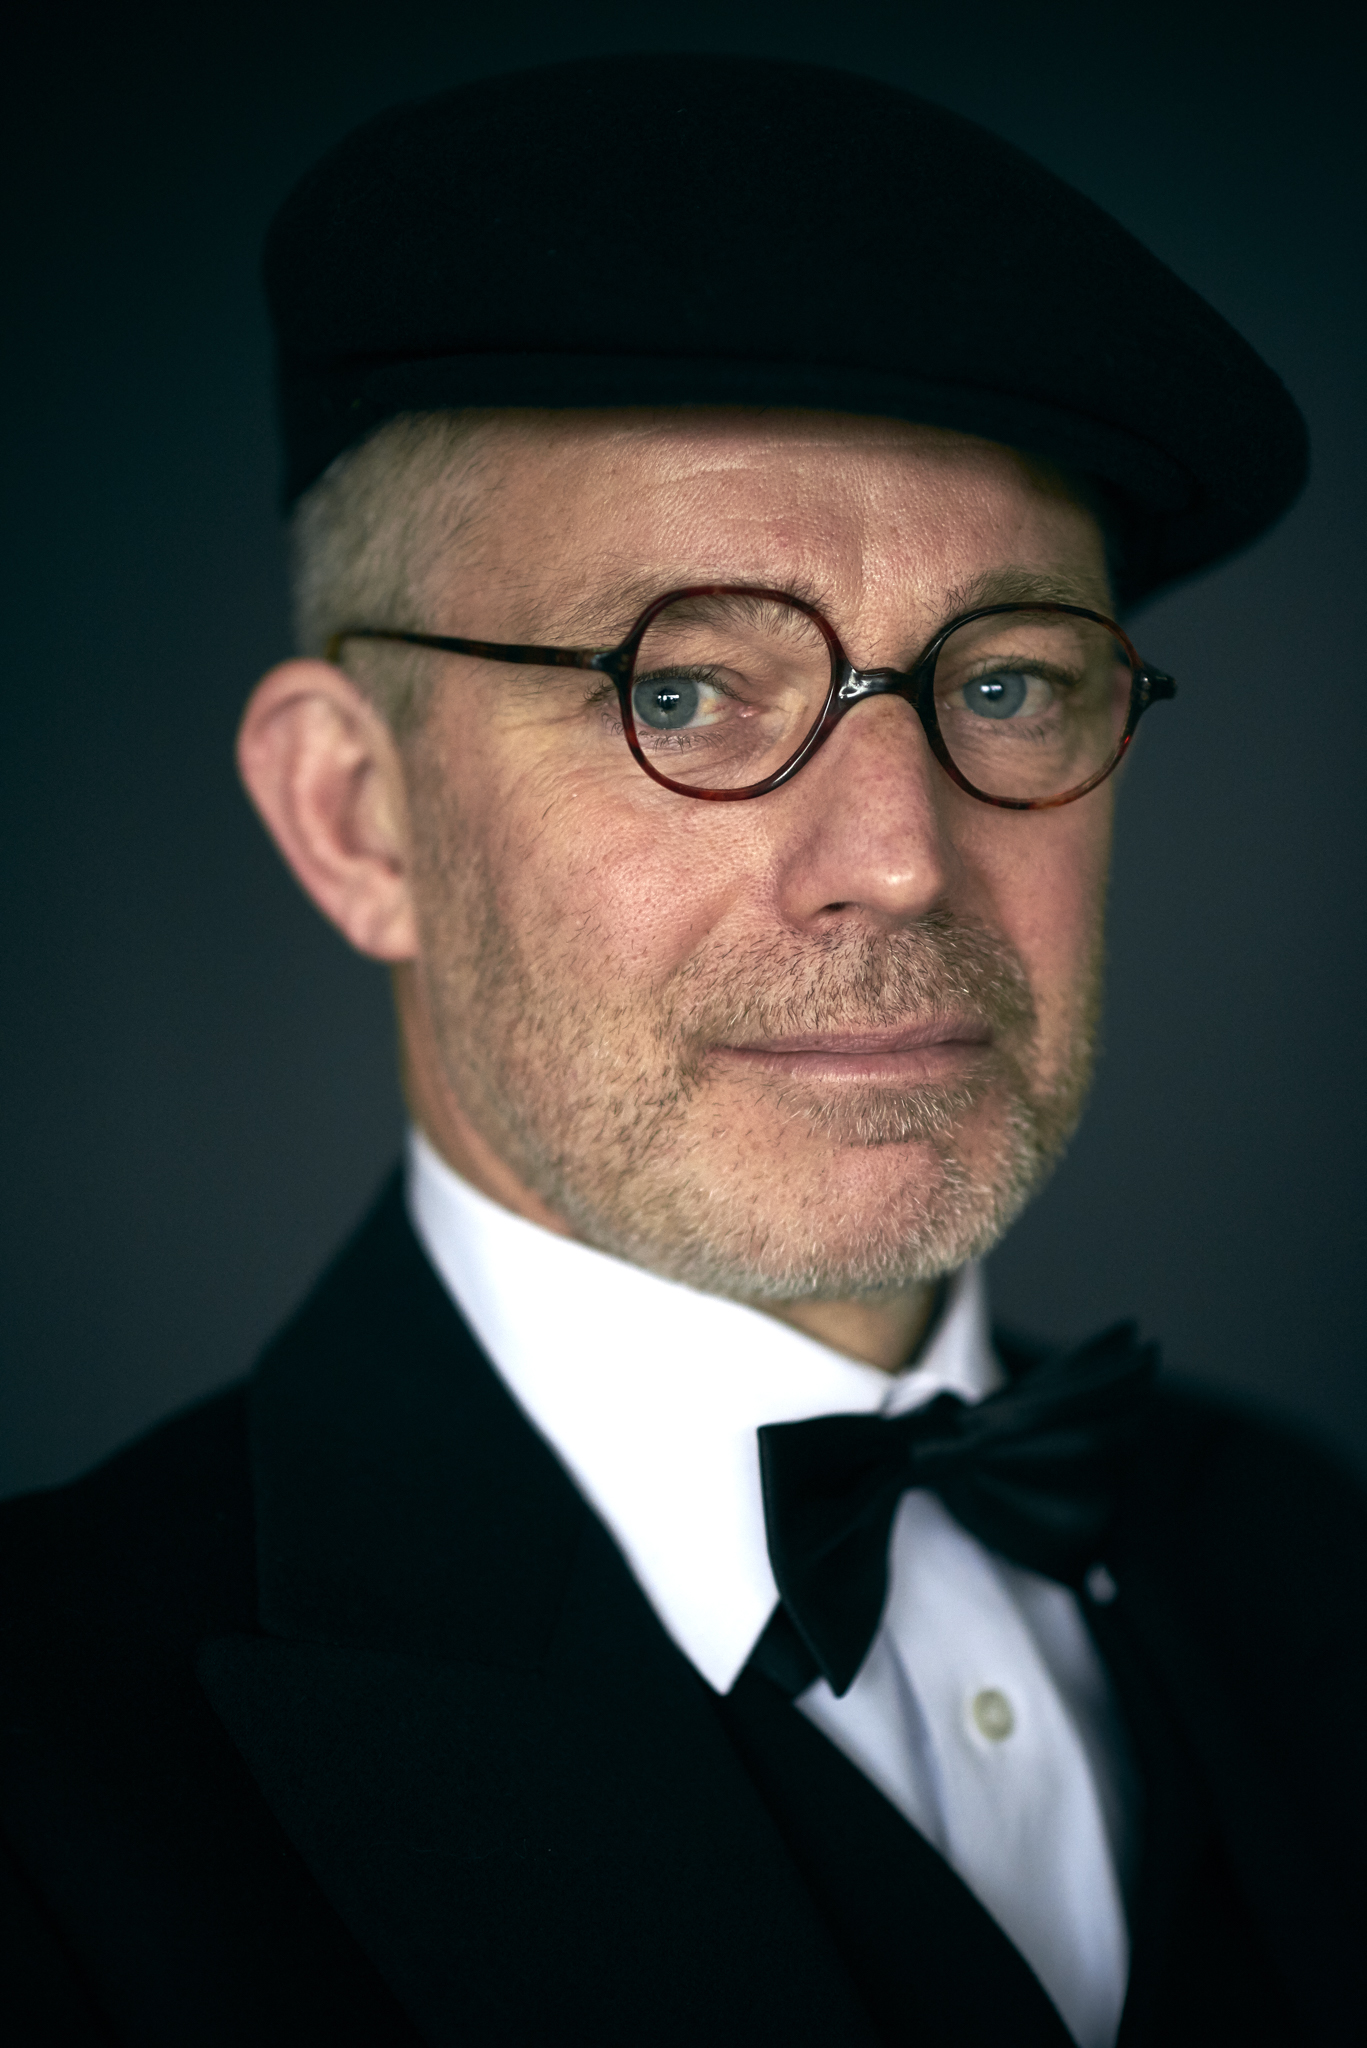
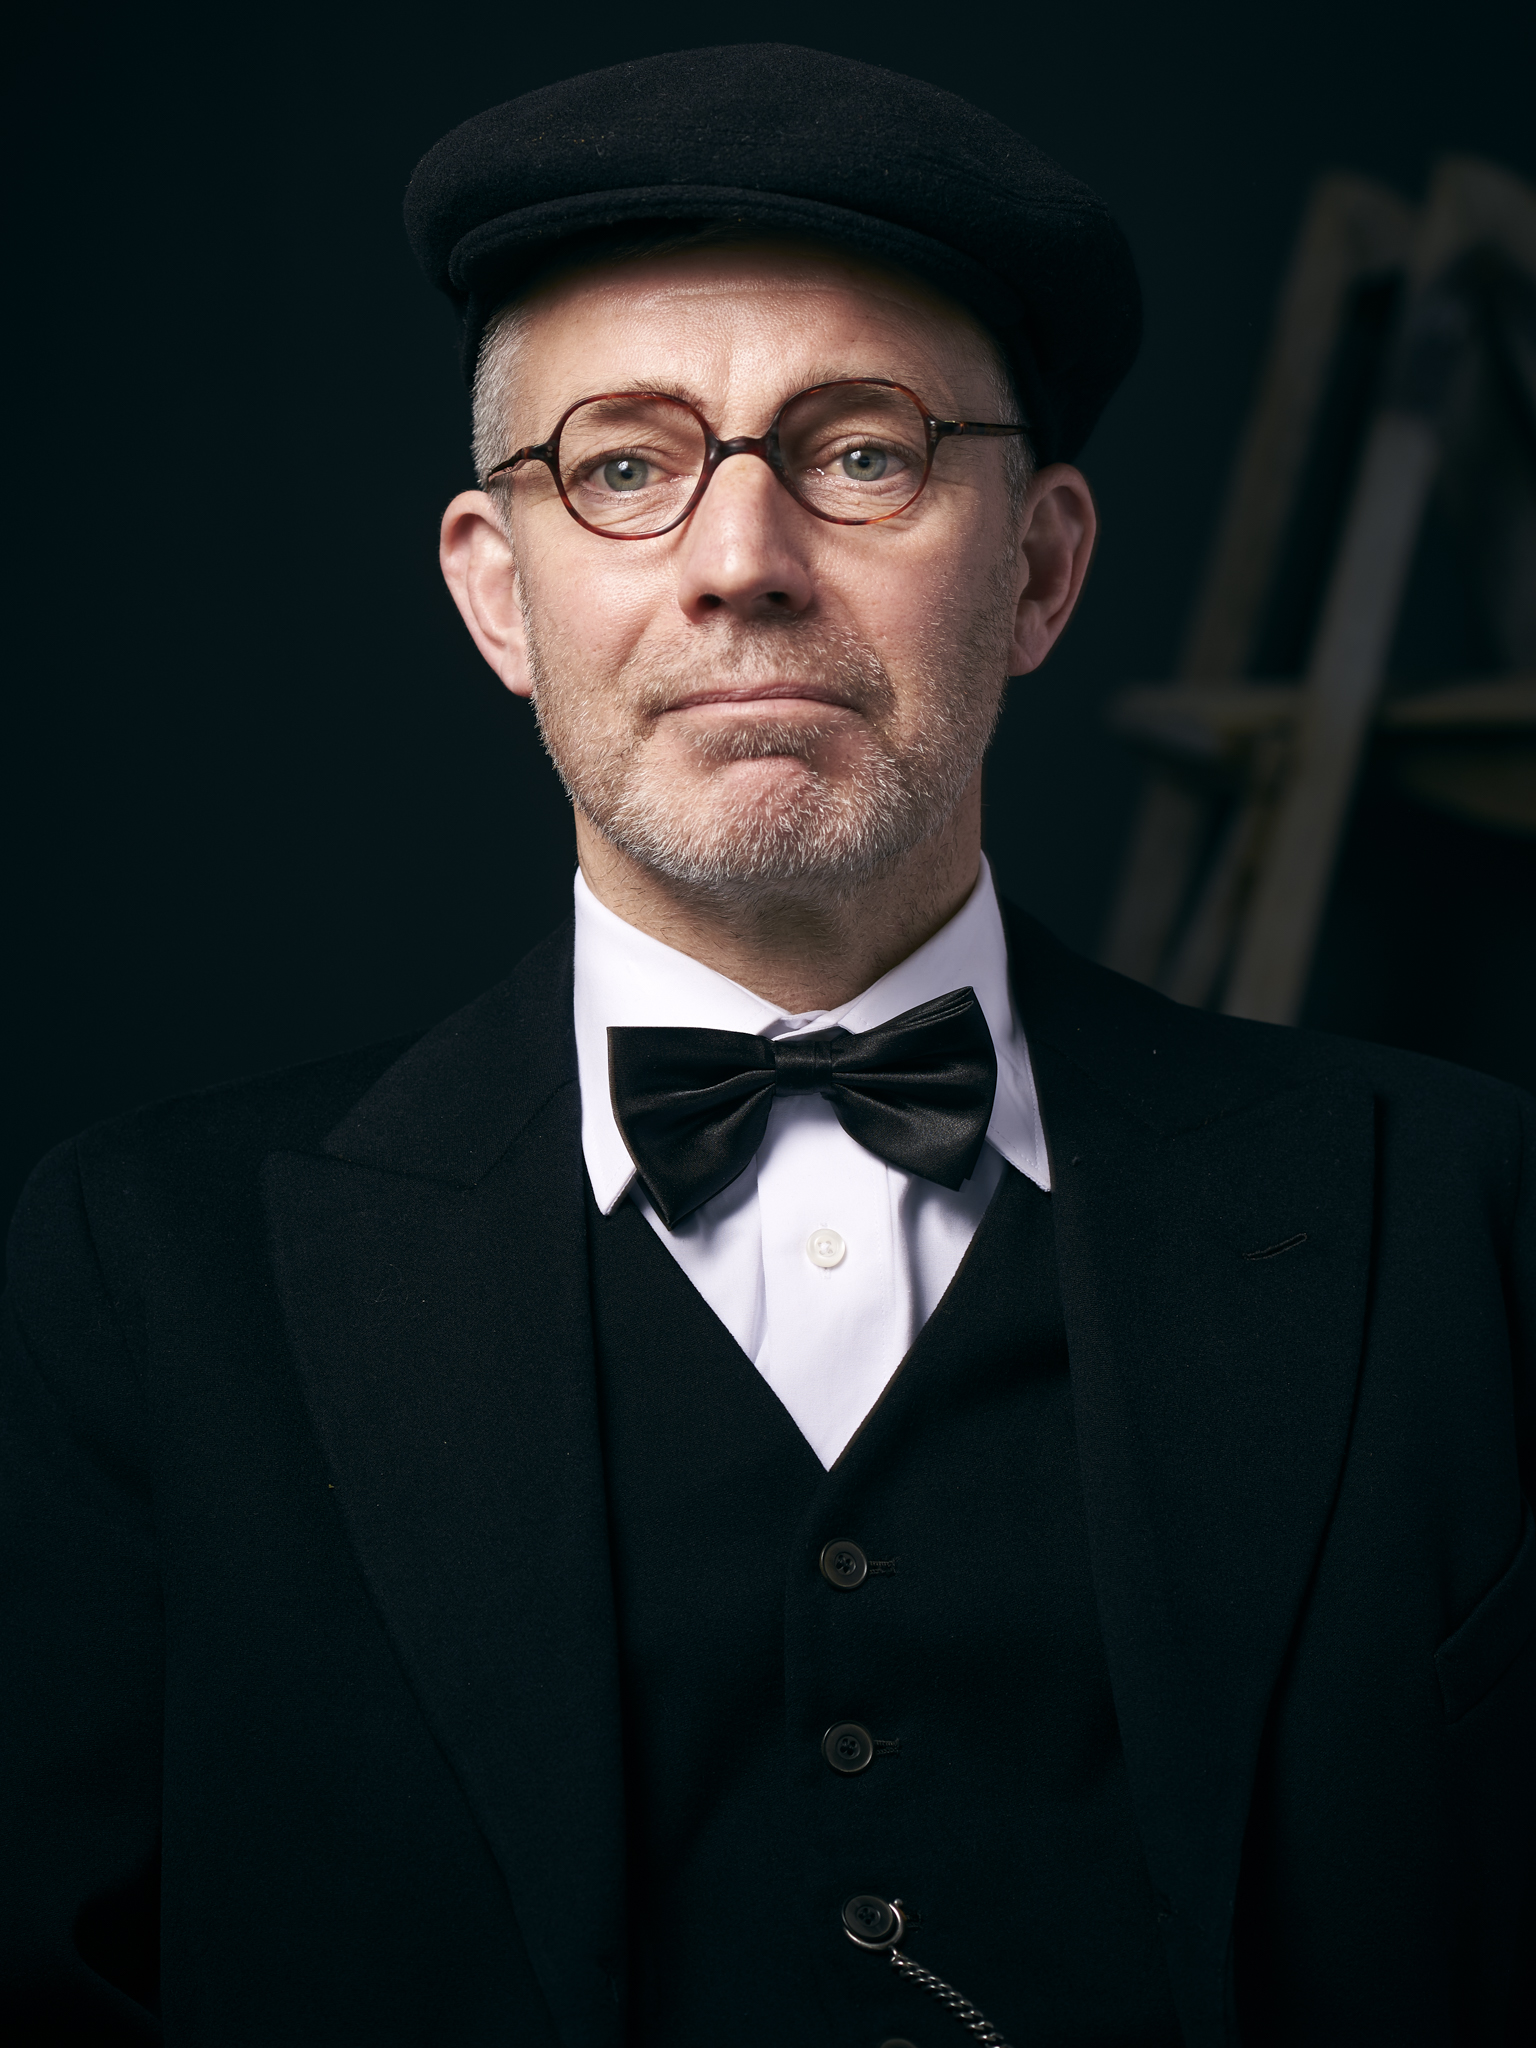
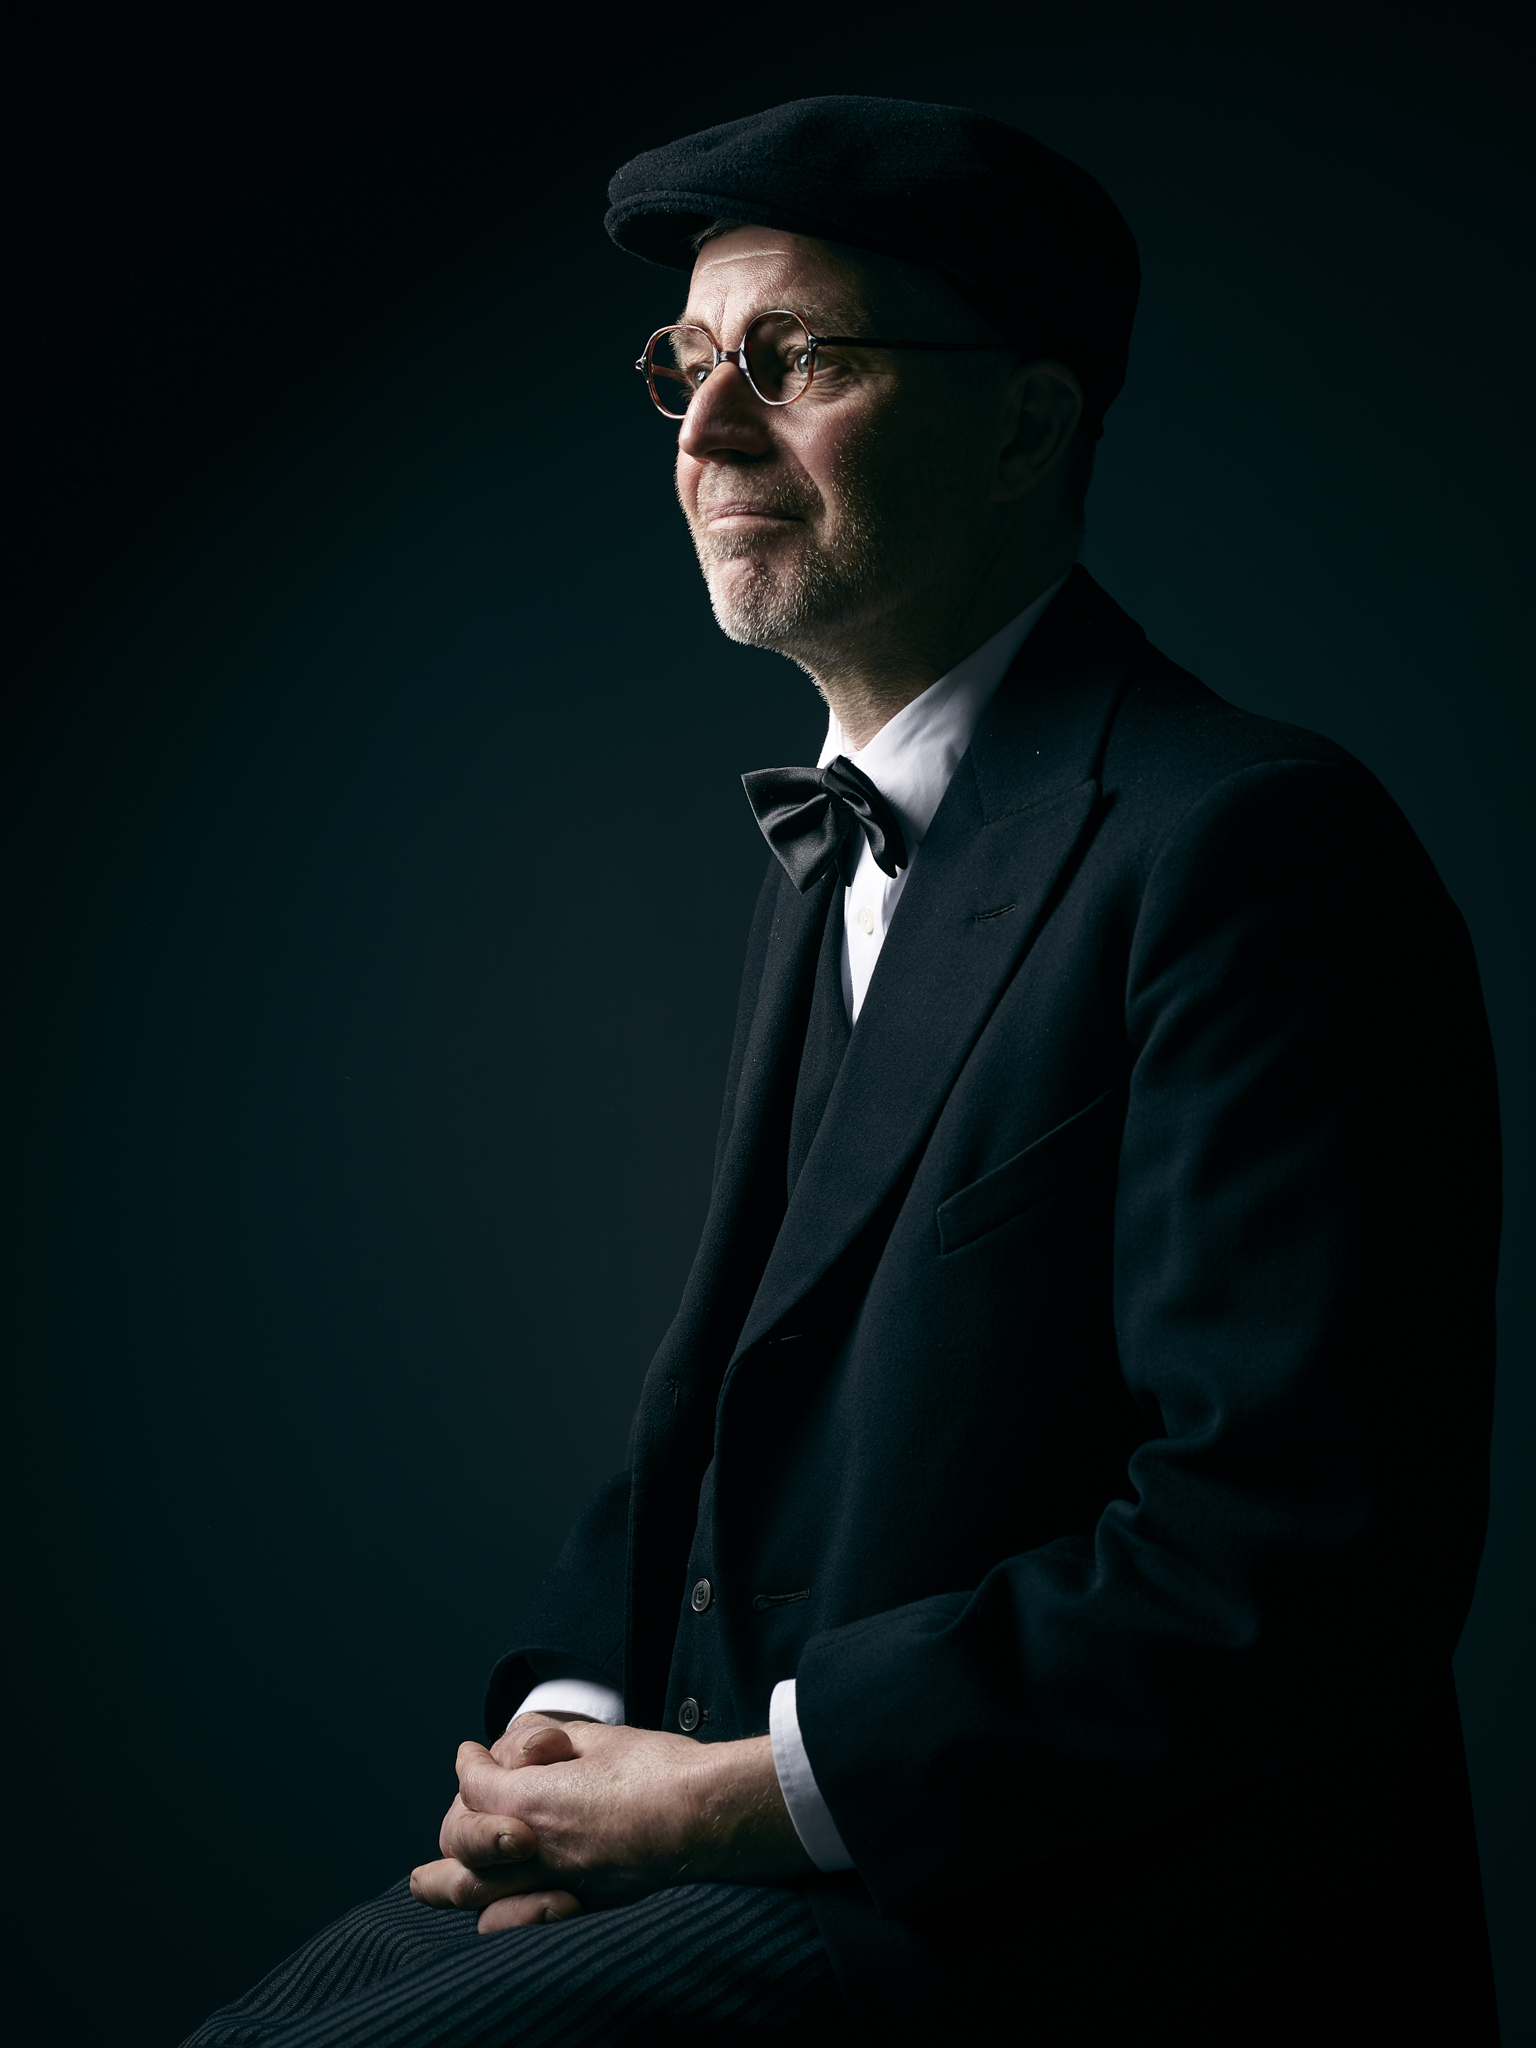
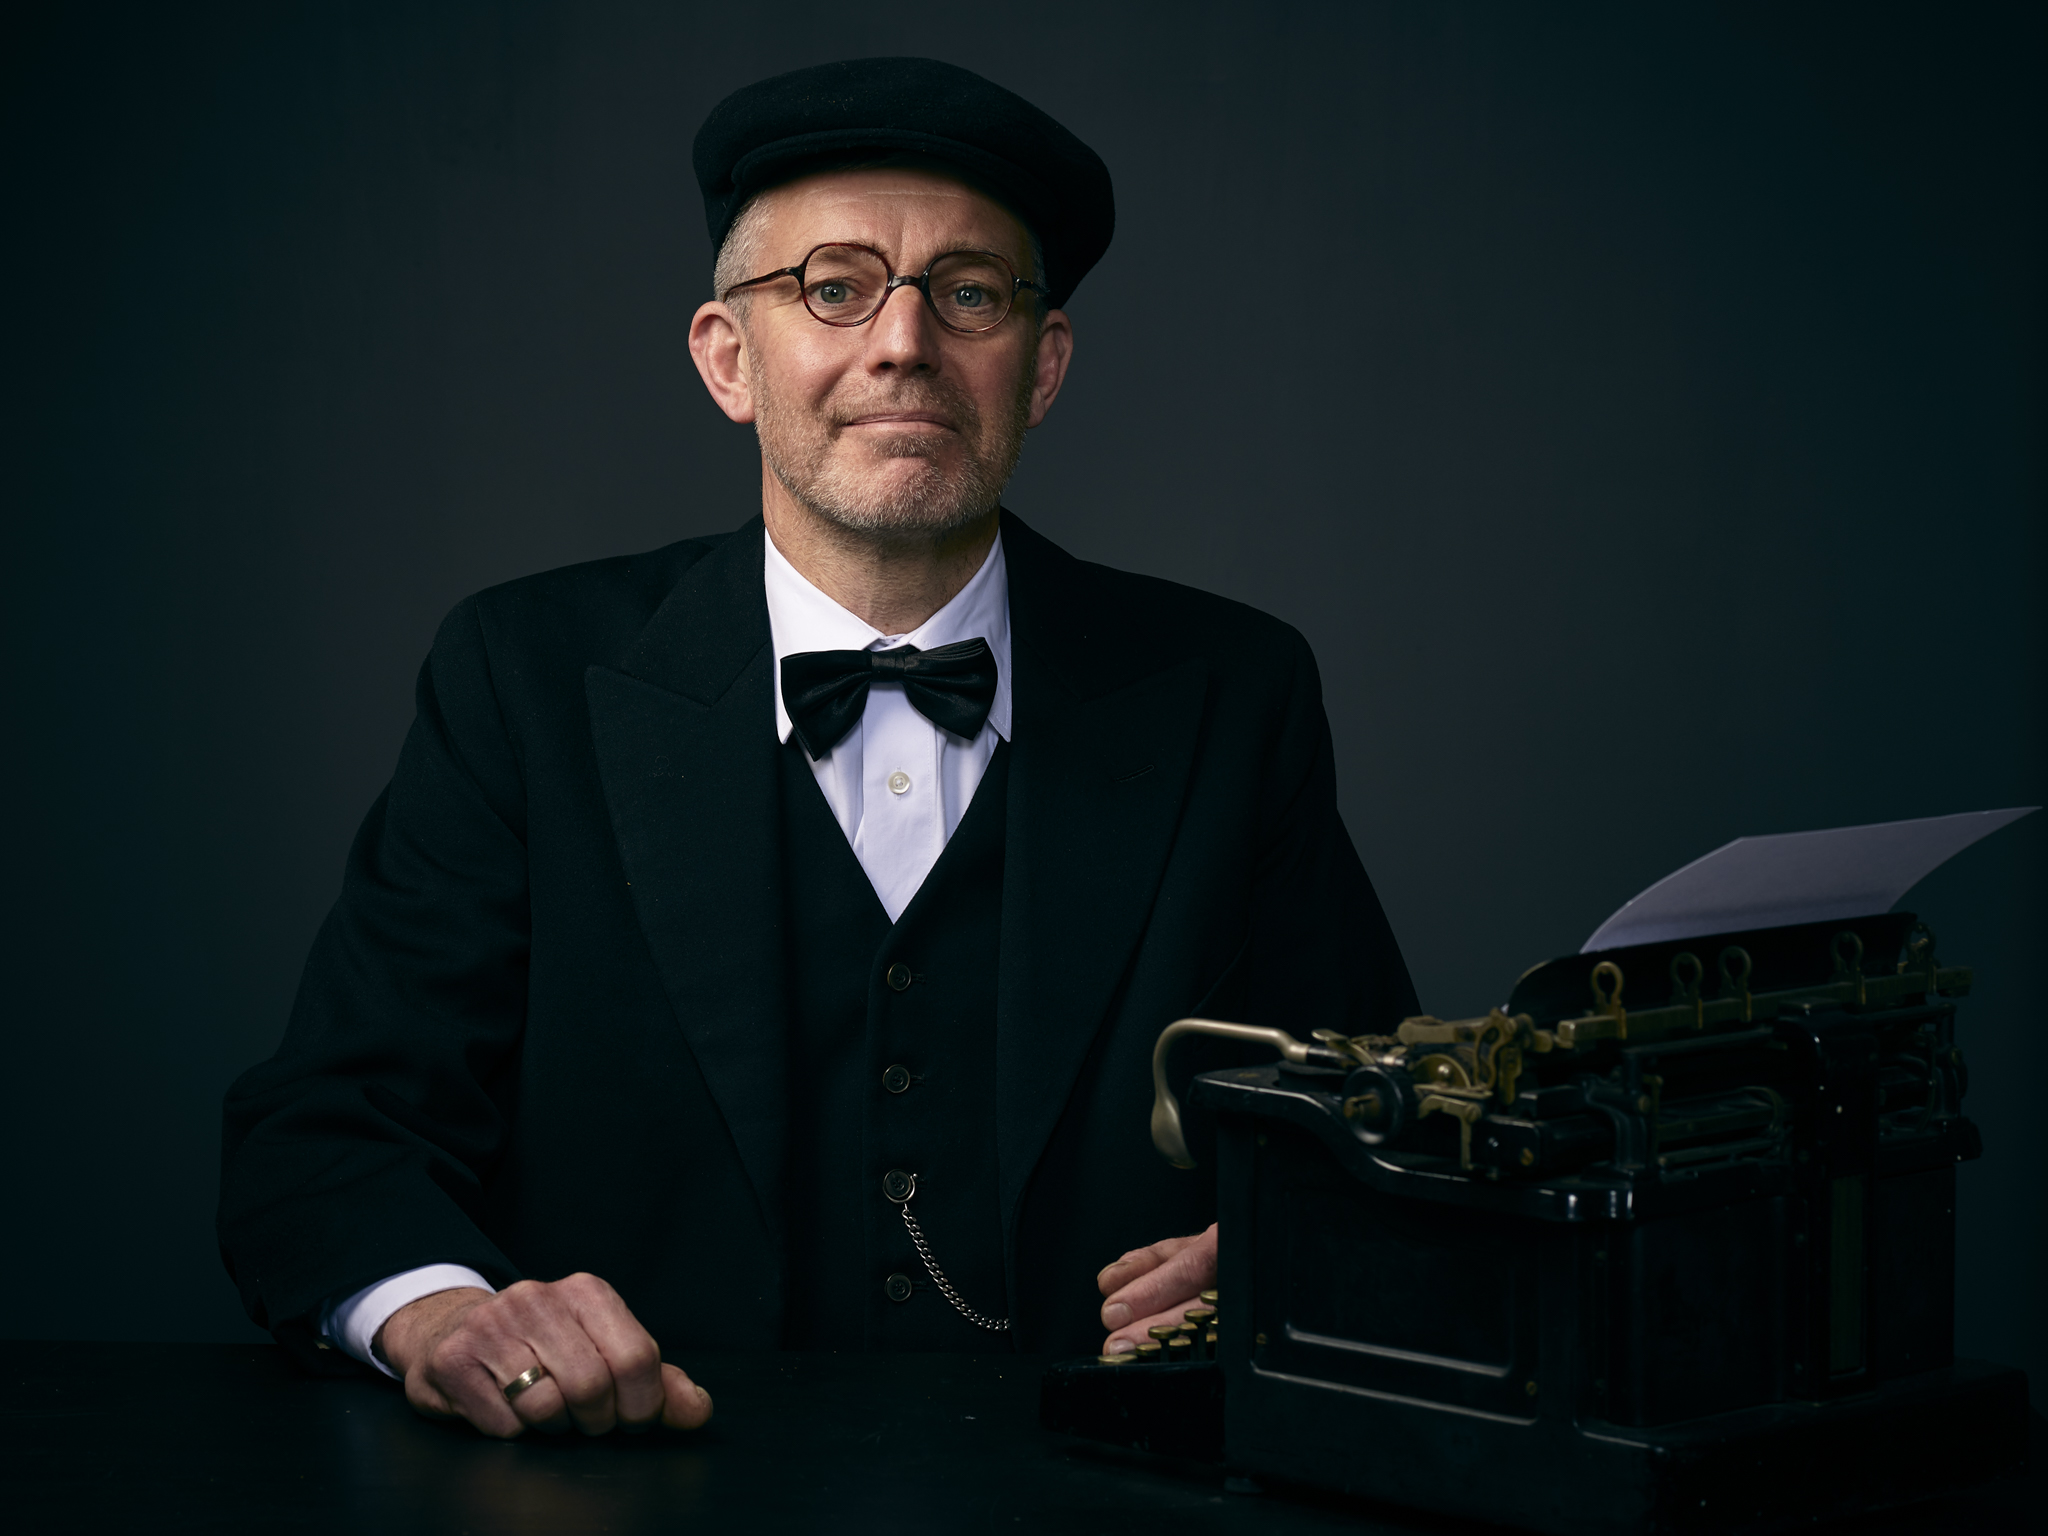
I know i am late , sorry! I am working really hard on the Ferry Tales project and new projects for net year. But here are the photo's from ast months workshop Portretfotografie! The model was Kees Visser.
Ferry tales Work in progress
Hi All,
Currently I am working hard on the editing of the Ferry Tales project. You can find the first photo's on THIS page.
Here are also some BTS video of the Photoshop edits
Ferry Tales: Work in progress
Hi All,
For the people waiting for the weekly blogpost, sorry I am late!! This is due the Ferry Tales project I am working on. We finished the forst three days with 9 of the 20 shots. Tomorrow we will start another run of two days with 9 shoots
You can follow the project on the Facebook page. I will post daily BTS video, photo's and work in progress shots!
Here are some of the first finished photo's
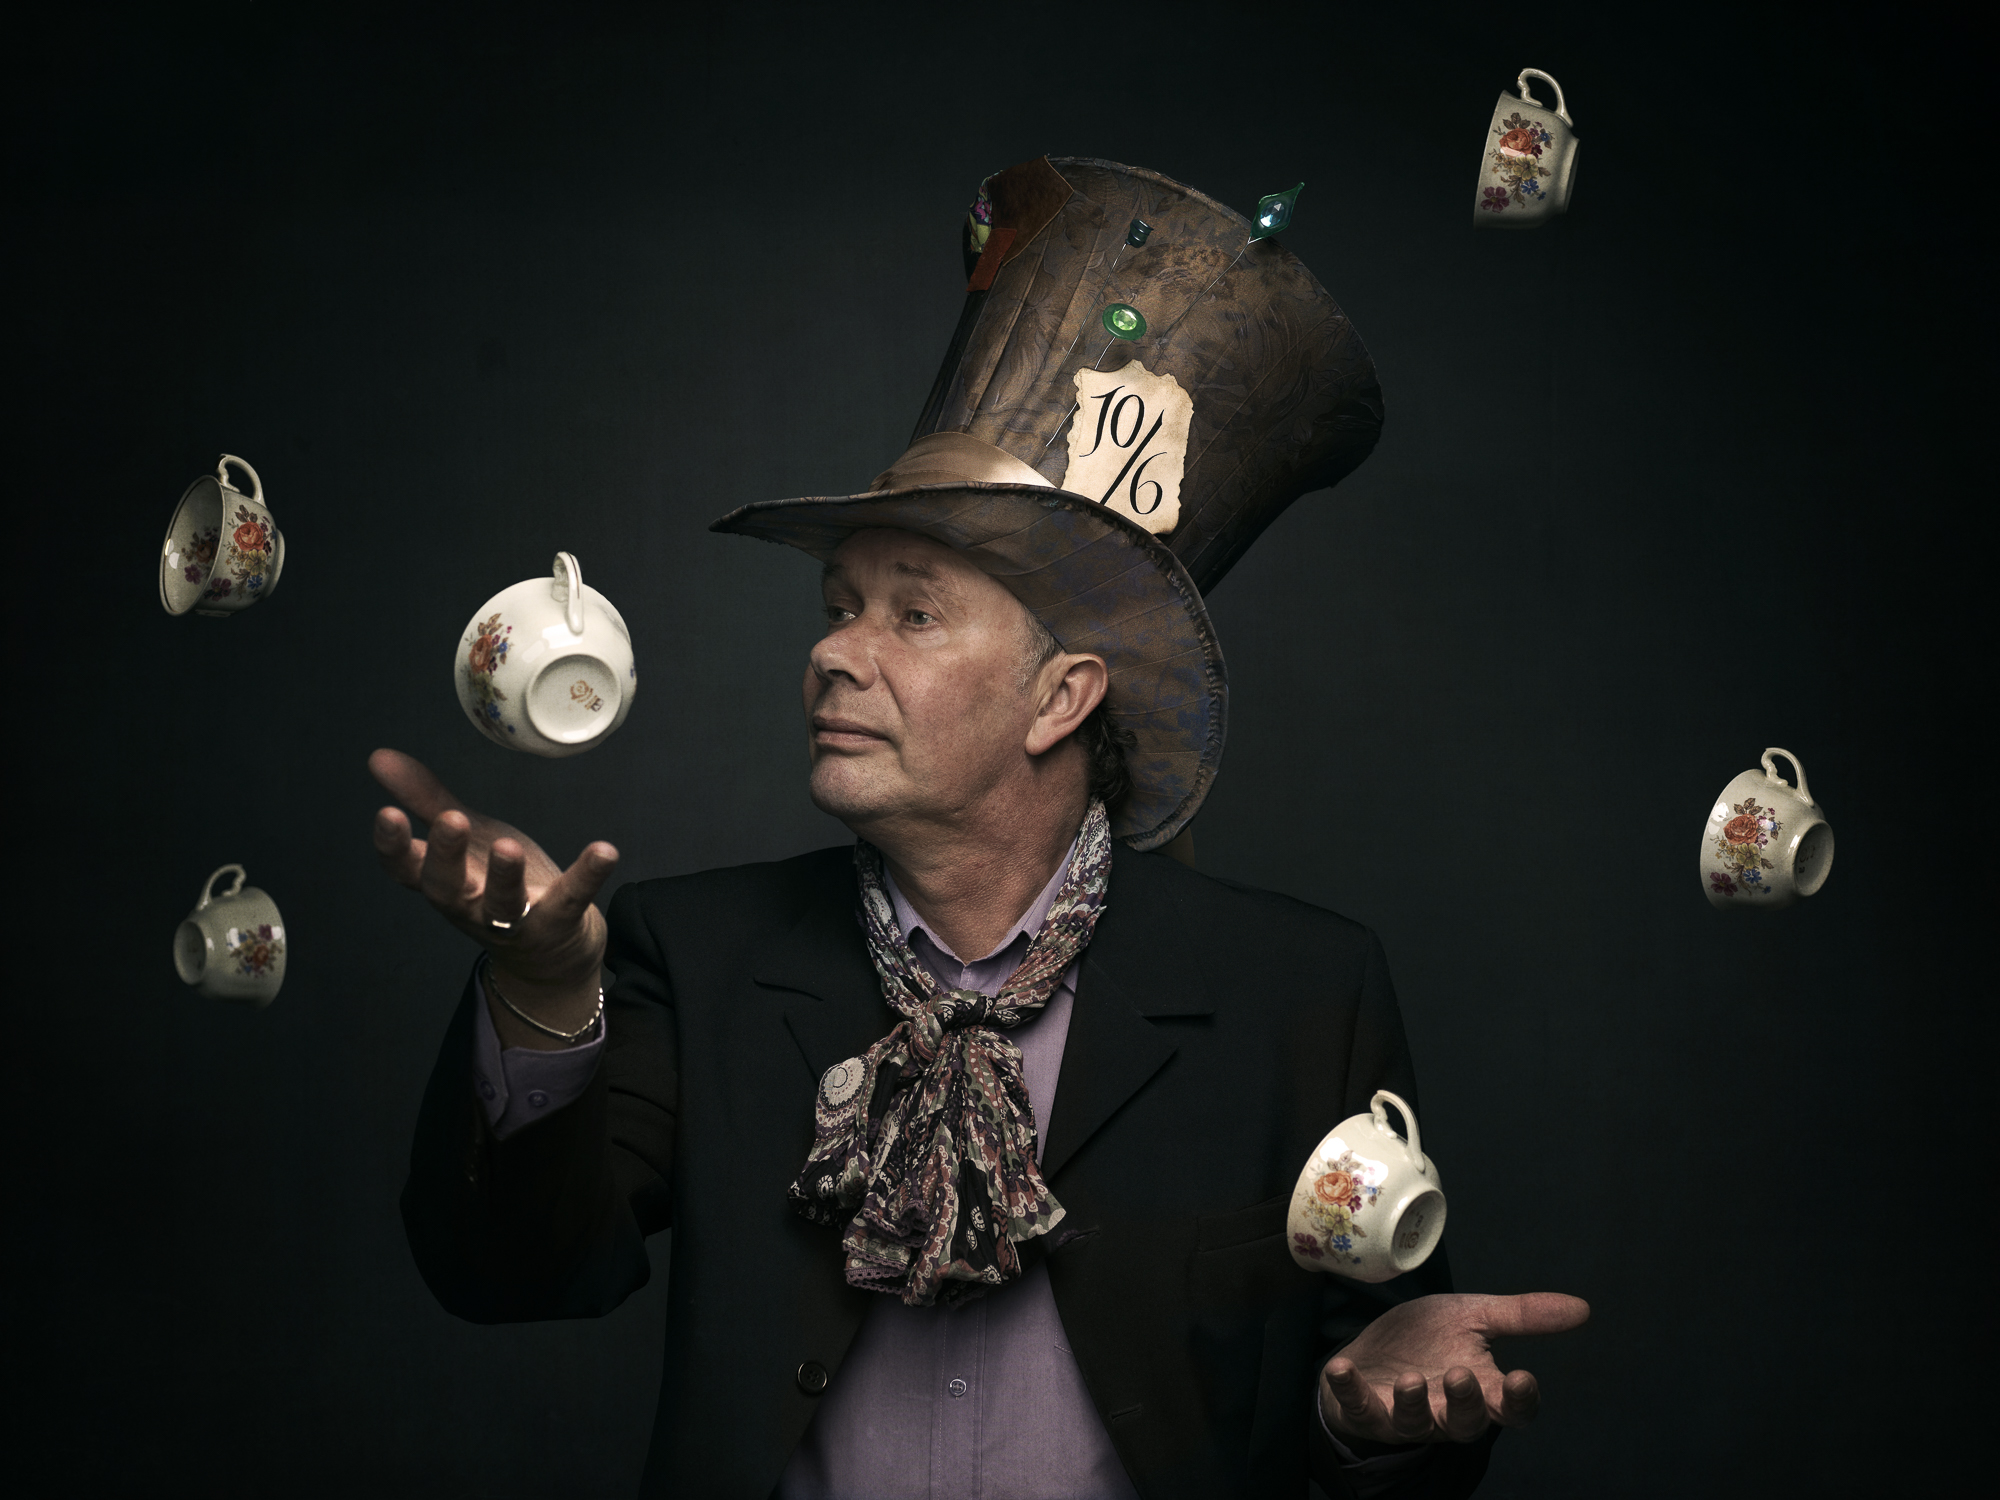
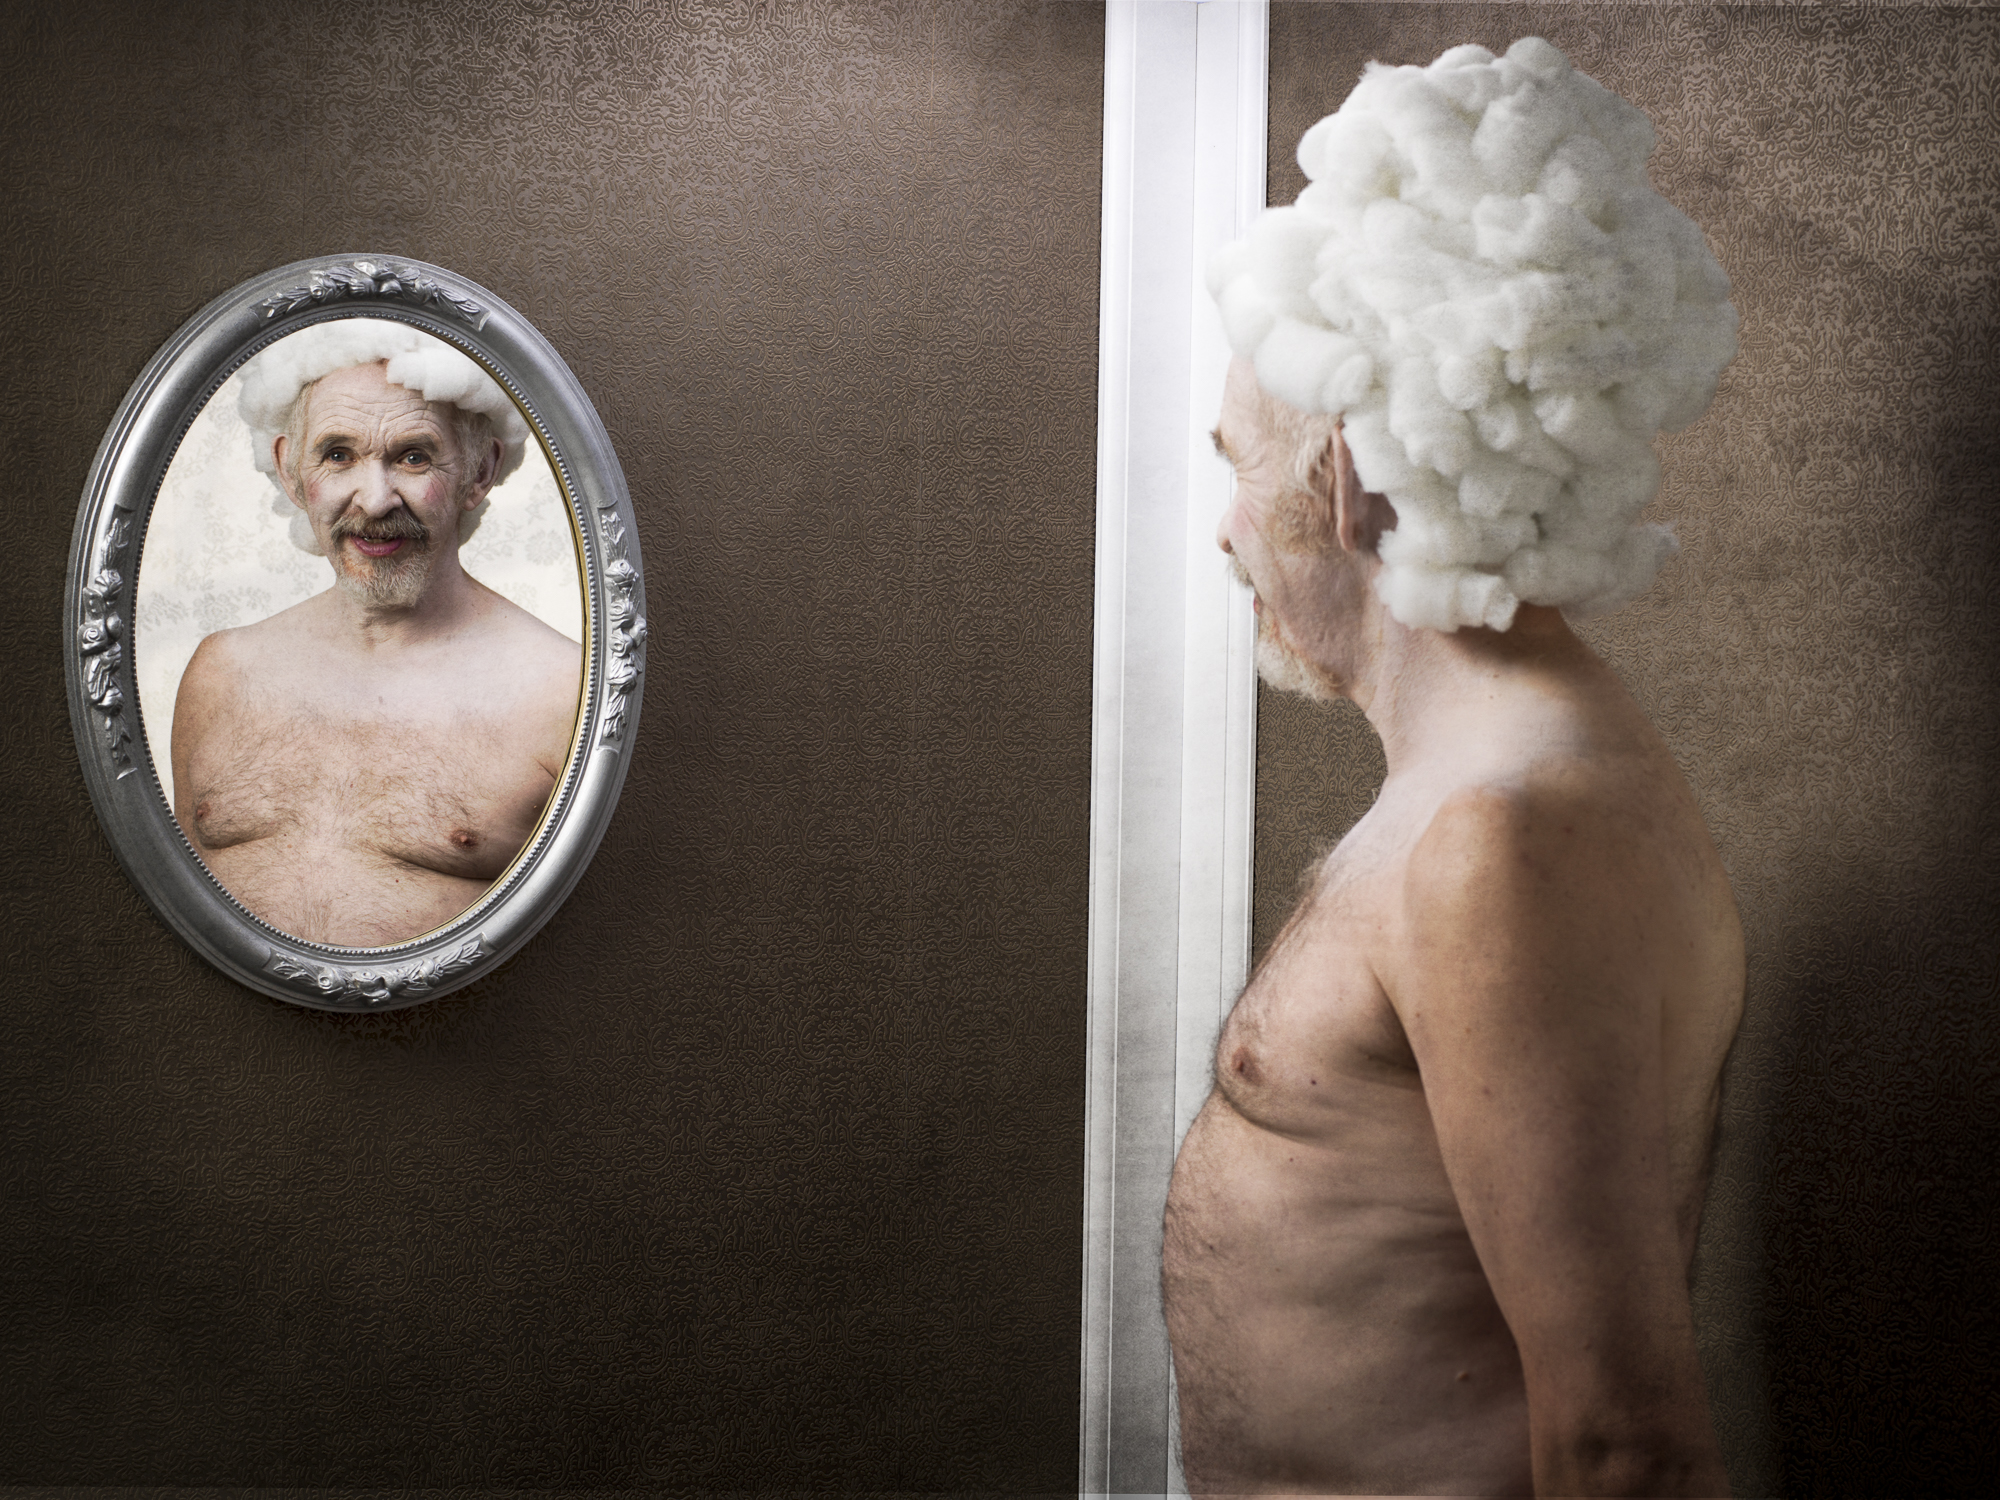
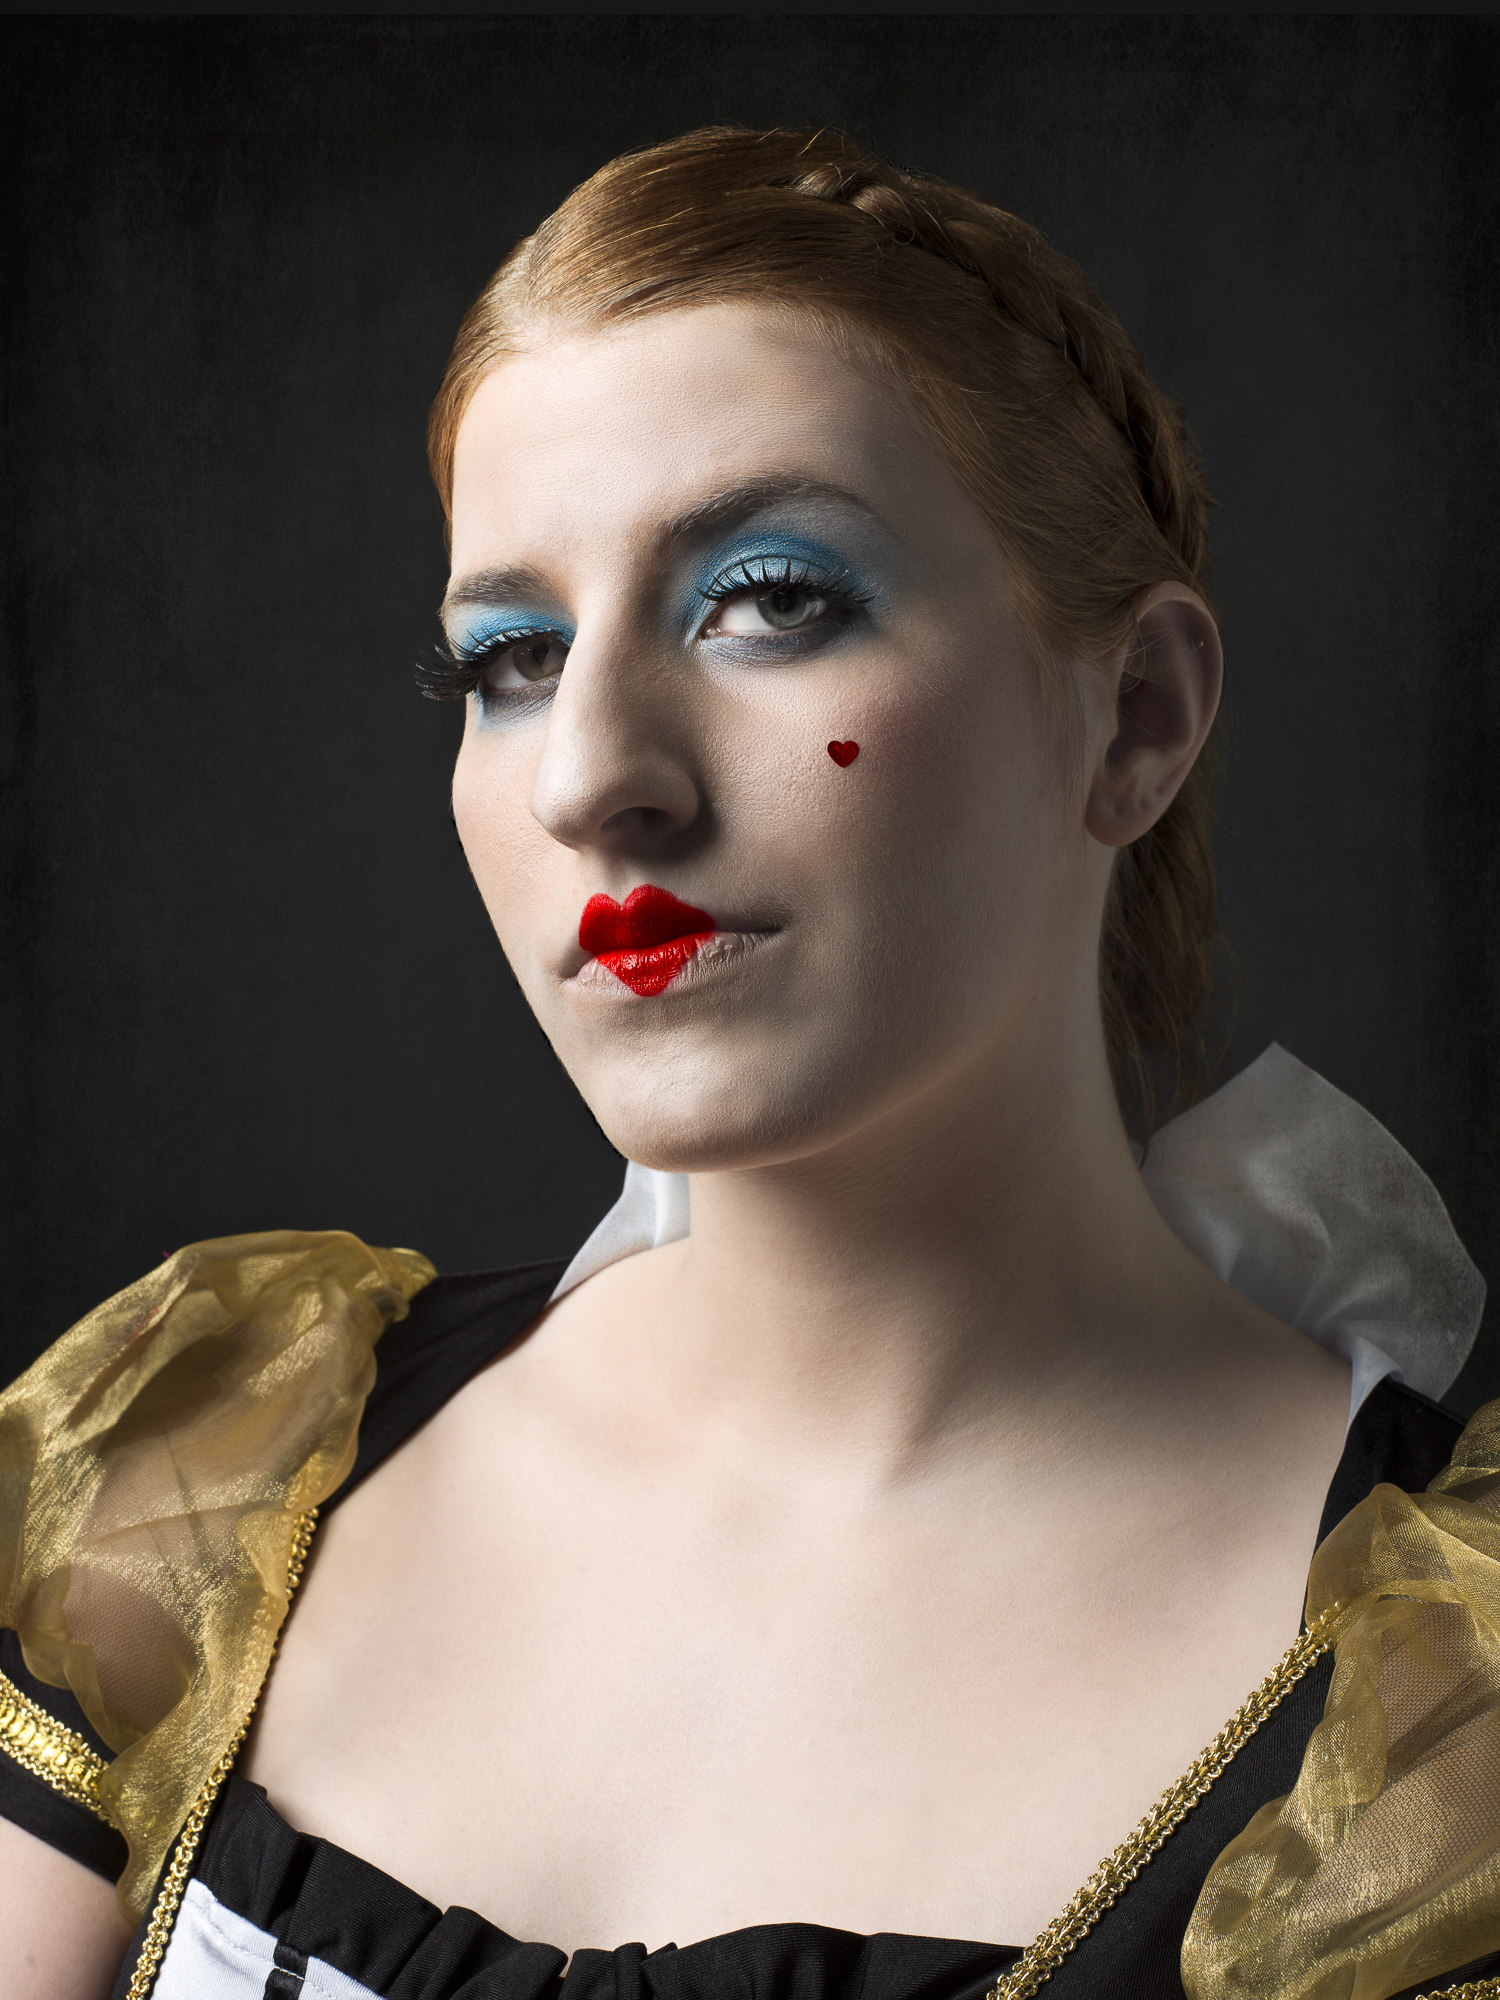
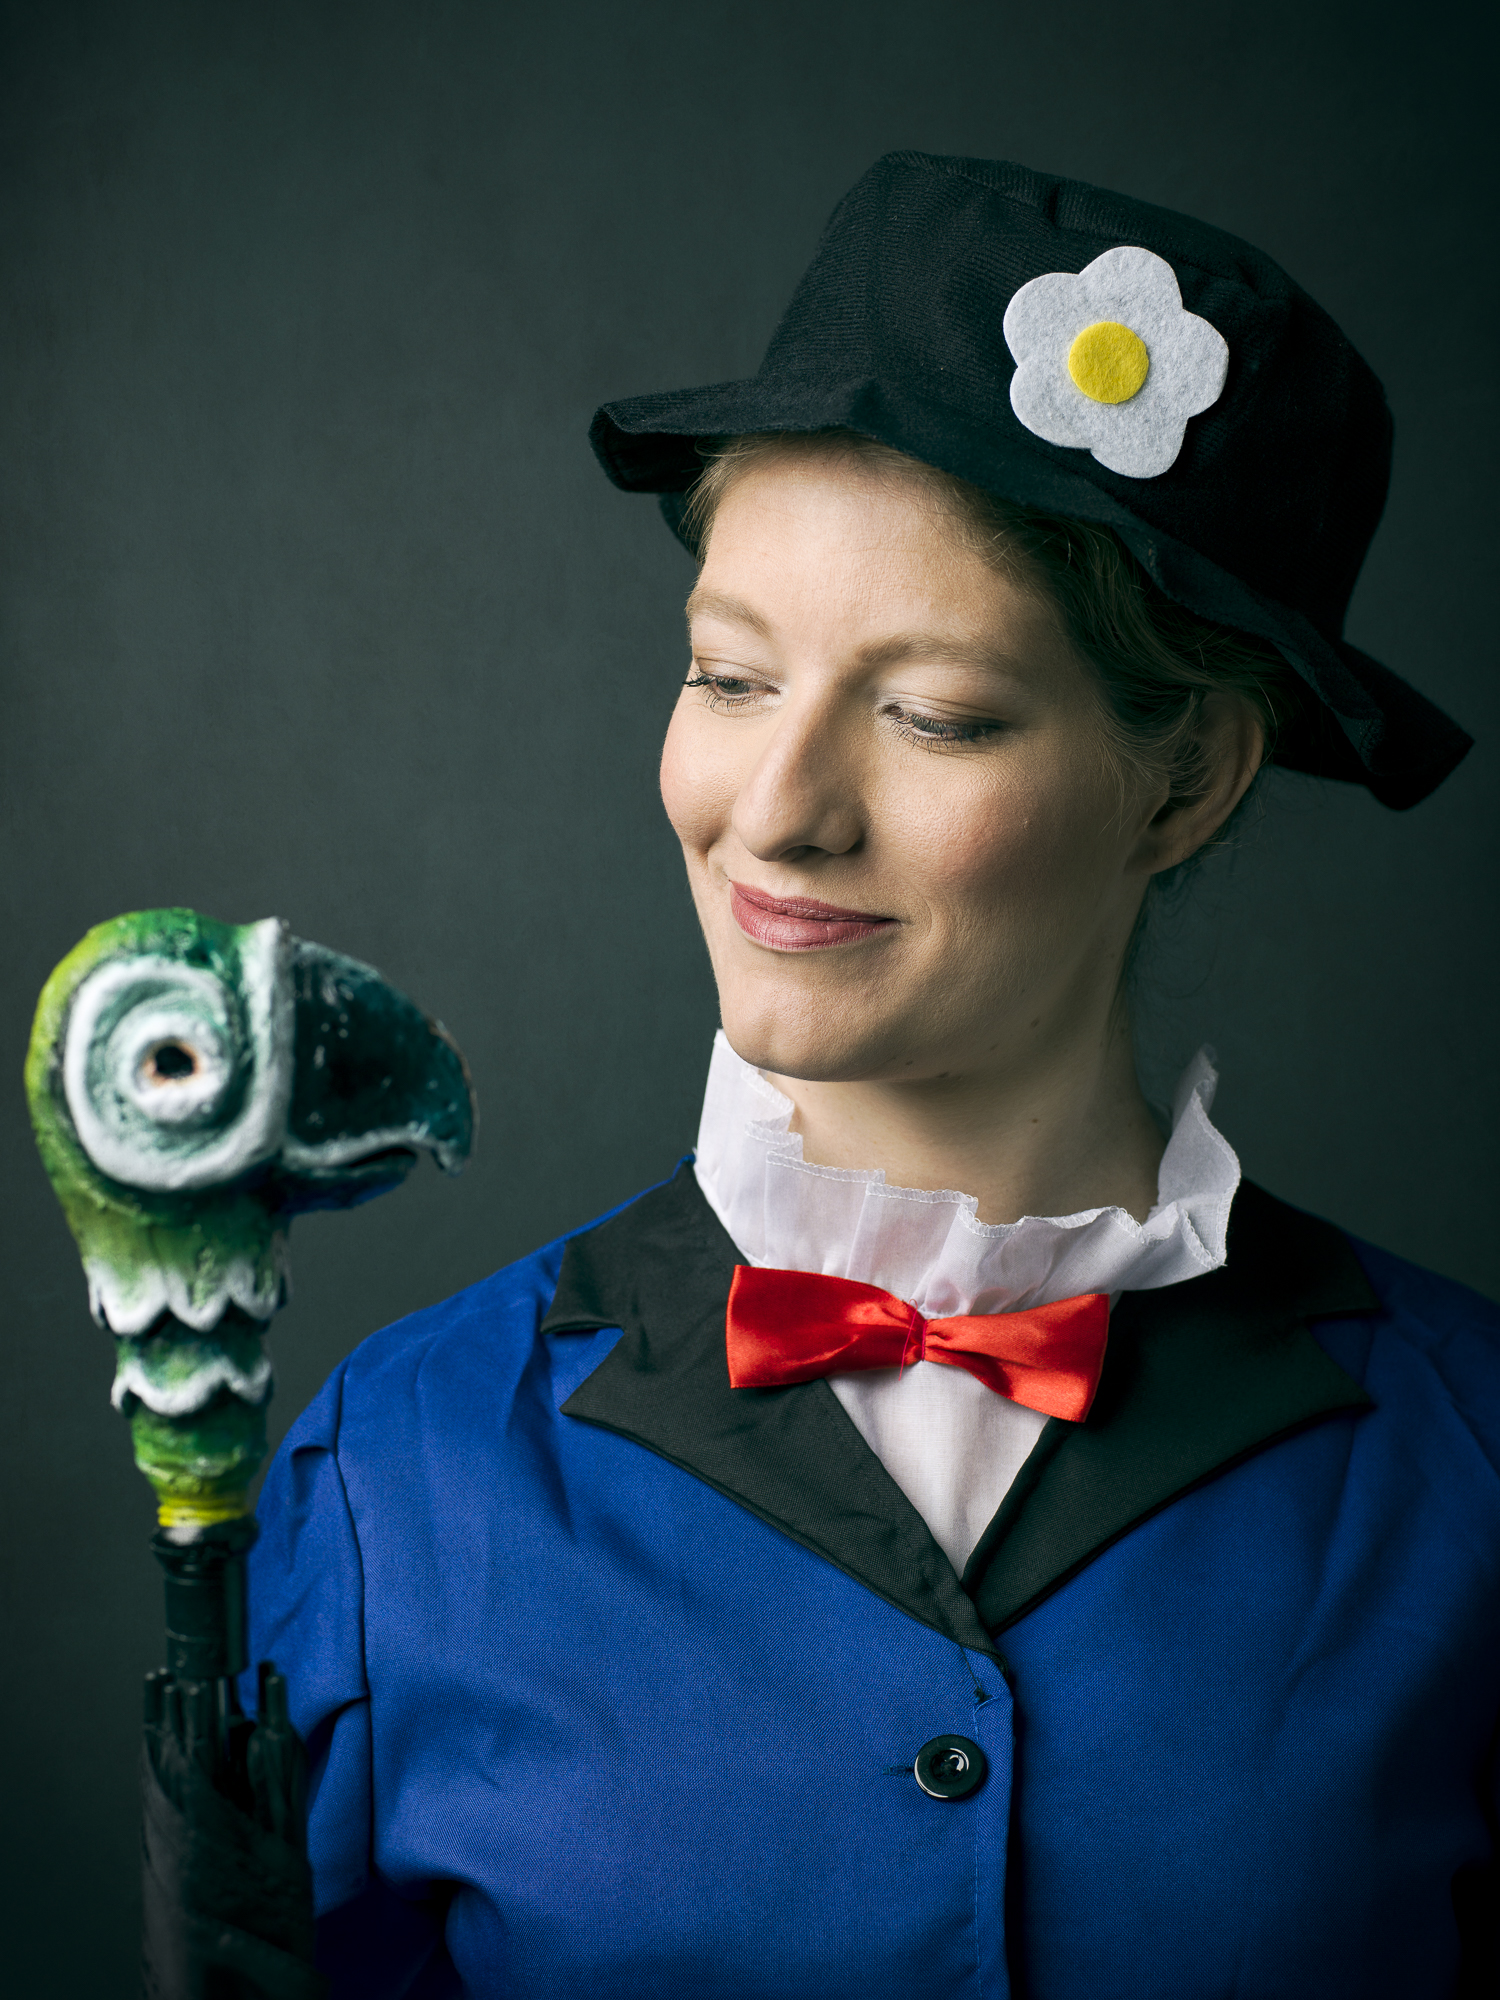
All shots are taken with the Hasselblad H5D40 with the HC80mm 2,8 lens!
MUA: Suuz Brouwer!
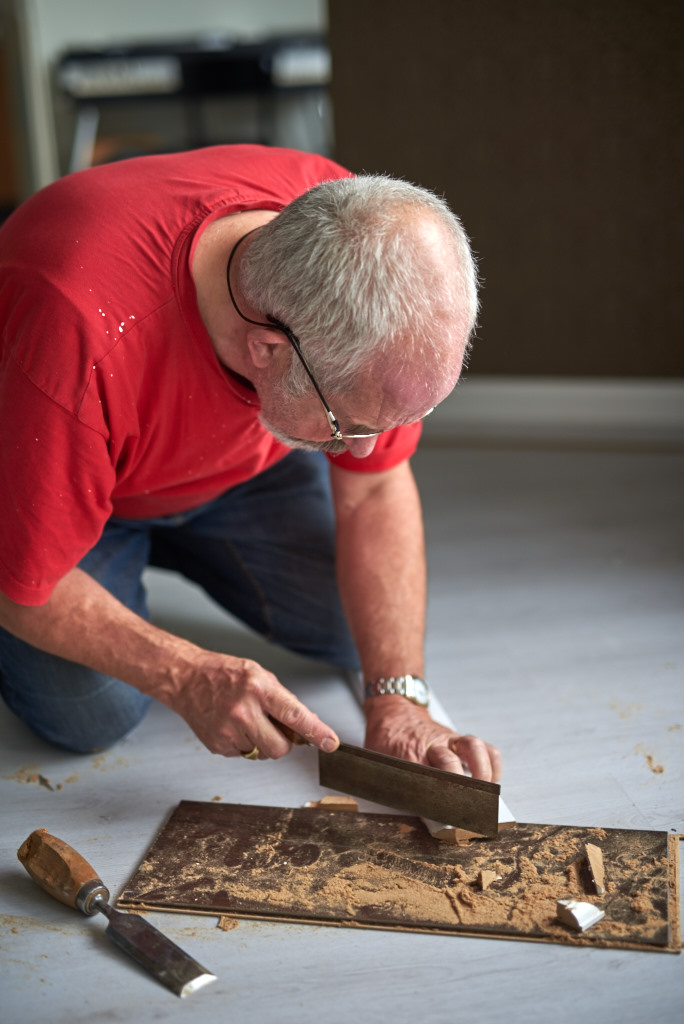
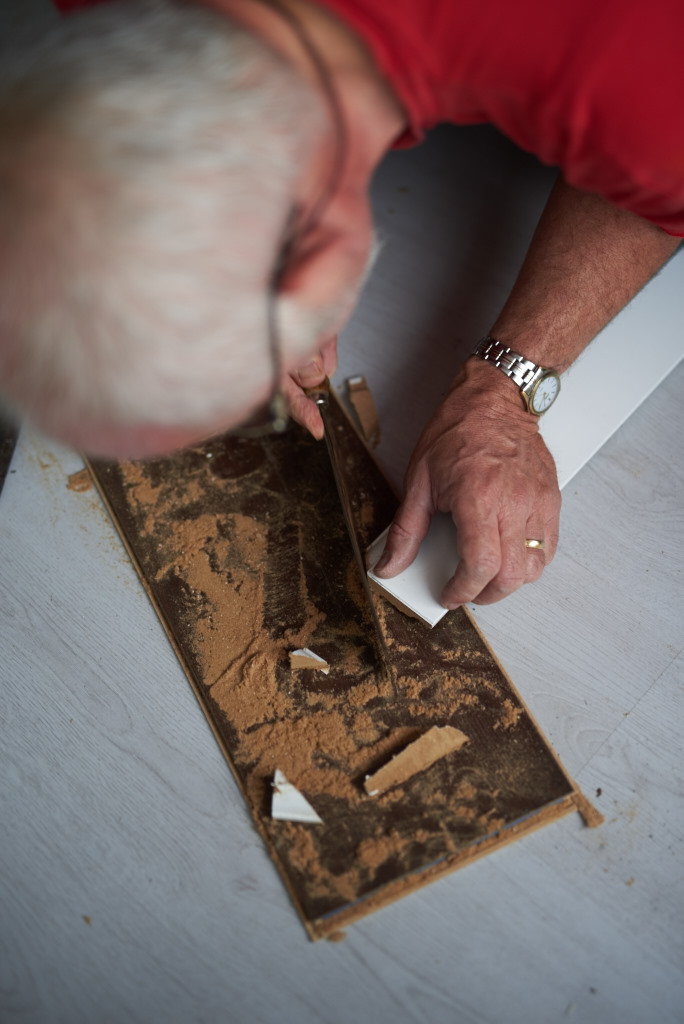
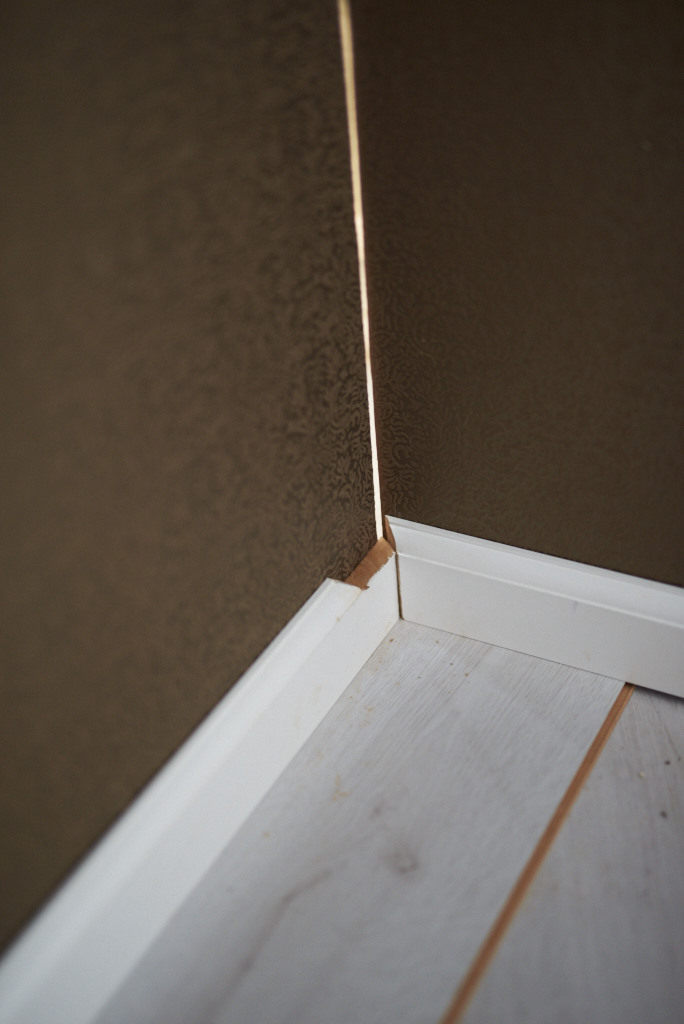
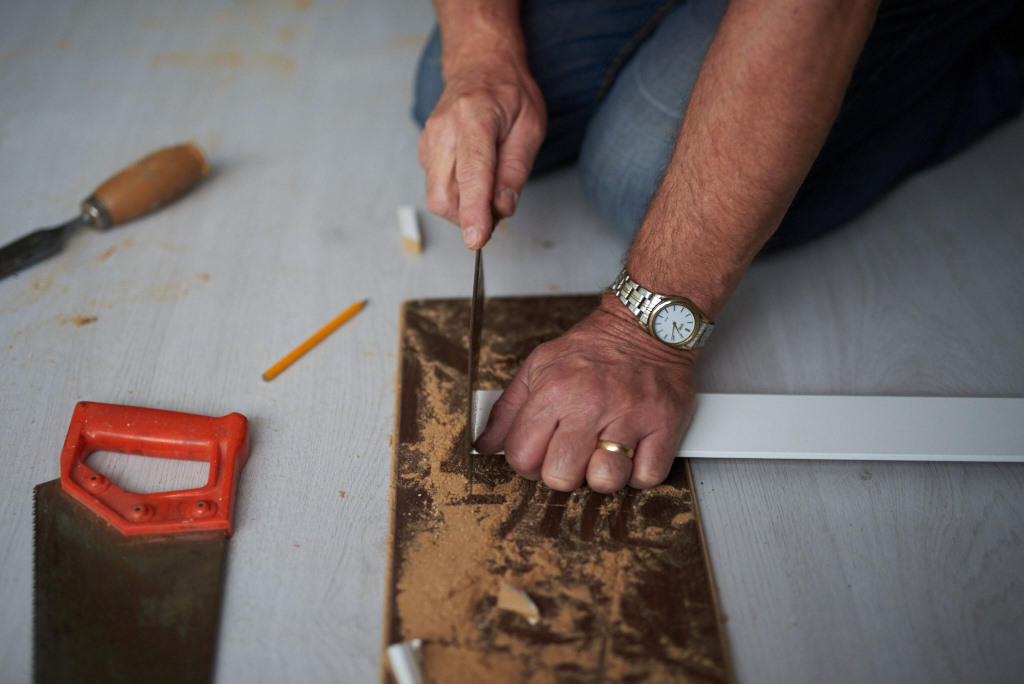
We needs electric gear if you got Jan?
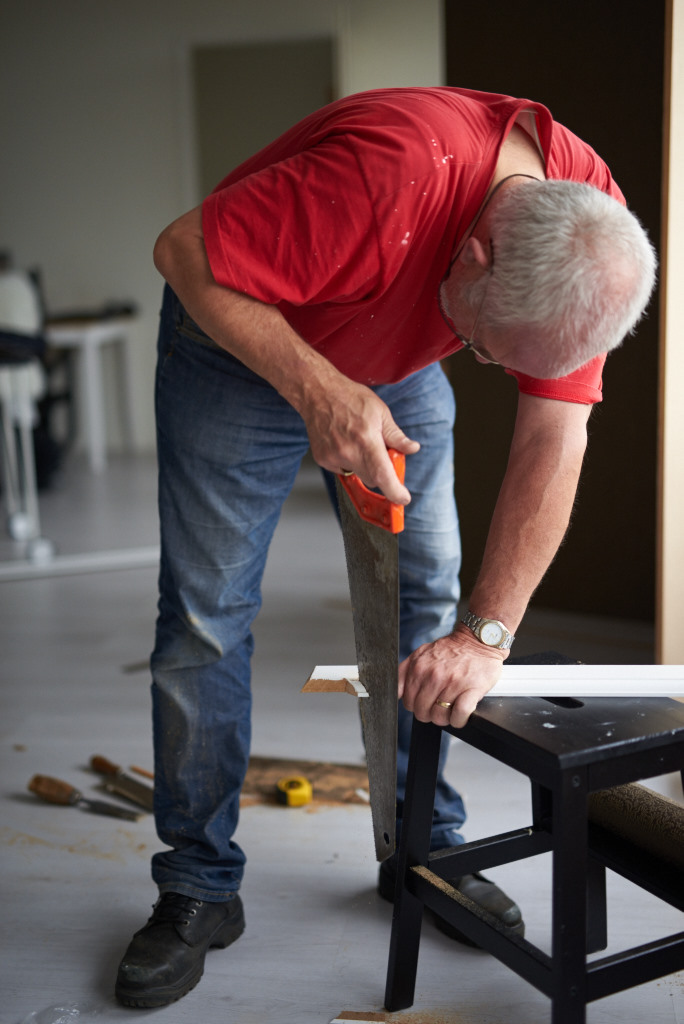
Currently I am busy with the set building for Ferry Tales. To day Jan is finishing the Palace corner. With no need for electric gear. Just plain old hand craftsmanship!
Jazz in de Preal
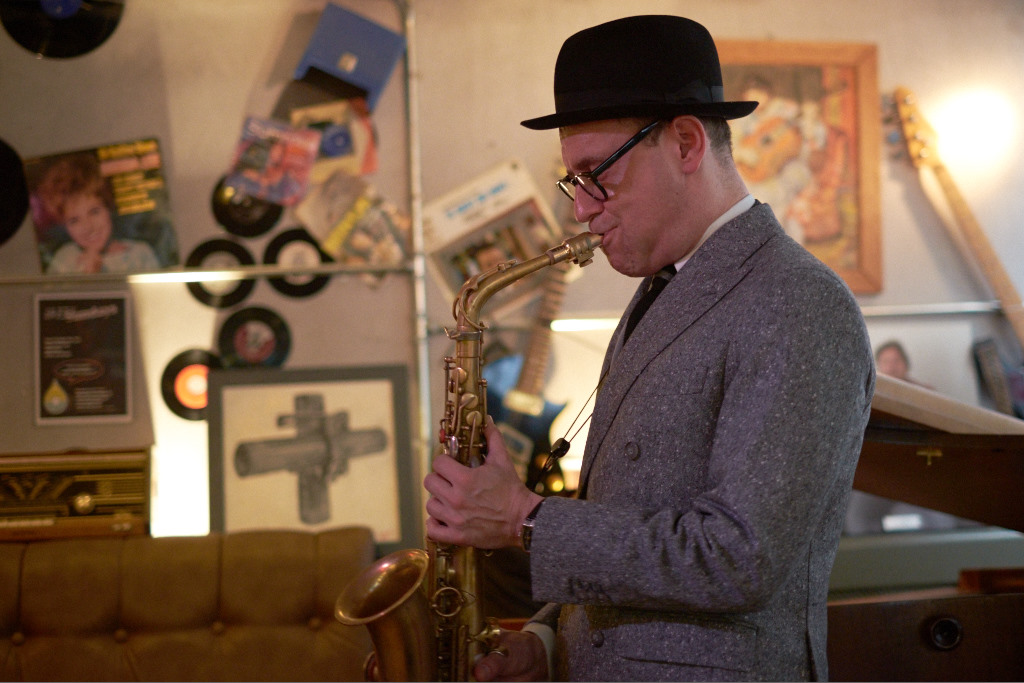
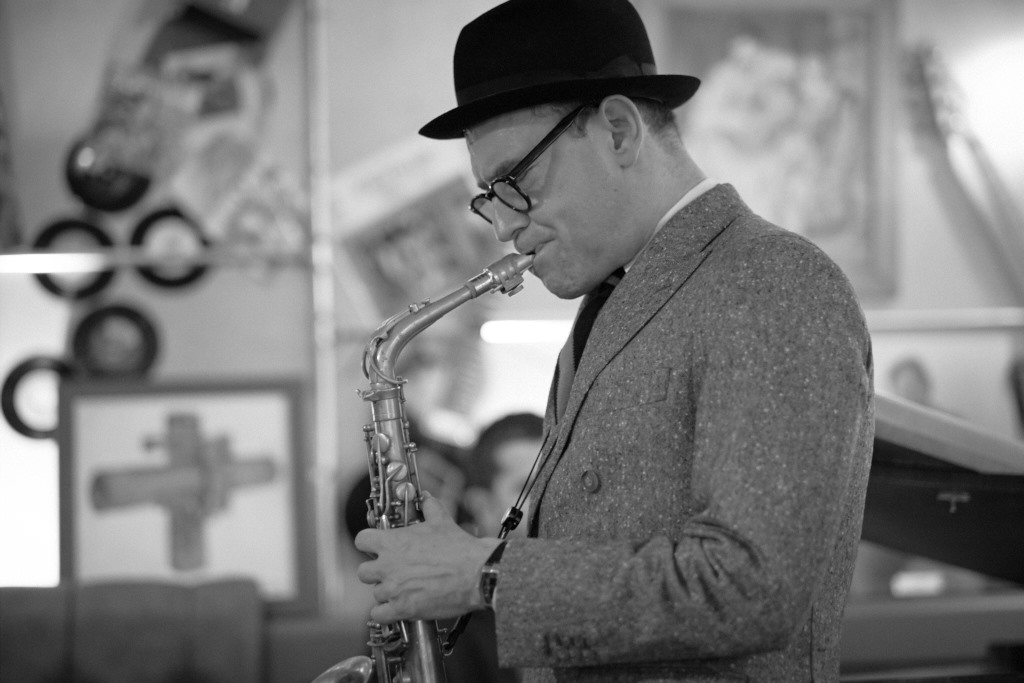
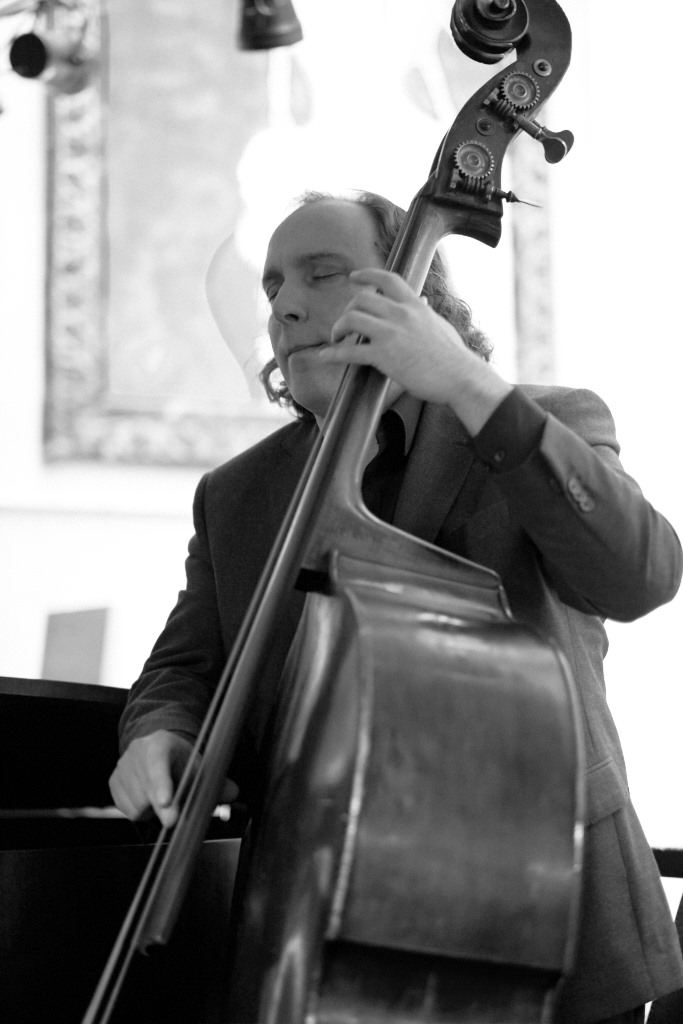
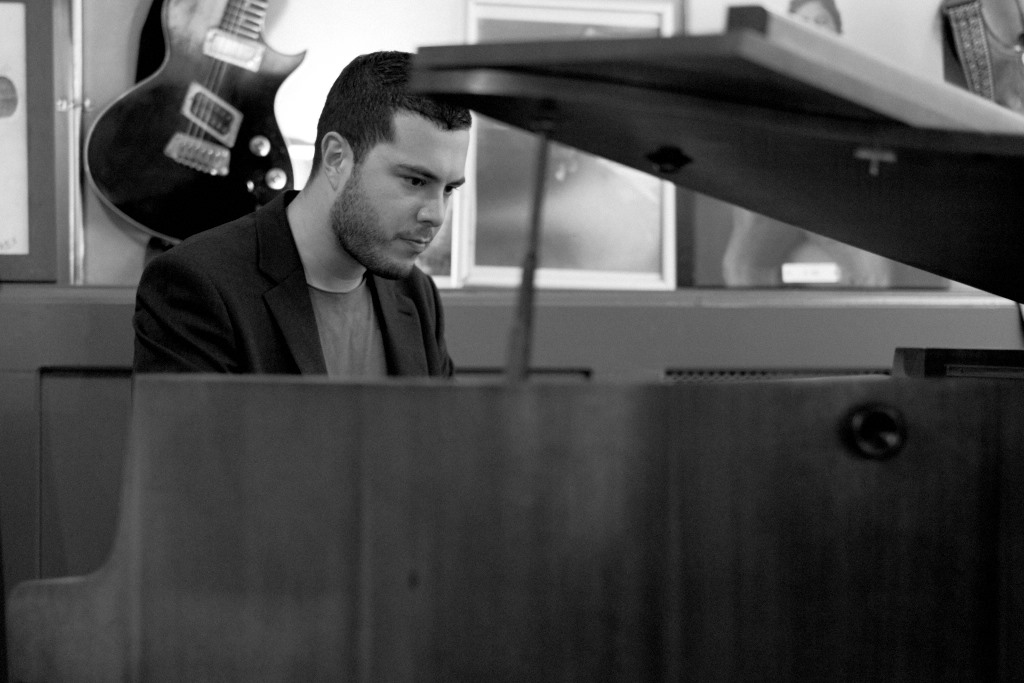
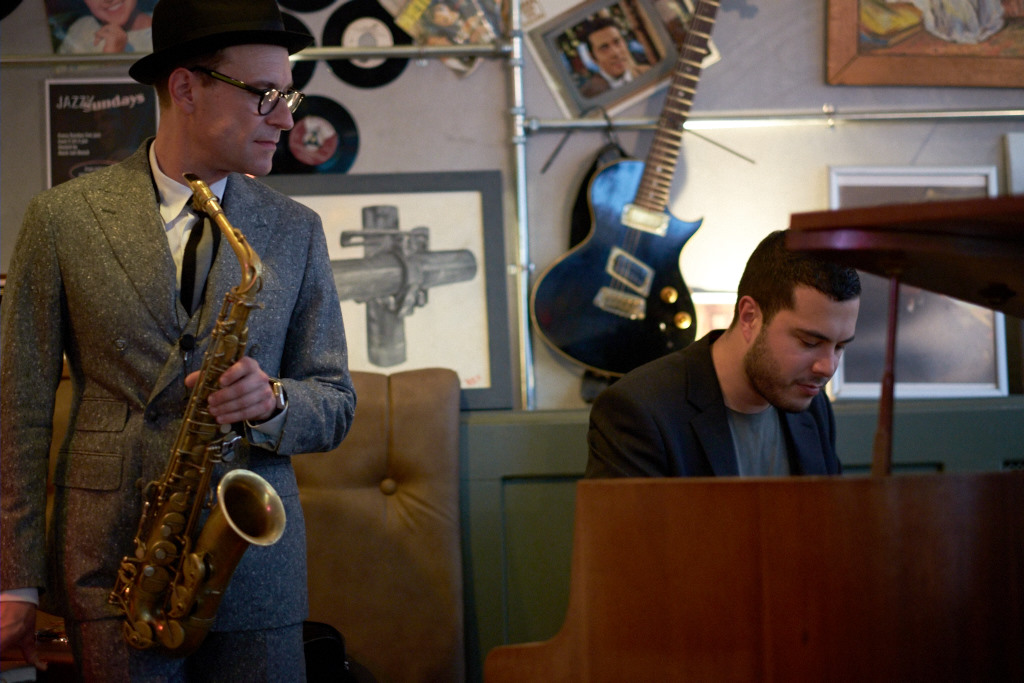
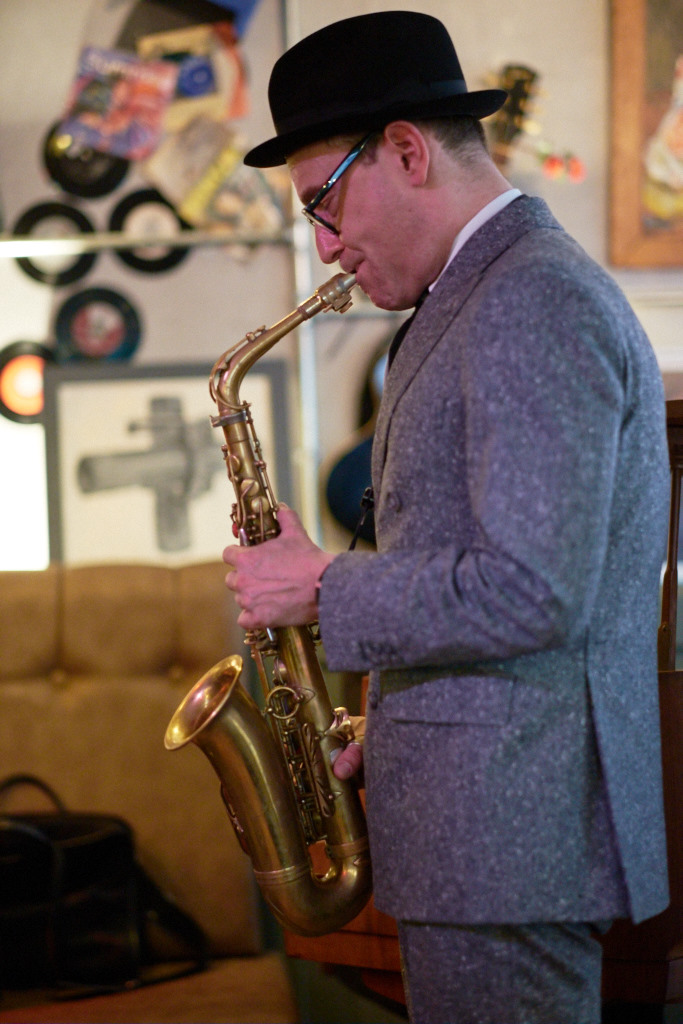
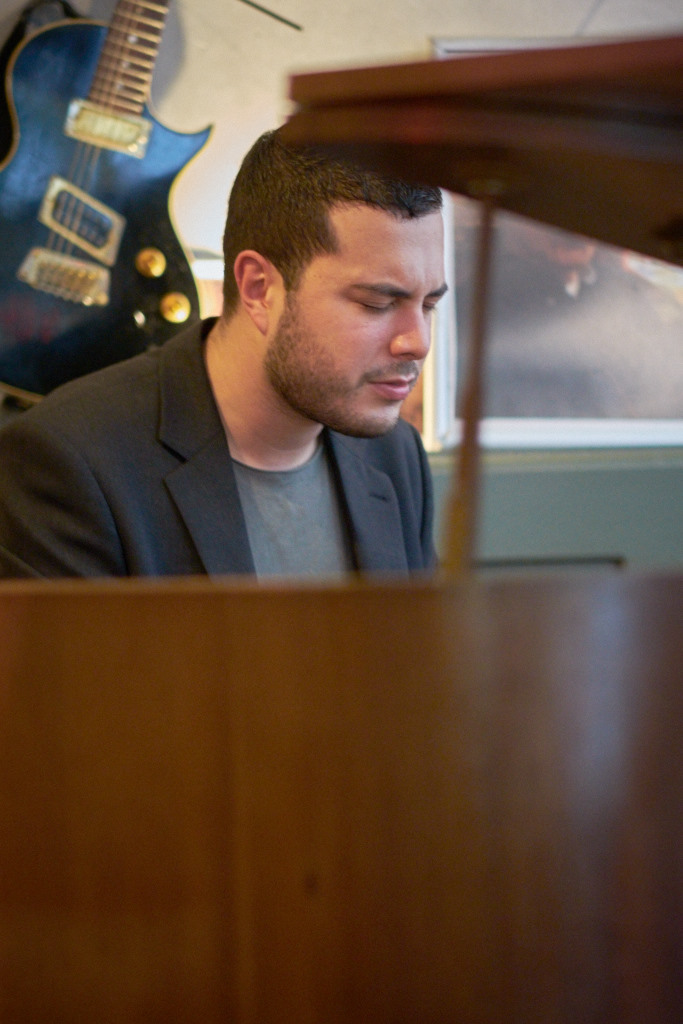
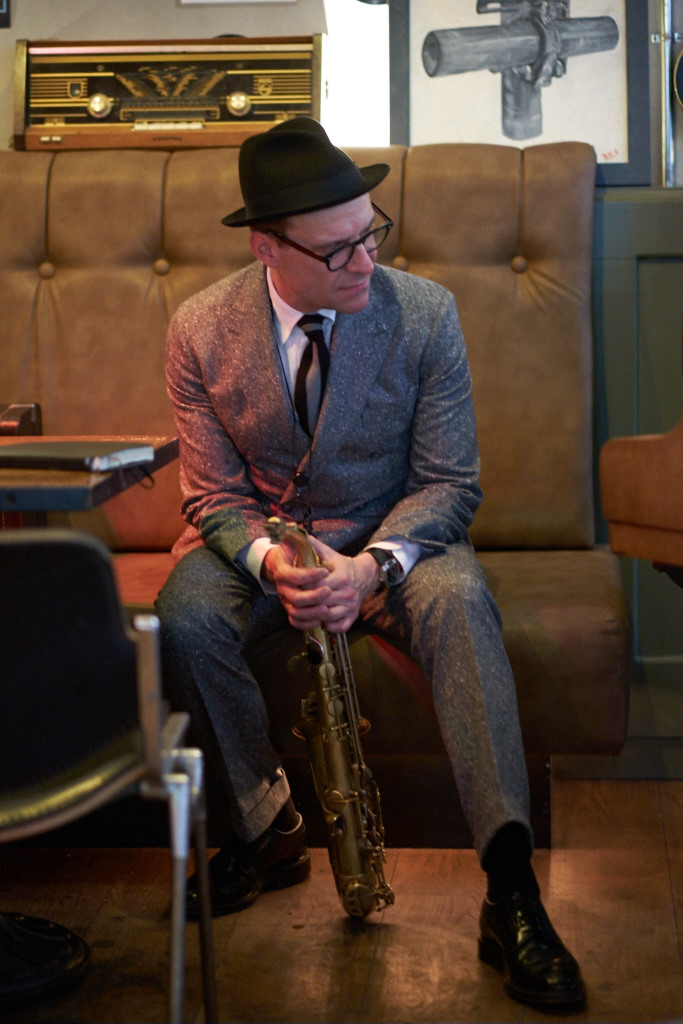
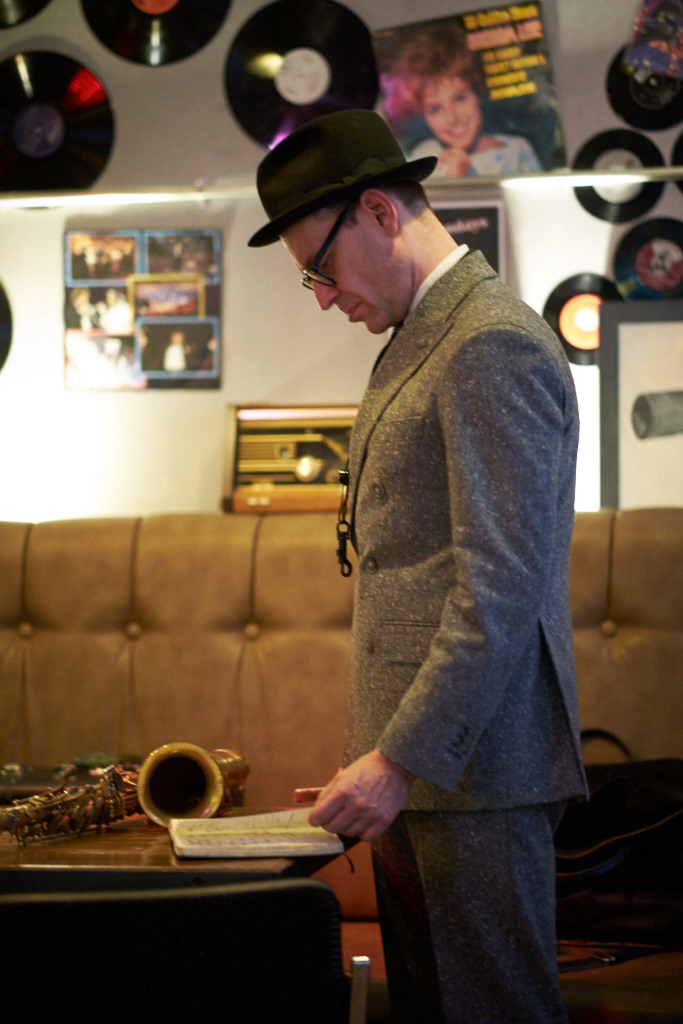
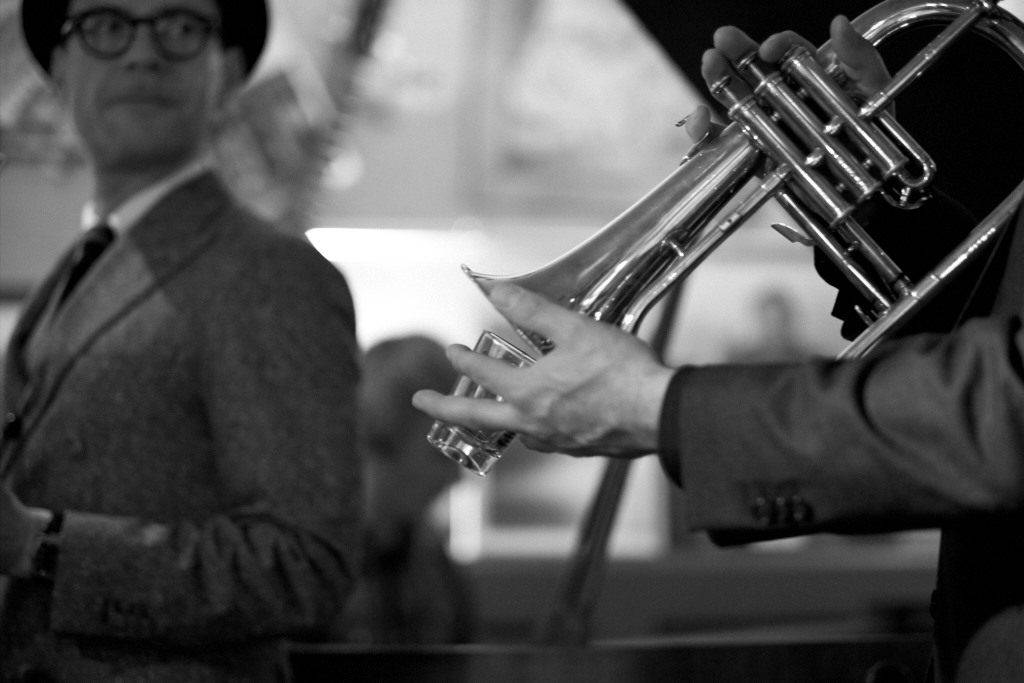
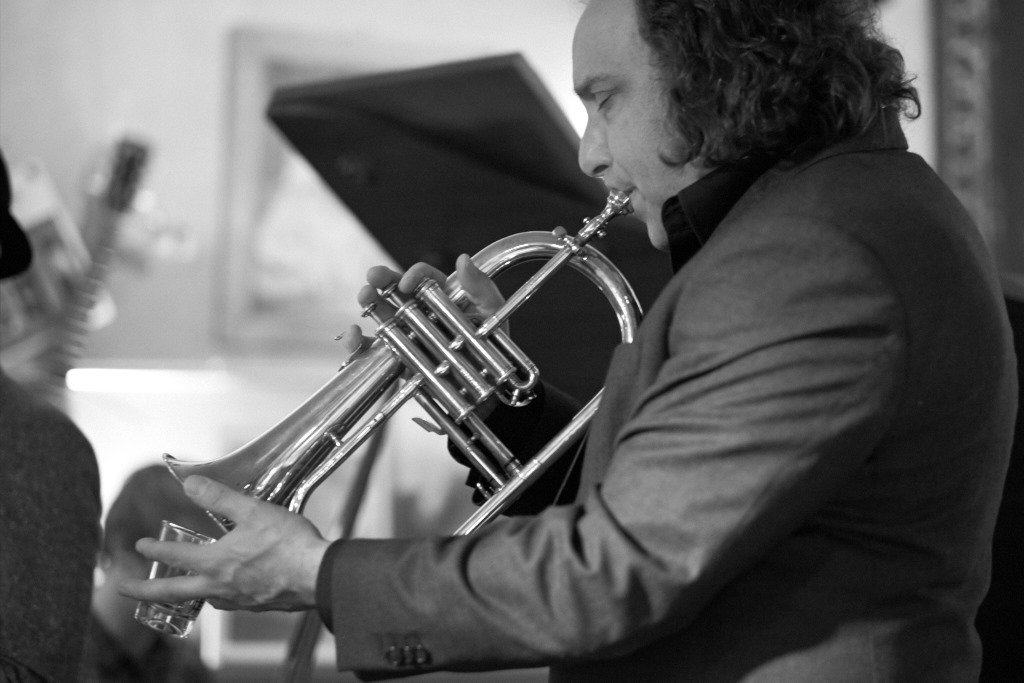
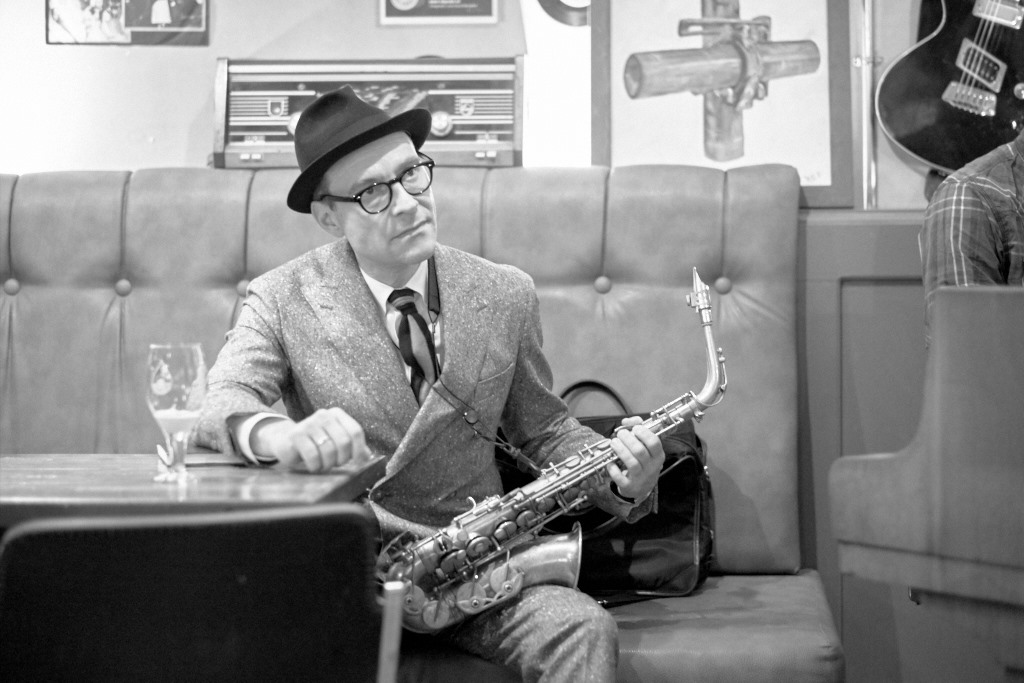
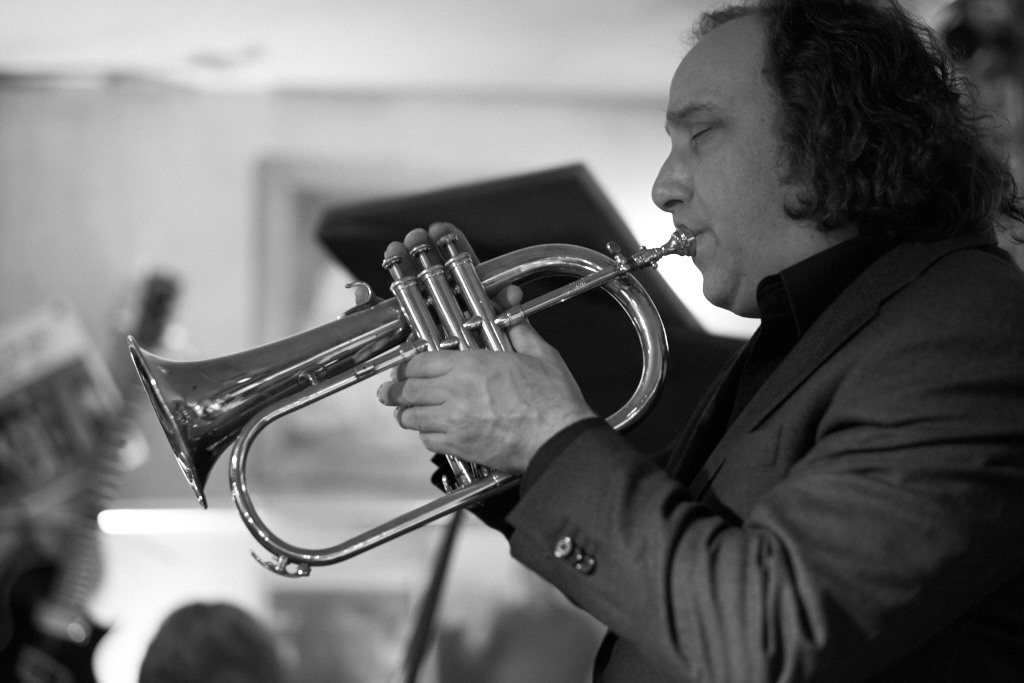
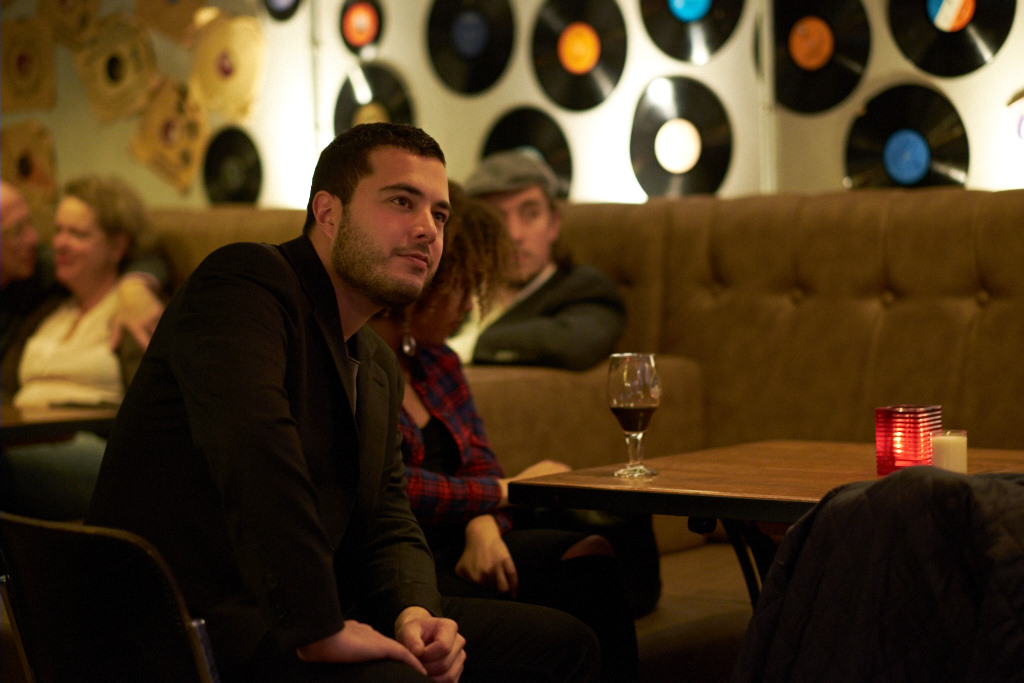
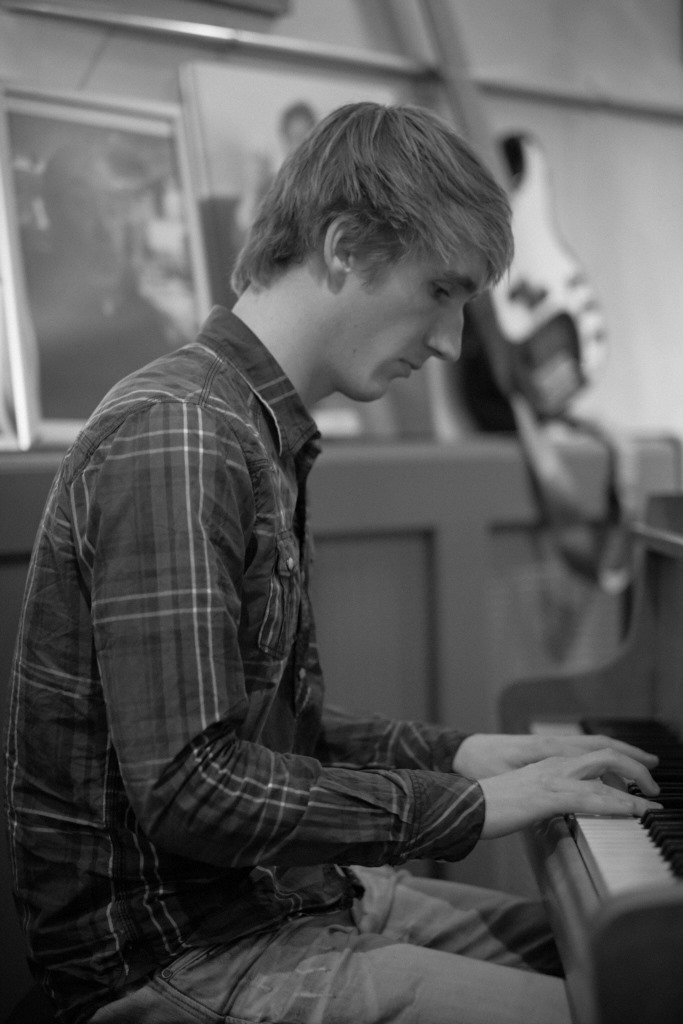
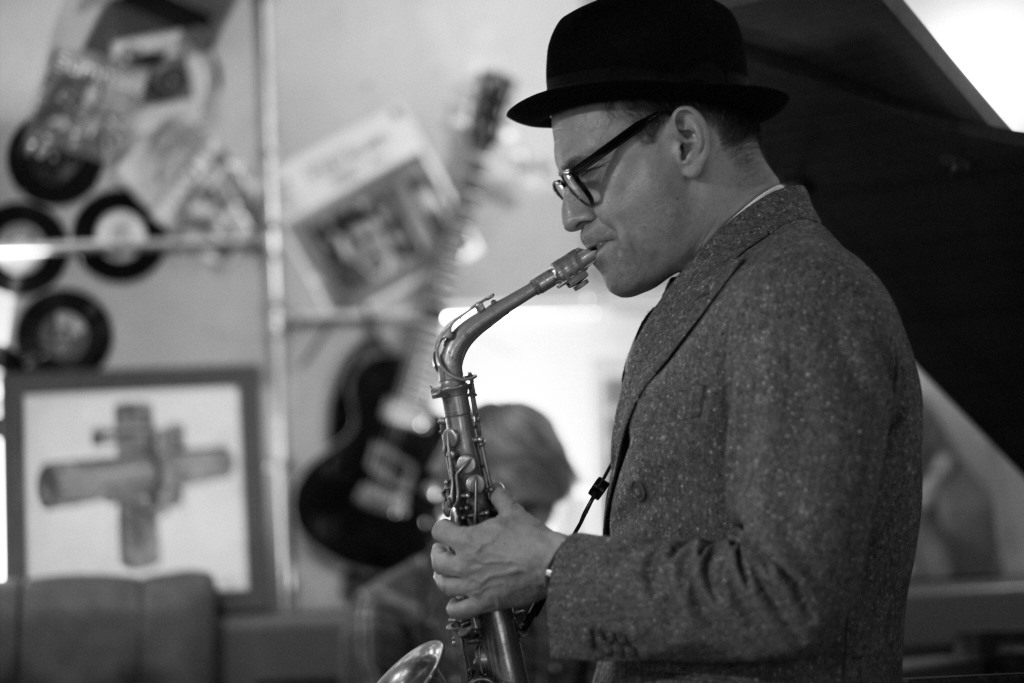
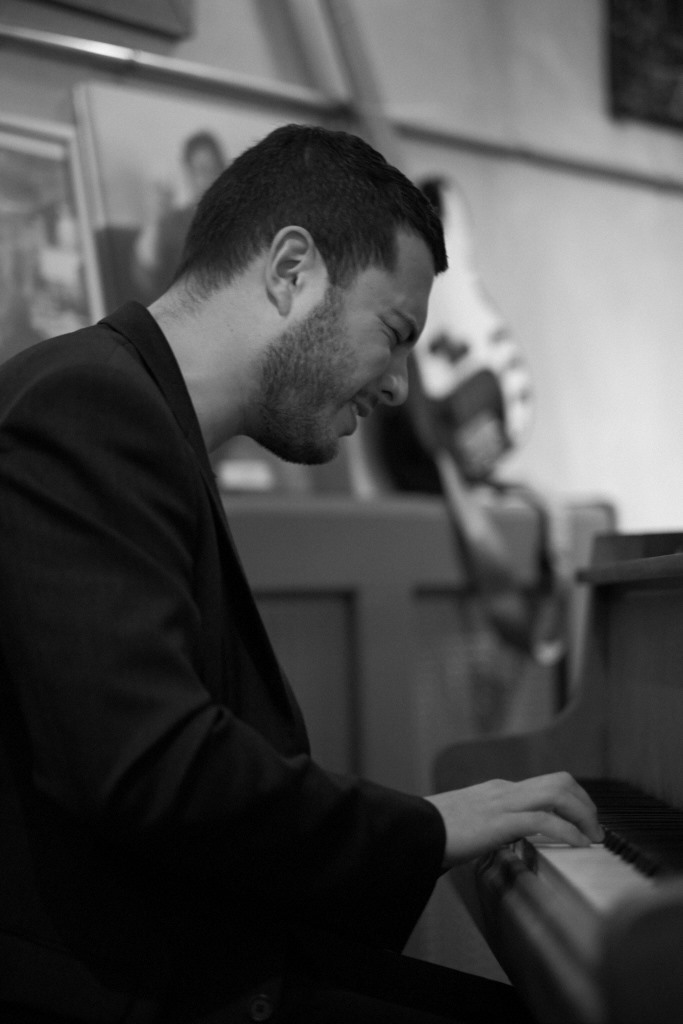
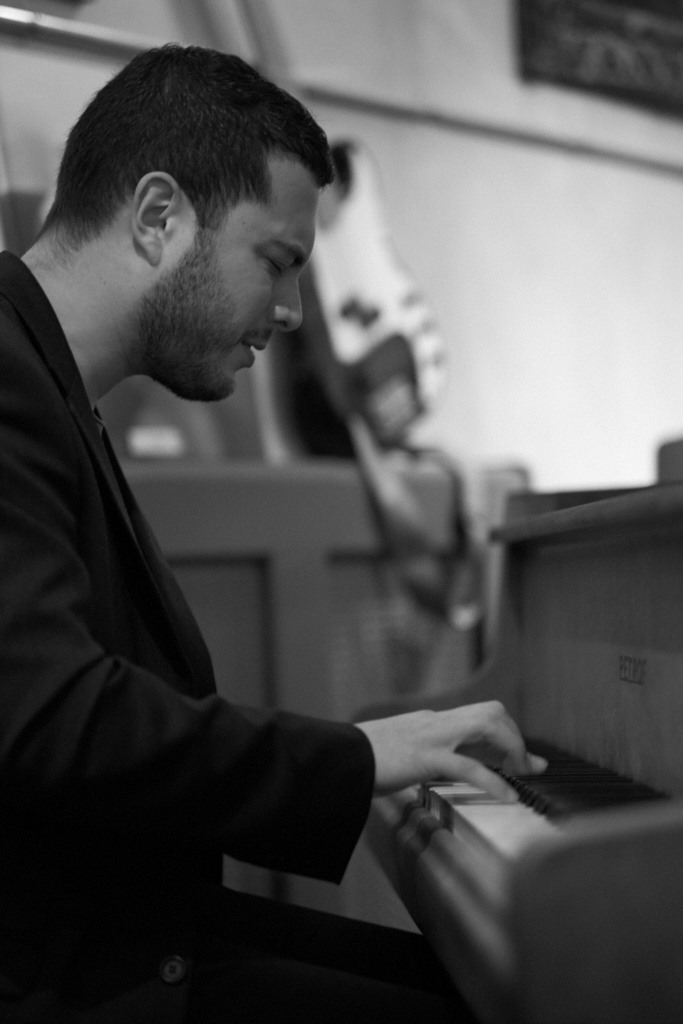
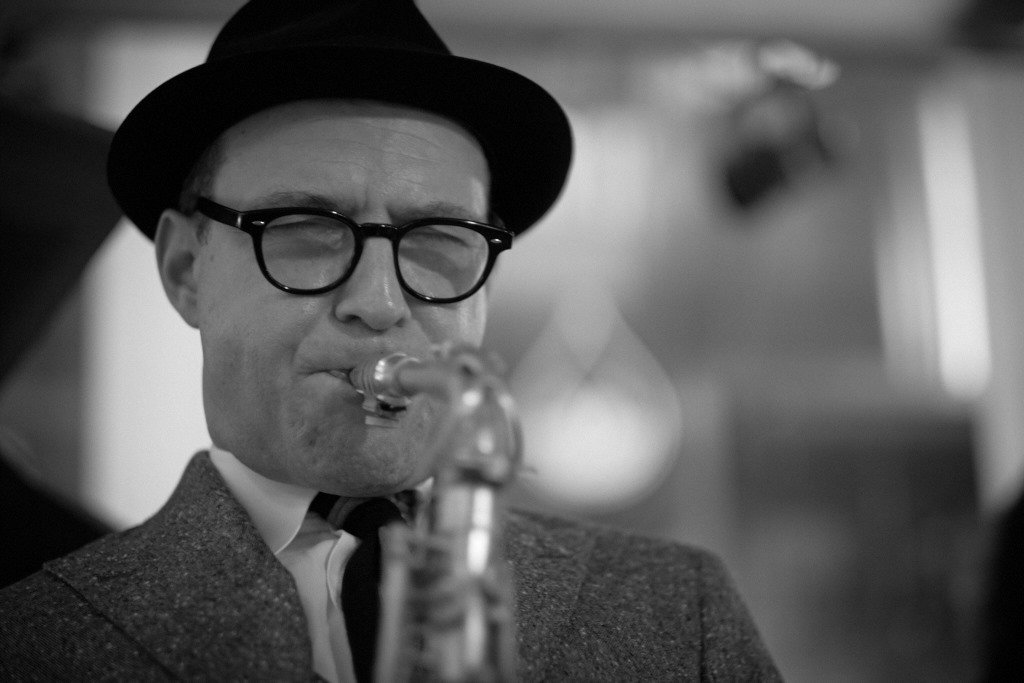
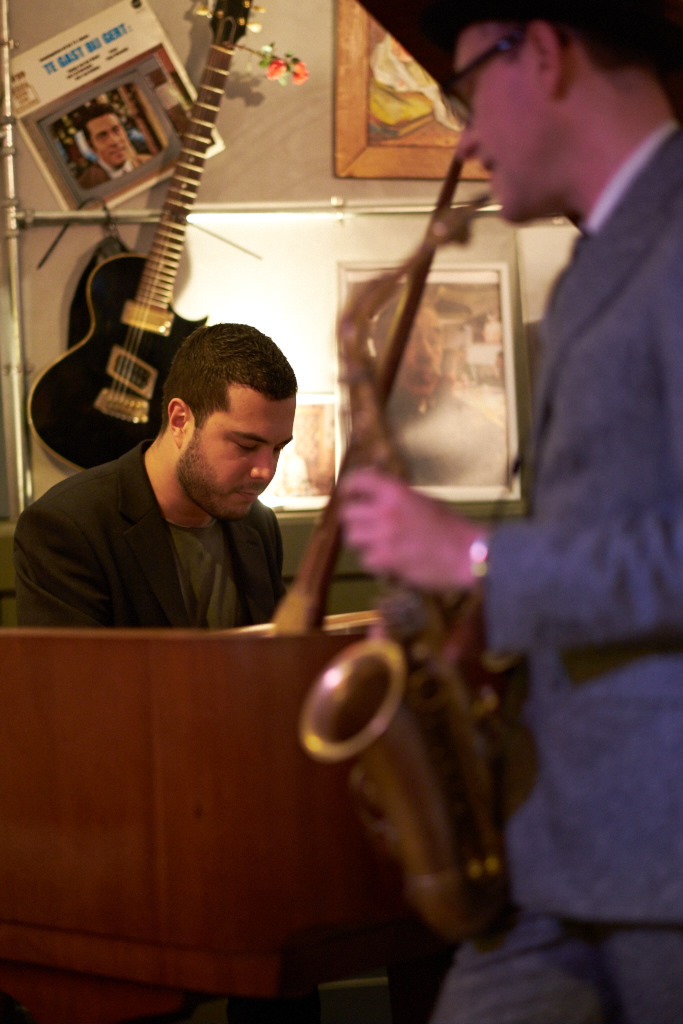
What's a better way then spending a rainy sunday afternoon then visiting a jazz concert? I went to de Preal in Amsterdam where Benjamin Herman, Rene van Beeck and Timothy Banchet played. Here are some of the shots taken during the performance.
Workshop Portretfotografie resultaat
(English Version Below)
Afgelopen zaterdag heb ik weer een workshop portretfotografie in de studio gegeven. Na het reguliere workshop gedeelte was er nog tijd voor een kleine bonus sectie! Wat hebben we gedaan, tijdens de workshops hadden we het ook al wat over series, dus had ik het idee gevat te laten zien hoe je een foto kan analyseren en vervolgen je eigen versie hiervan te maken. Als basis hebben we de foto van Kevin Spacey als Frank Underwood in de serie House of Cards gebruikt.
Mijn analyse van de officiële foto was een Soft light reflector met grid van boven bij bij hoofd persoon. een grote softbox als fill en een spot op de achtergrond.
De opstelling die wij gebruikt hebben om er meer een budget vriendelijke opstellen van te maken was een Elinchrom RX one met een Portalite 66 softbox recht van boven naar beneden gericht en een RX one met een 90 graden paraplu reflector op de achtergrond. Het resultaat staat hier onder.Let trouwens ook op wat de lage hoek heeft qua invloed!
Eerste volgende workshop is 19 december. Kijk HIER voor meer informatie
Nikon D610
Sigma 24-105 Art
1/125 f8 iso 100 at 48mm
Last saturday I gave another workshop studio portrait photography. After the regular parts of the workshop we had some spare time. So I added a smal bonus section! Since we talked about tv- vs VOD-series before the workshop I got the idea of recreating a shot off a TV-show with basic gear. As a big Houde of Cards fan we decided to recreate the Frank Underwood in the Lincoln chair photo.
First we made an analysis of the original photo. I think they used a Soft light reflector with a grid close to the face, a big soft box as a fill and a background light.
The set-up we used was a lot simpler, but it has kind of the same effect which surprised me we could get zo close with the light! We used only gear from the Elinchrom RX-one 3 light kit. We placed a Elinchrom RX One with the Portalite 66 softbox straight above a little bit in front the subject used out off frame. I used a boomstand, if you don't have a boom you could use a regular stand and an assistent holding it. On the background I used a Elinchrom RX One with the Umbrella reflector to lit the background.
I added a layer to the background for the bleu-ish tint. I could have de it in camera with using a CTO-gell on the main light and do a custom white balance.
I asked the model to angle his chin a little but up to get enough light in the eyes. Also notice how the low angle off the lens influences the mood of the shot.
Fantasy session with Jopie
Preparation
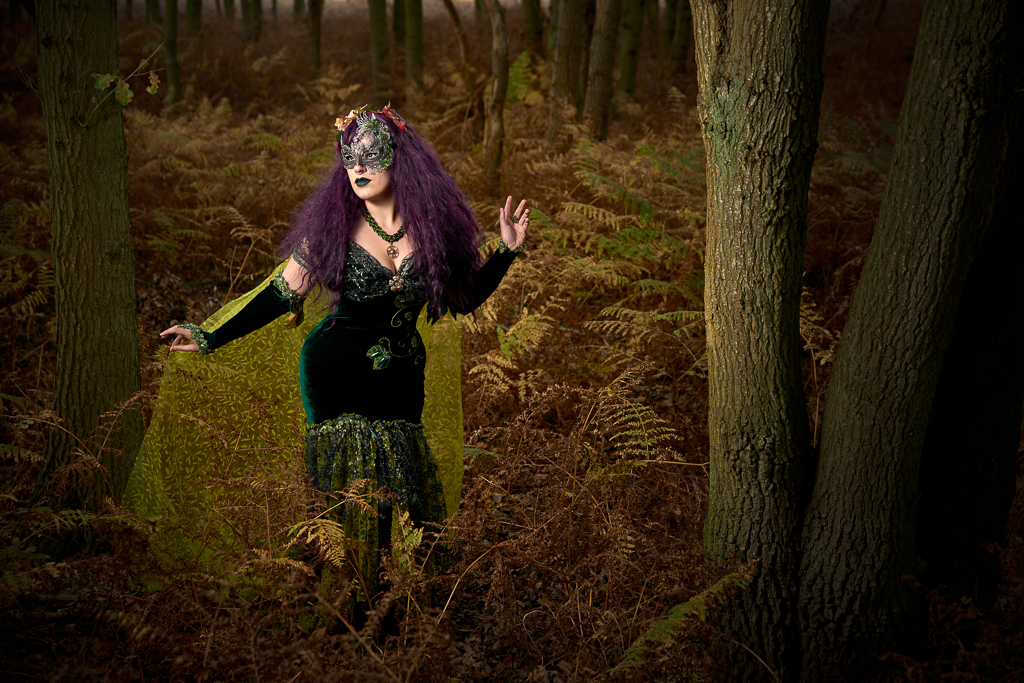
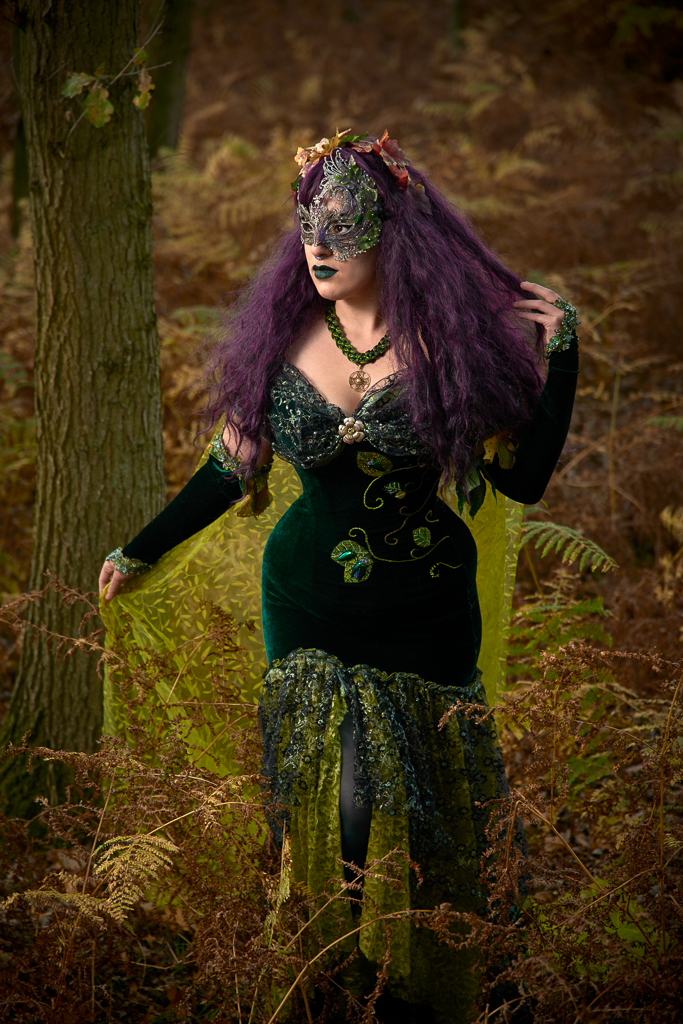
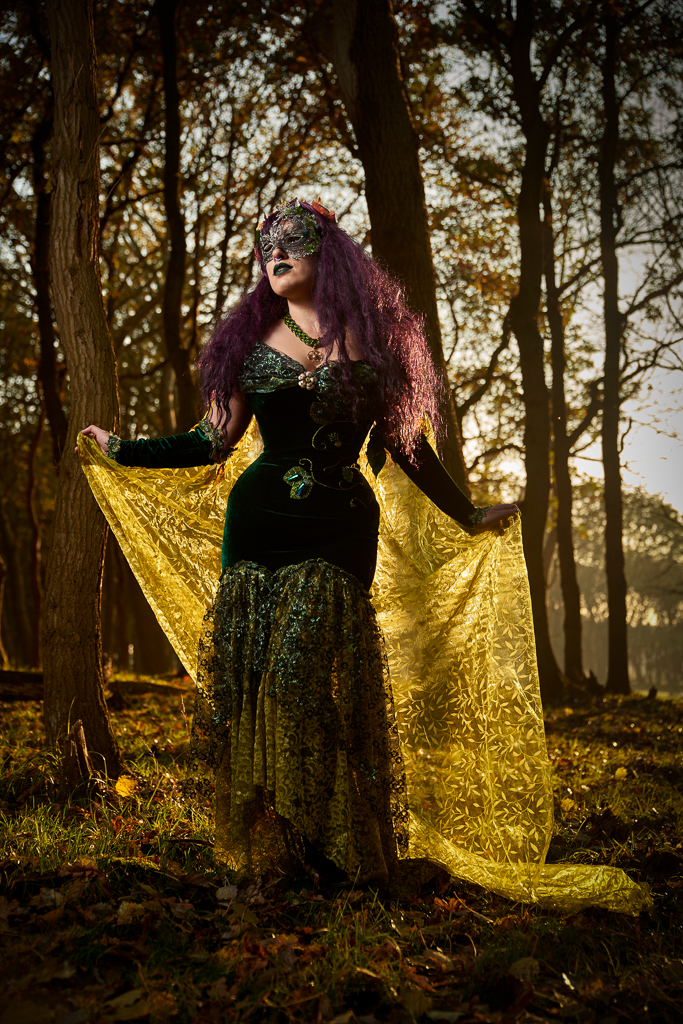
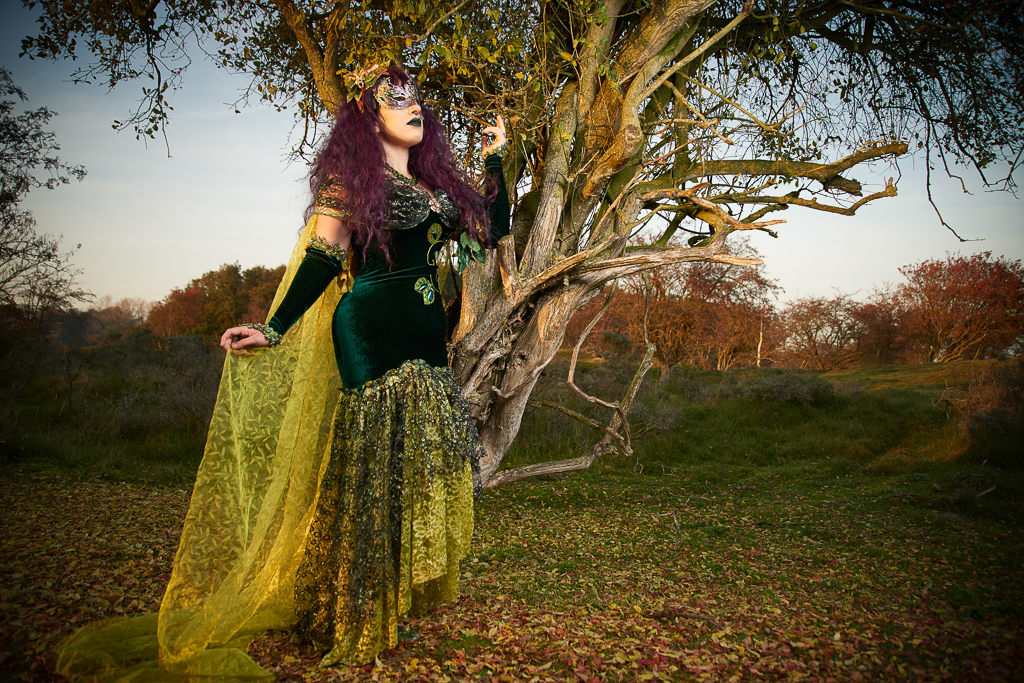
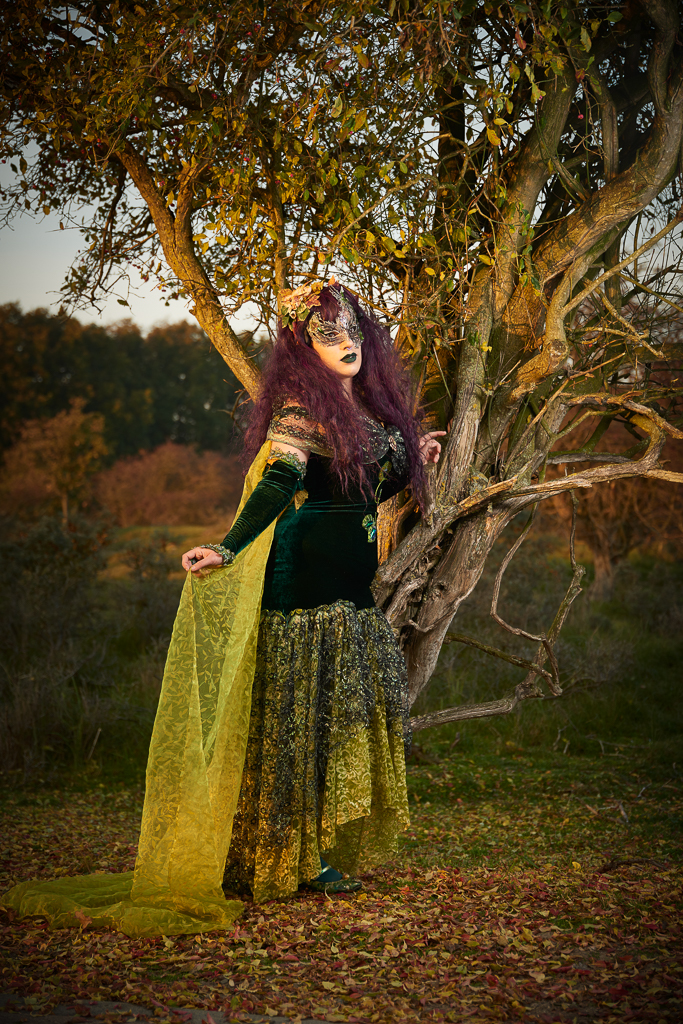
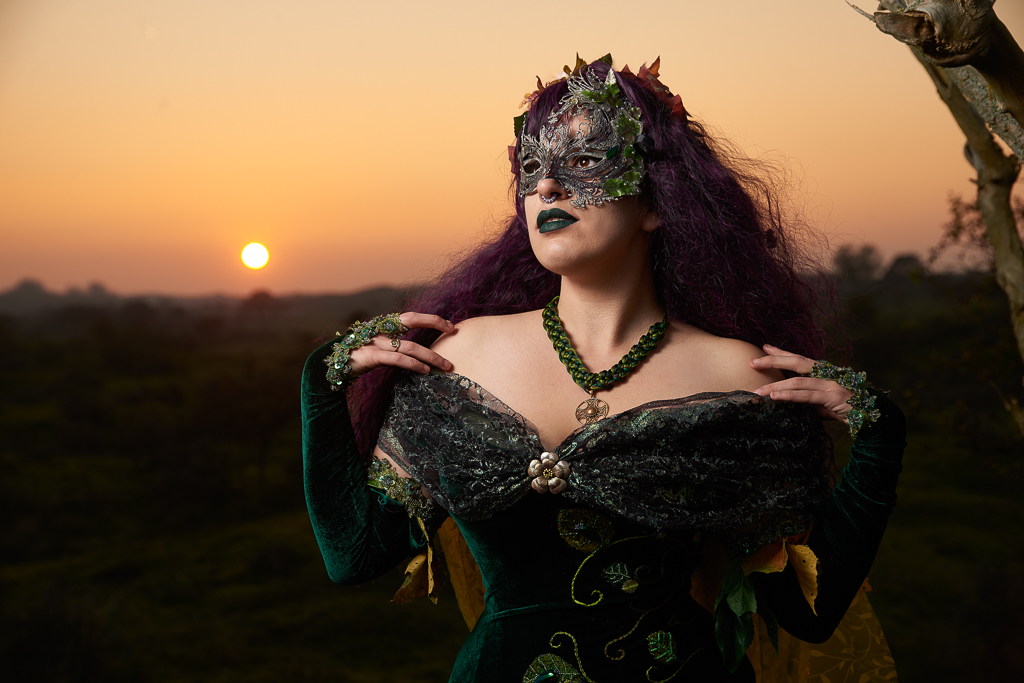
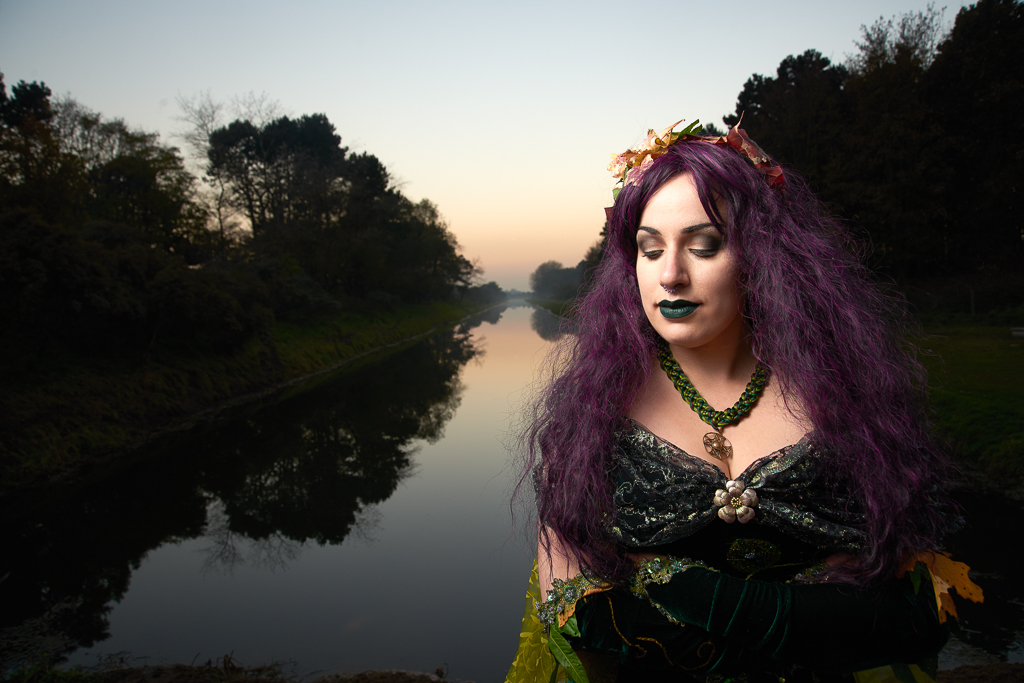
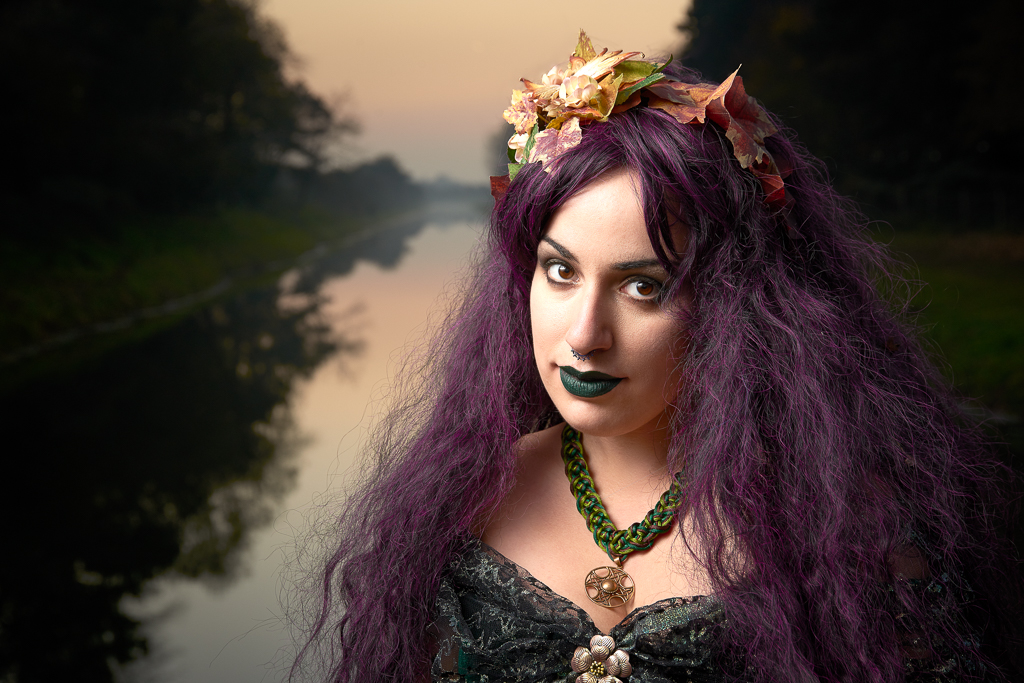
Today I did a small shoot with Jopie in the Amsterdamse Waterleidingduinen. This is a great nature reserve near my studio. Yesterday it was a great day for some a little bit spooky shoot with a lot of thick fog. Here are some of the test shots. This would be perfect for the fantasy style shoot I was planning to do. Also as a test for a workshop I want to set up next year.
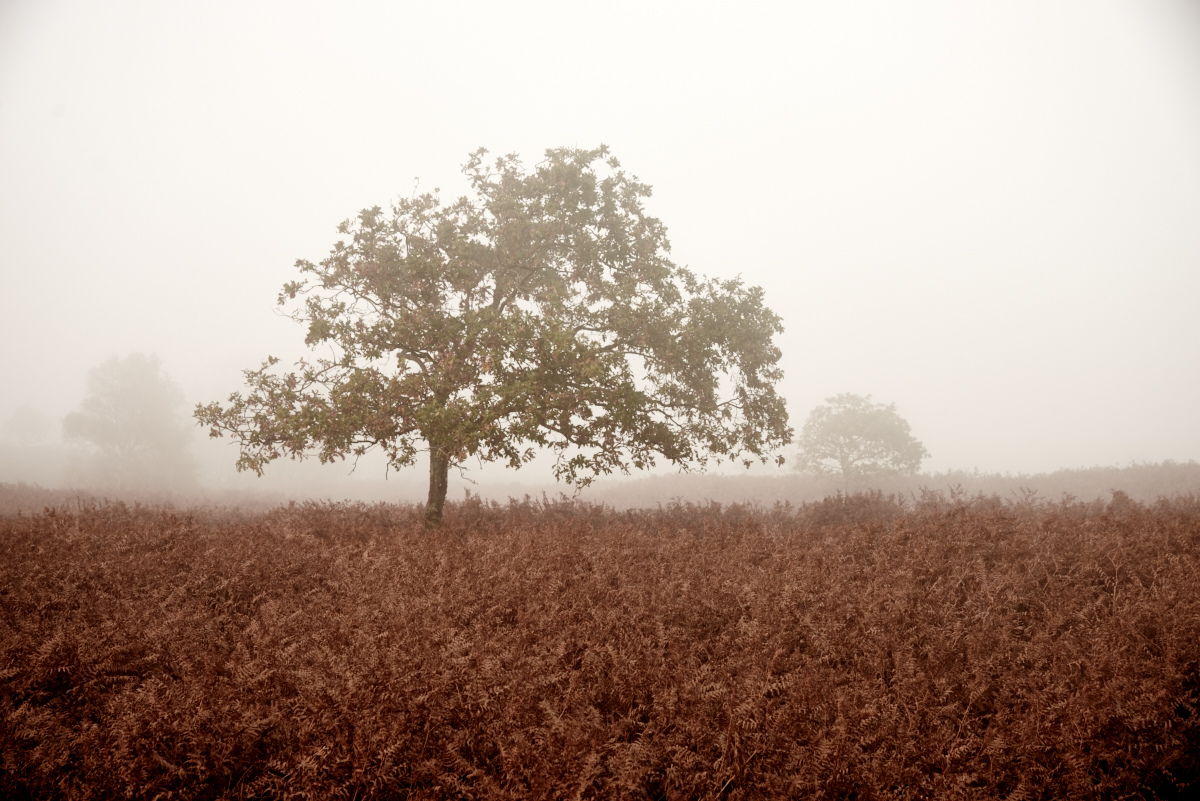
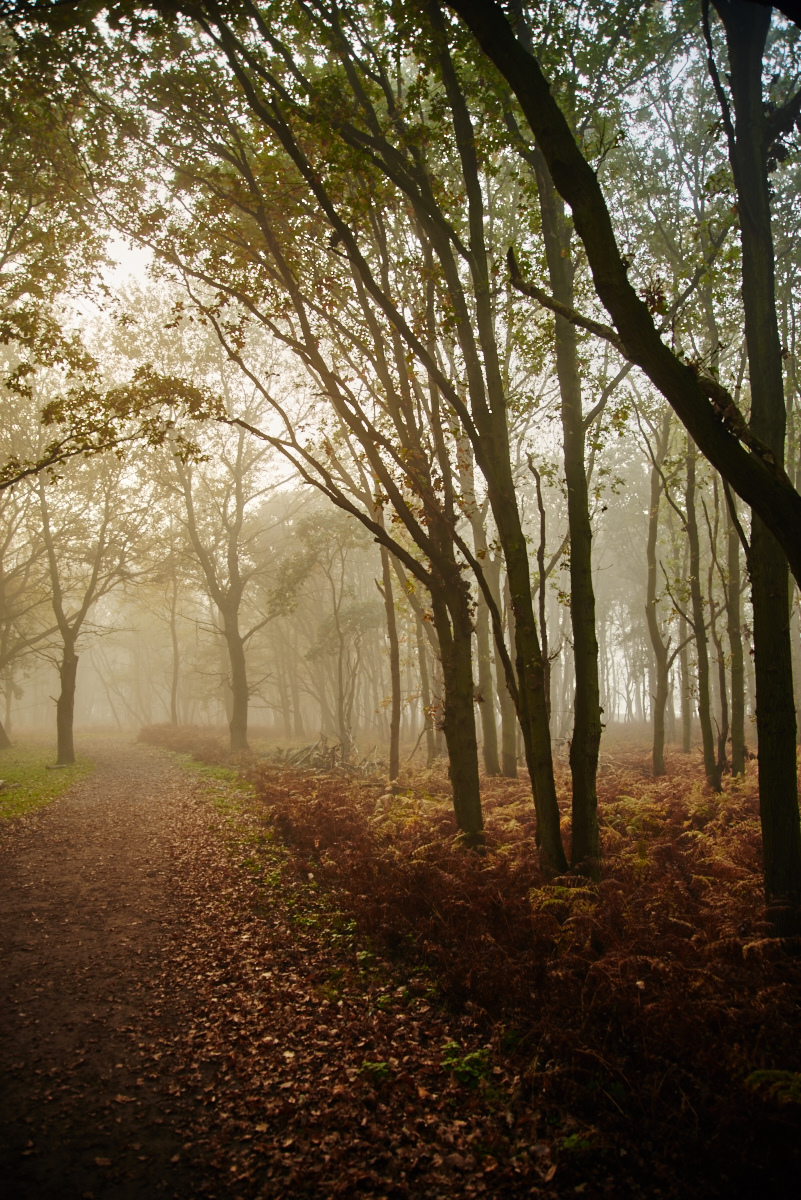
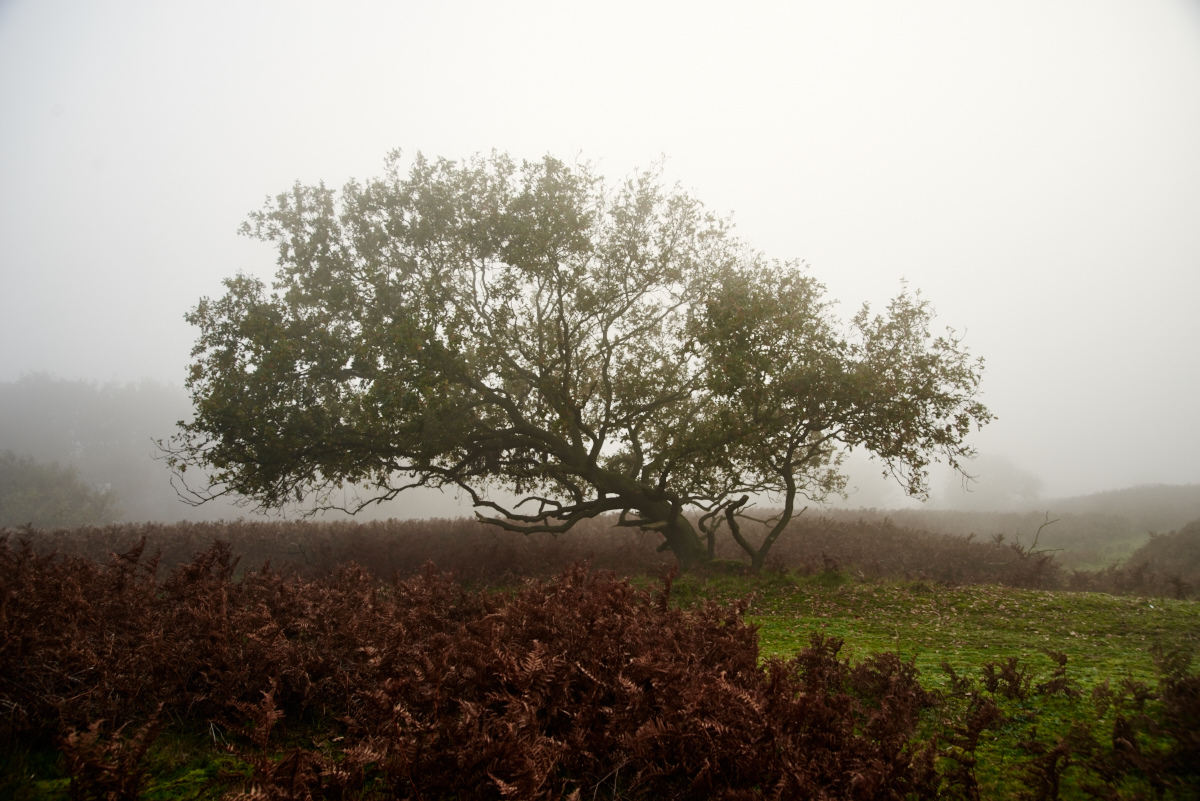
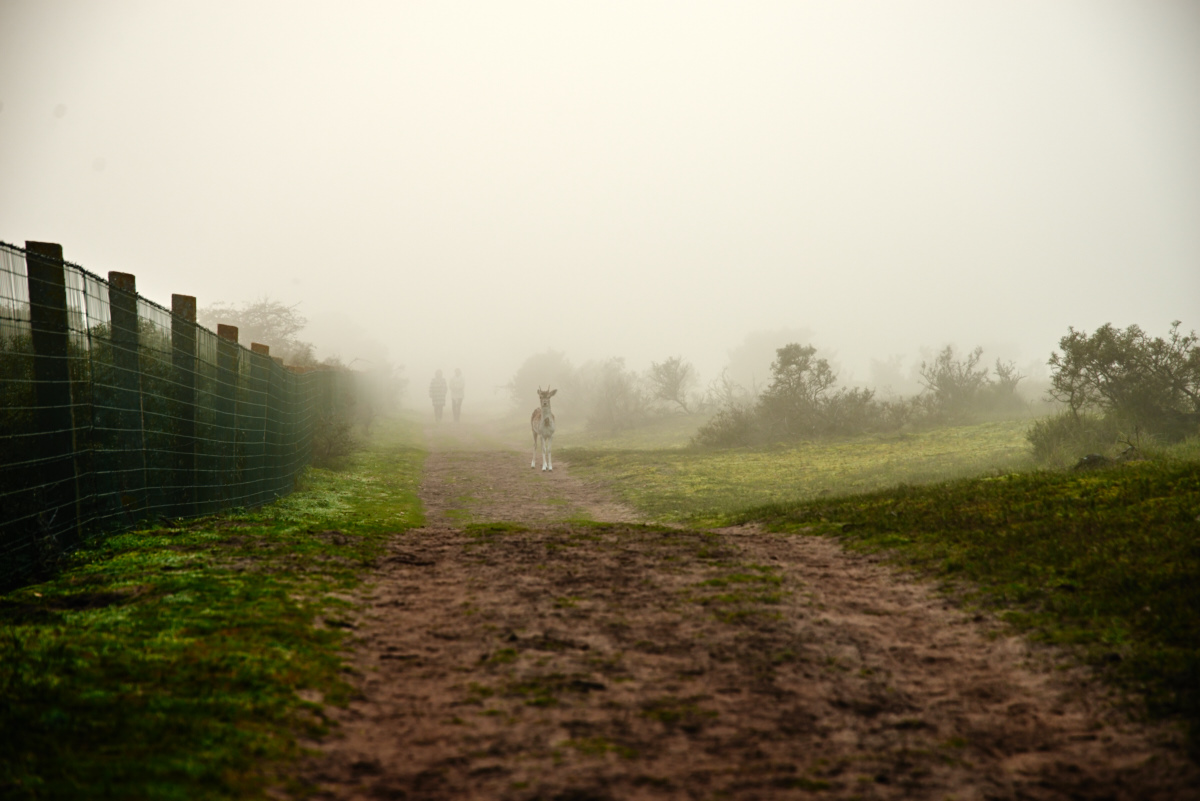
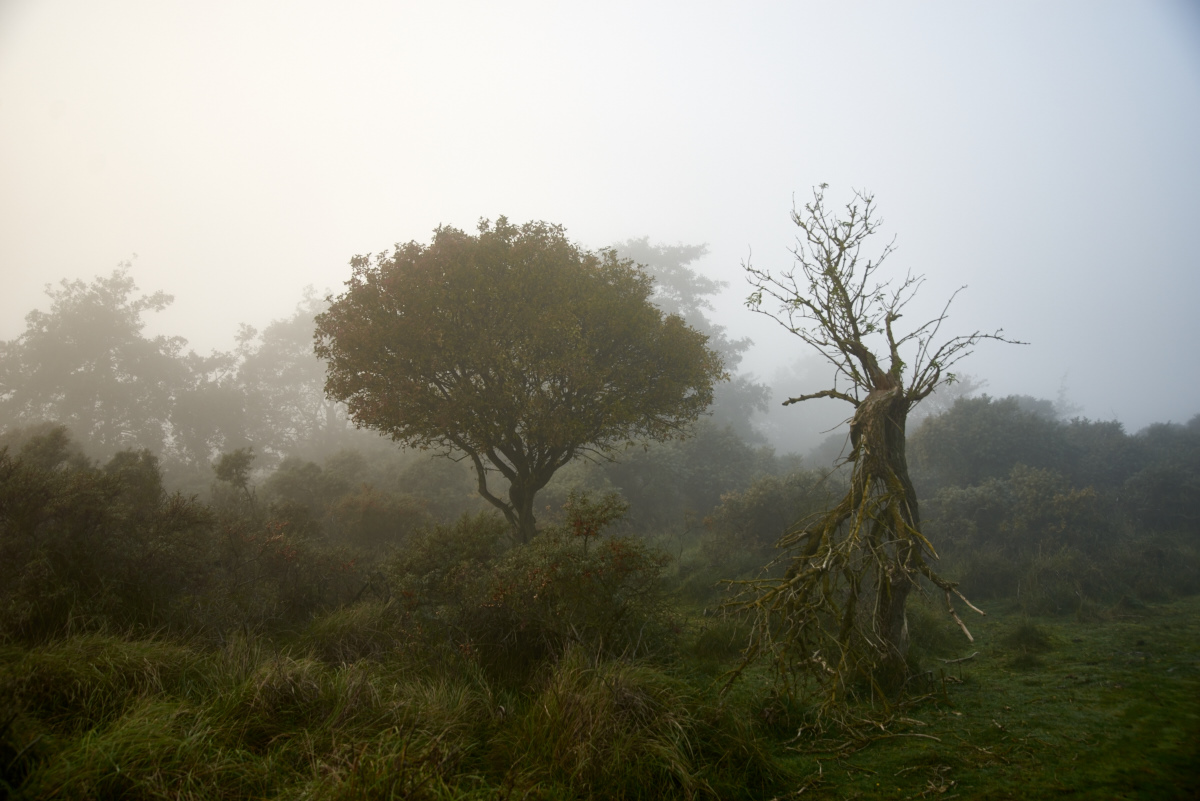
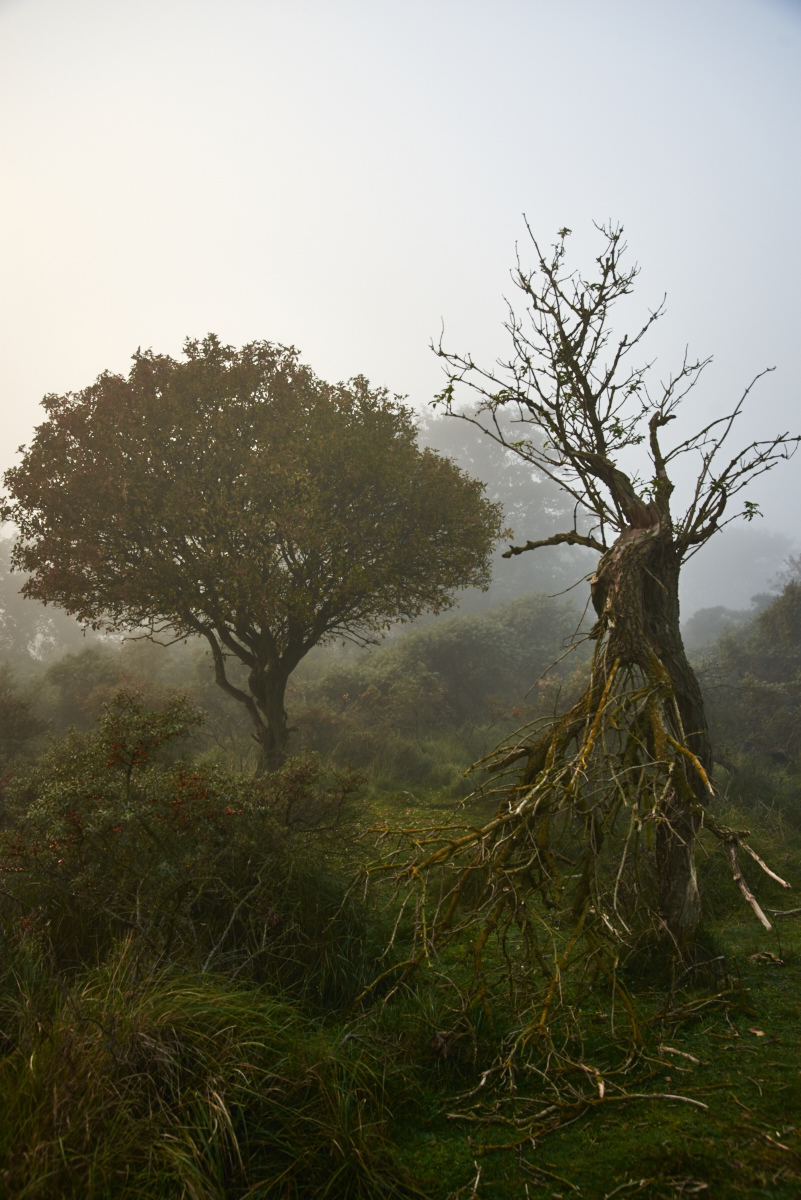
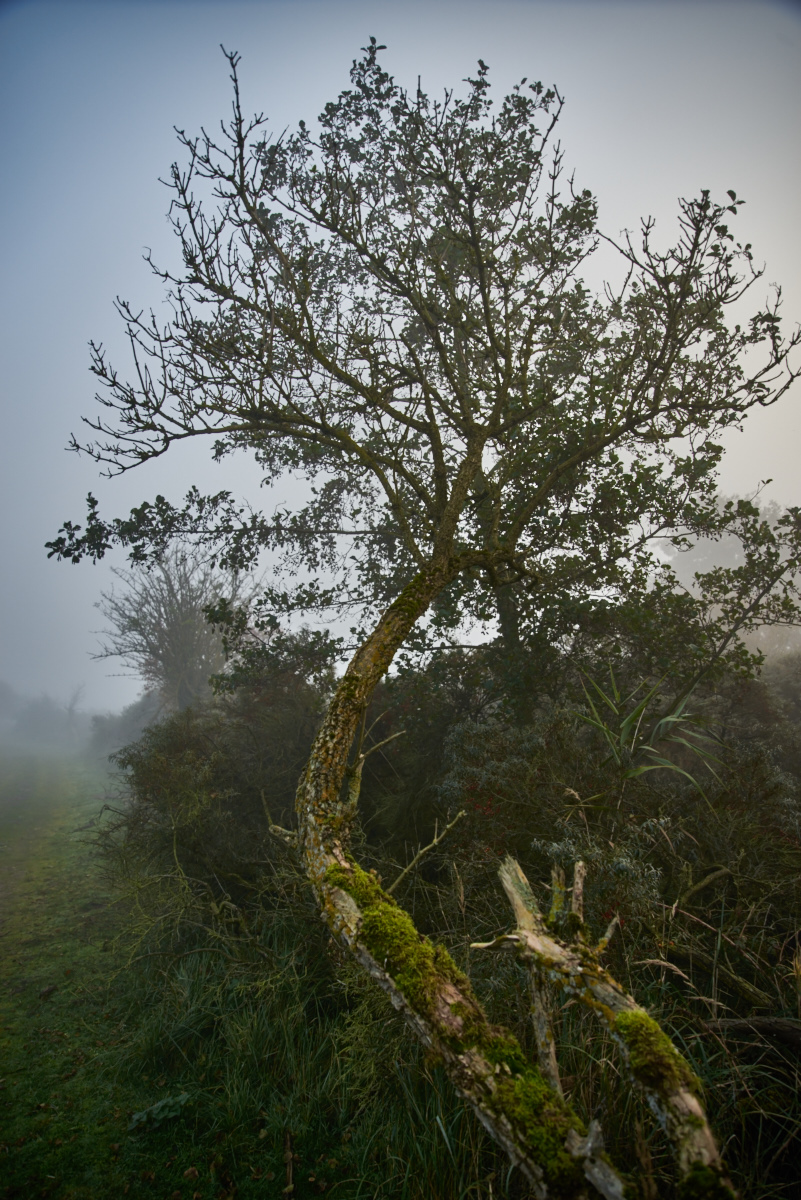
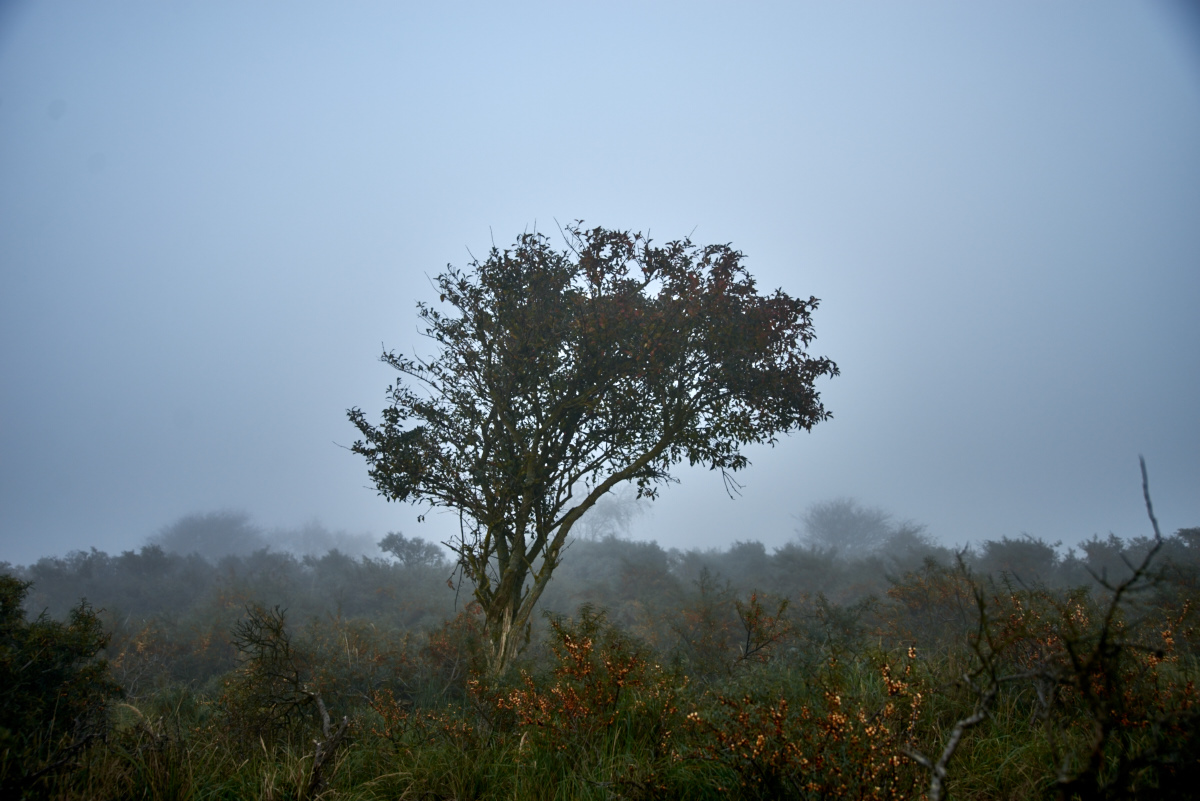
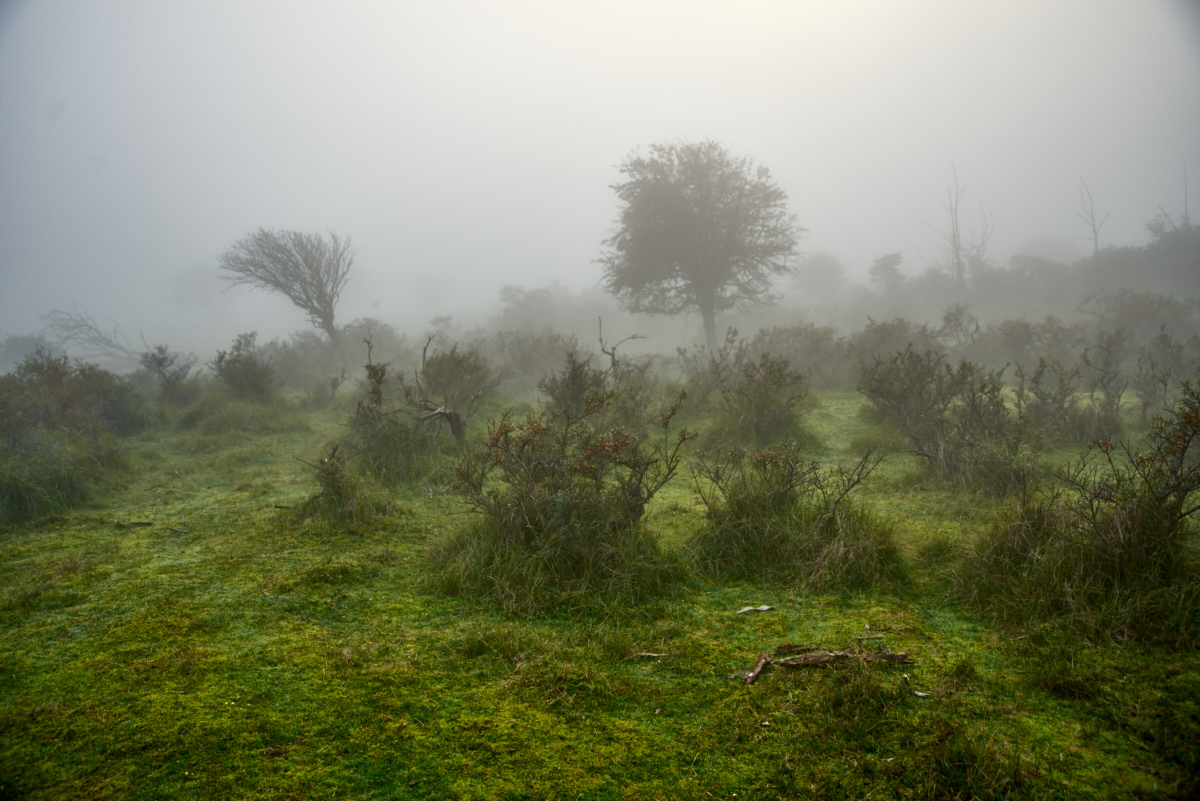
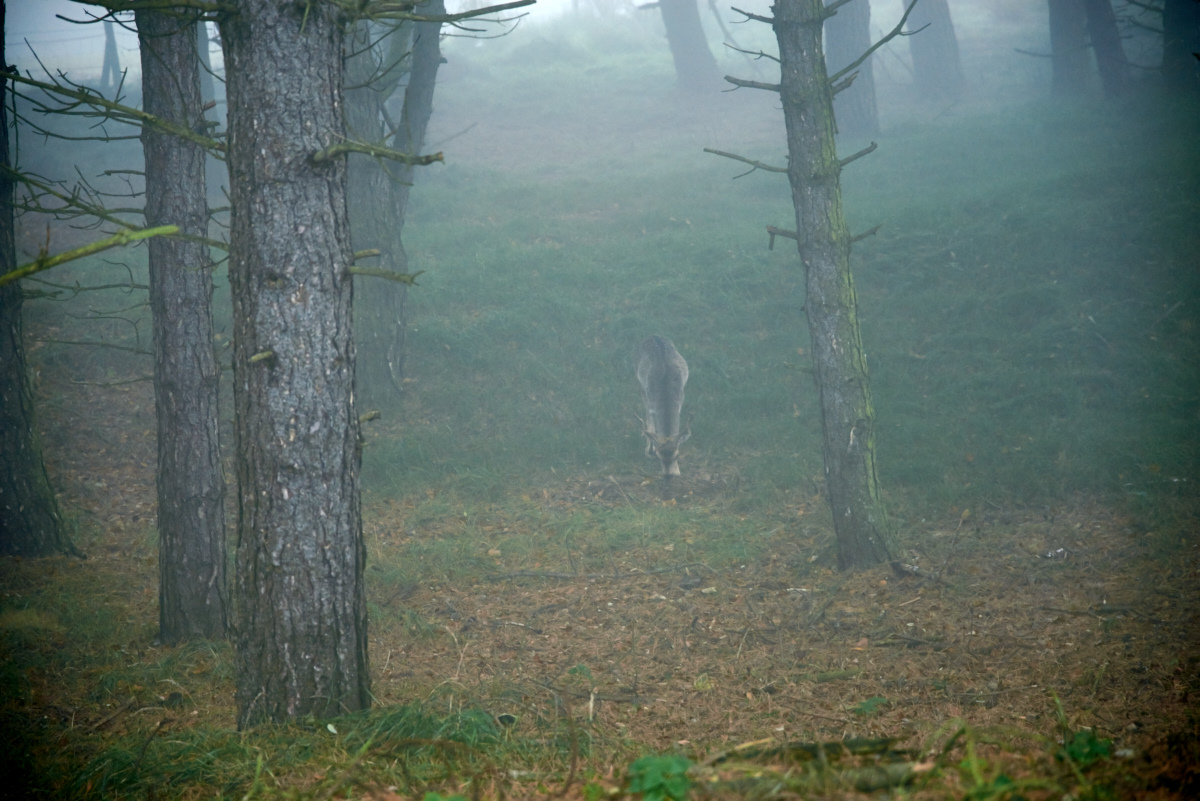
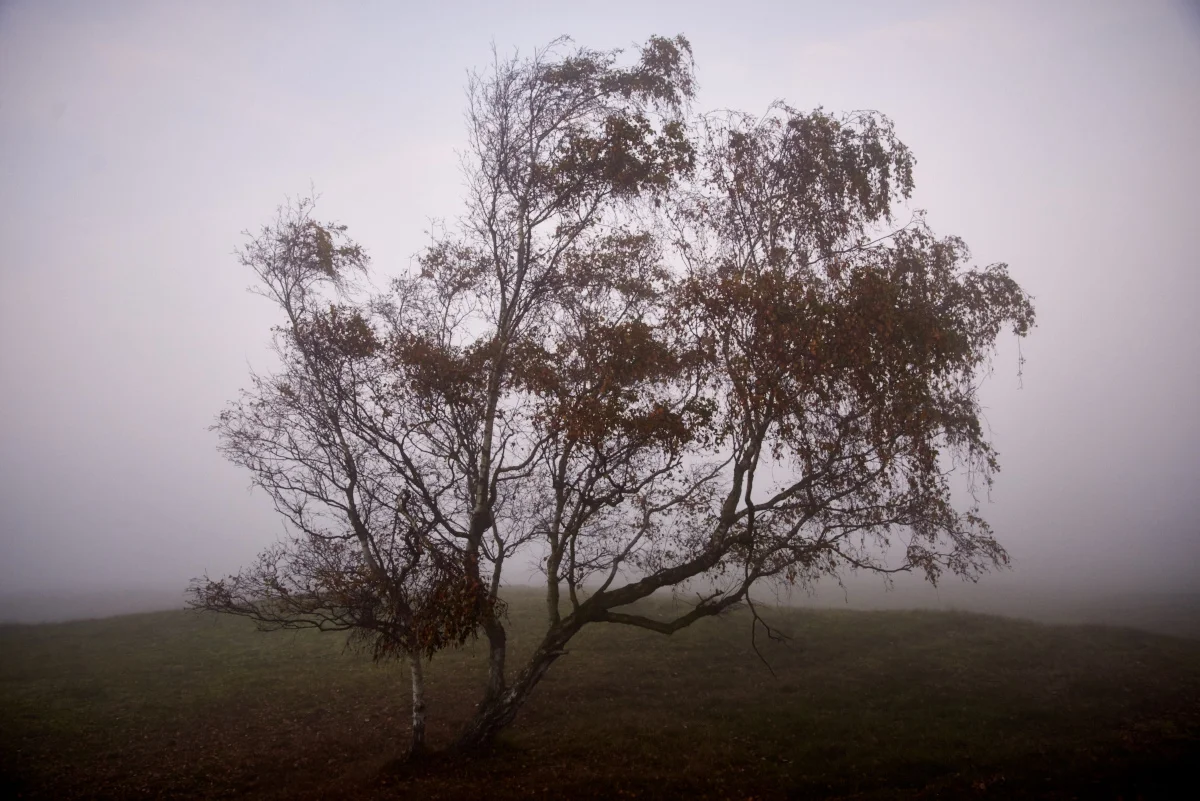
The Fantasy shoot
Today the weather prediction was also some nice fog. But as you might know. The Dutch weather, when you need fog, you get ready to shoot and the weather cleared up! So we had to improvise a little bit and also got some great images!
Workshops
As said, these where tests for upcoming workshops. You can Enroll for the workshops now. Go to the workshops pages for the dates!
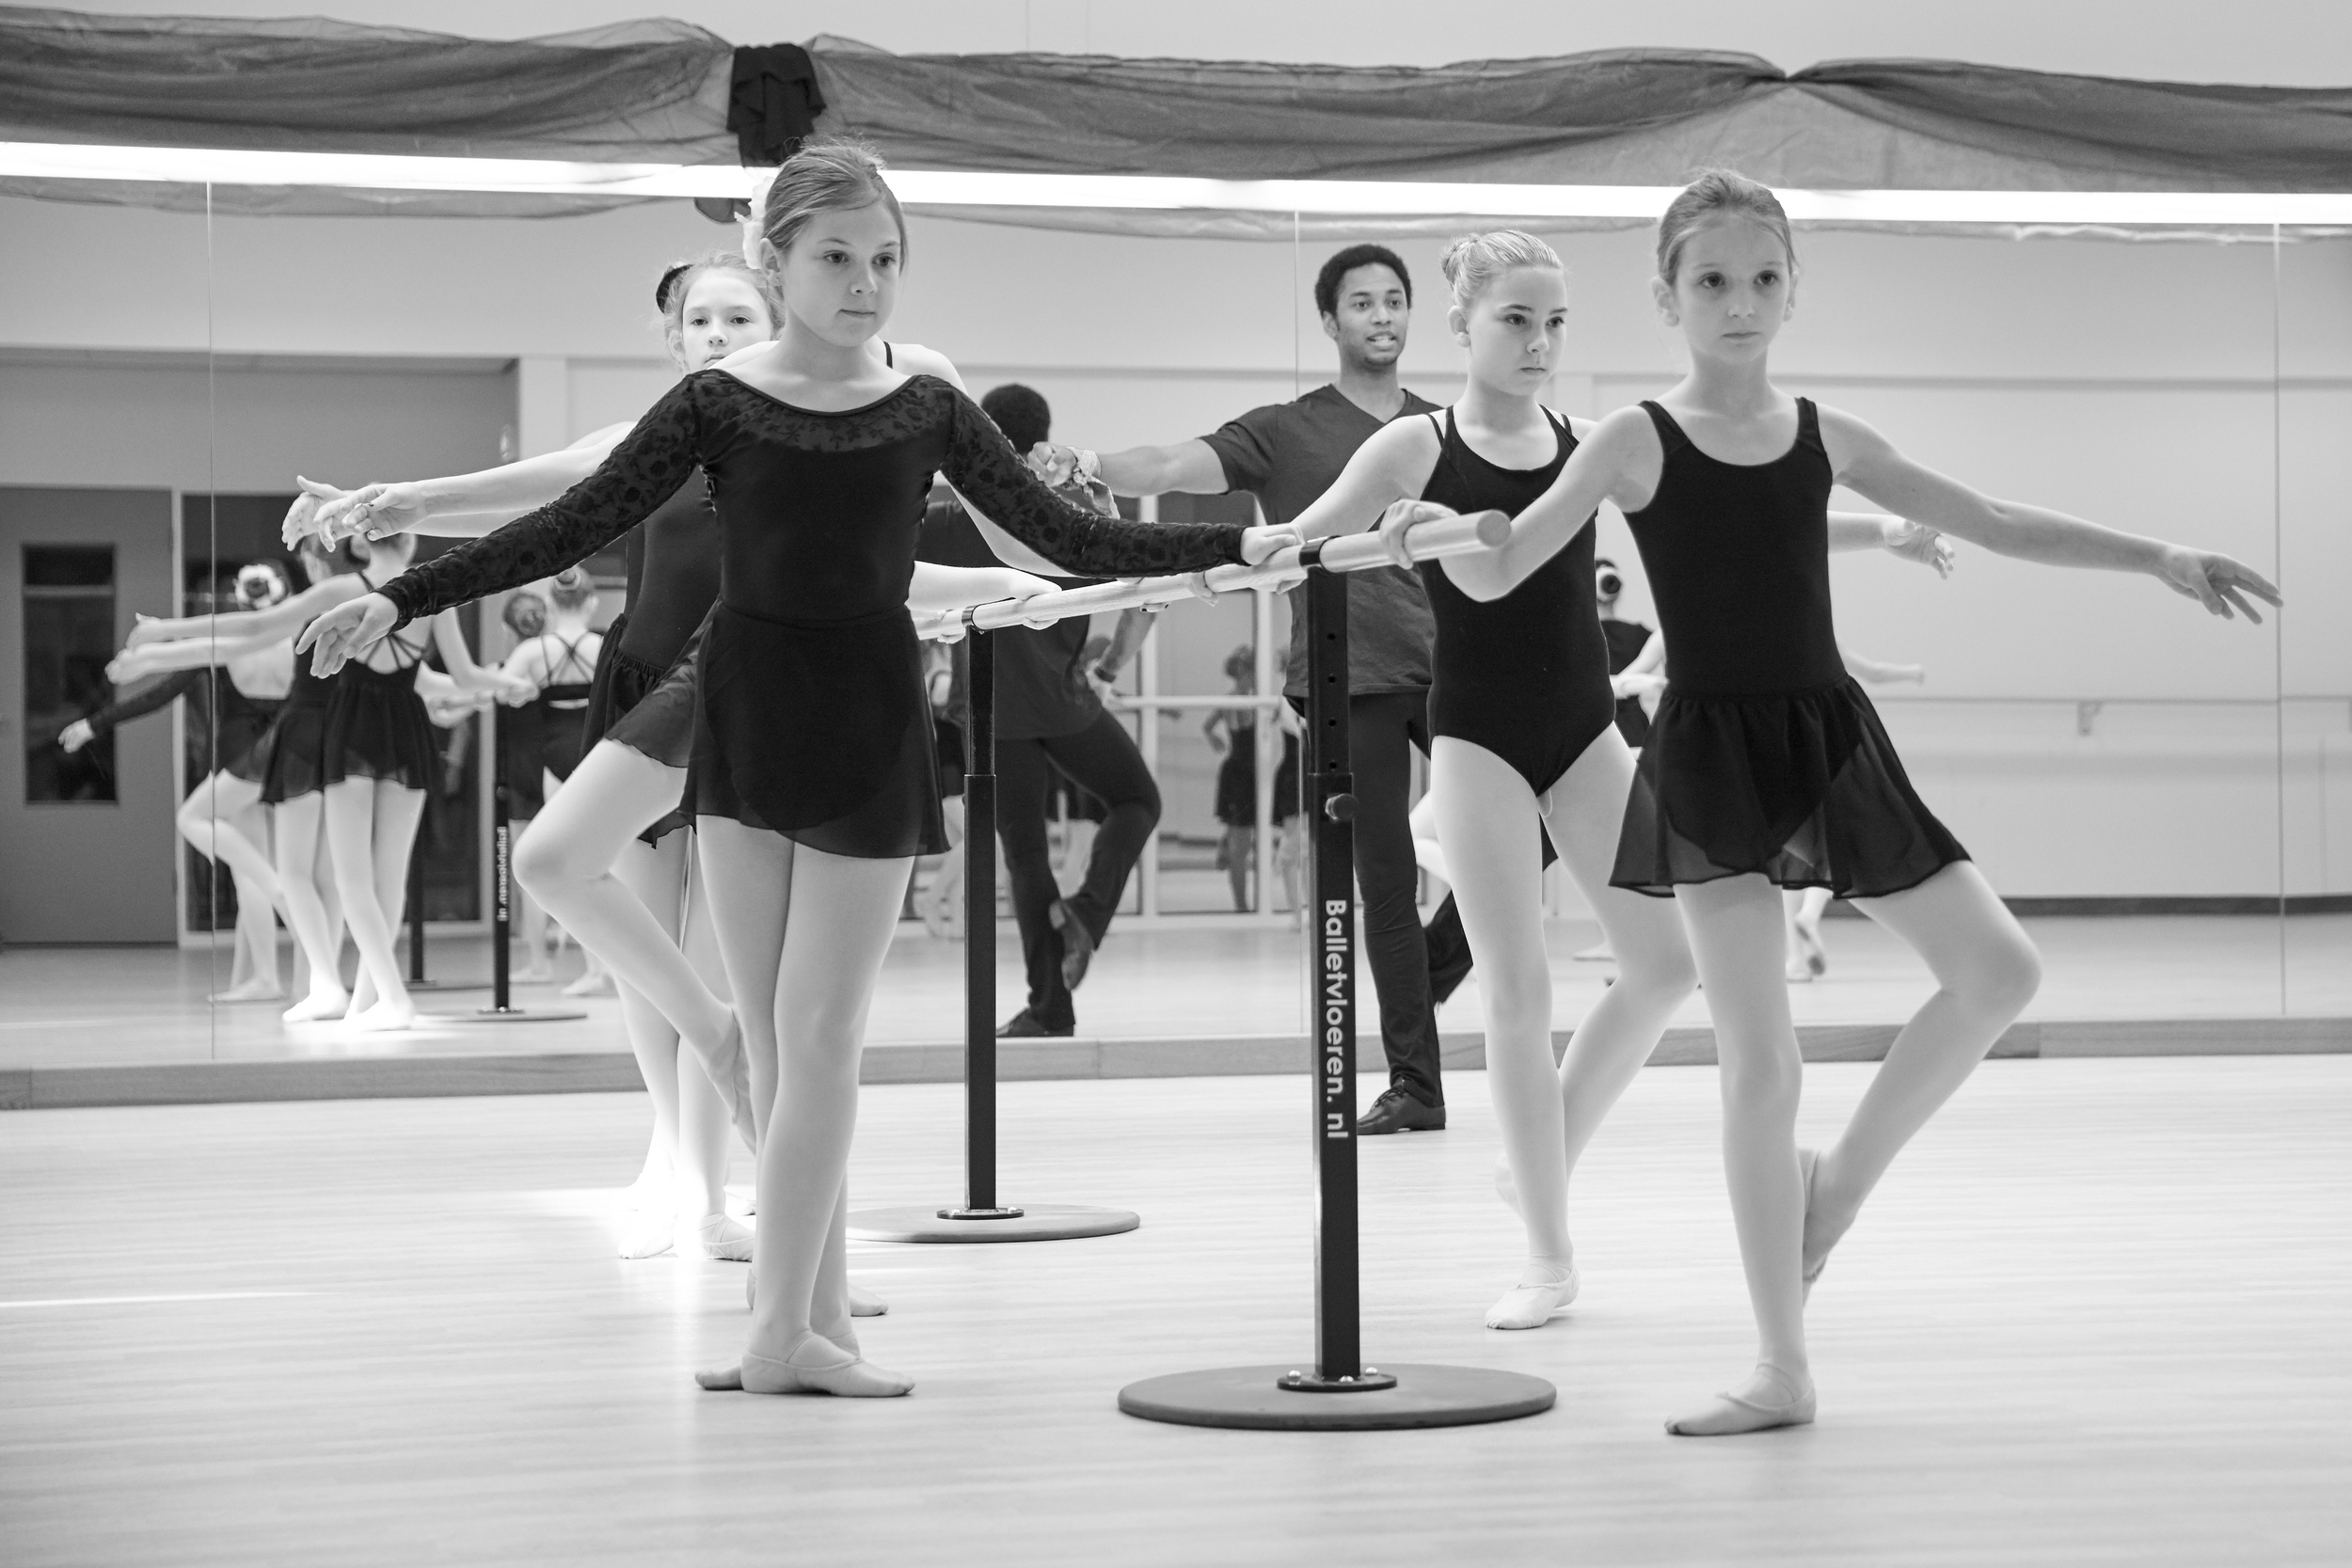
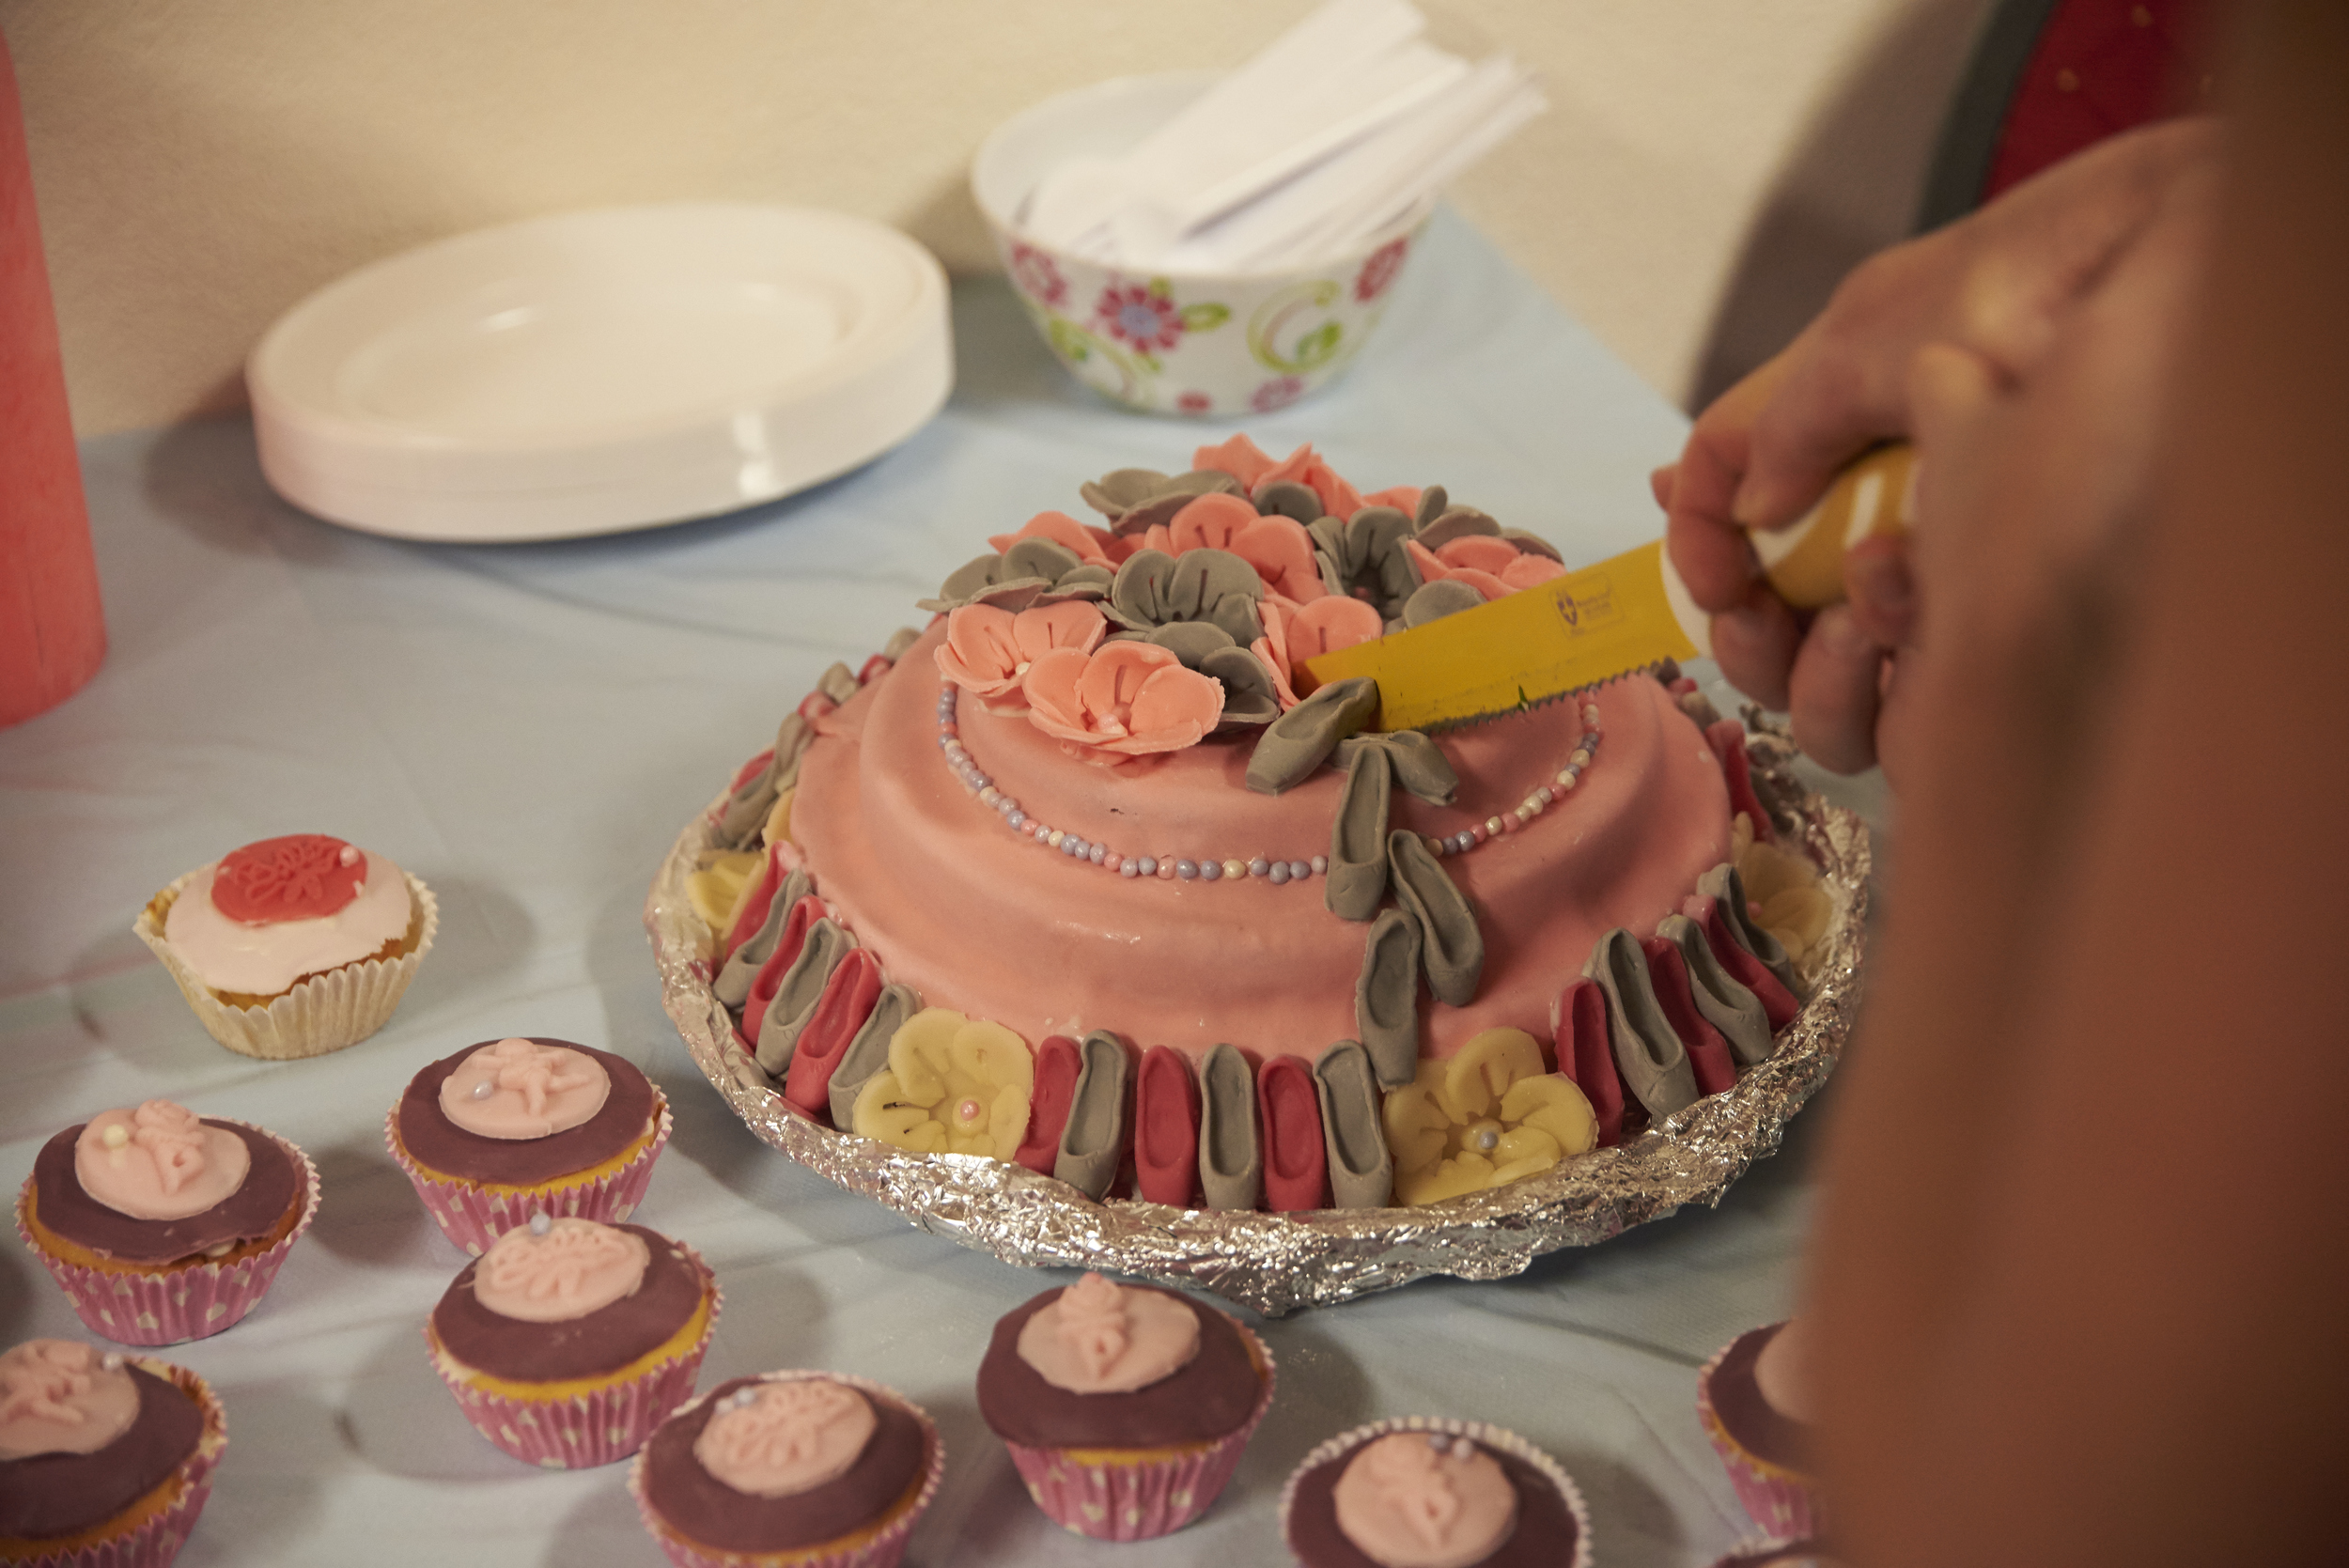
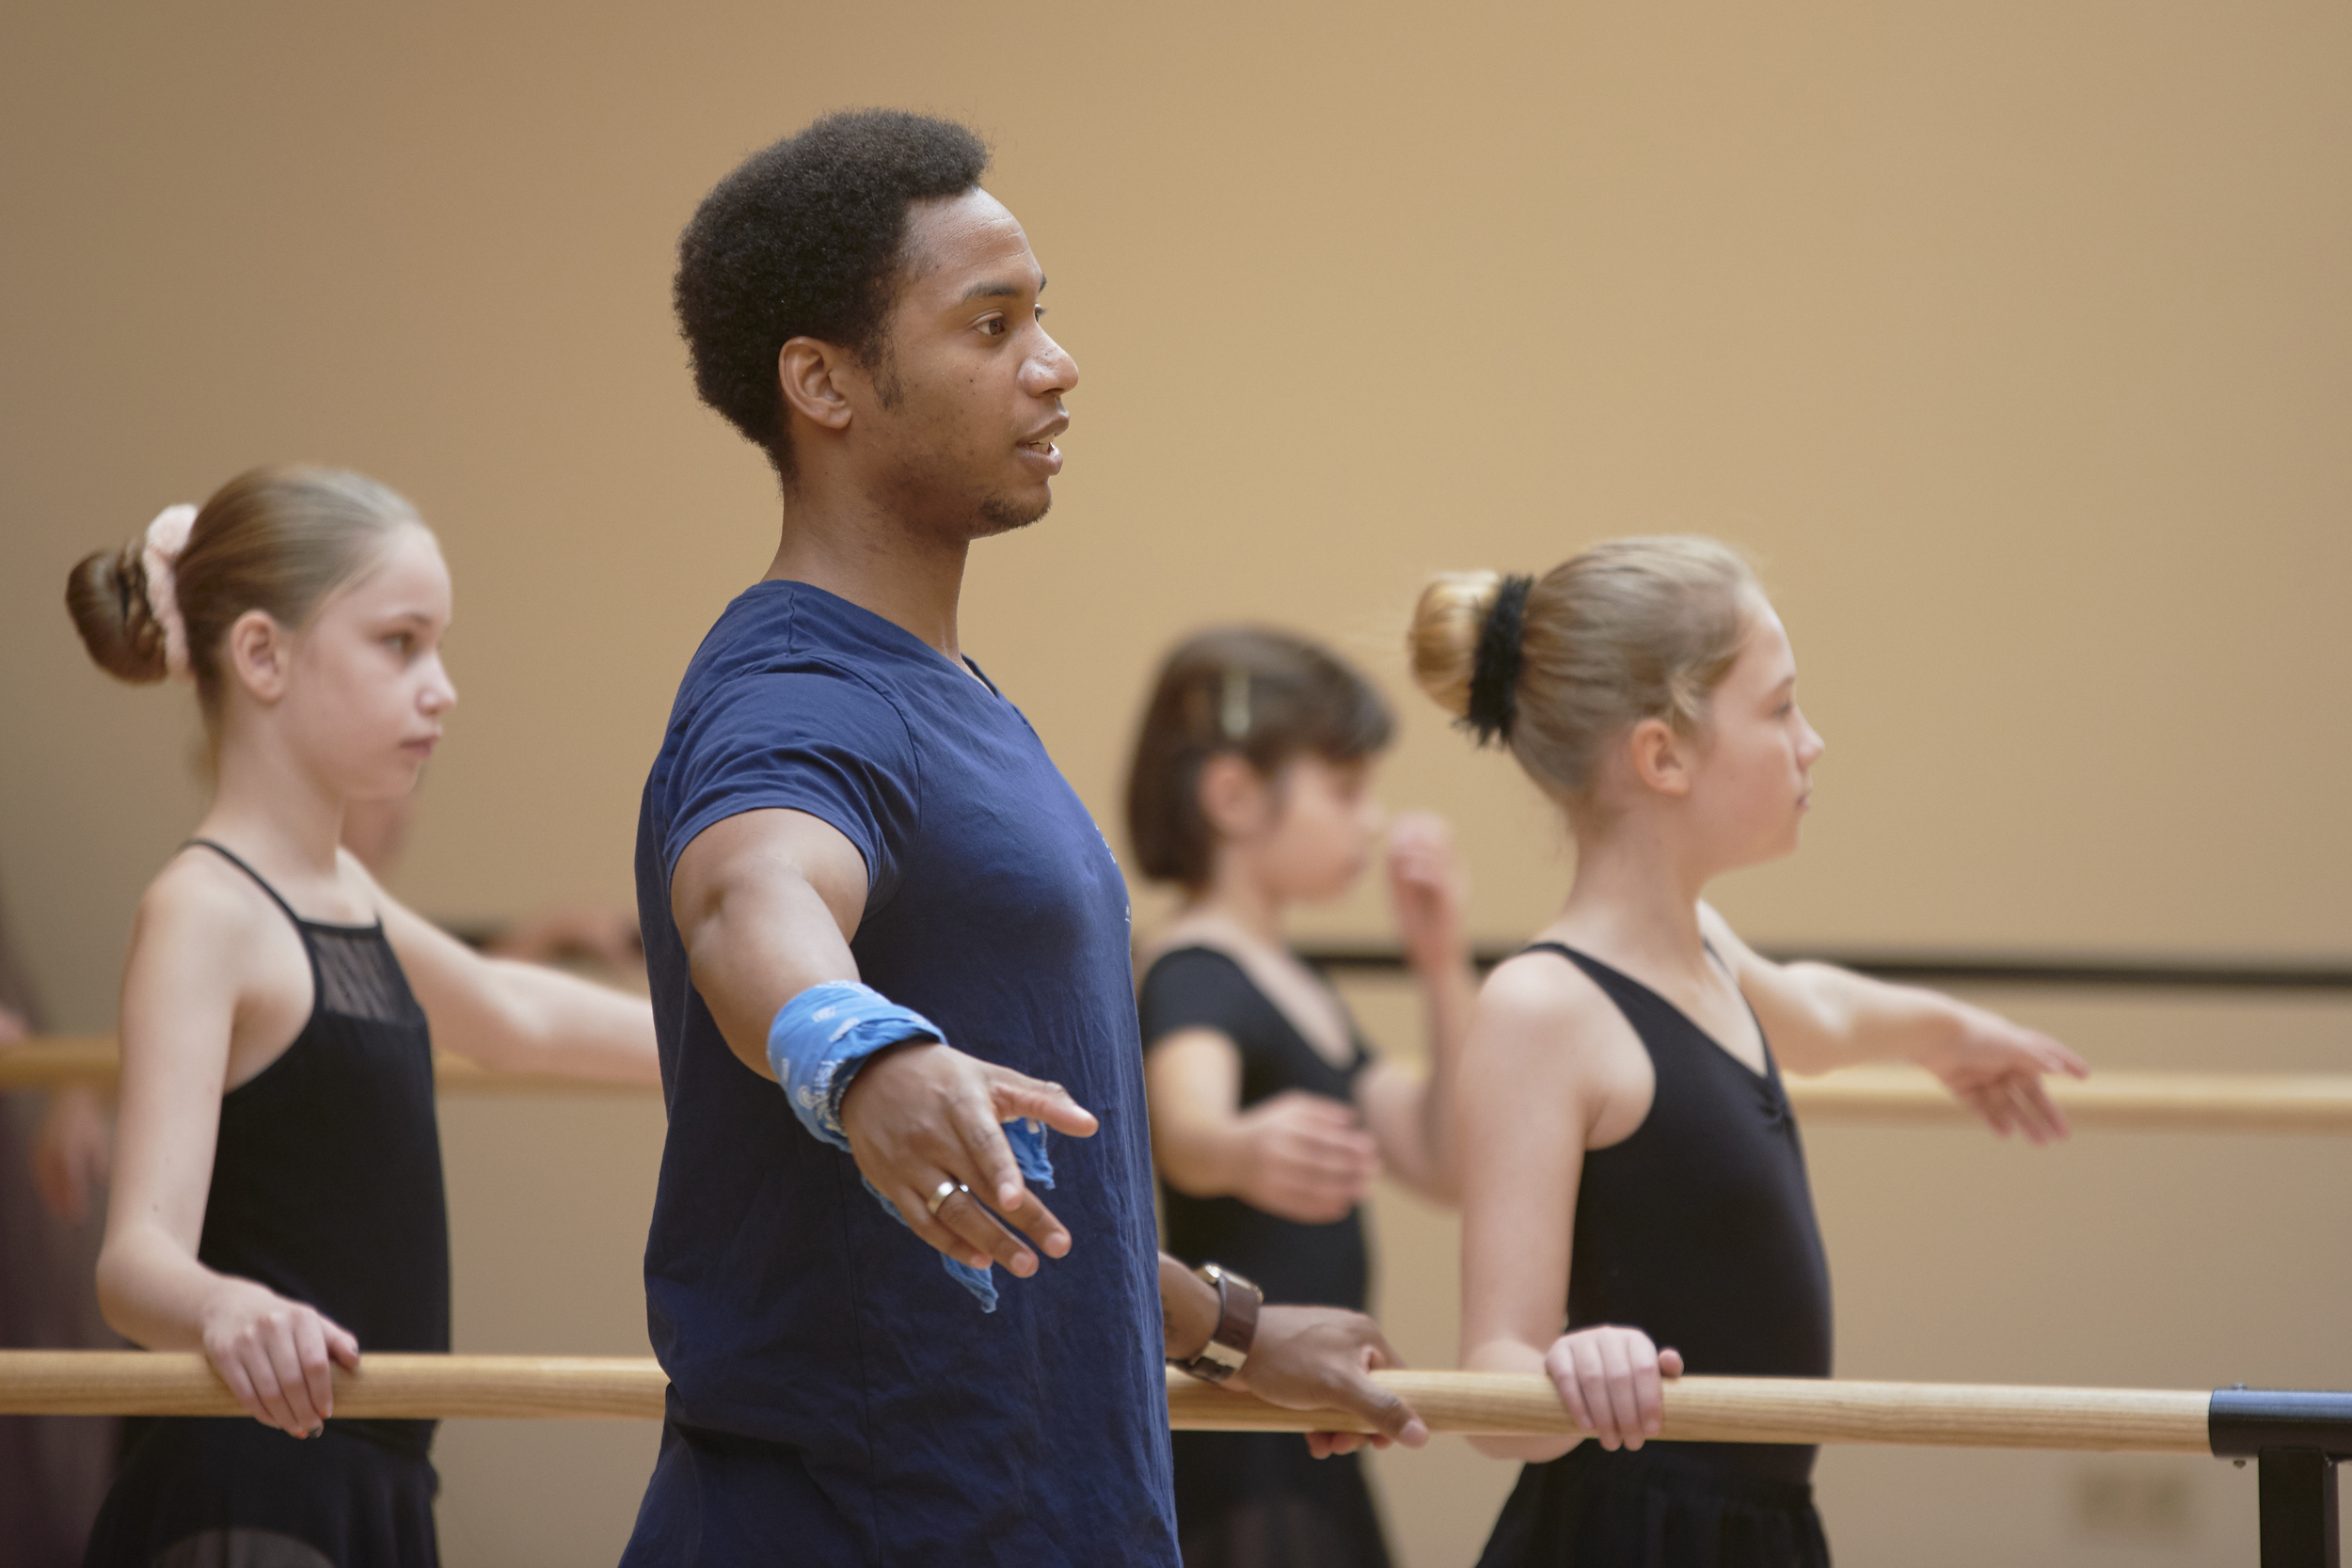
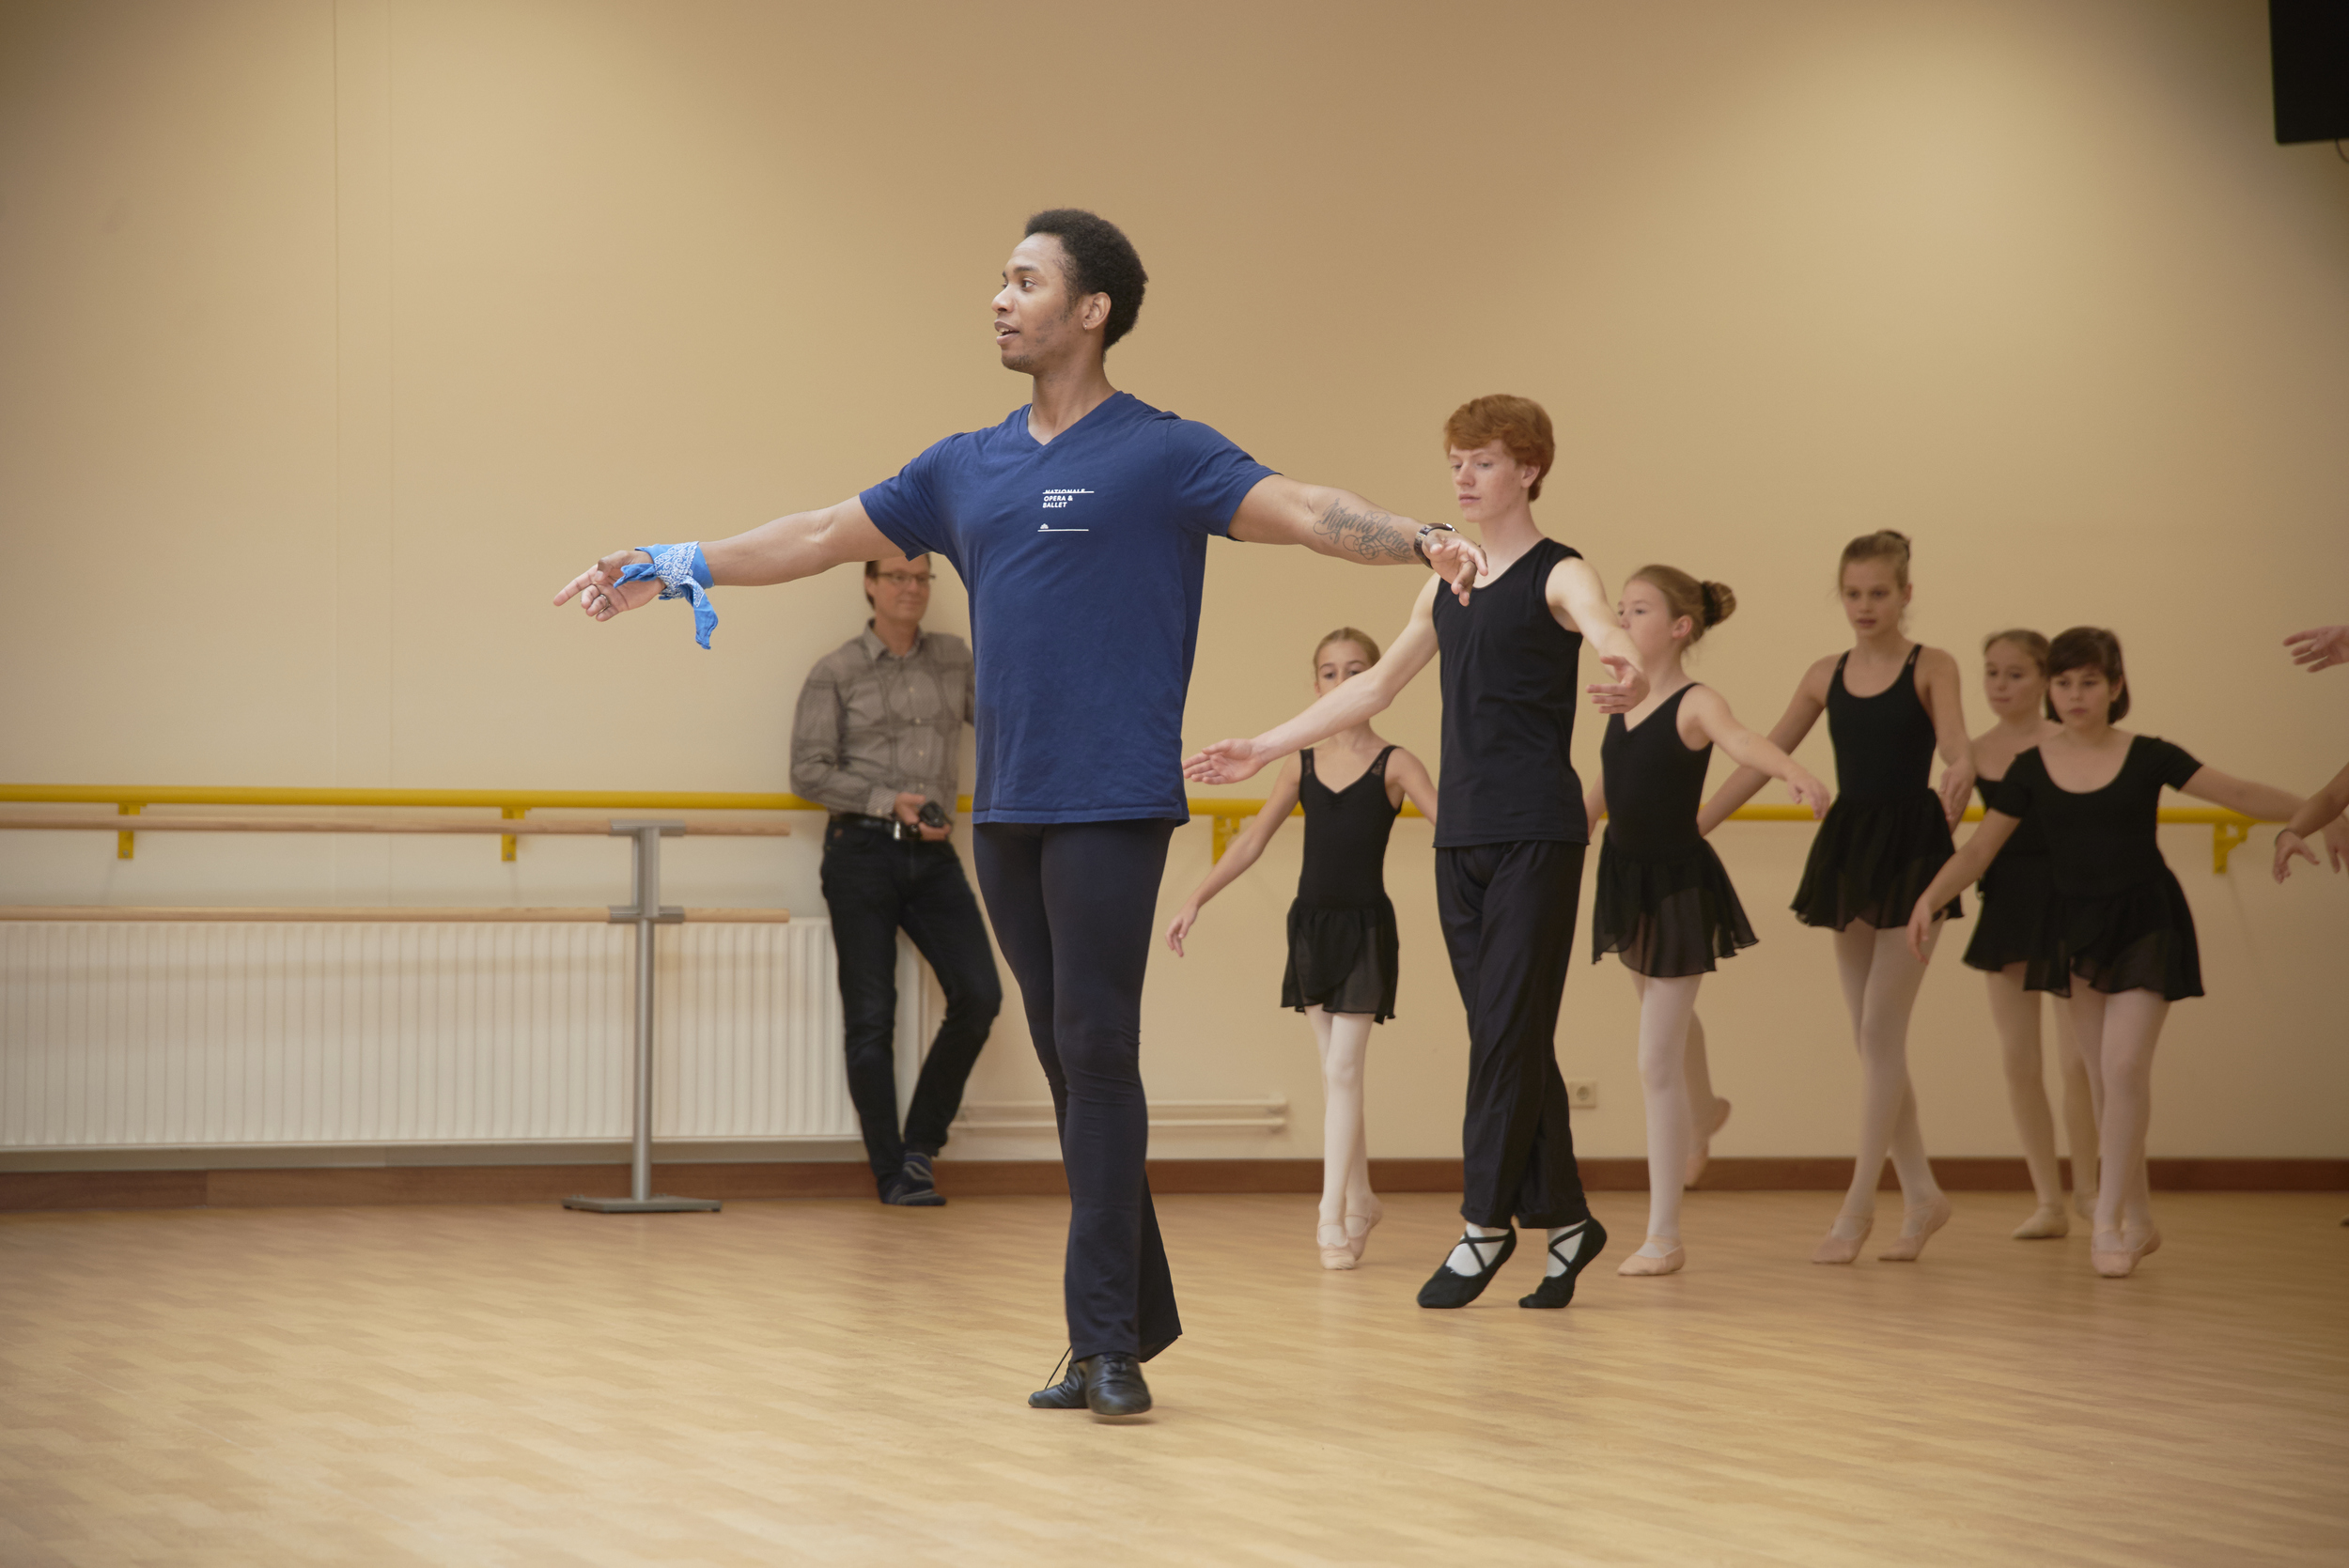
Balletschool Attitude 10th anniversary
Hi All,
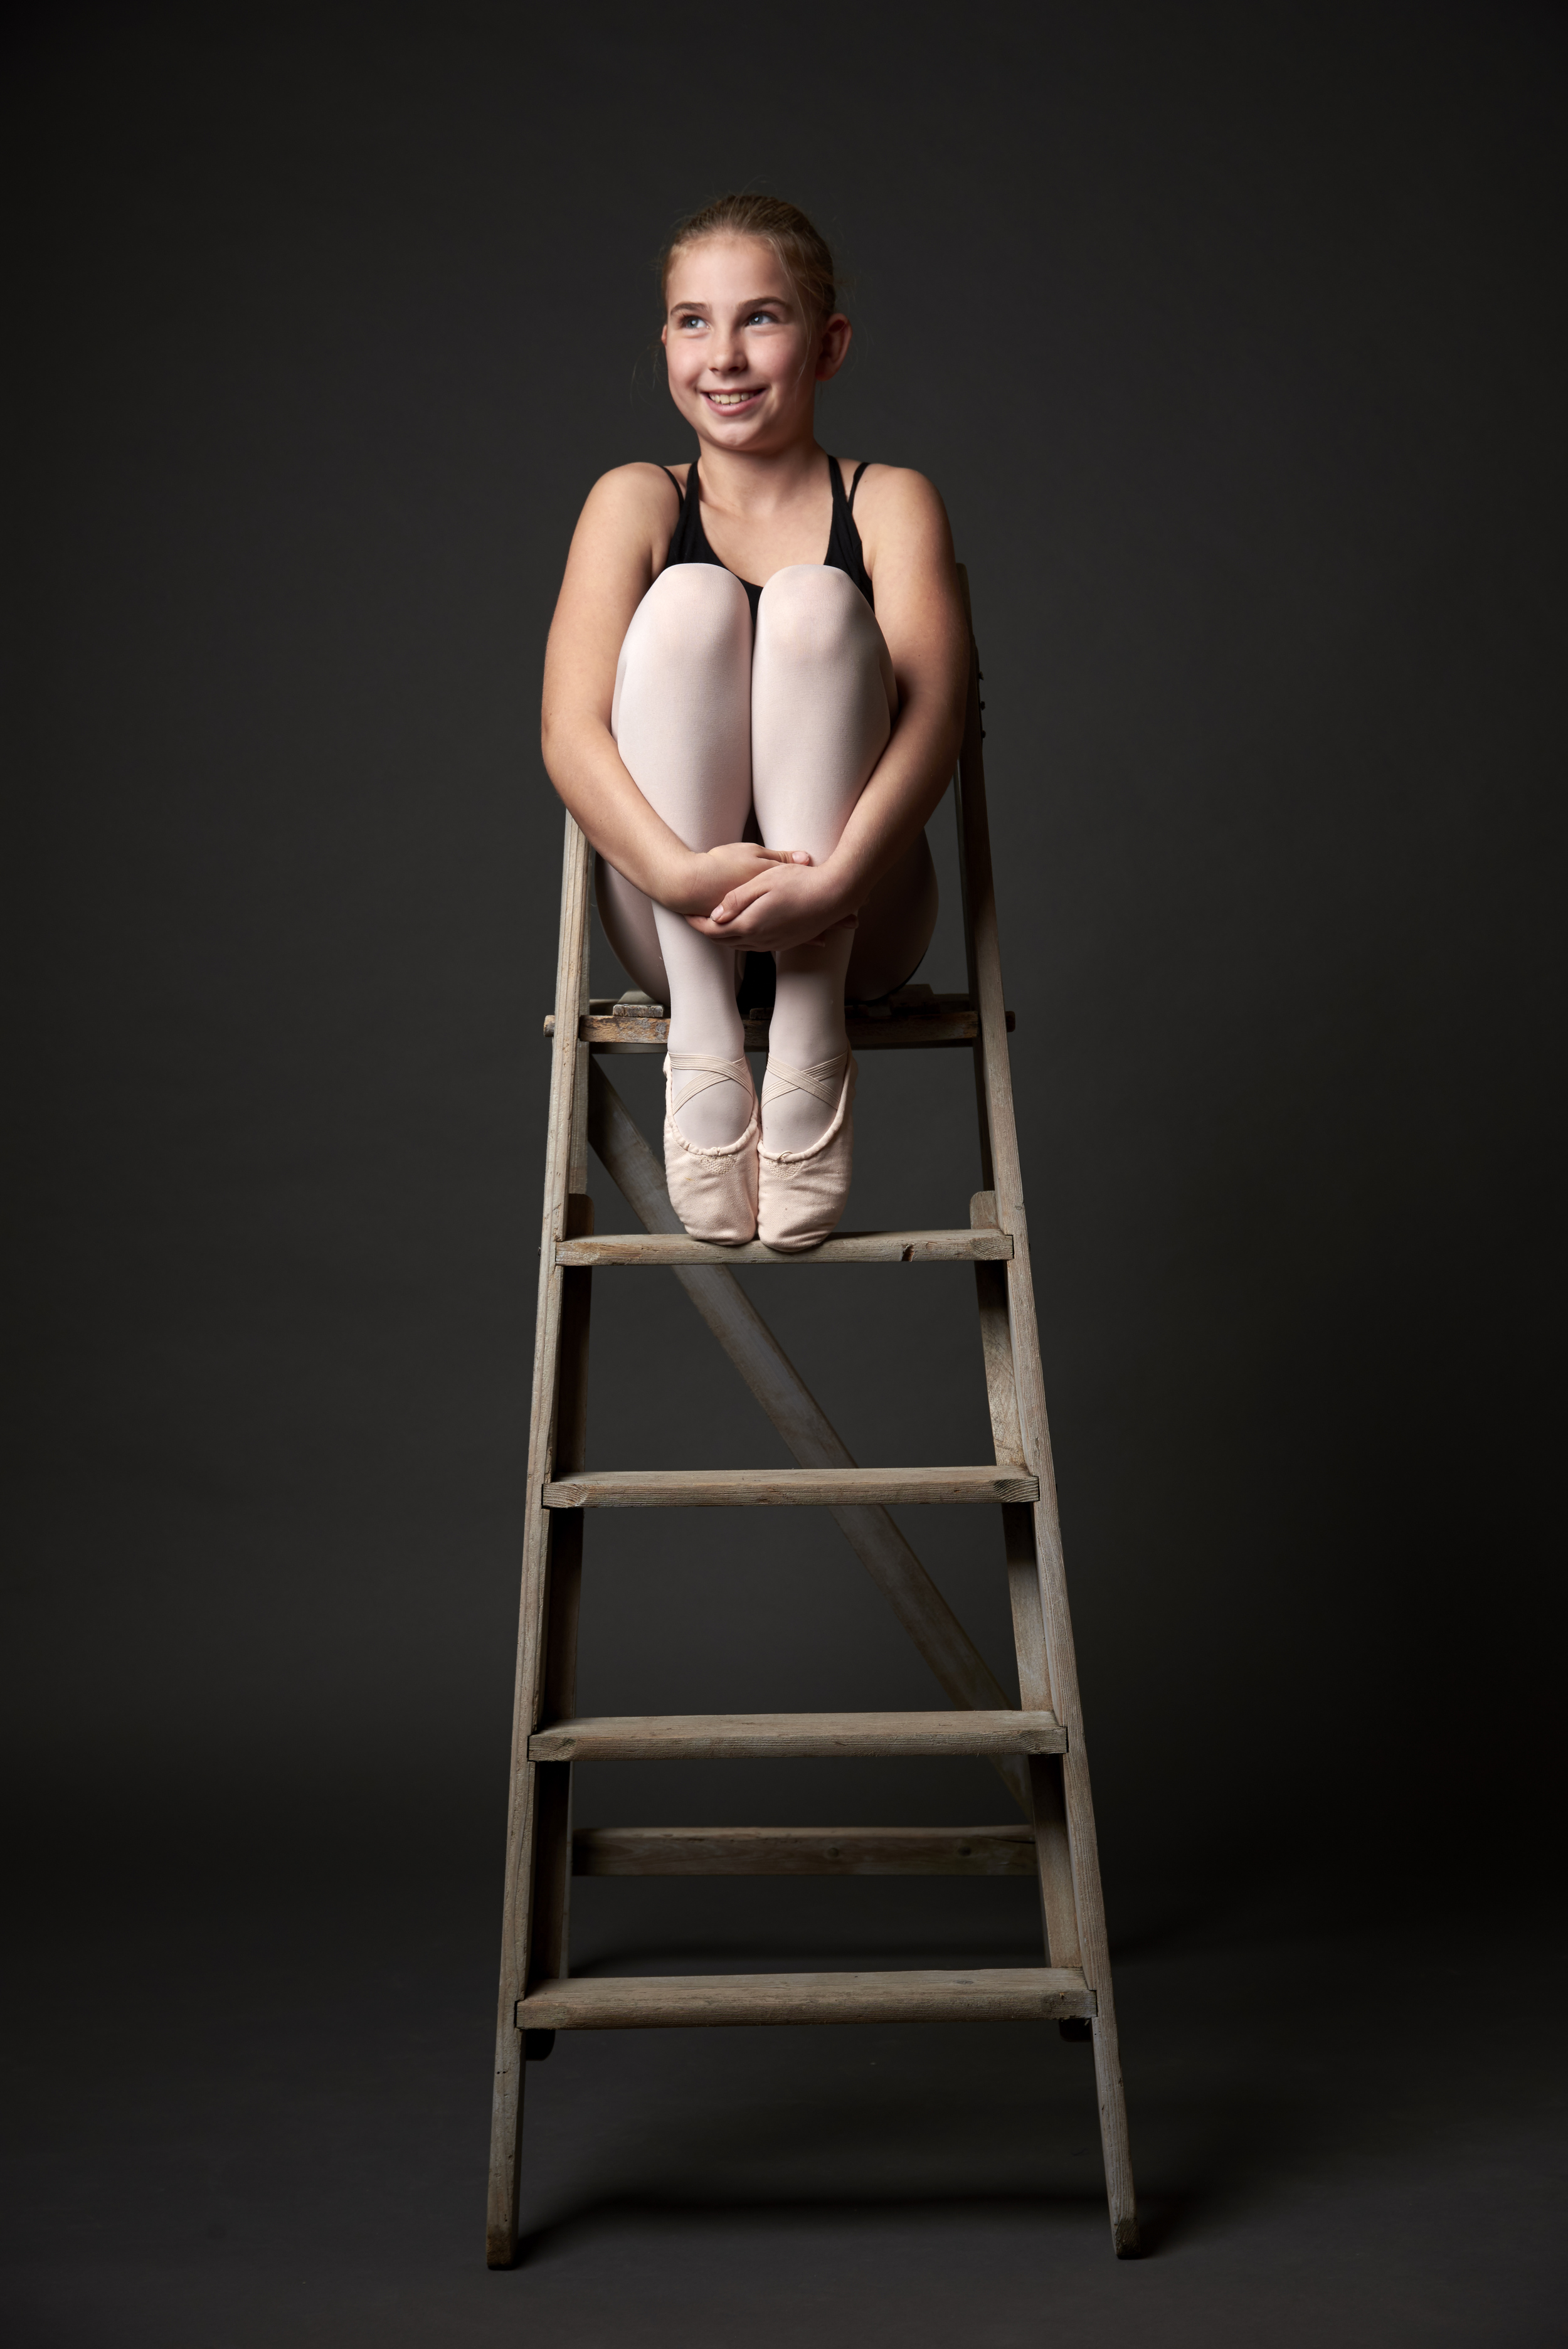
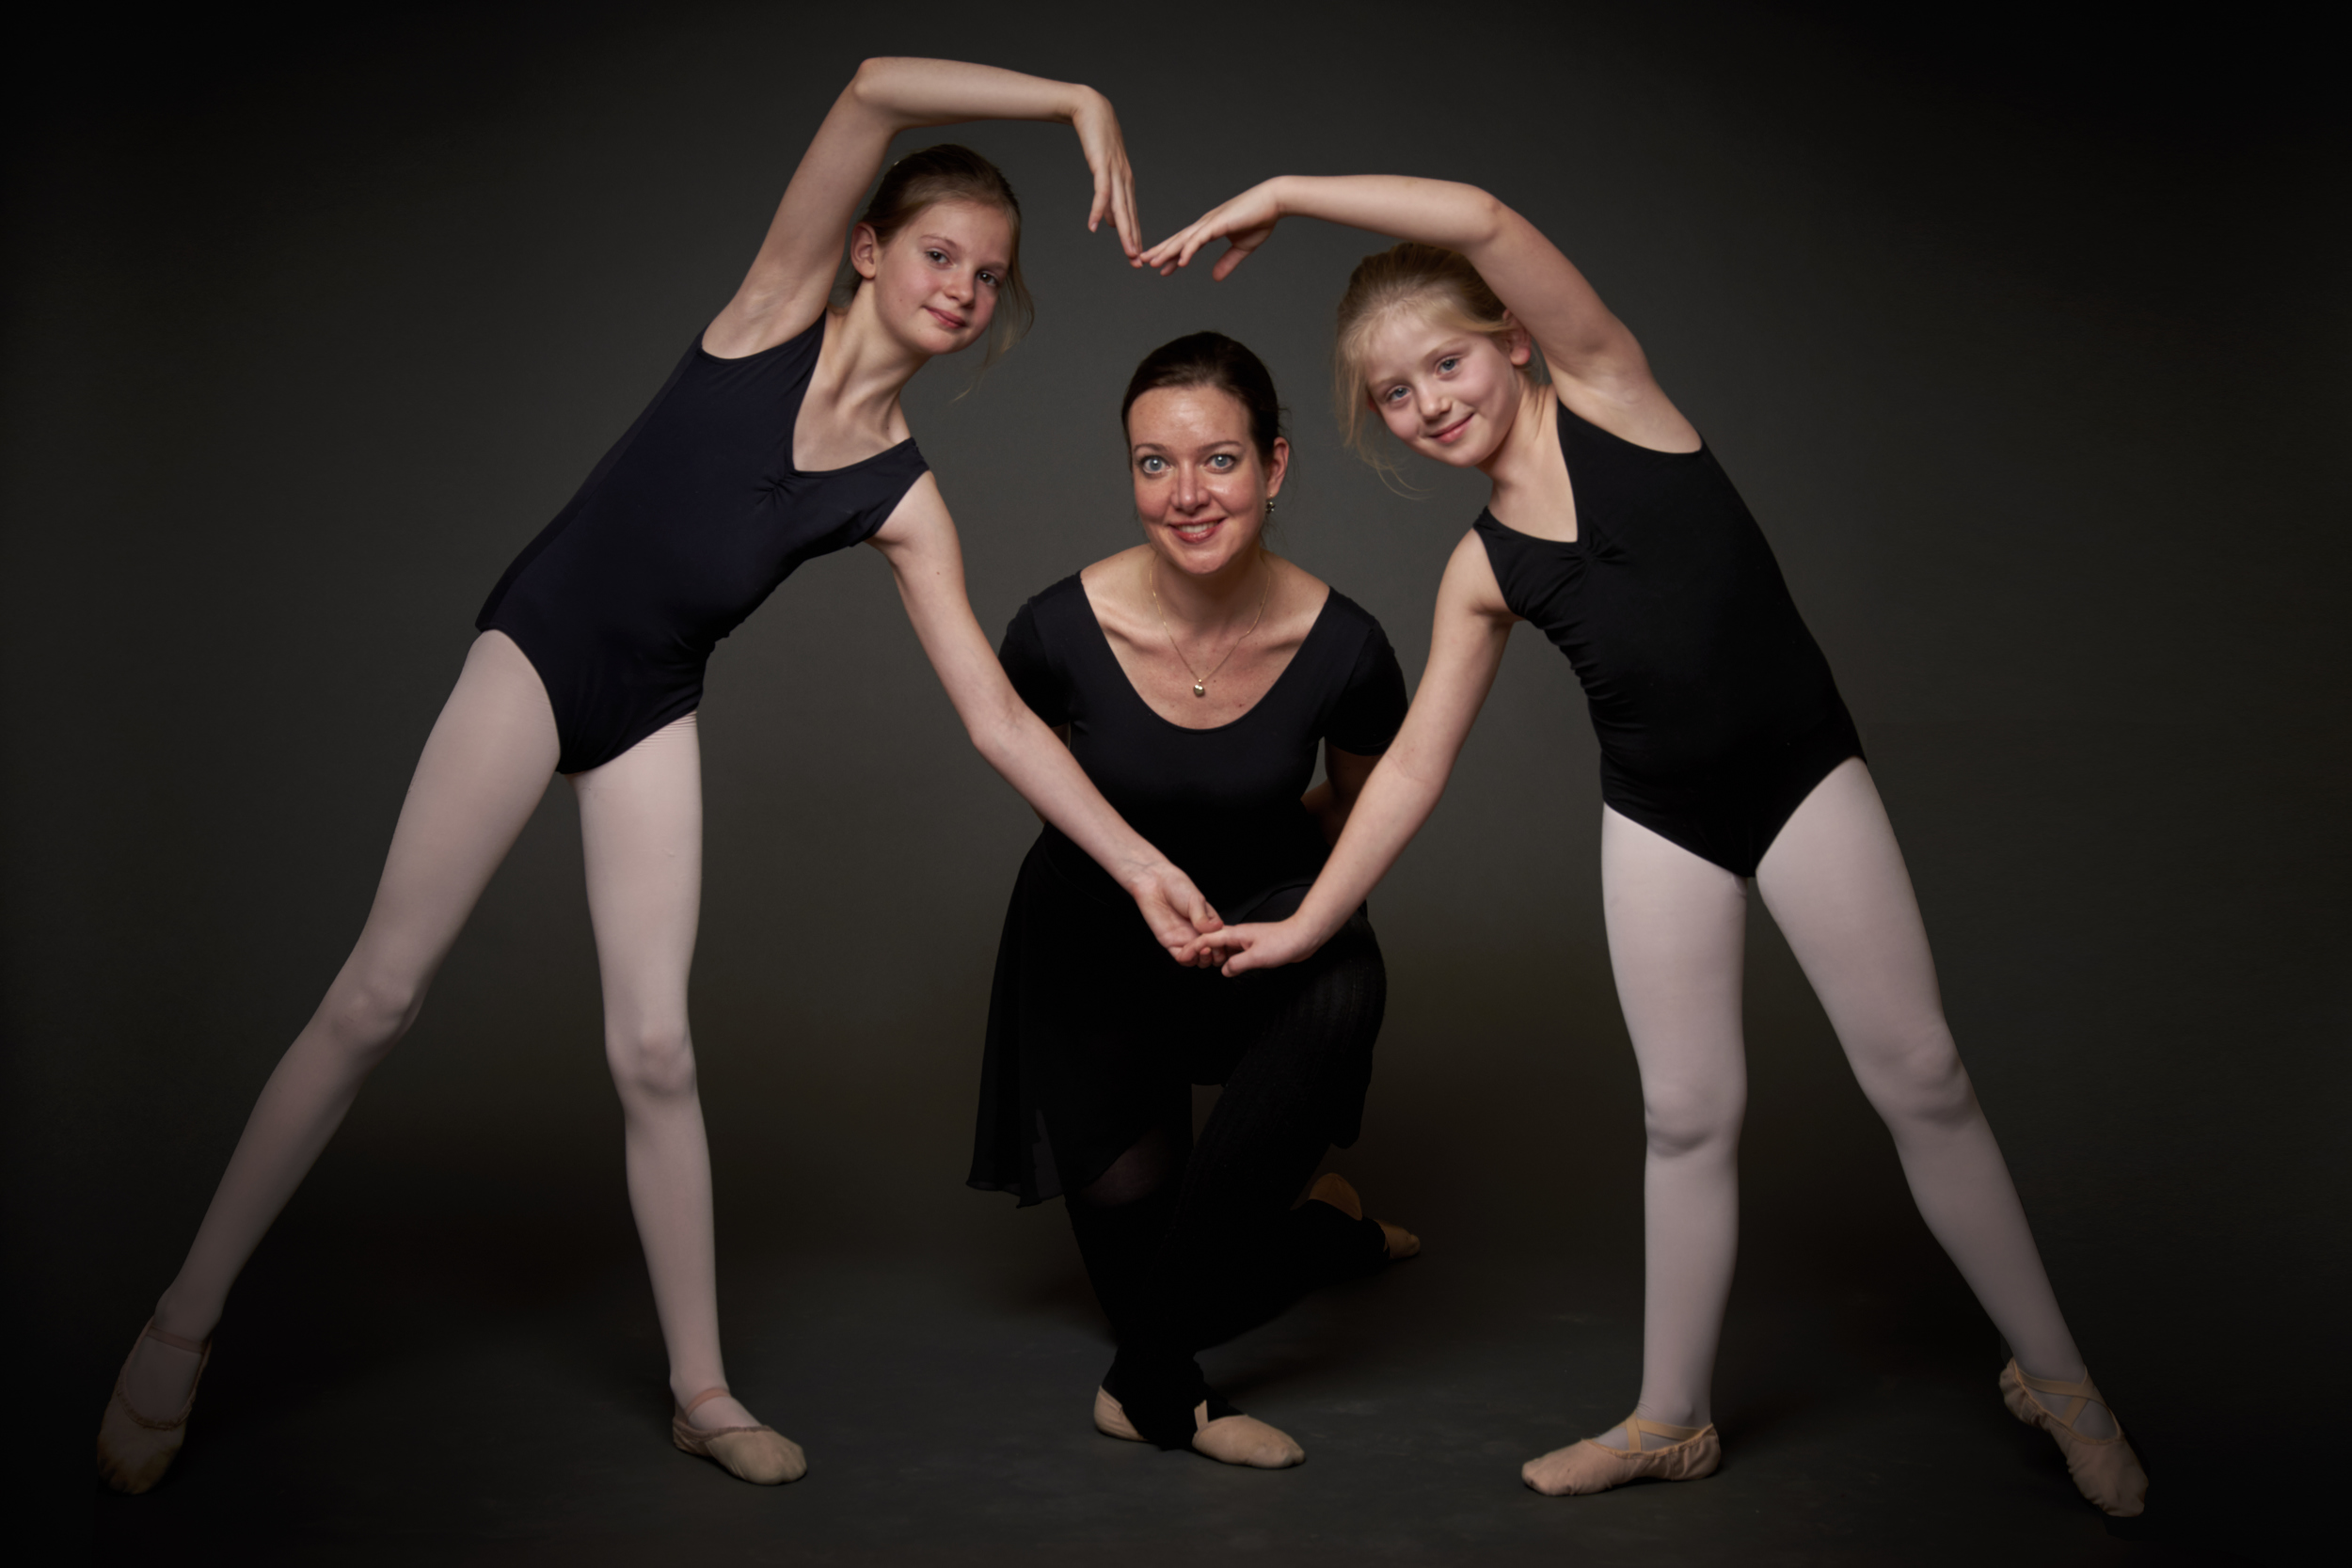
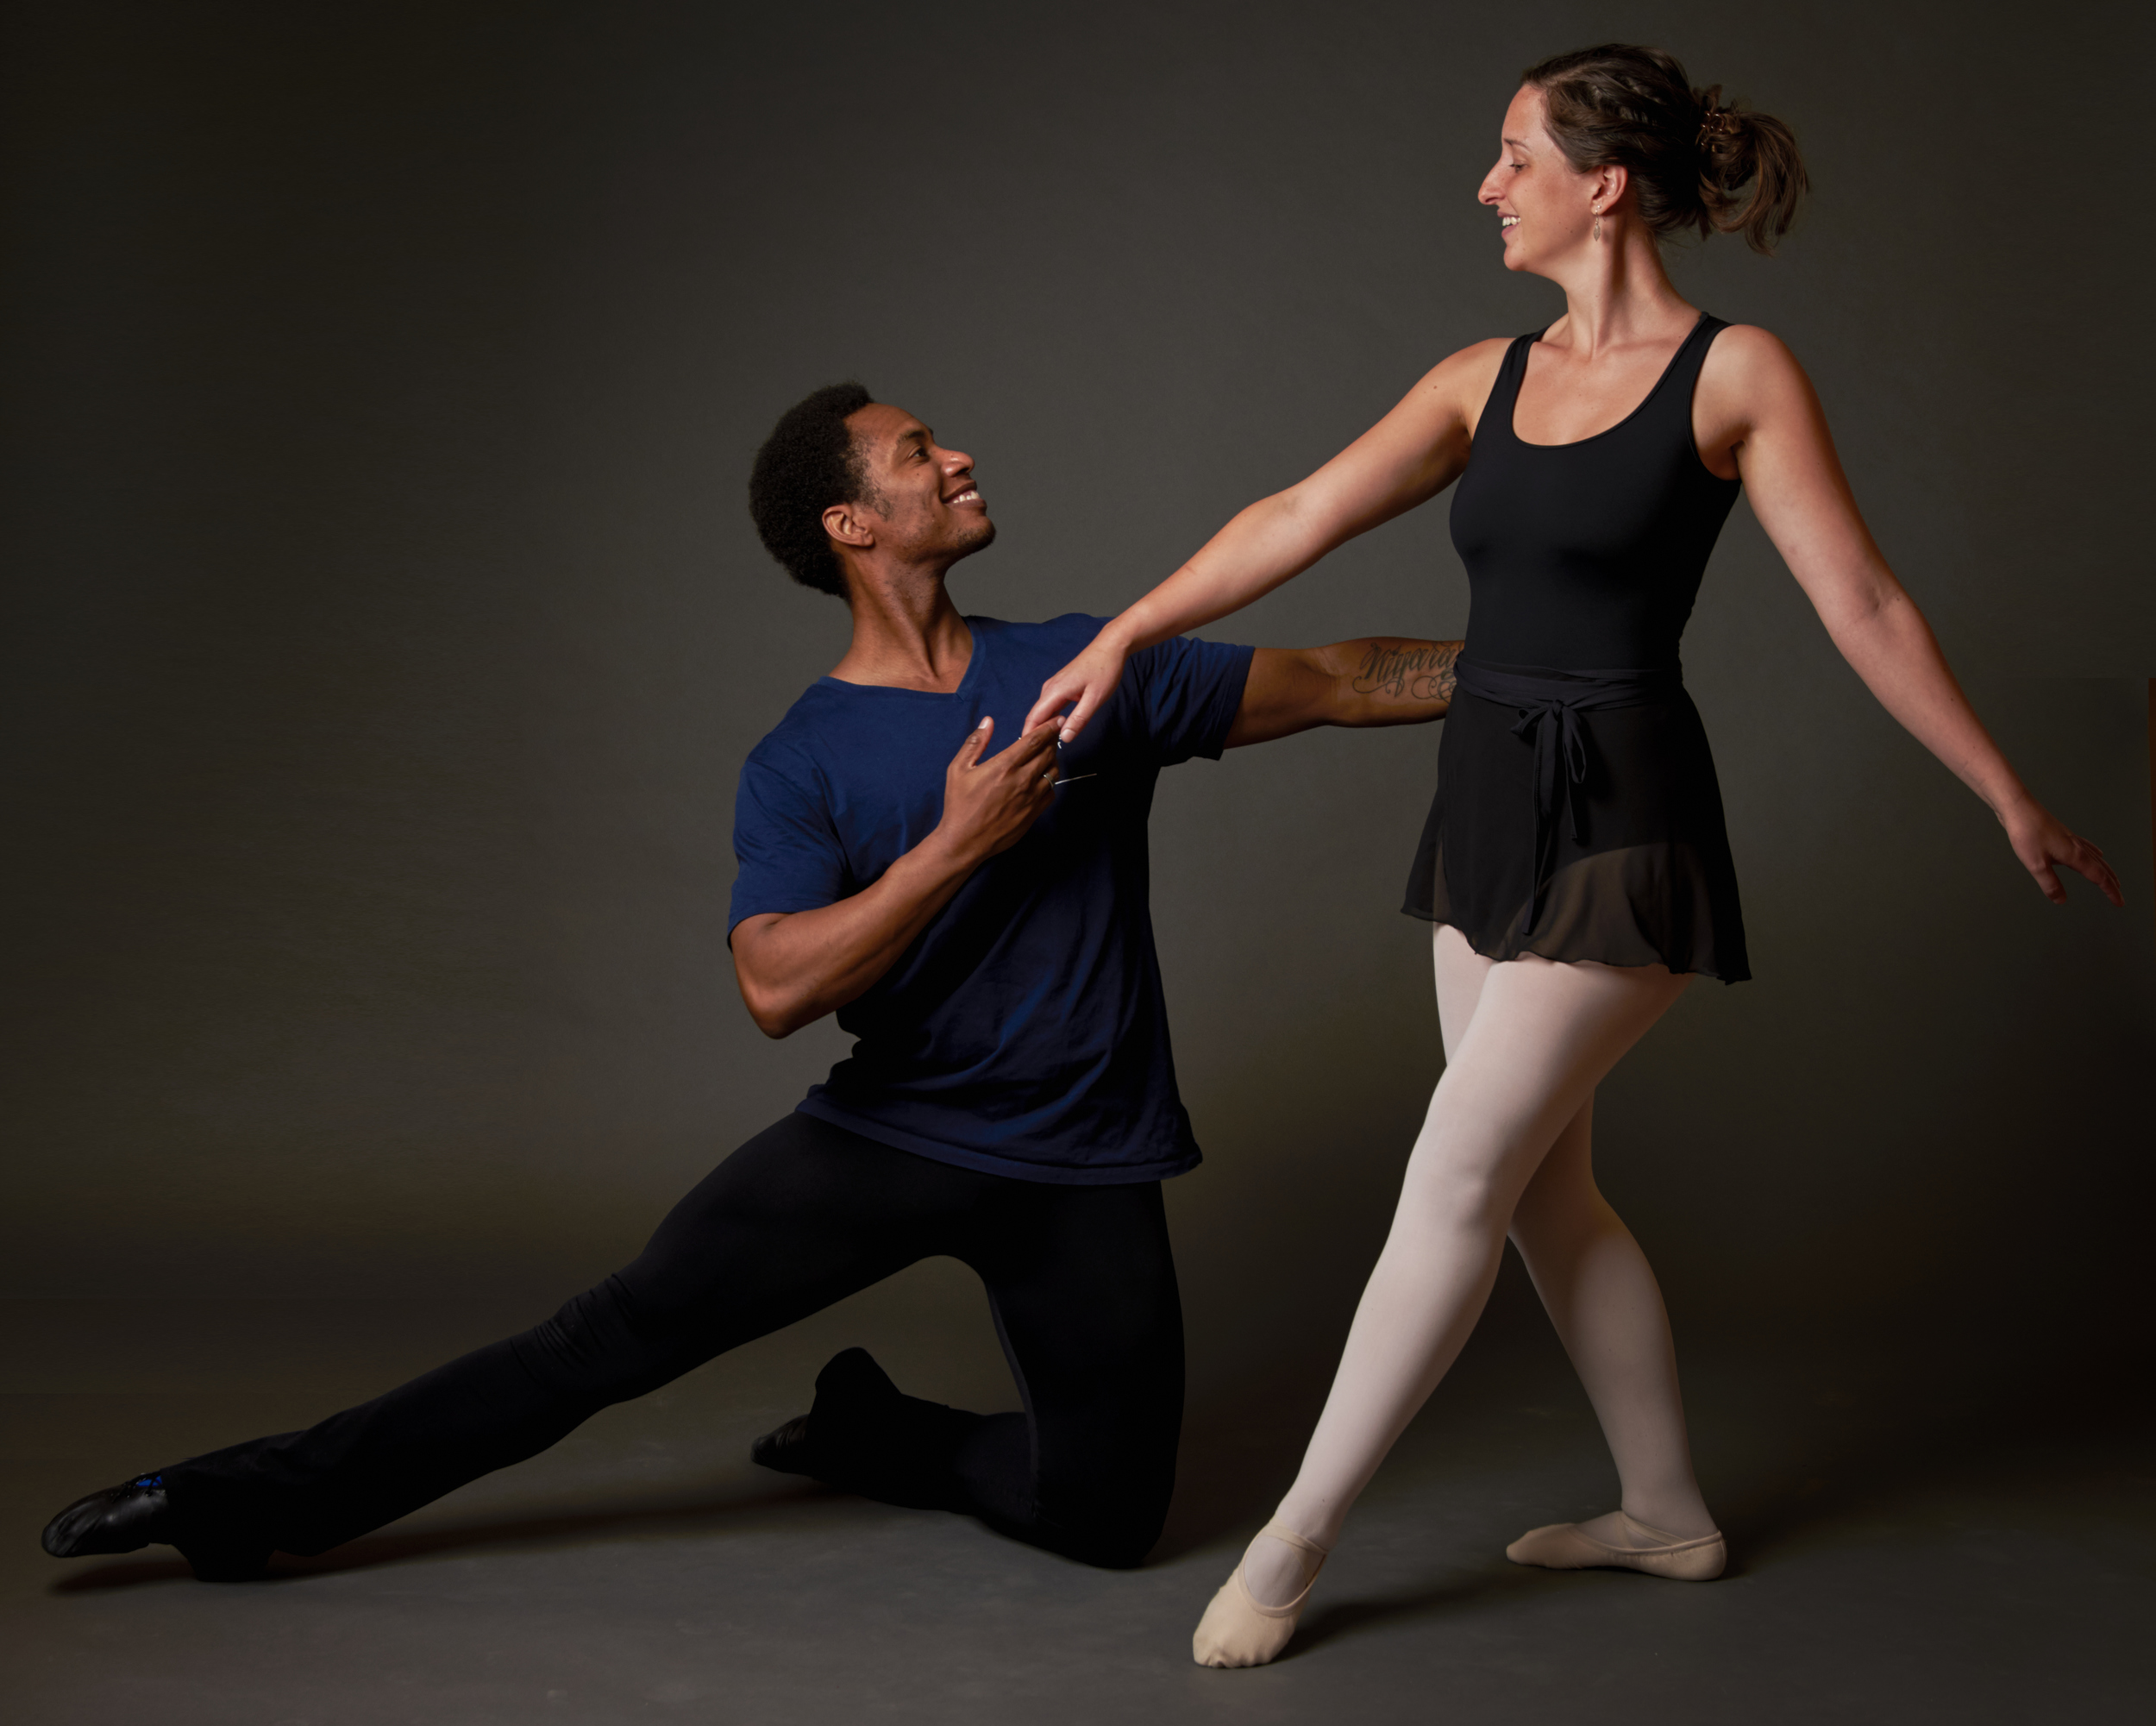
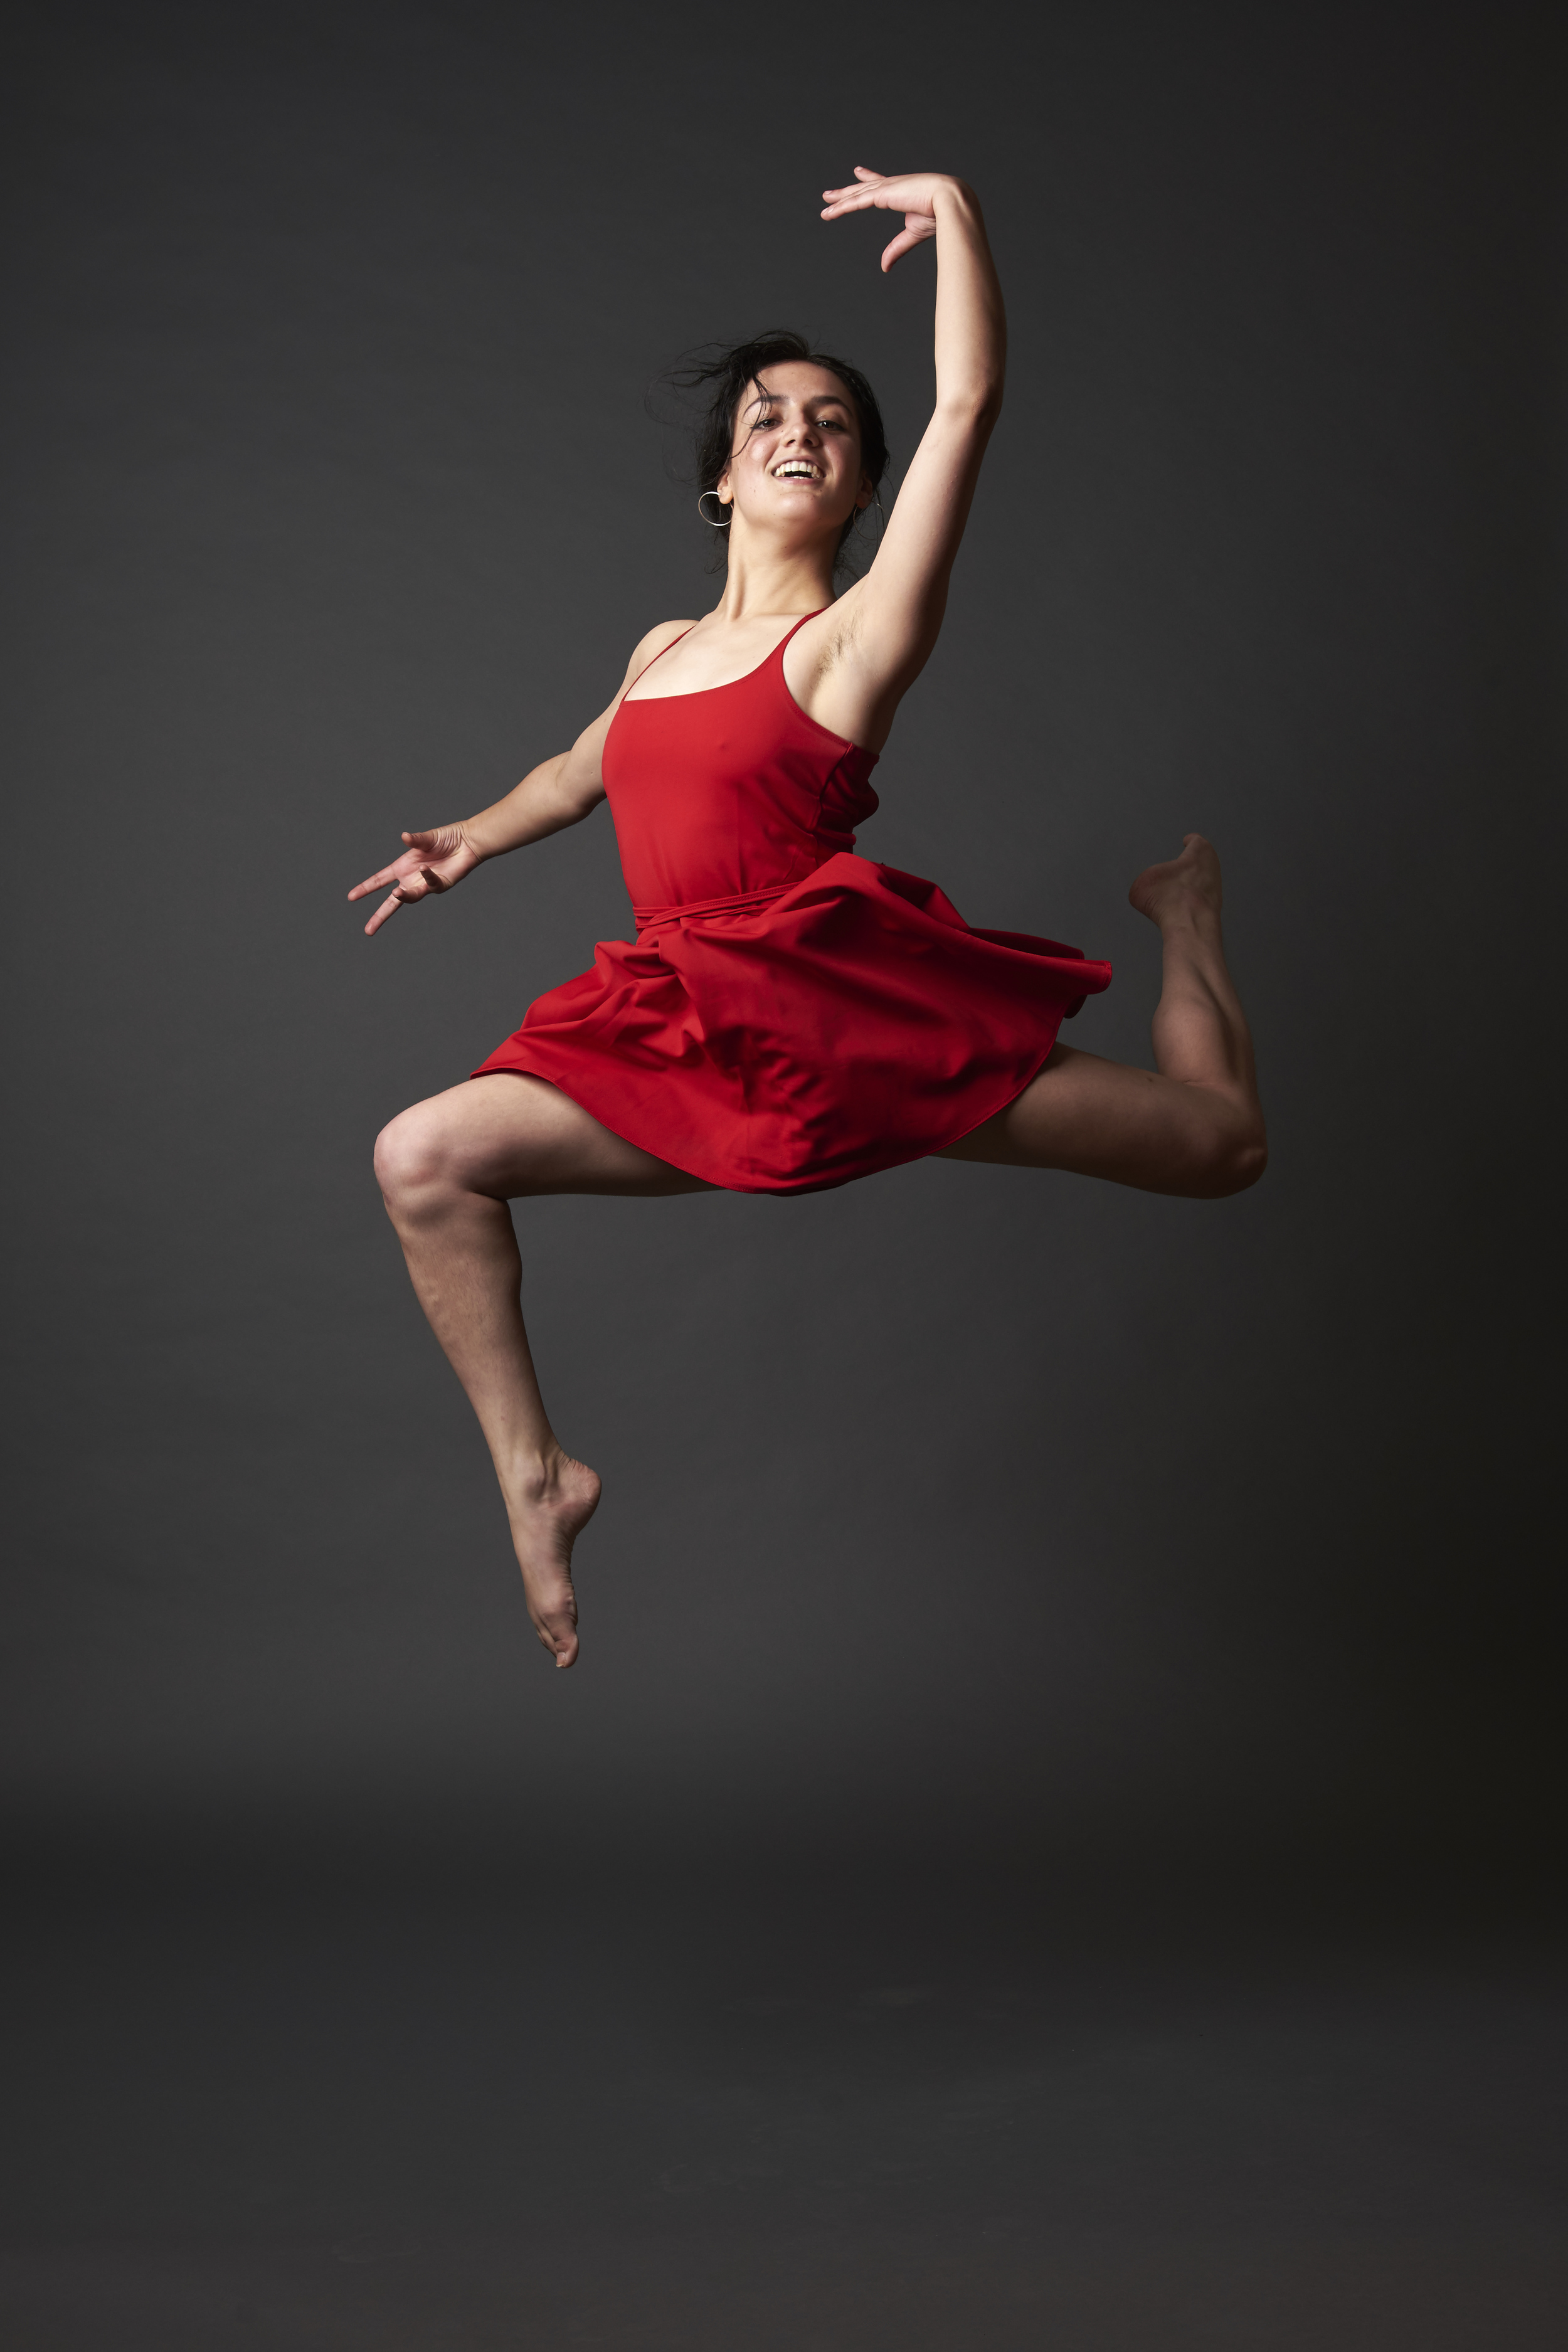
For all the people who where at the celebration of Balletschool Attitude in Bergen. I have posted all the picture from the classes and the portraits on my Oypo account and you can view and other them there. Click HERE to go to the Oypo folder
Review: Pipeline Reporter kit
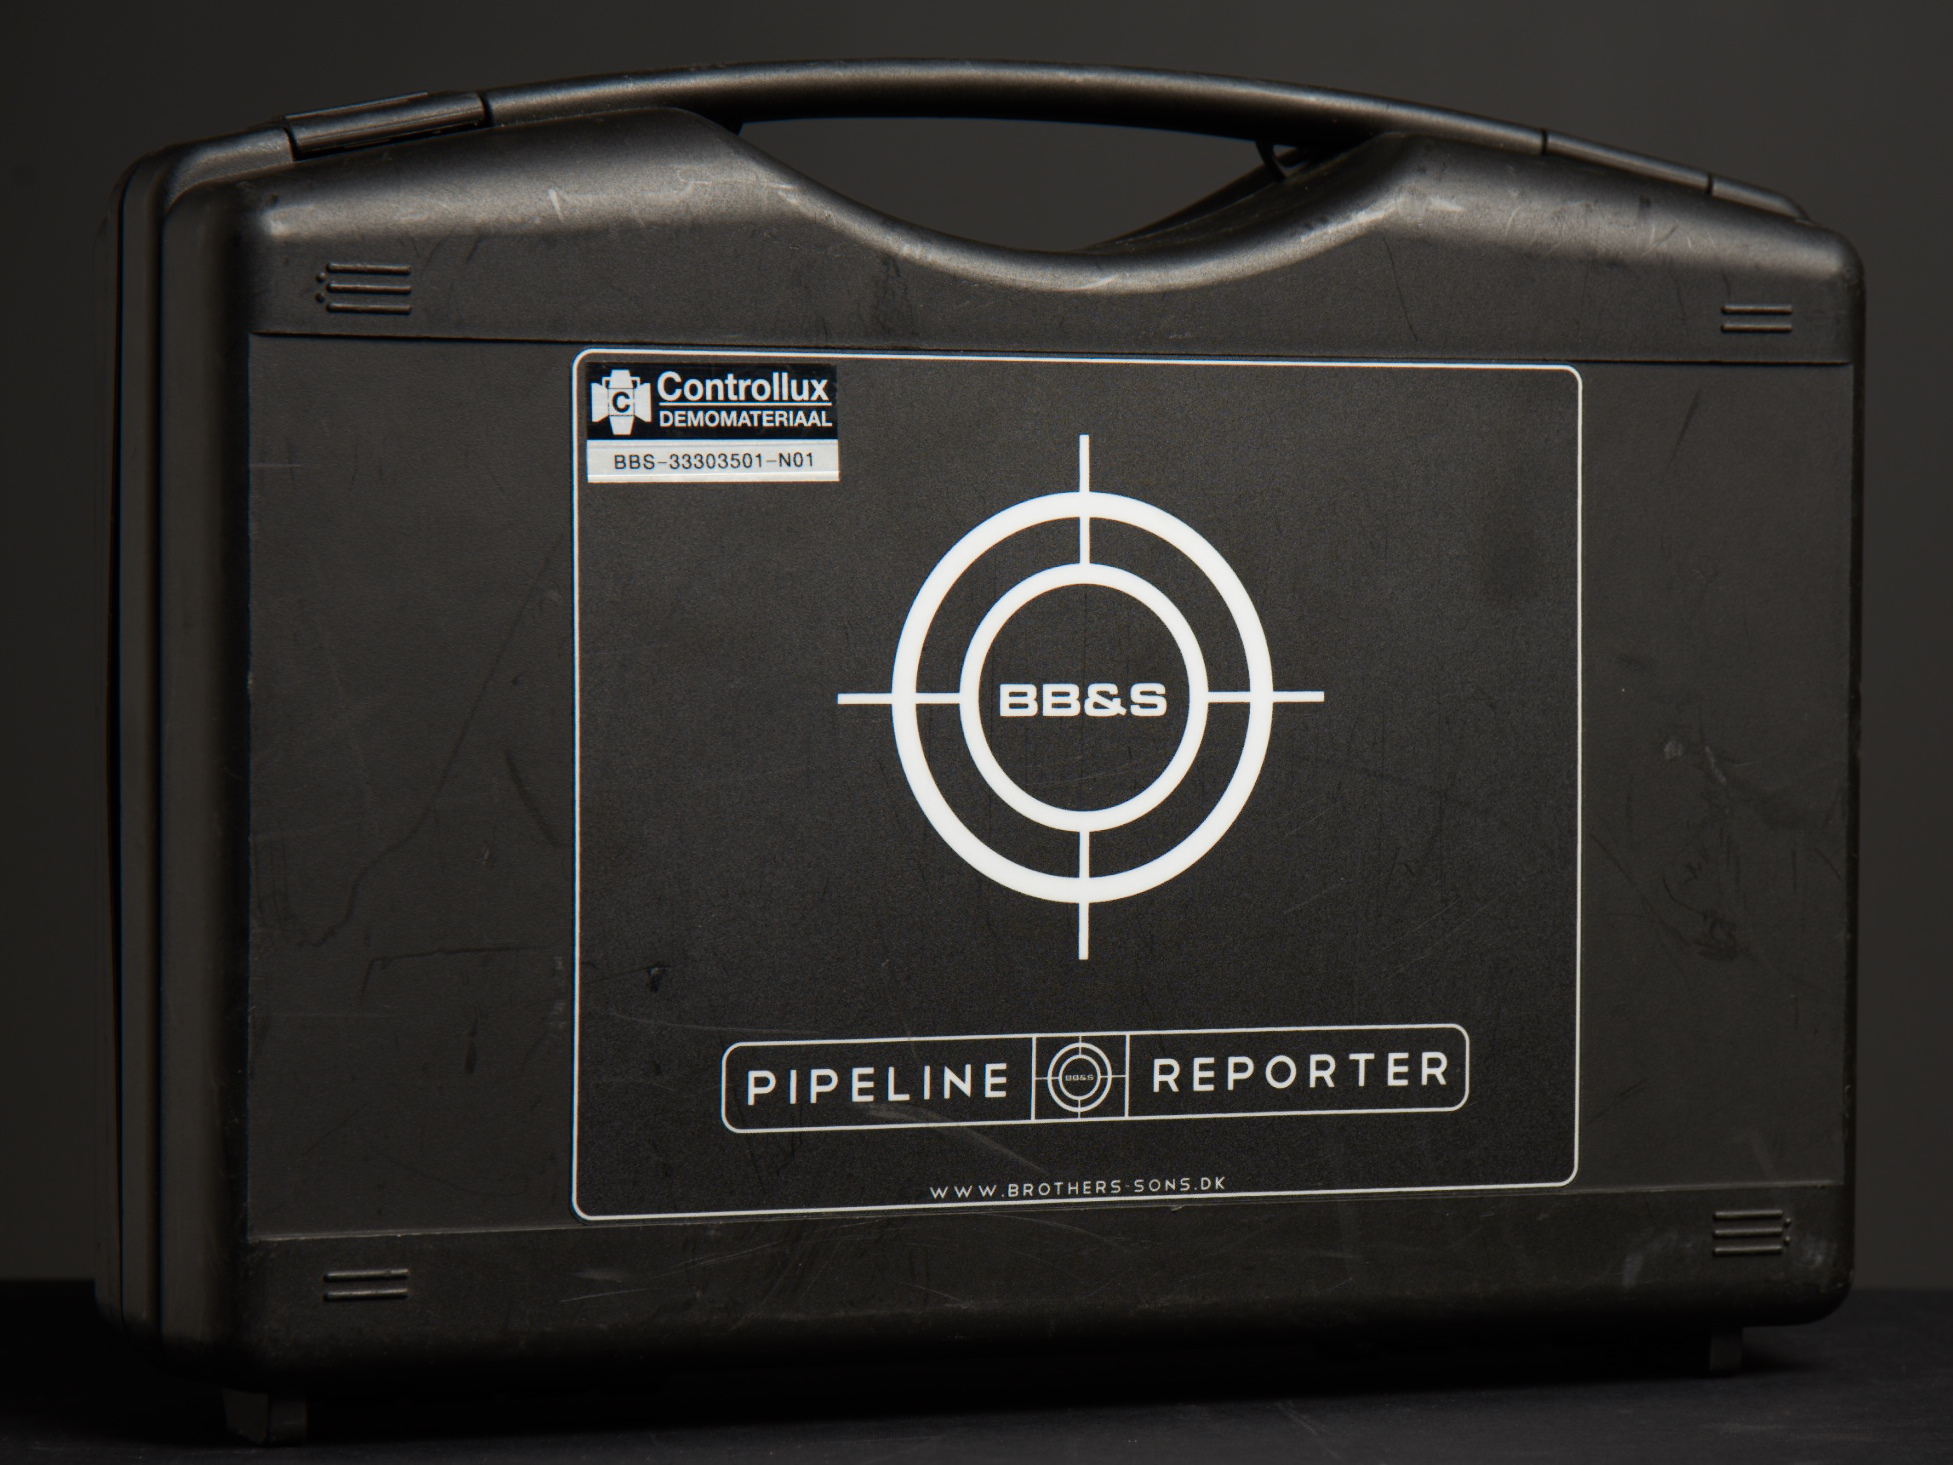
During my visit at the IBC (read my IBC blog HERE) spotted the Pipeline Reporterkit made by the Danish company Brother, Brother and Son. At forst sight I looked like a great product for portrait and product photography. The kit is officially designed for reporters who need a small light kit to lit themselves quick and easily. And for that job it works great! I really think it is a great product voor CamJo, vloggers and other people who have to create video's everywhere.
The Pipeline Reporter Kit
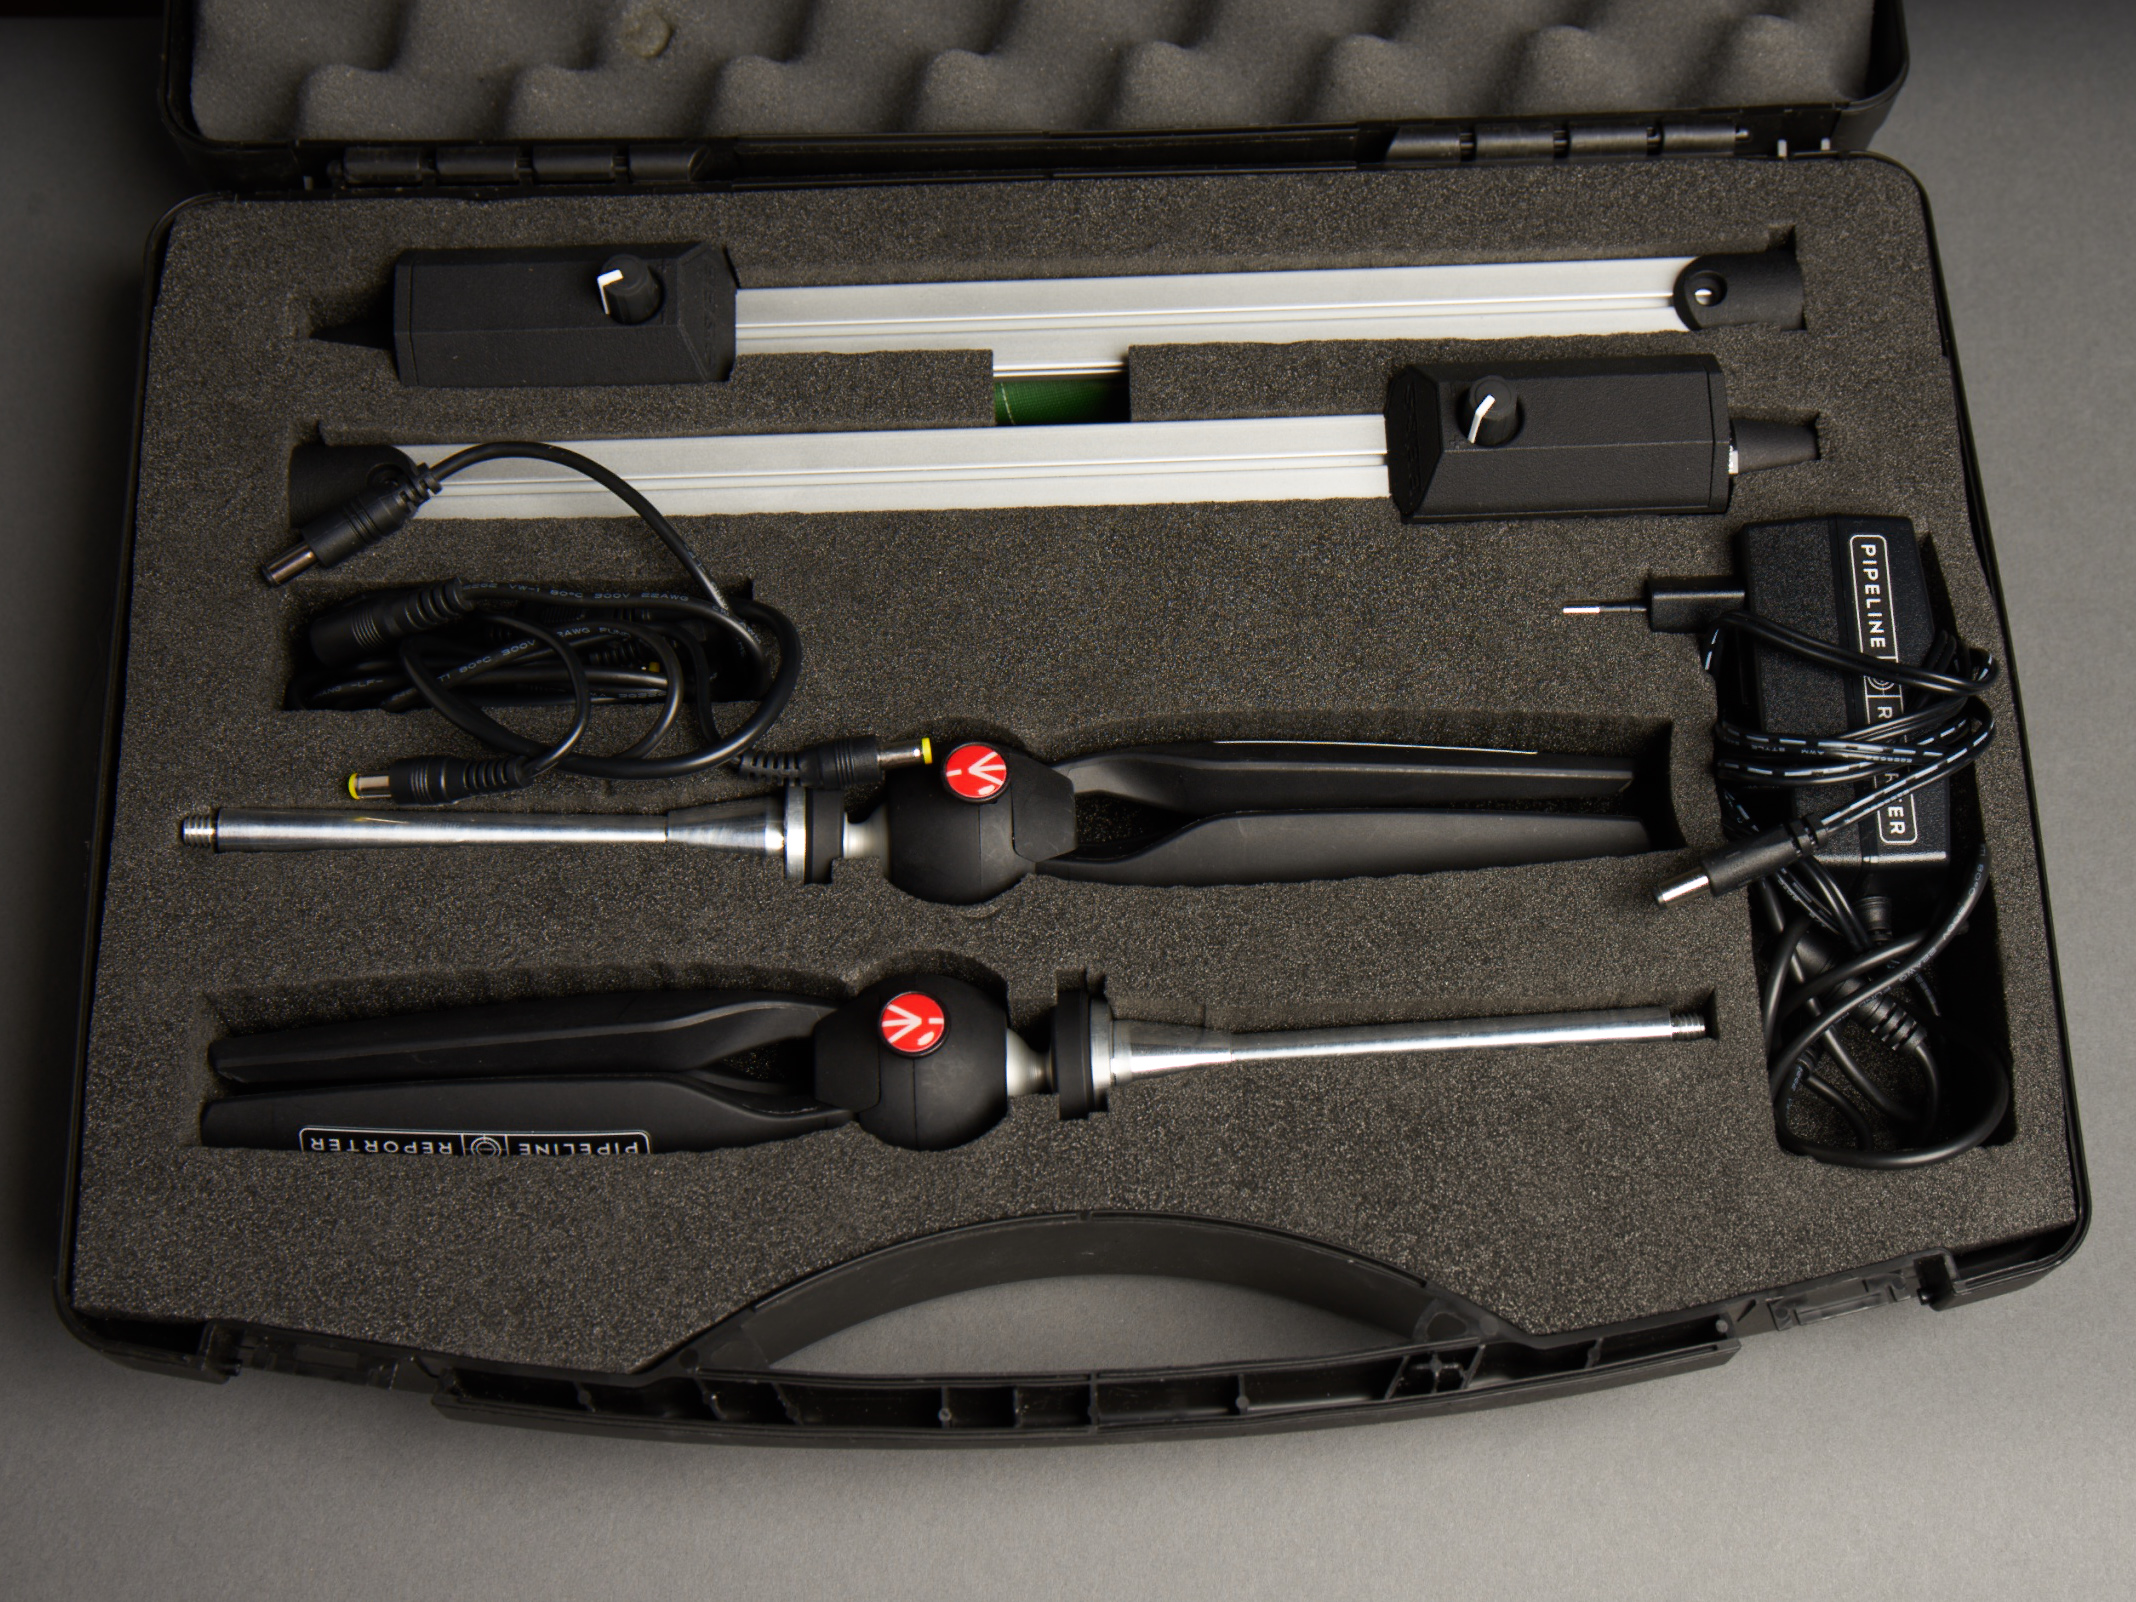
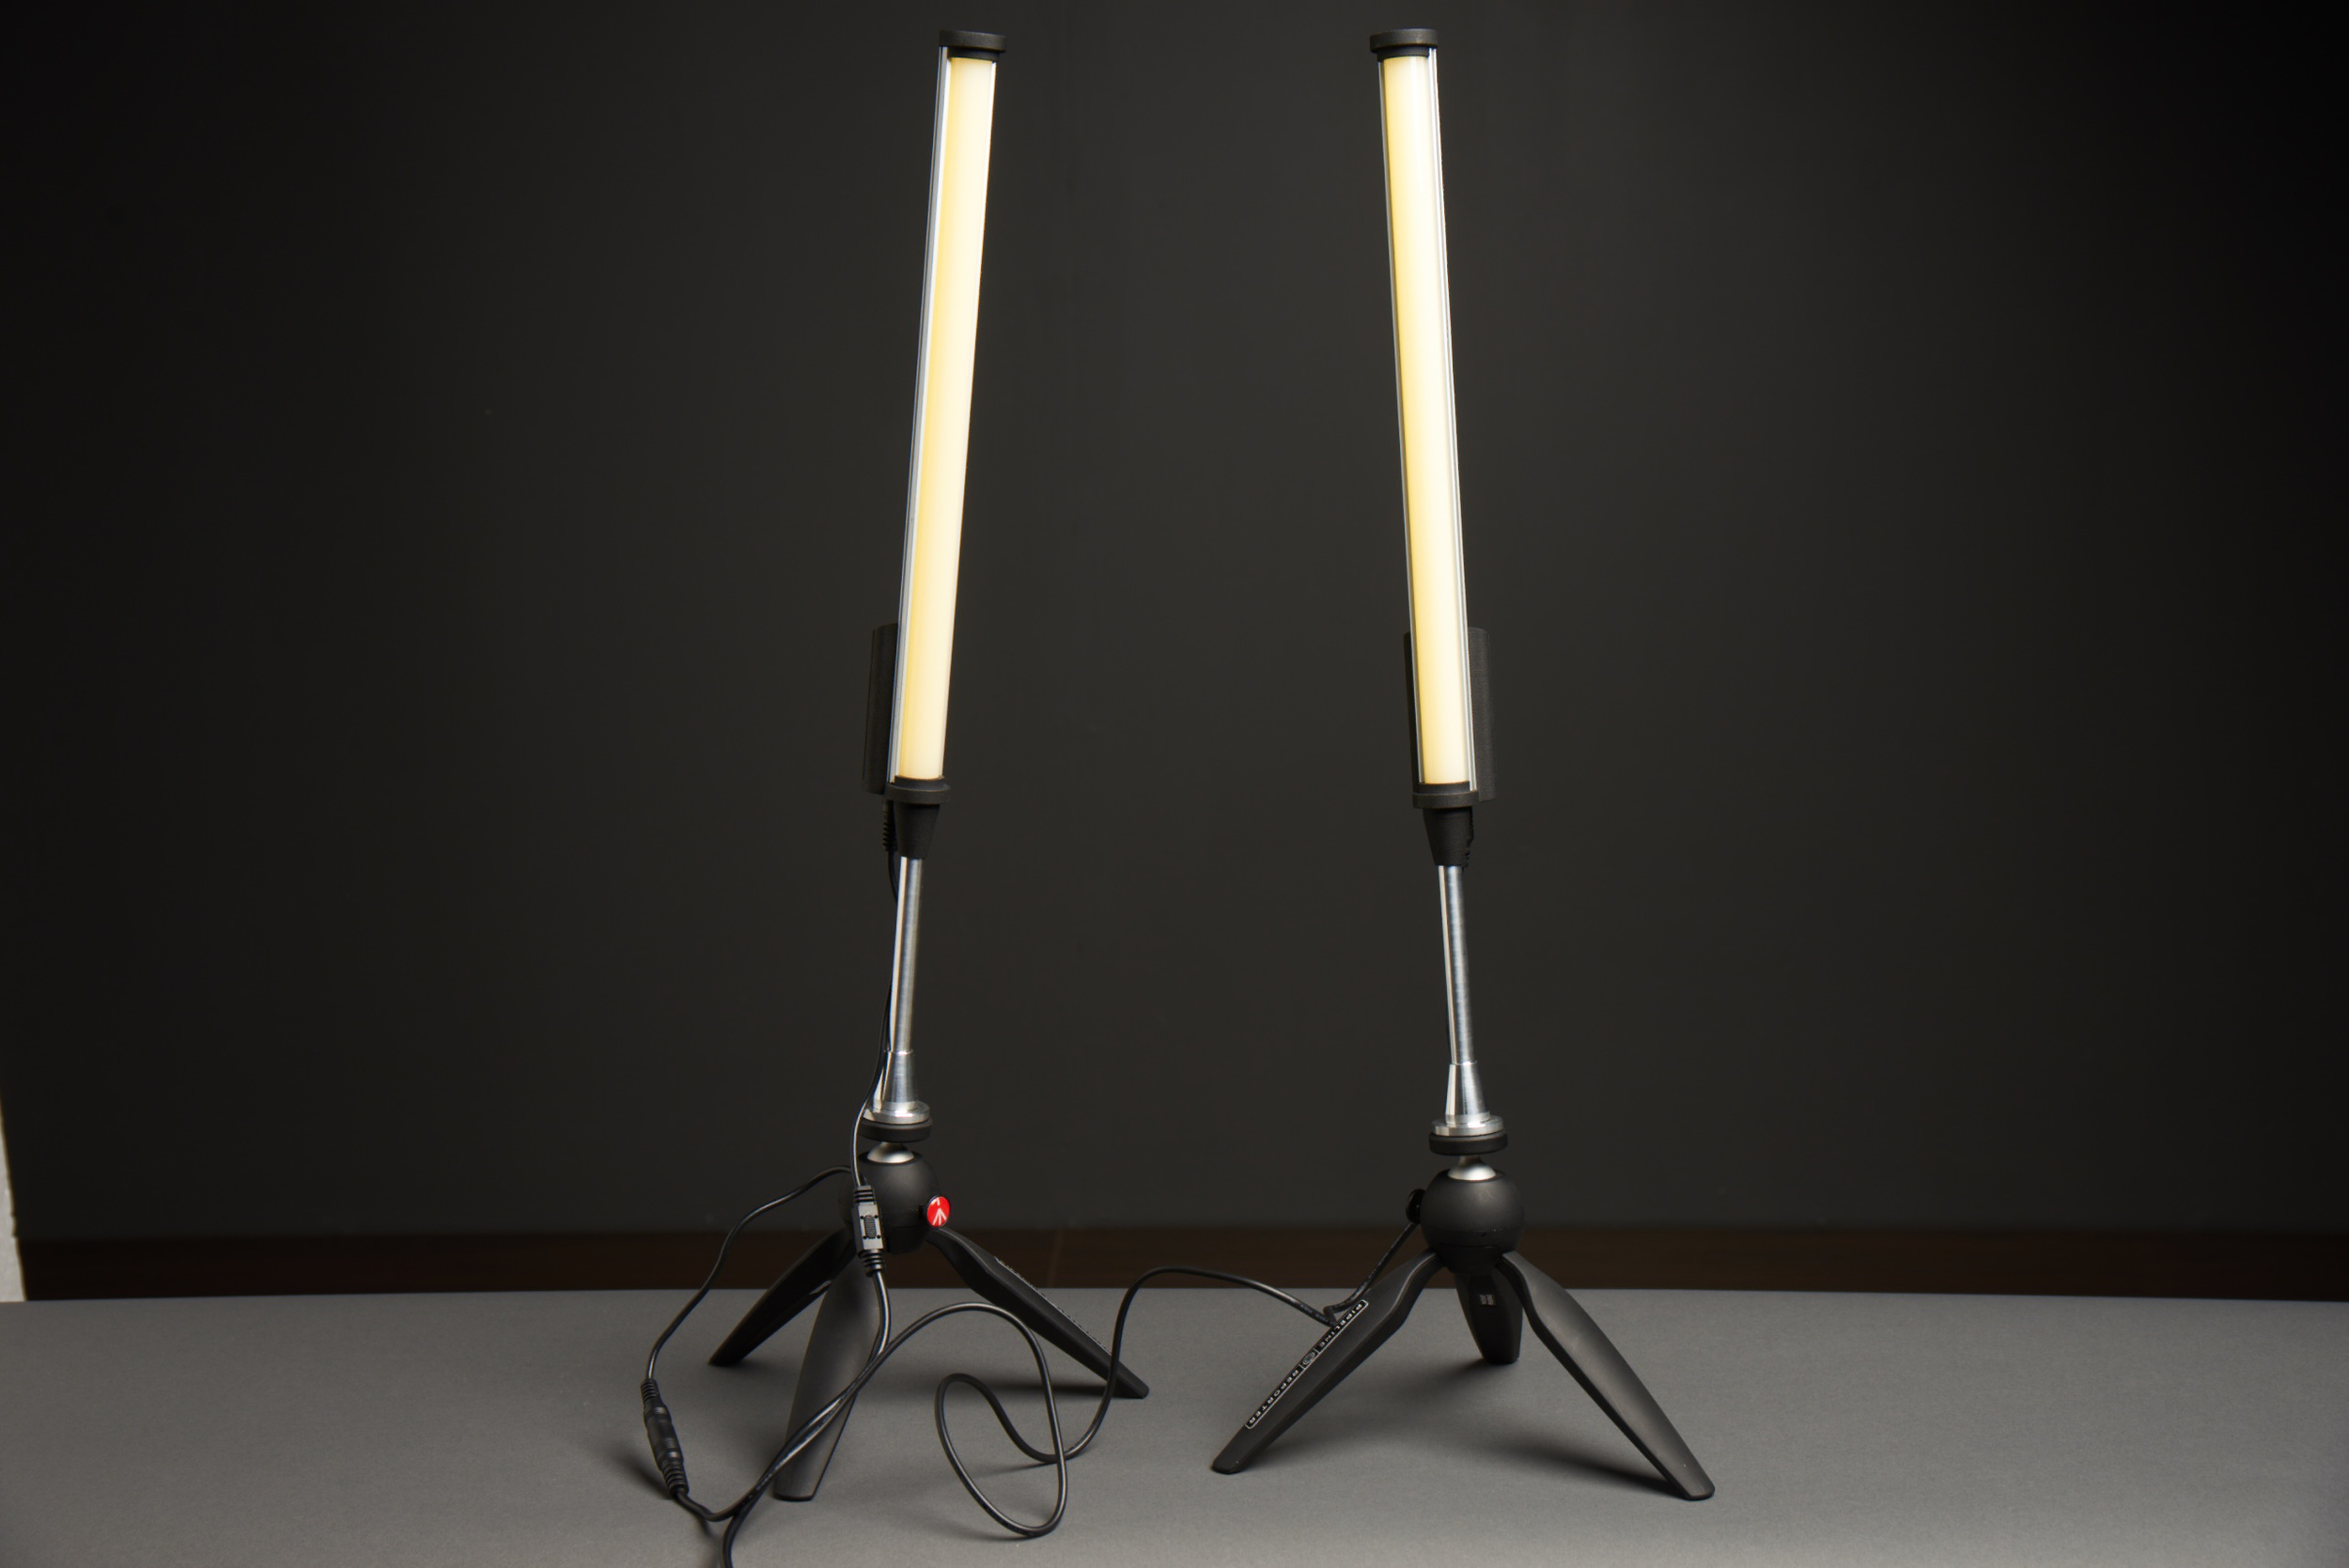
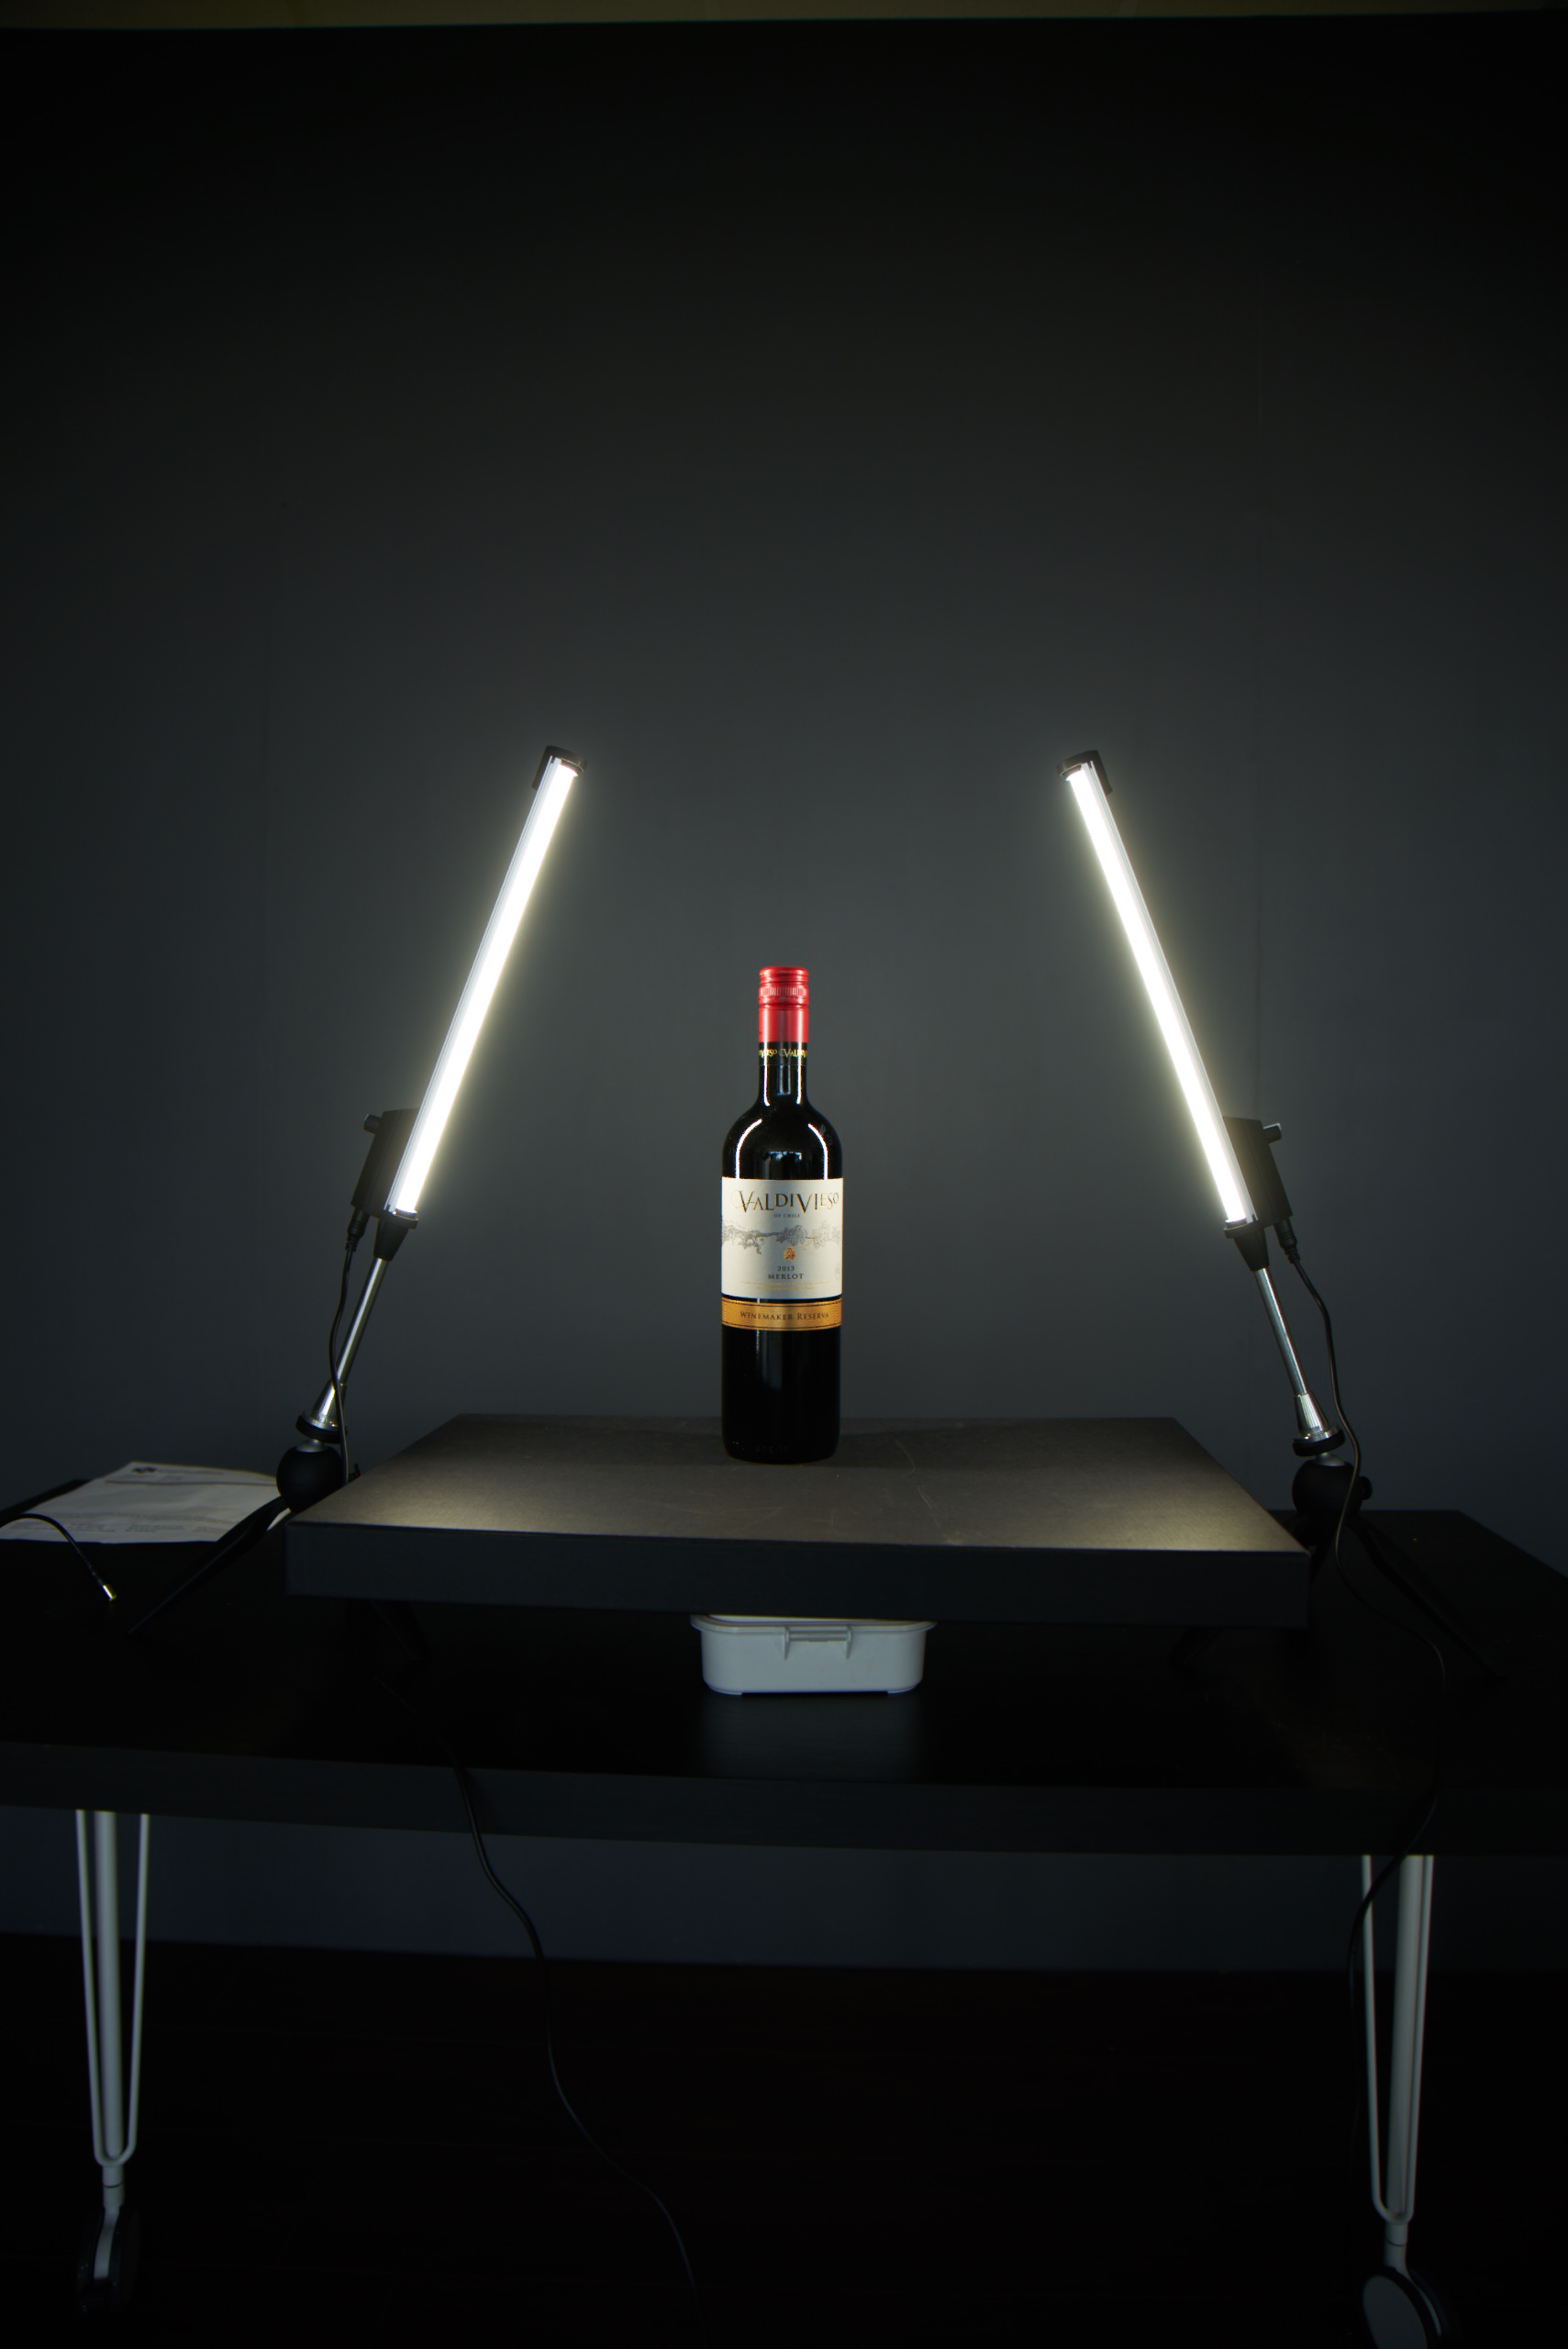
The kit includes 2 small pipe light. Due the phosphor panels you get nice and even light from the two bars. On the back is a small knob to control the power output. You can also change the White balance by chancing the phosphor light bars. There are also two small stand to put the lights on and the adapter and cabling.
The BUT
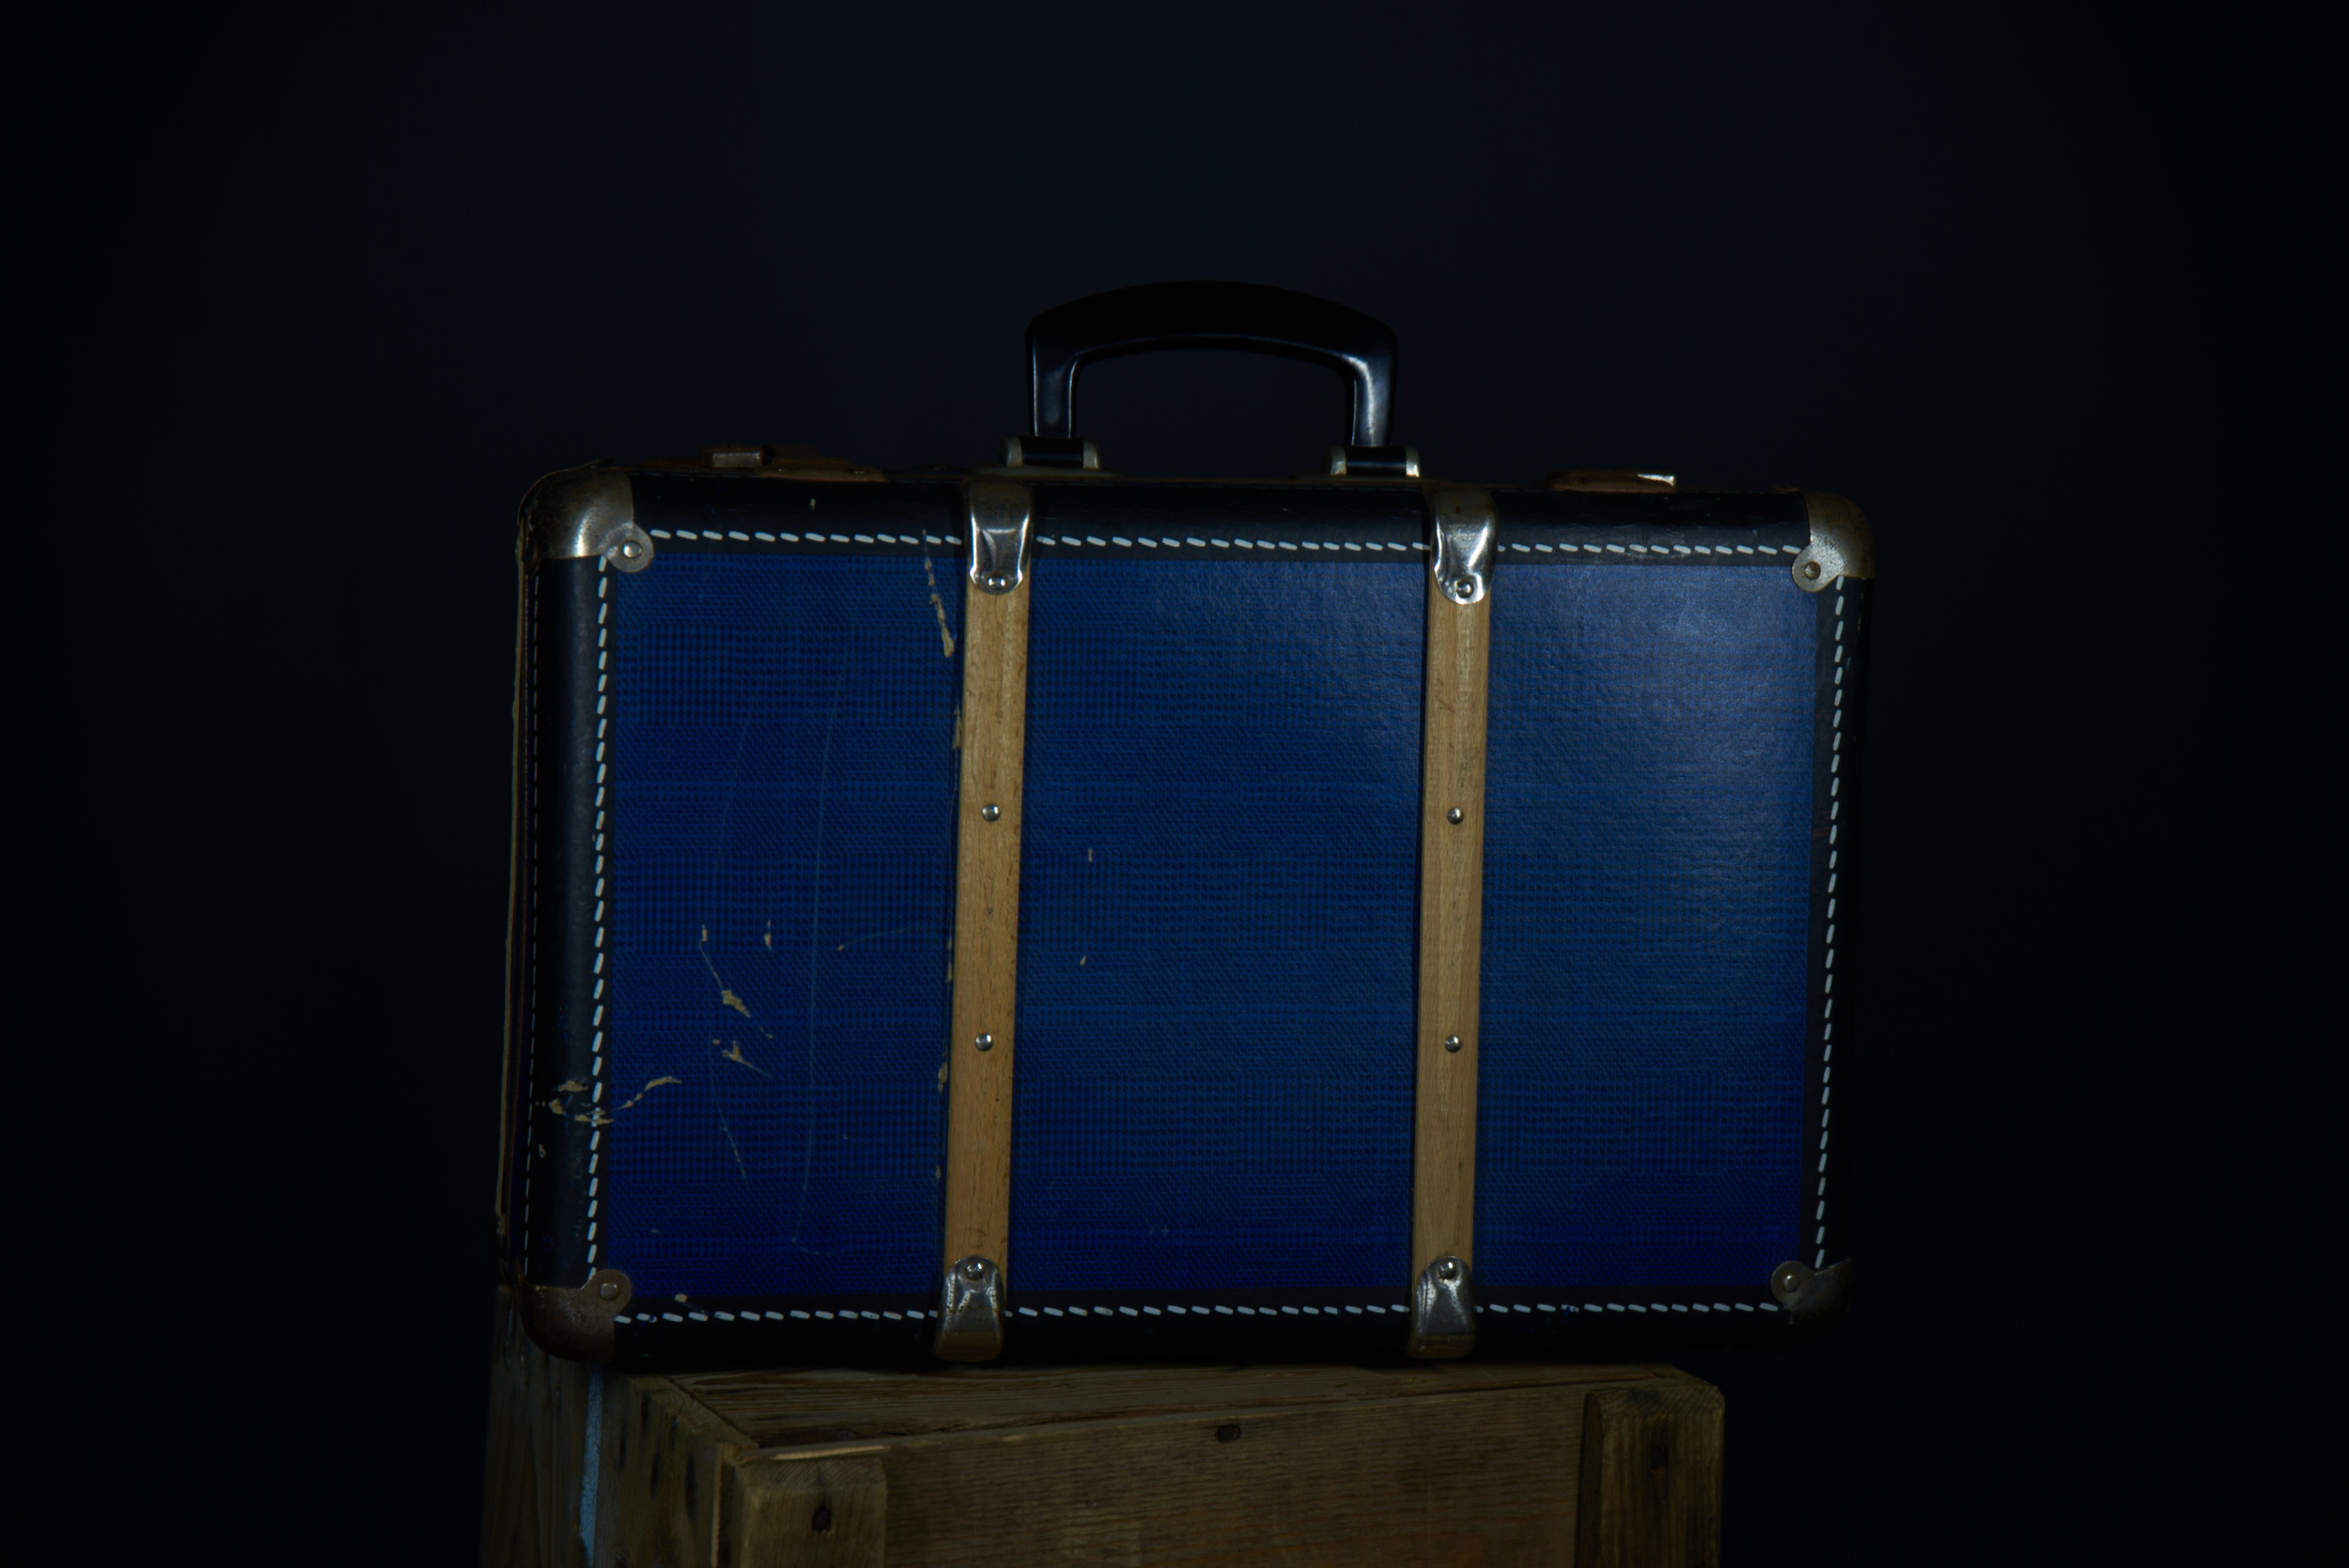
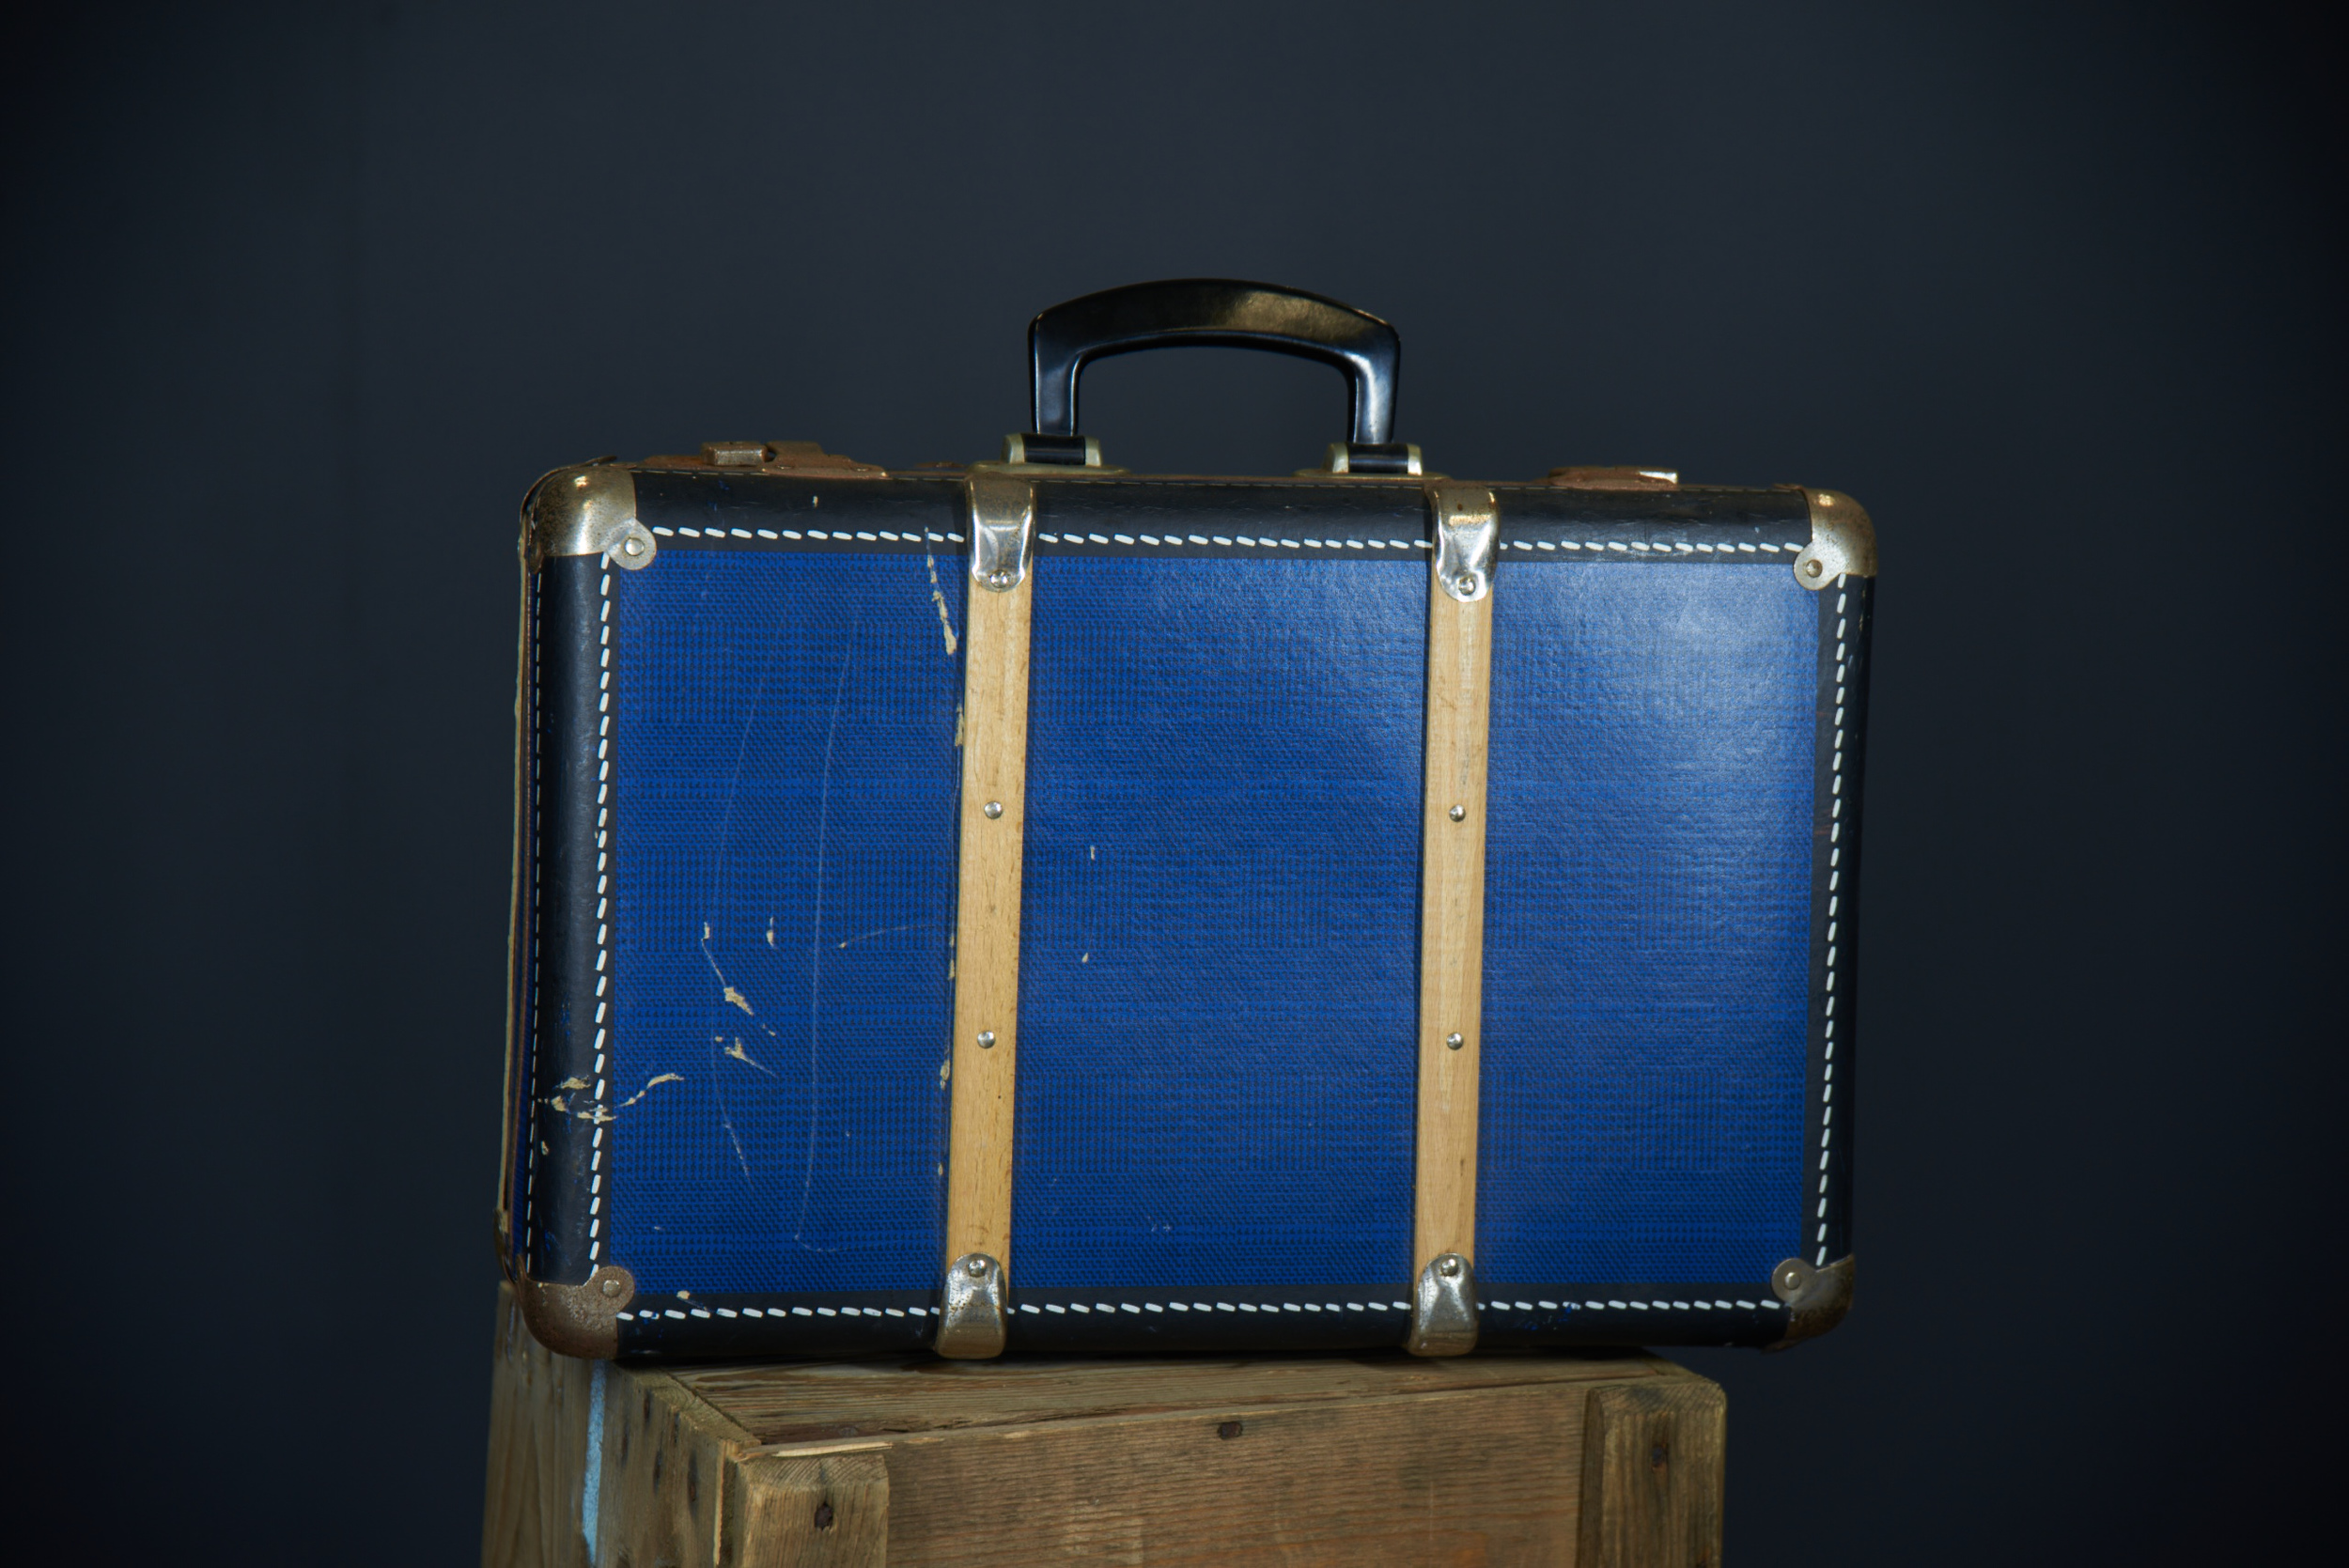
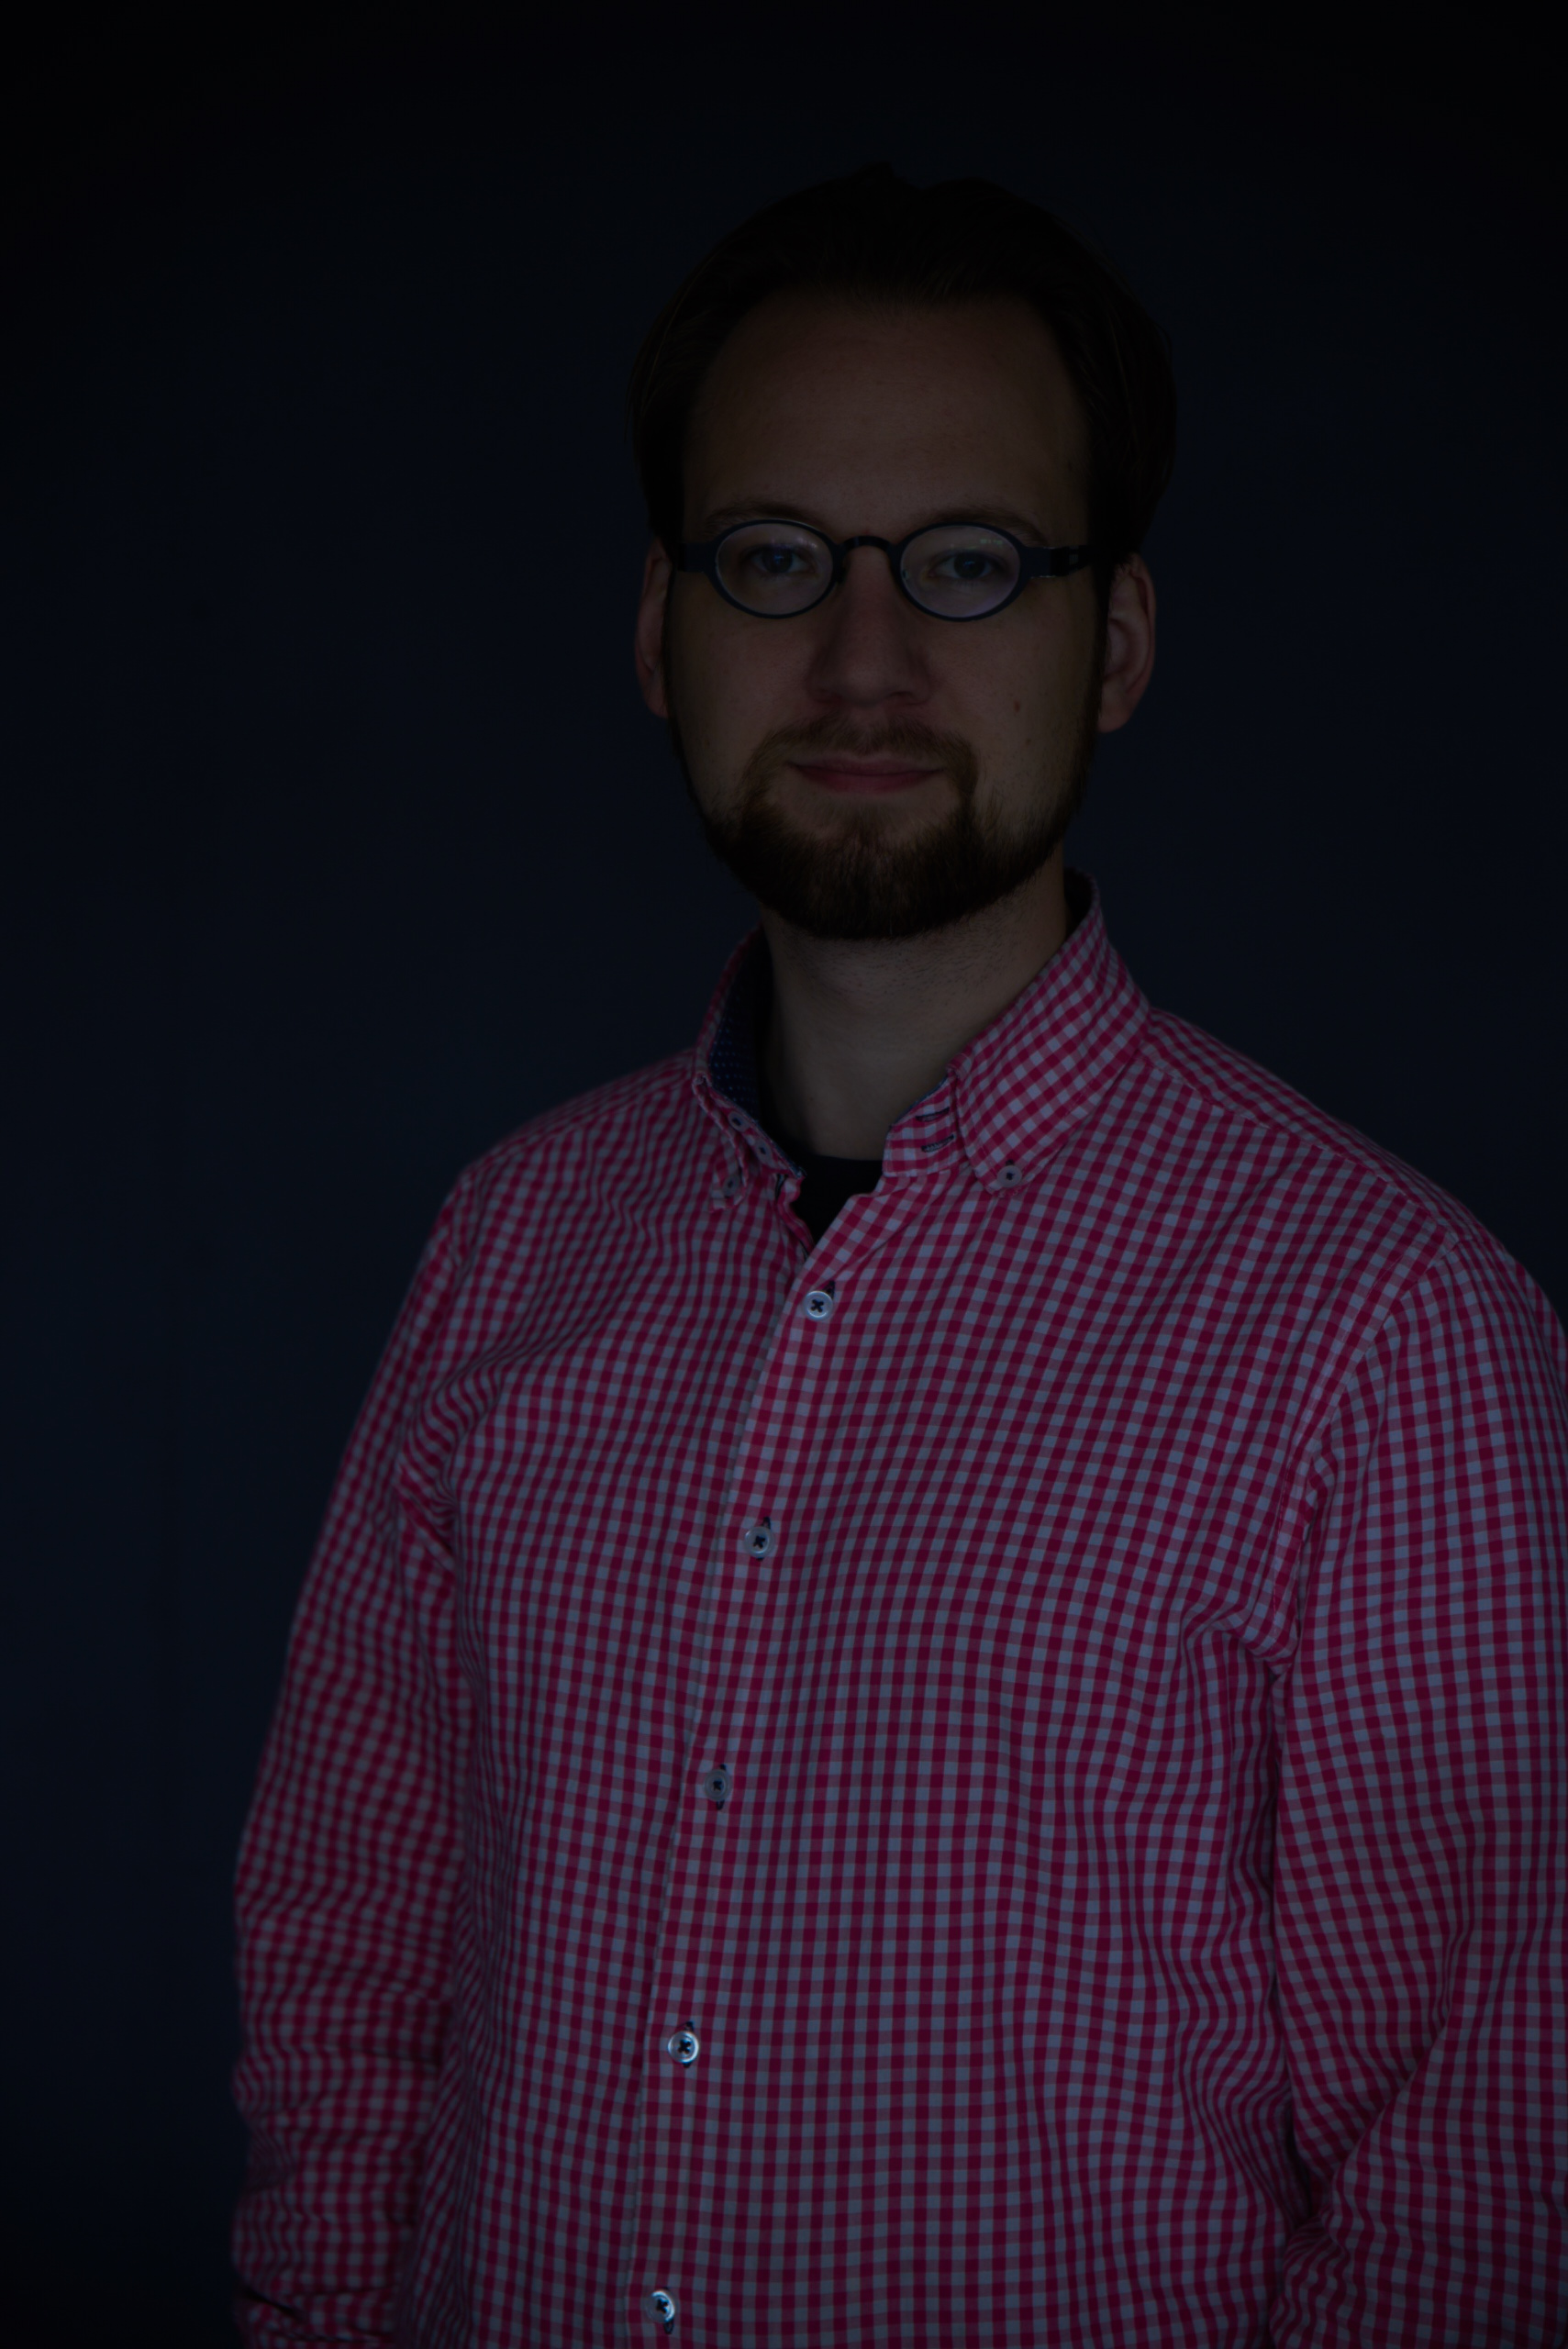
As you might have noticed in the intro there is a great but. But this but is mainly for photography. I was hoping to use this kit a nice light for a kind of Martin Schoeller looking portraits (for more about Martin click HERE) or for product photography. But and now really comes the but! They don't have enough power to really lit somebody when there is normal daylight or TL light. For shooting people and products I had to use longer shutter times, higher ISO of aperture. Which also let a lot of environmental light in. In dark environments I will probably work better. But I mainly have to work during office our and in offices, so for my personal taste it isn't THE product I would like it to be. It are not poor mans Kinolights.
For video the light give enough light to lit up some body enough, but for photo's I want to have control and better quality.
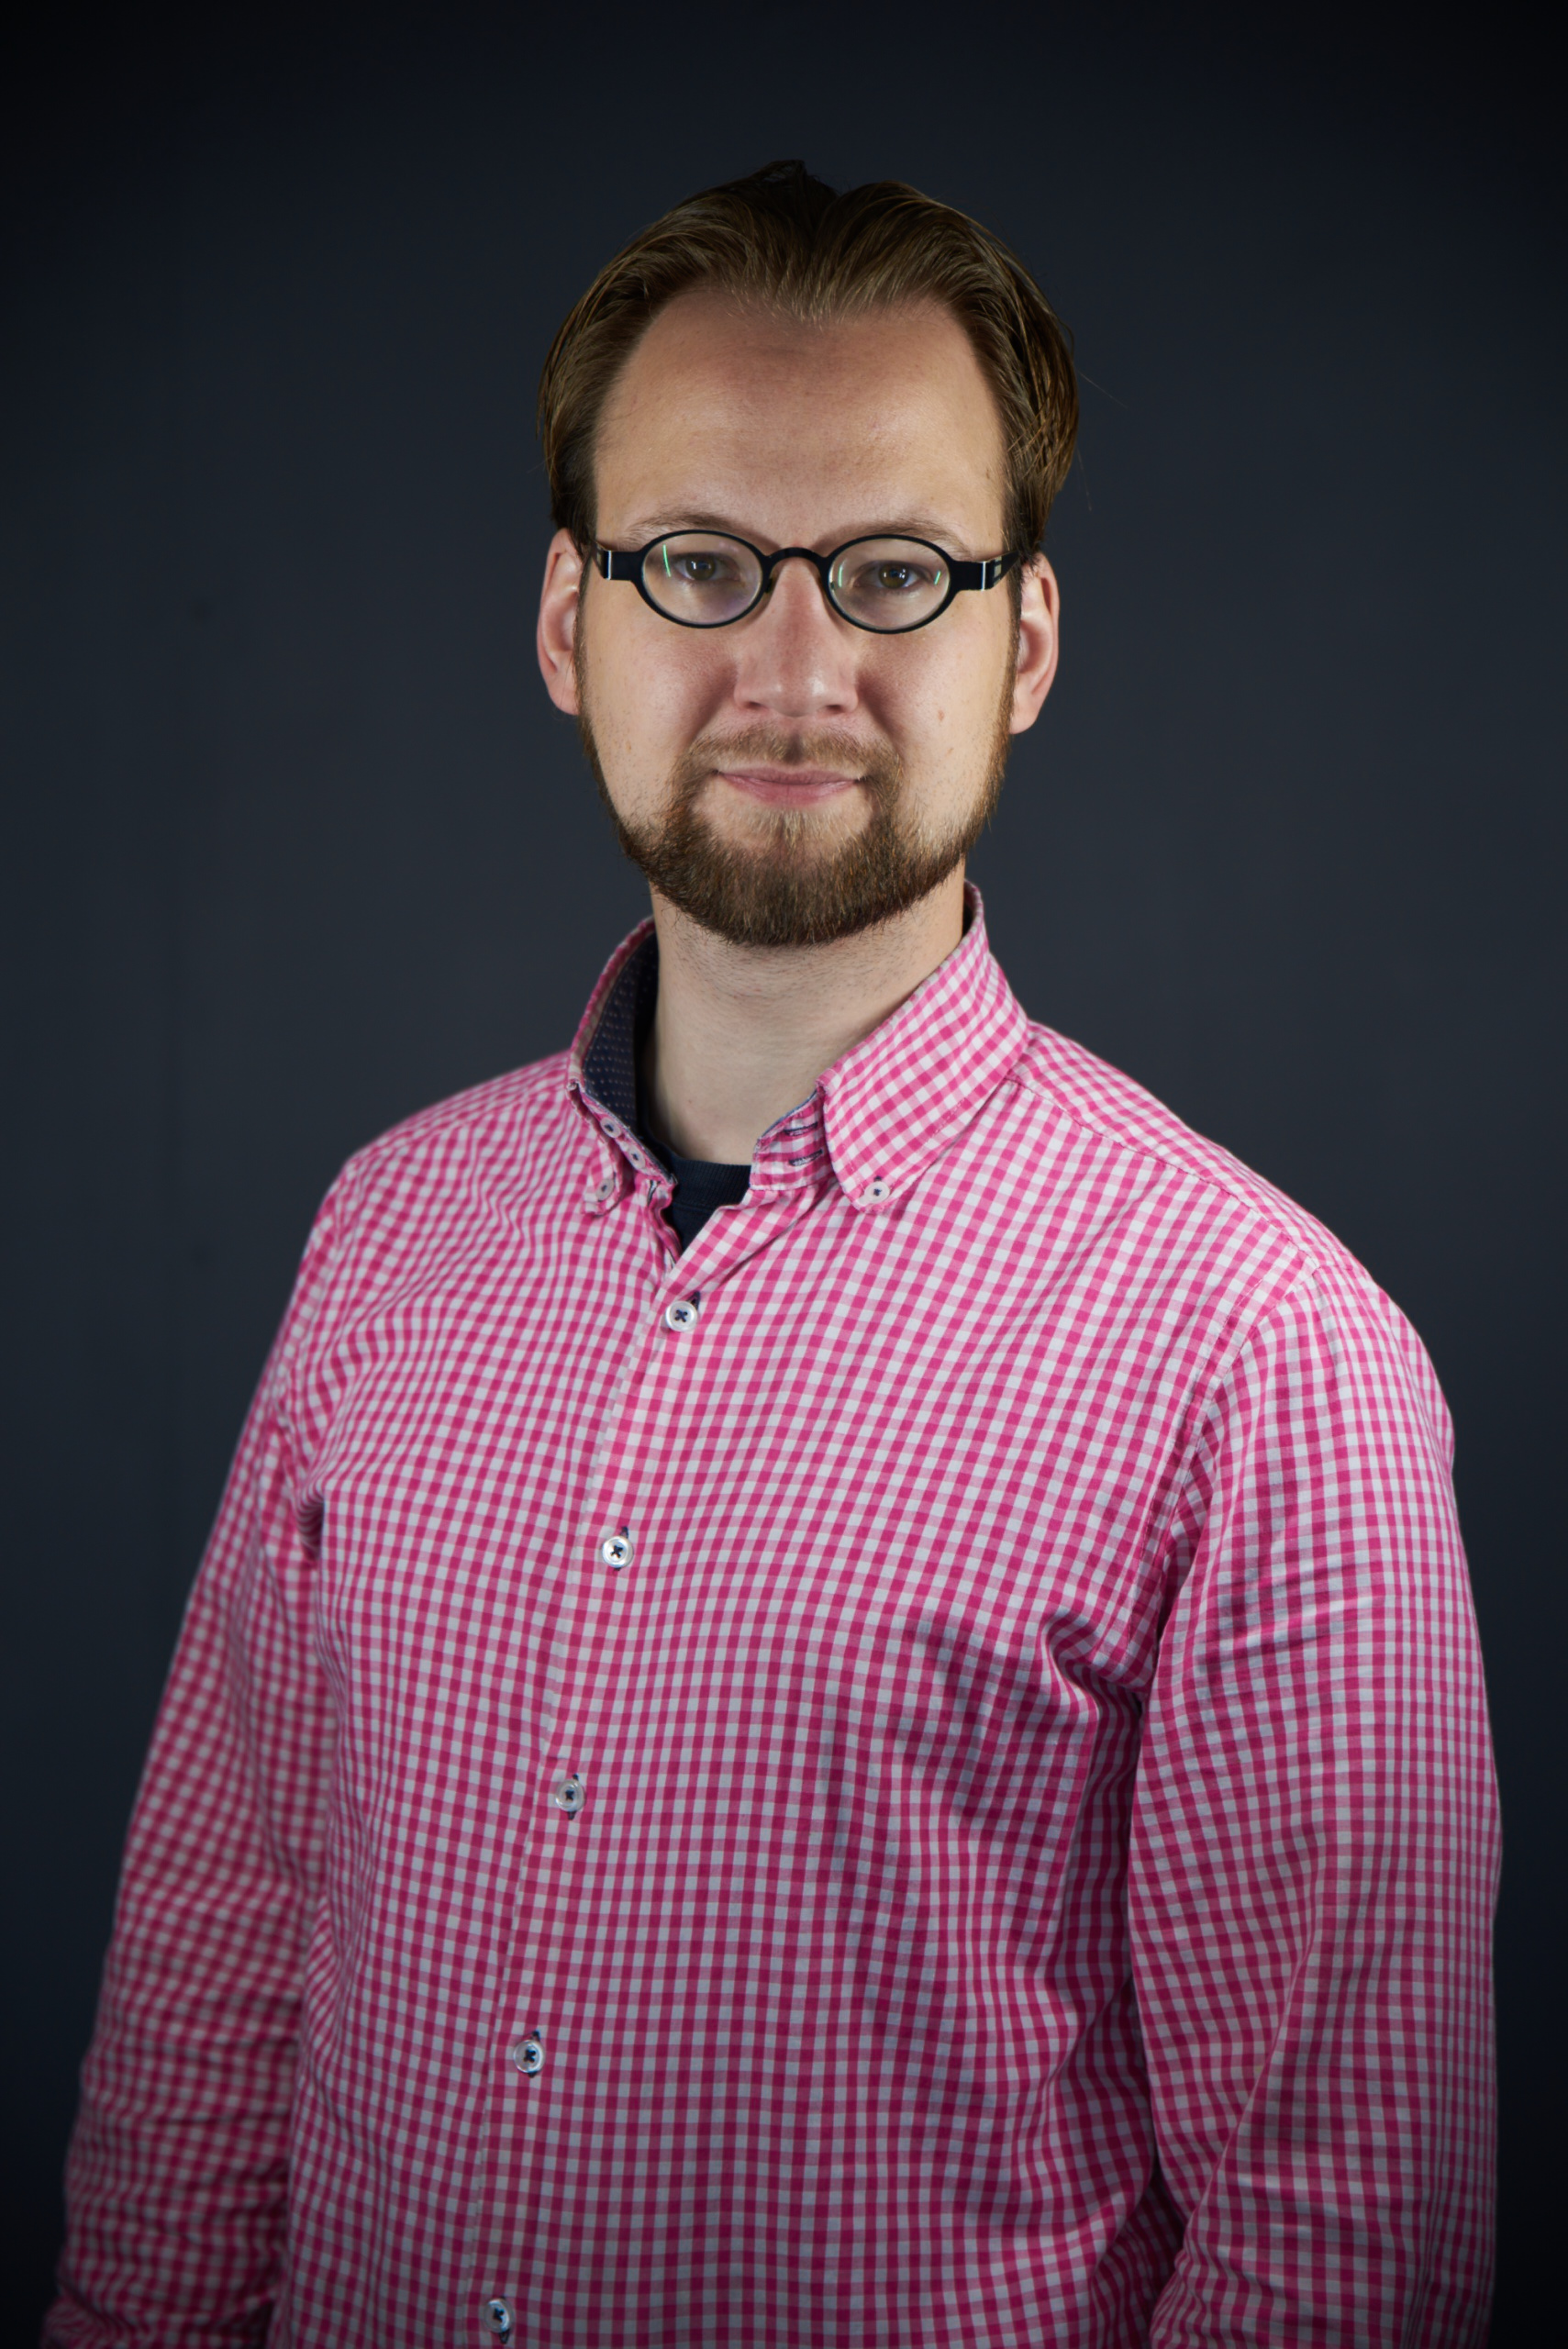
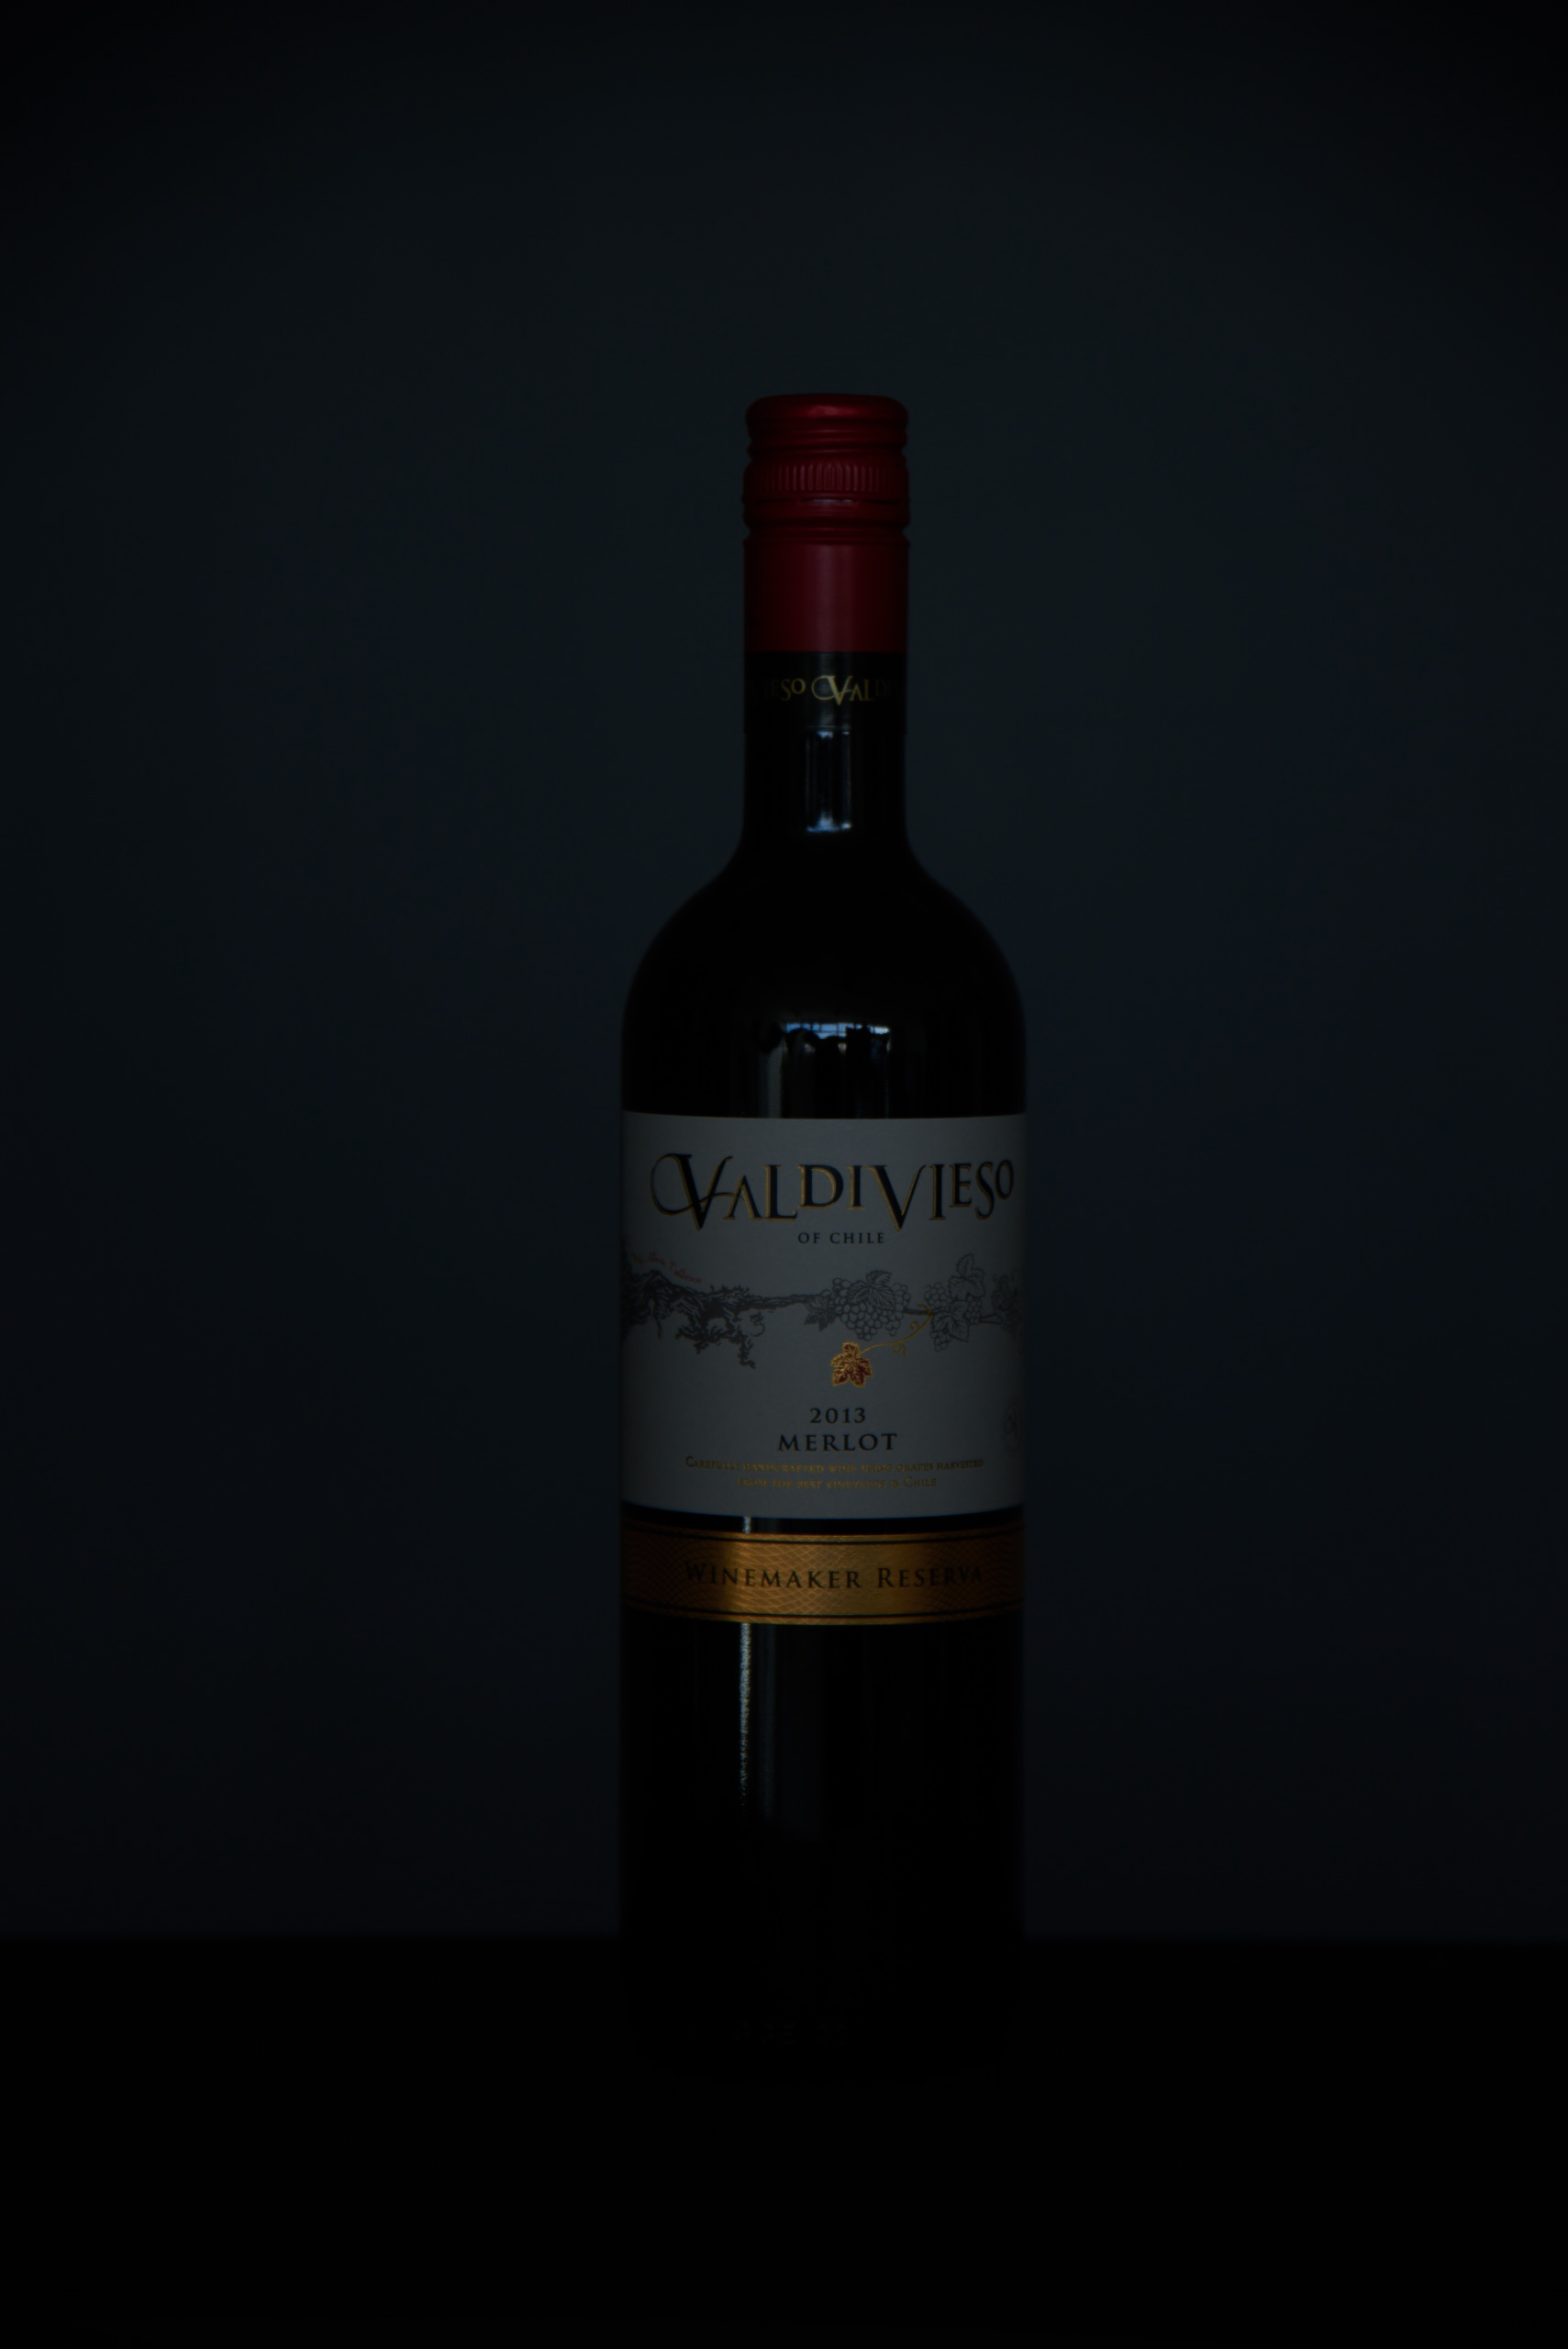
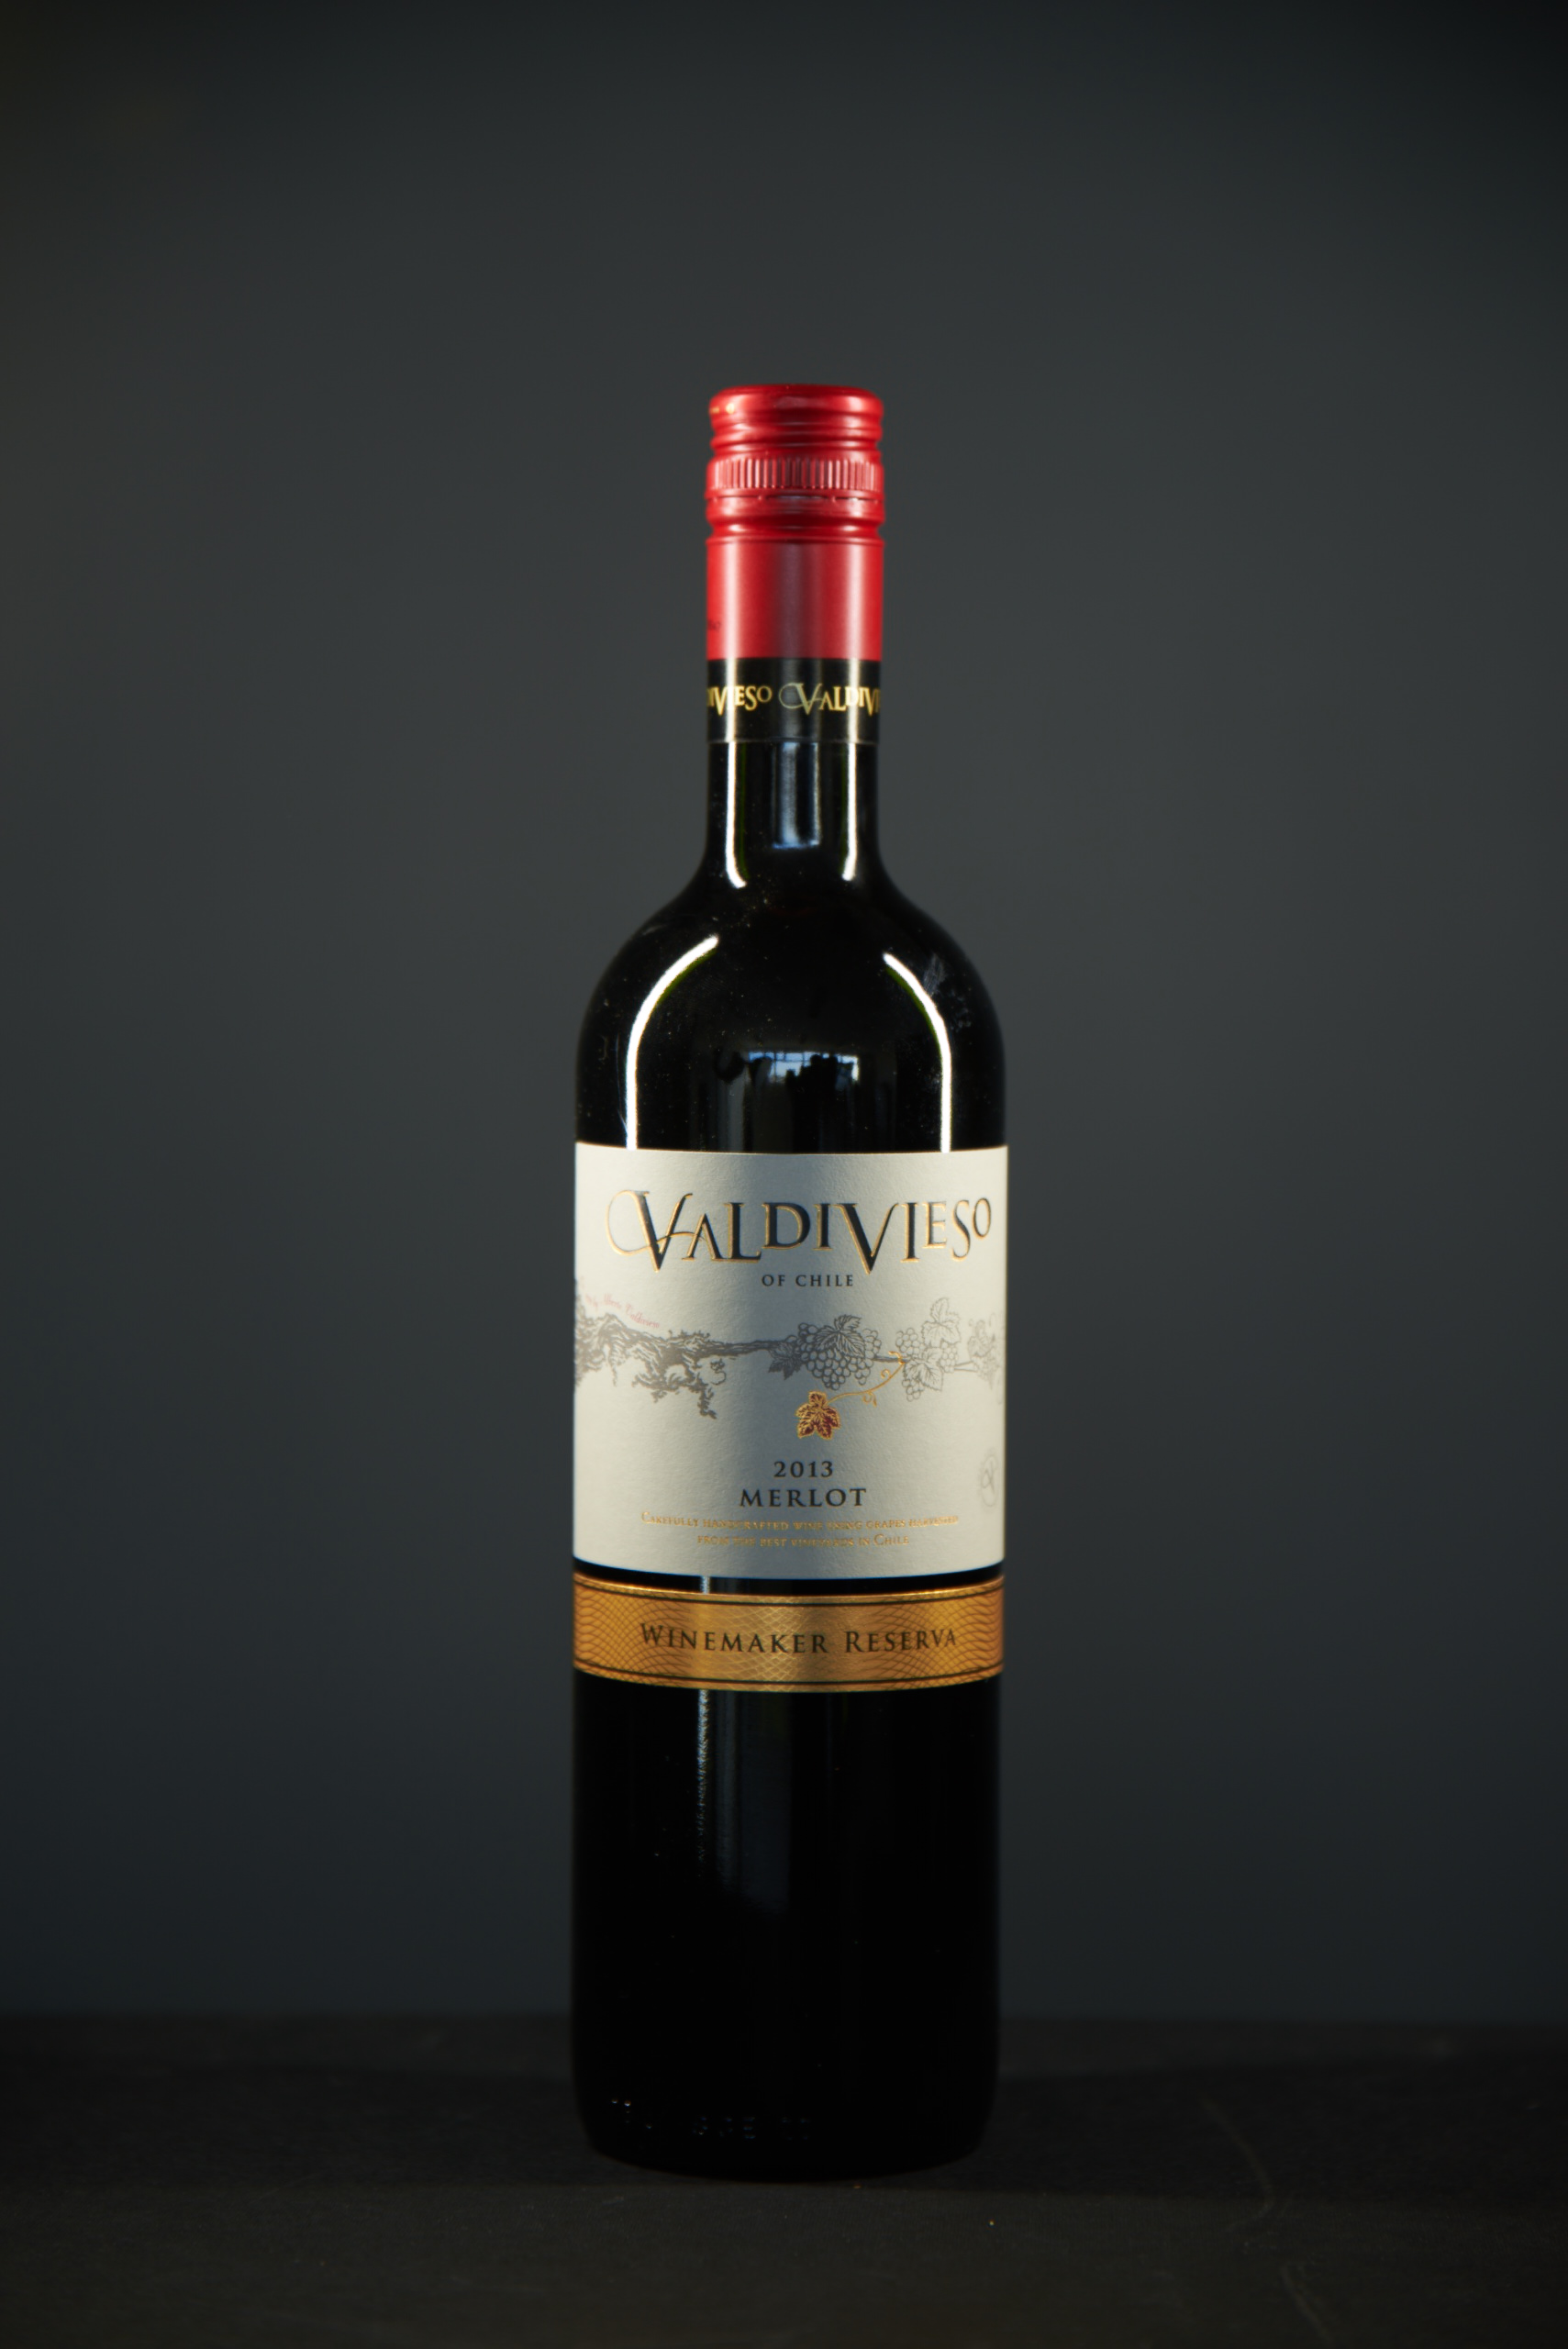
Here are some test shots. There is a shot with and with out the kit on full power.
Conclusion
In my opinion this kit is great for traveling reporters who need a simple lighting setup for every where they might go. For photography I am not so pleased with it as I thought I would be.


