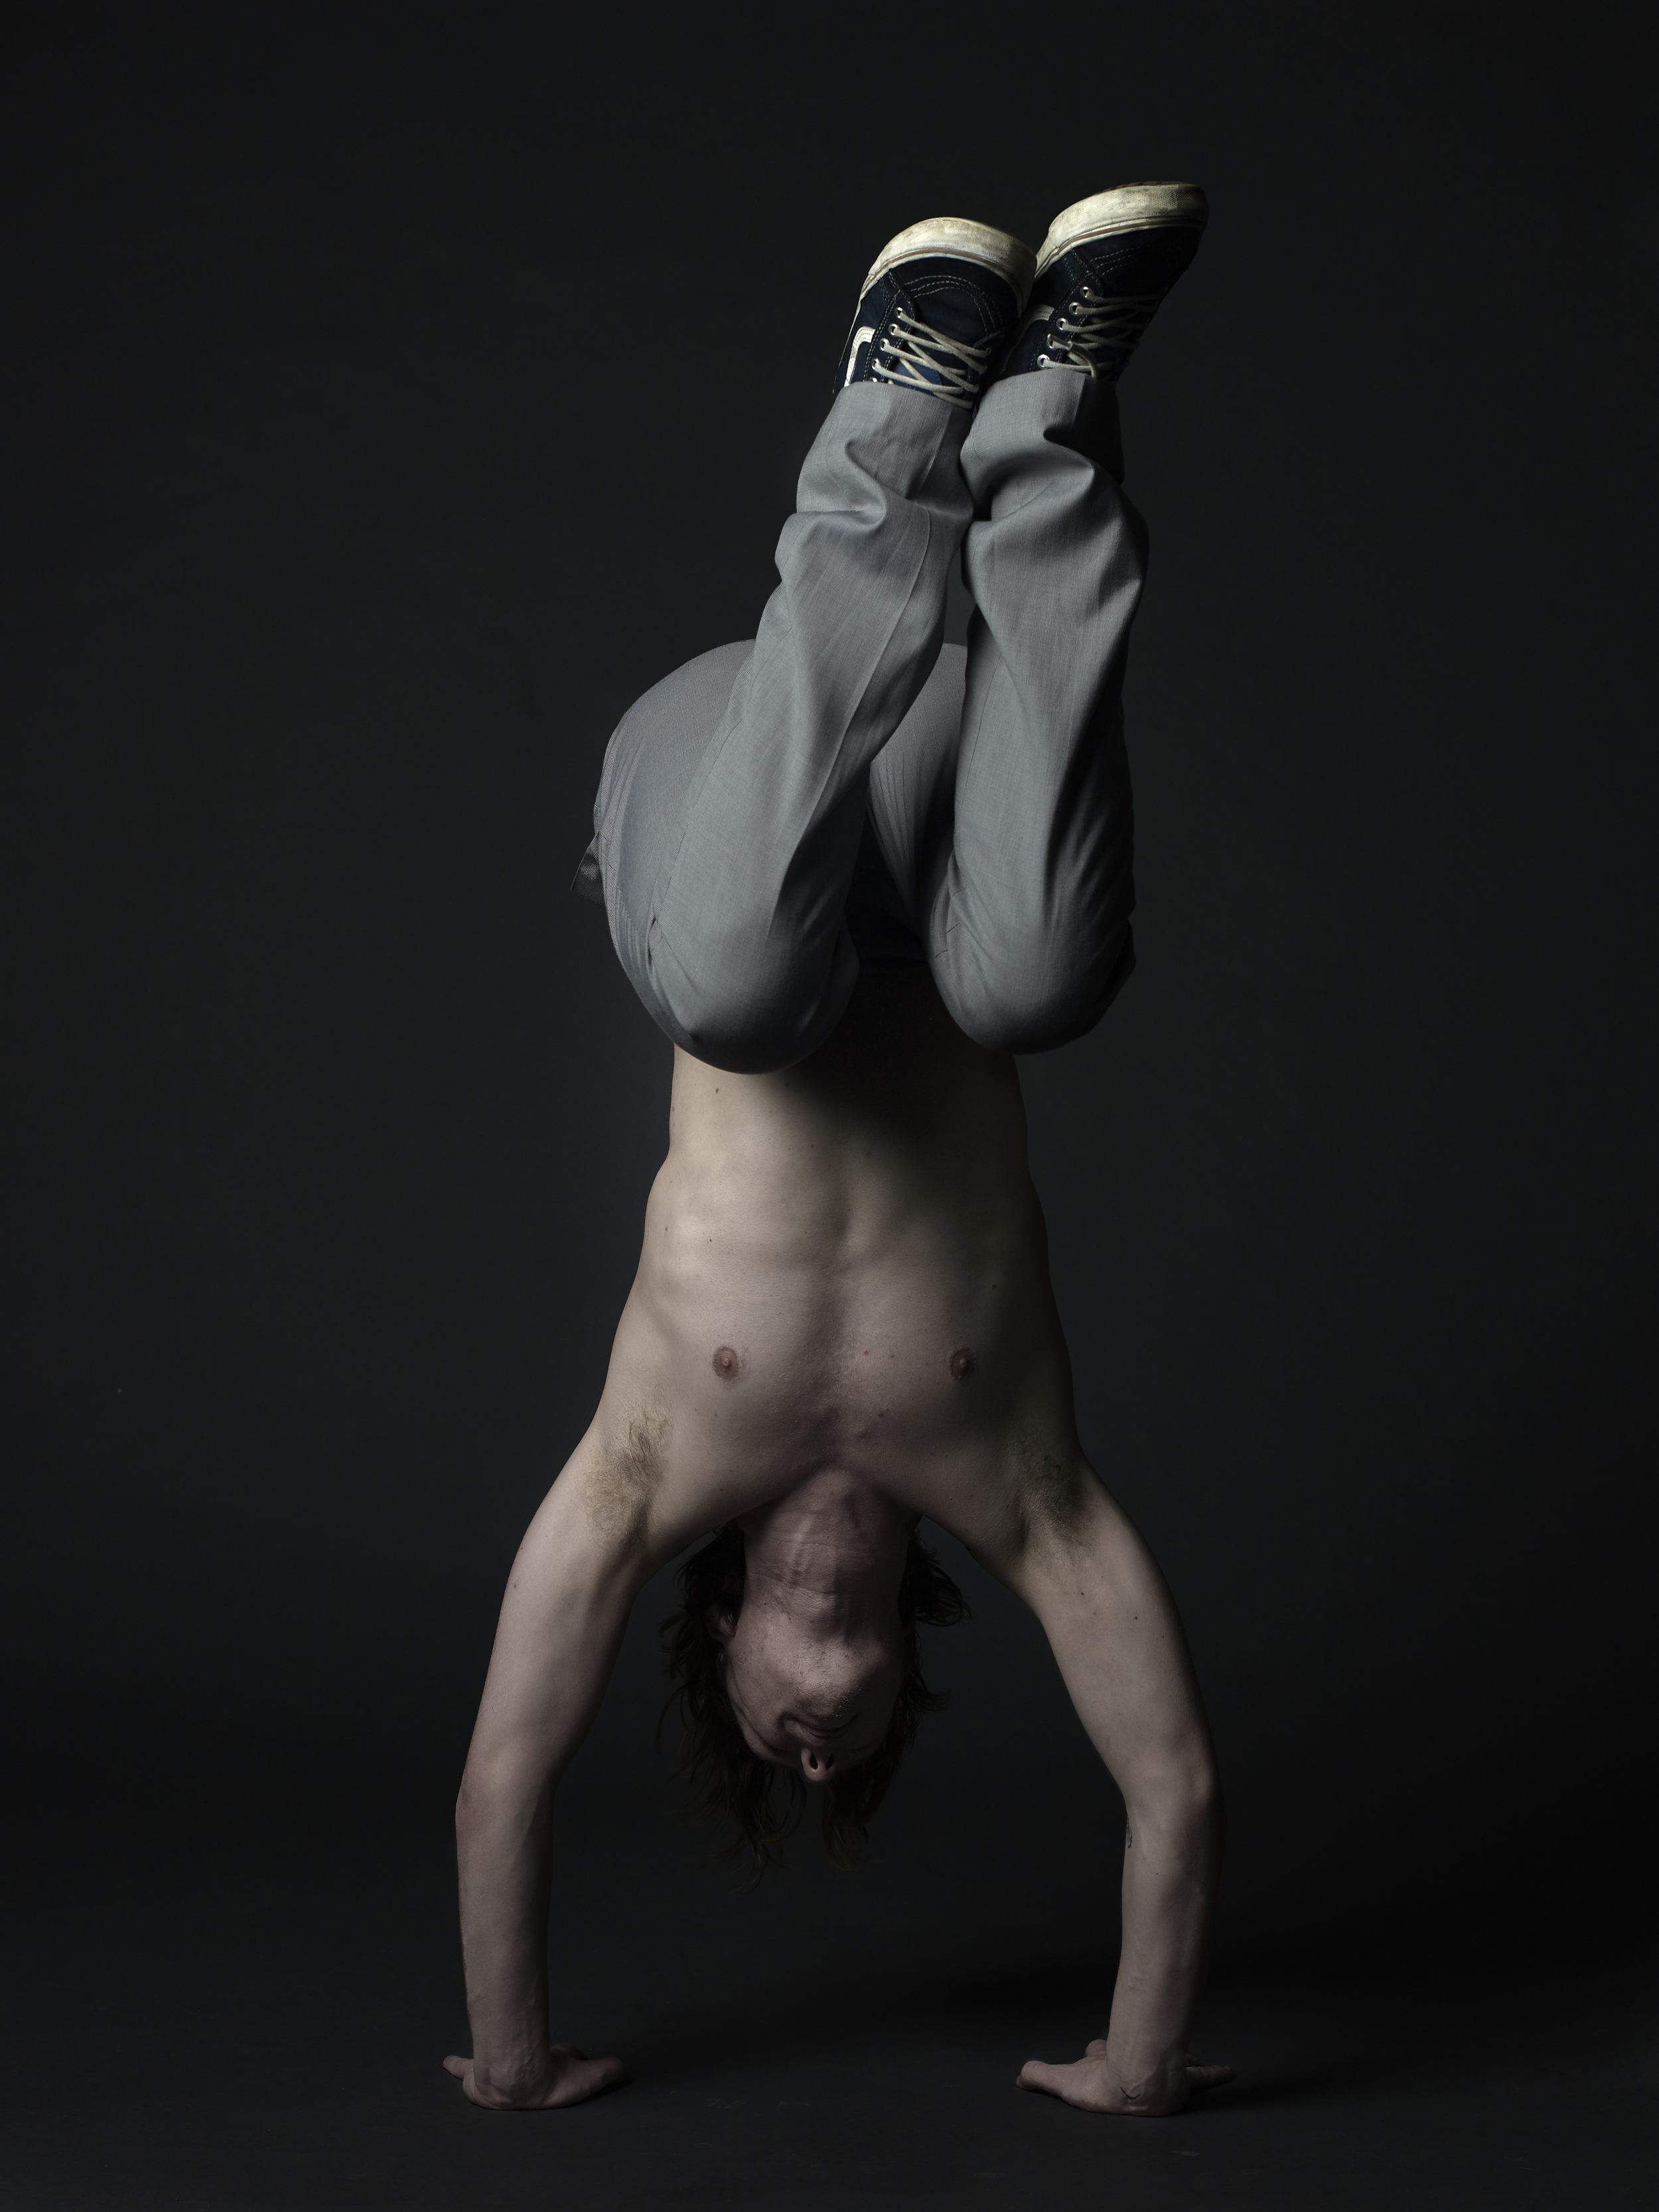
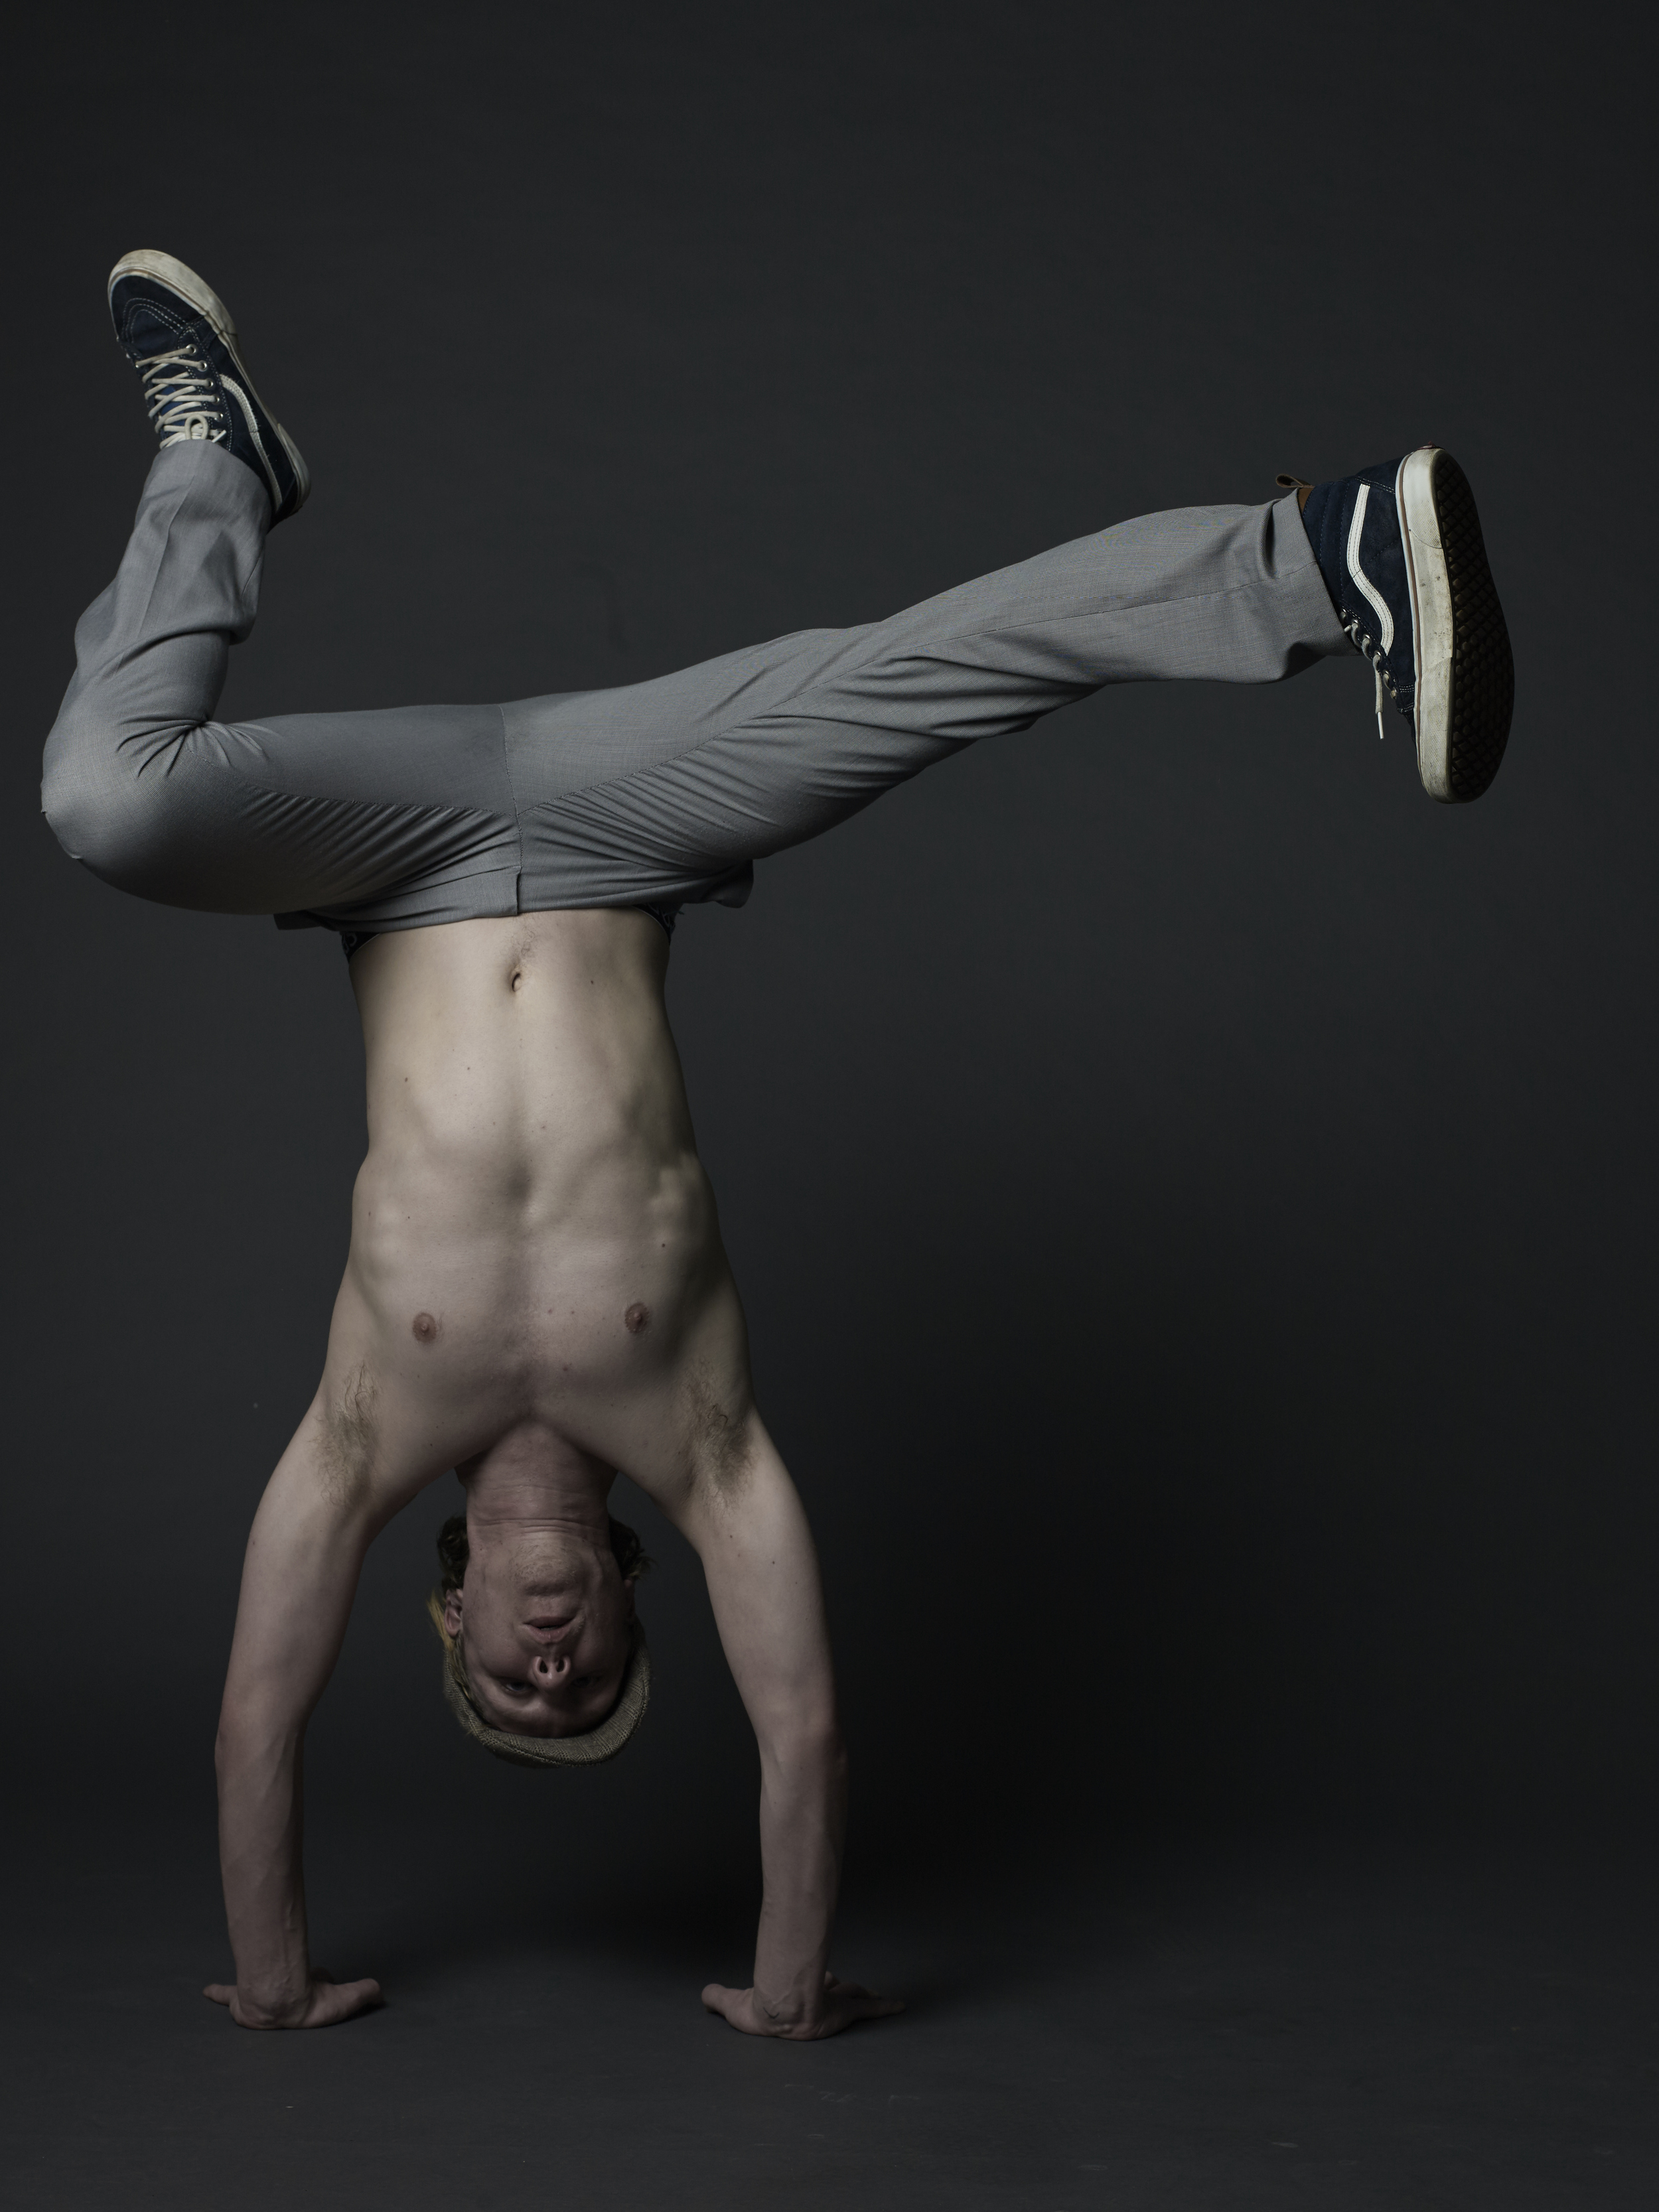
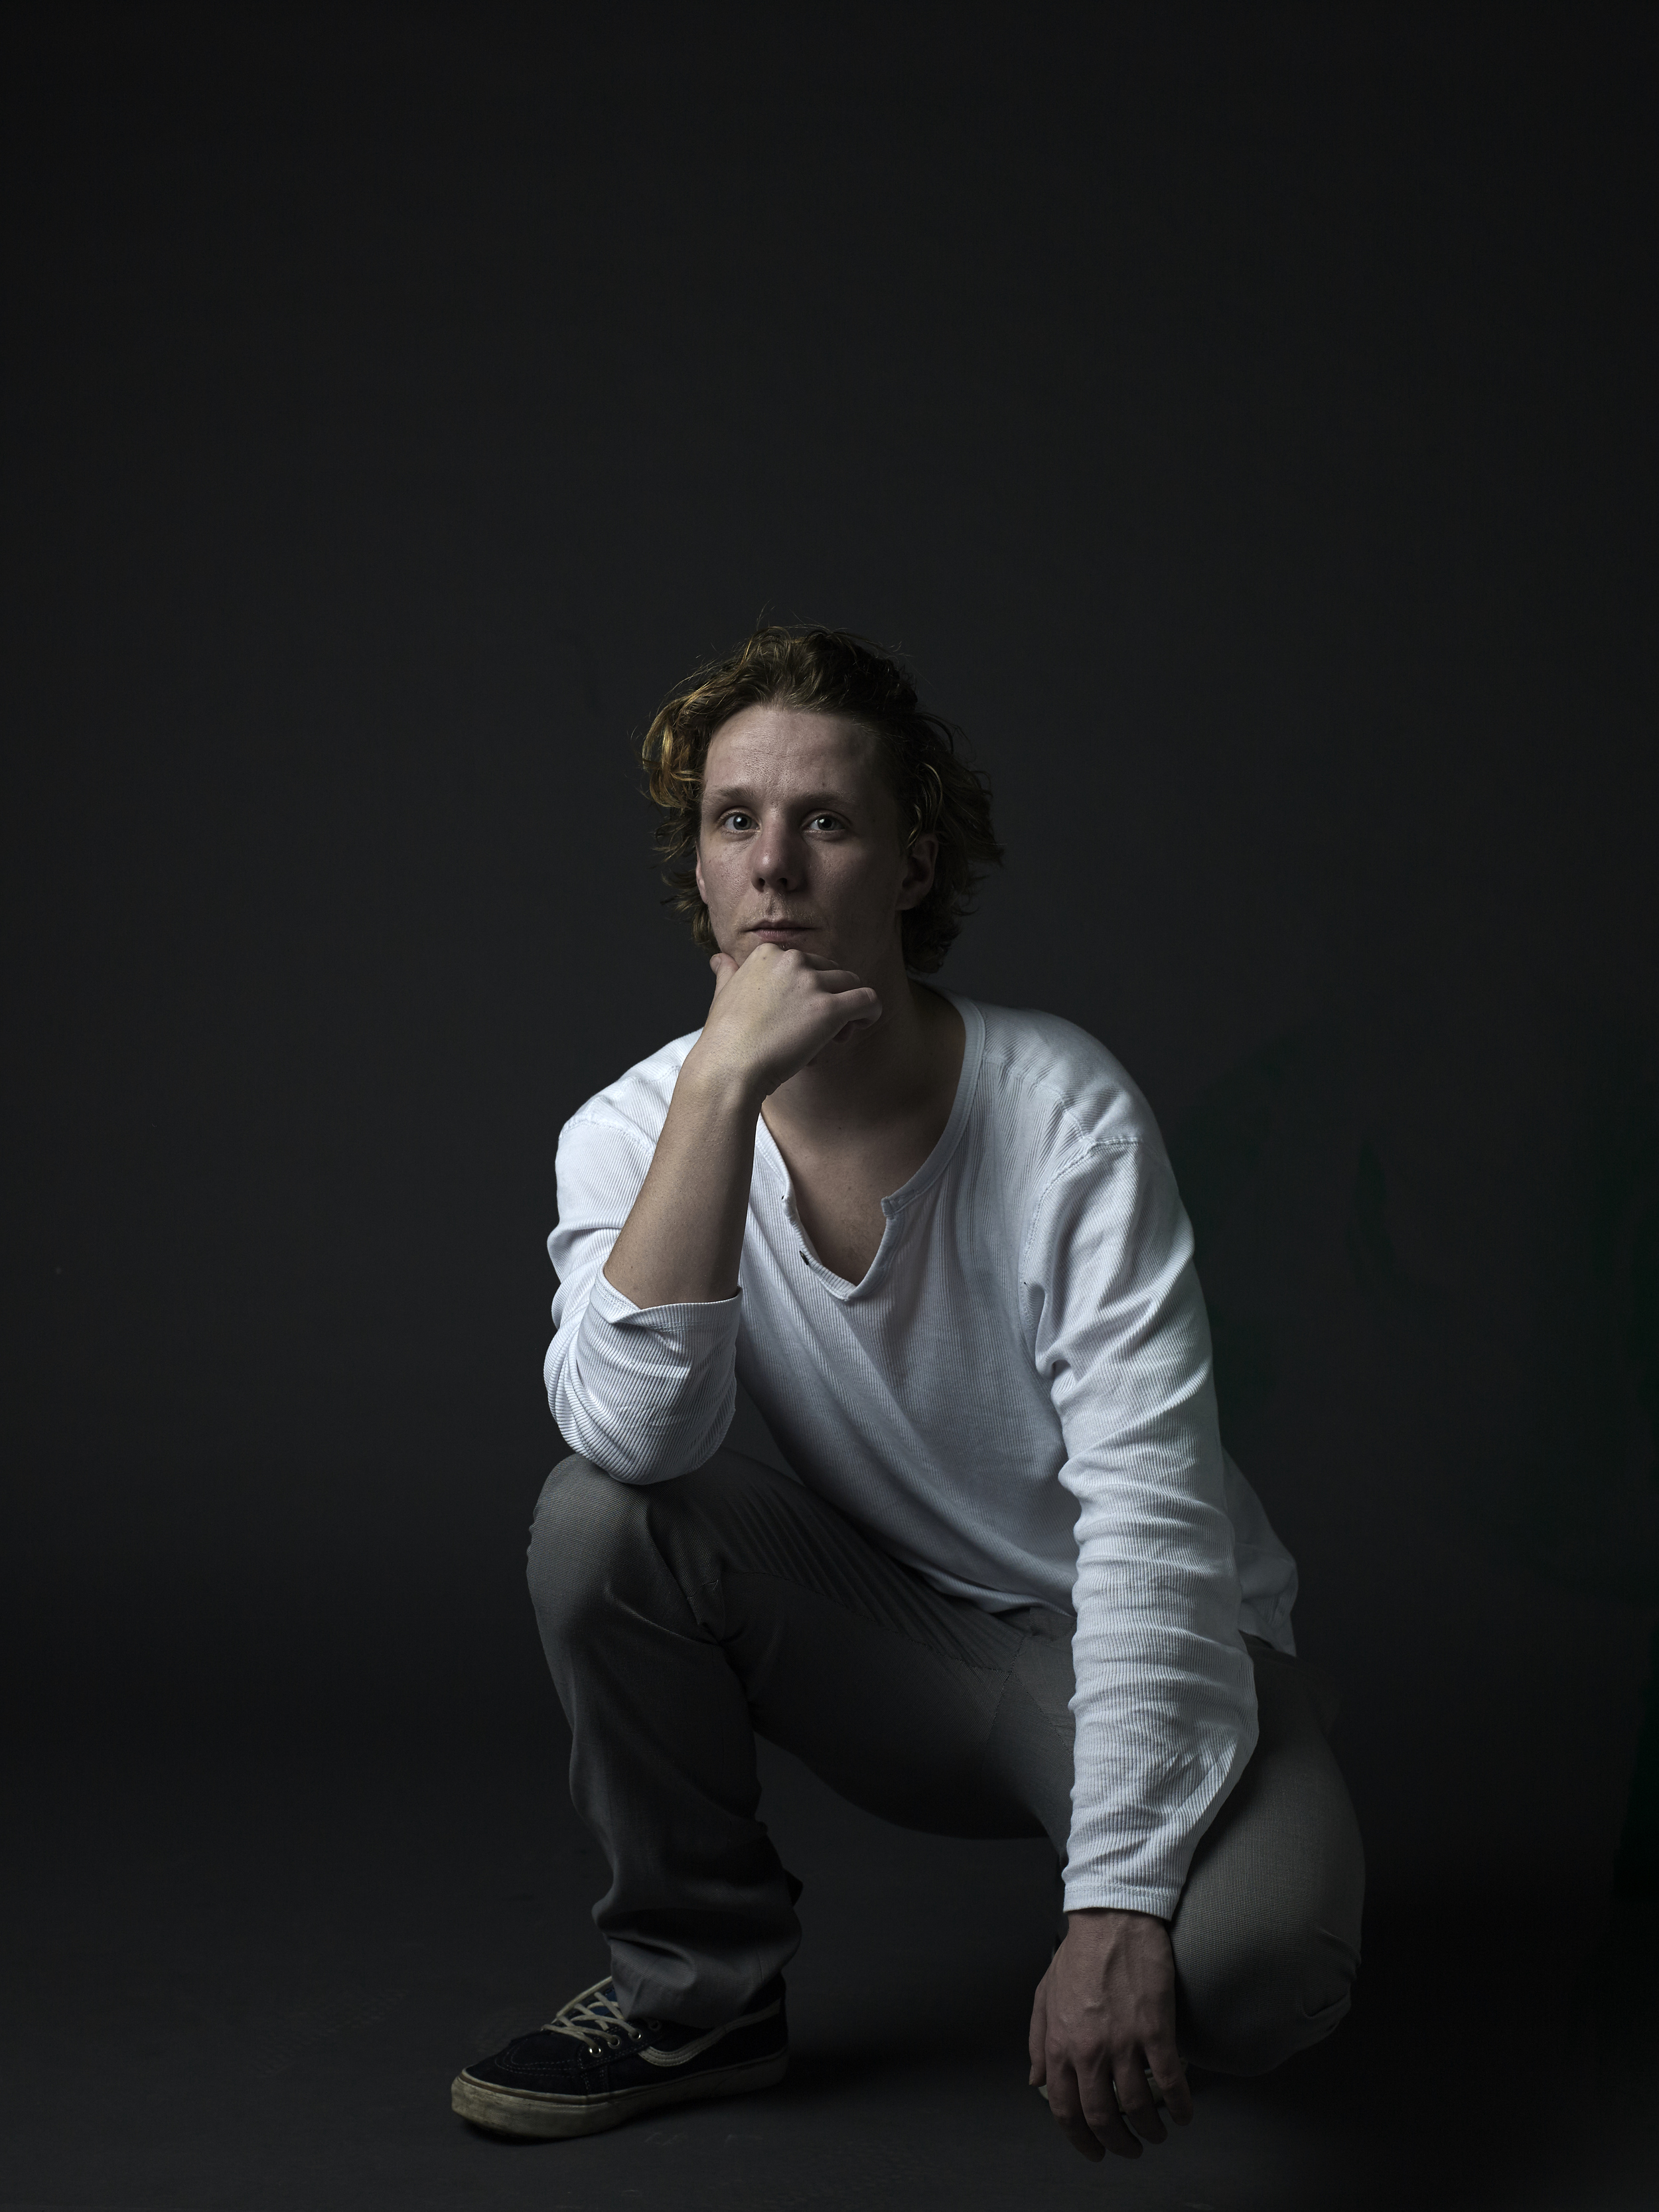
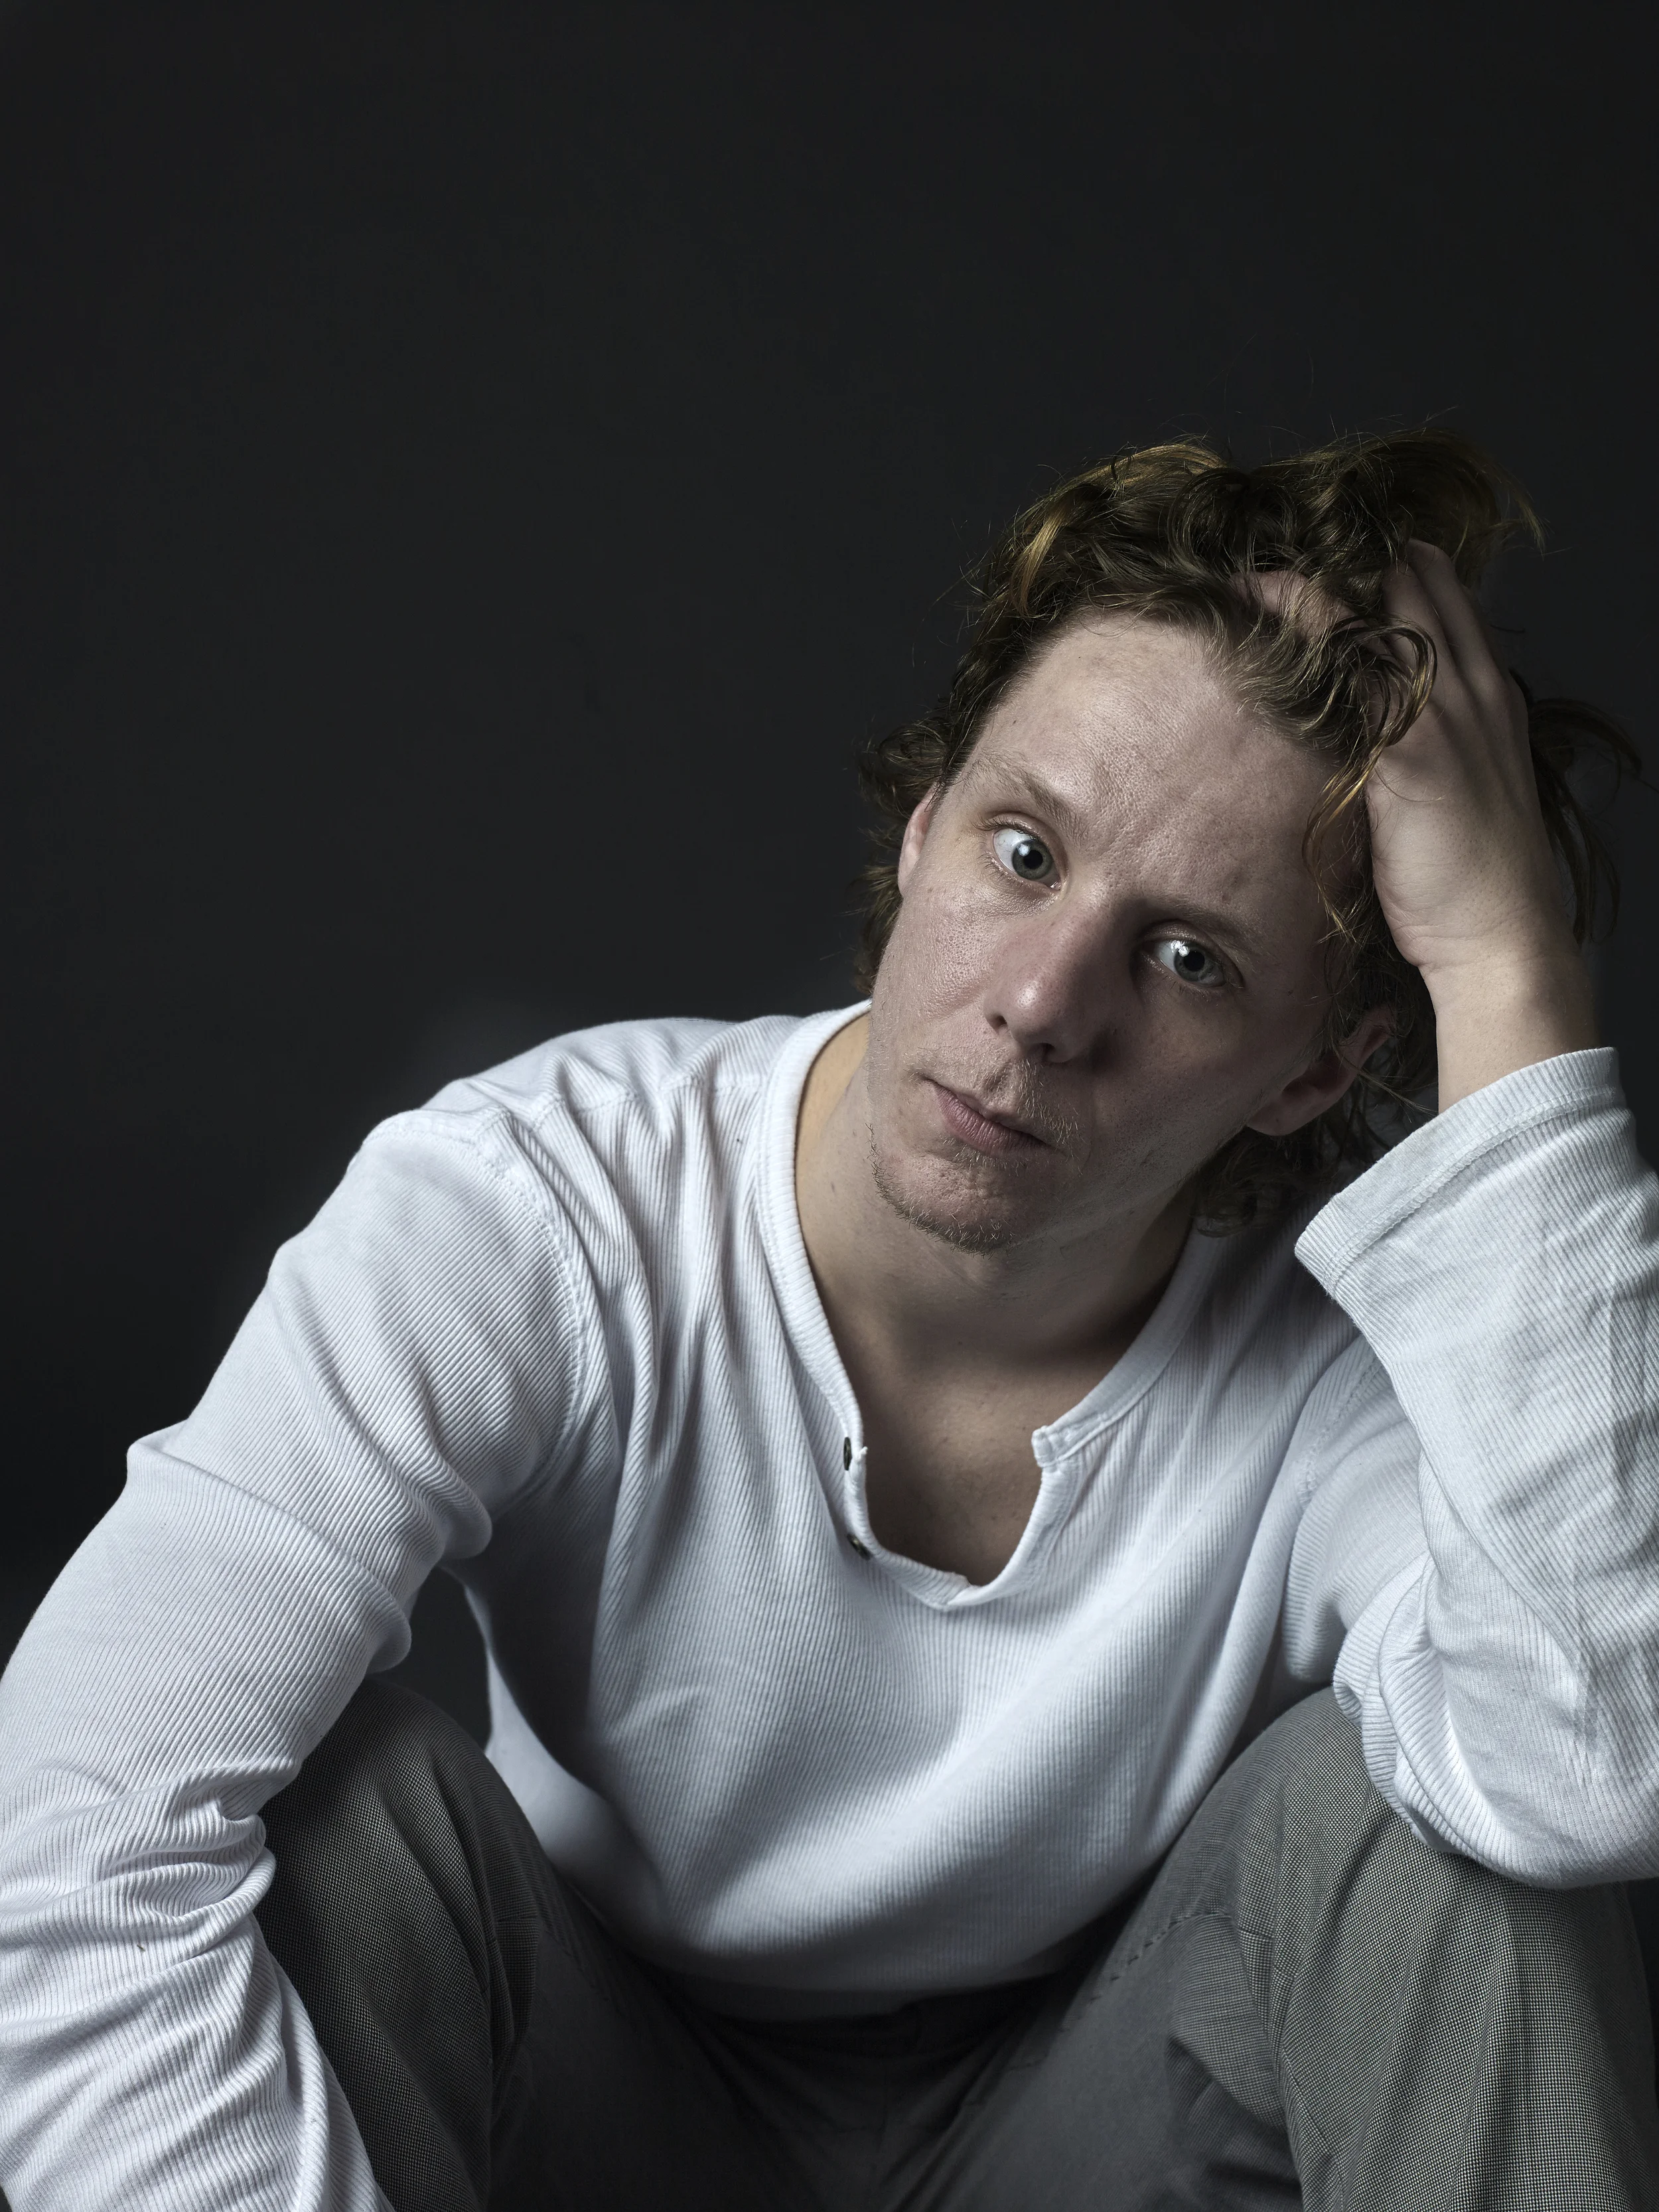
Eerste sessies in nieuwe studio
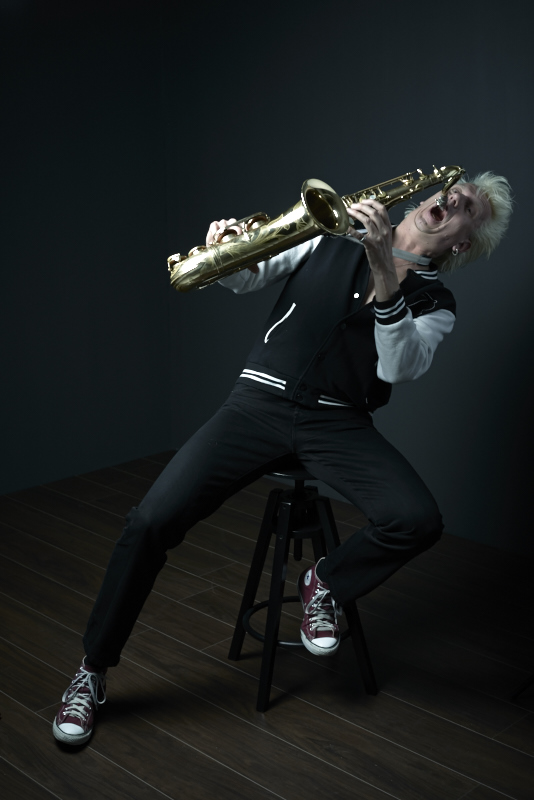
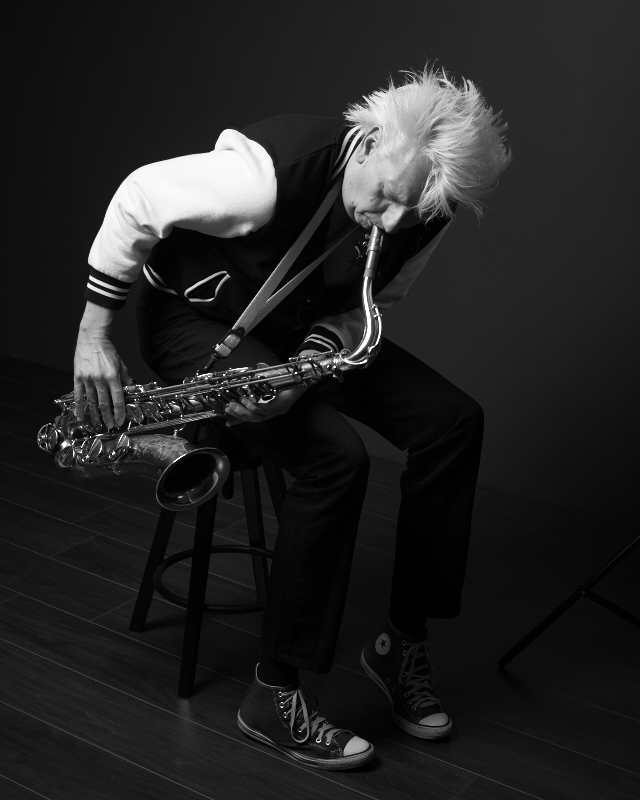
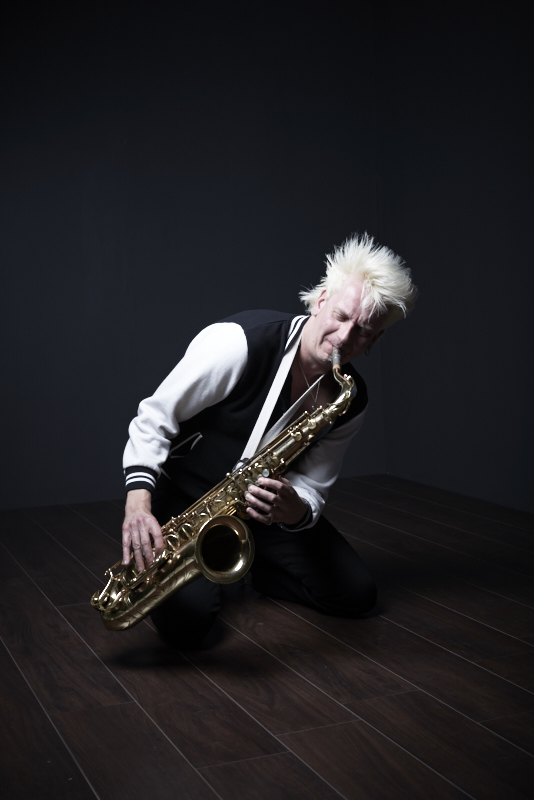
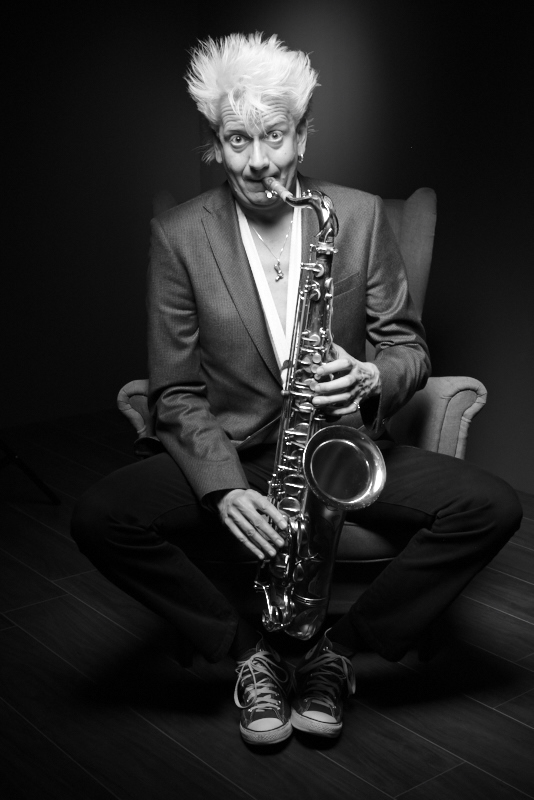
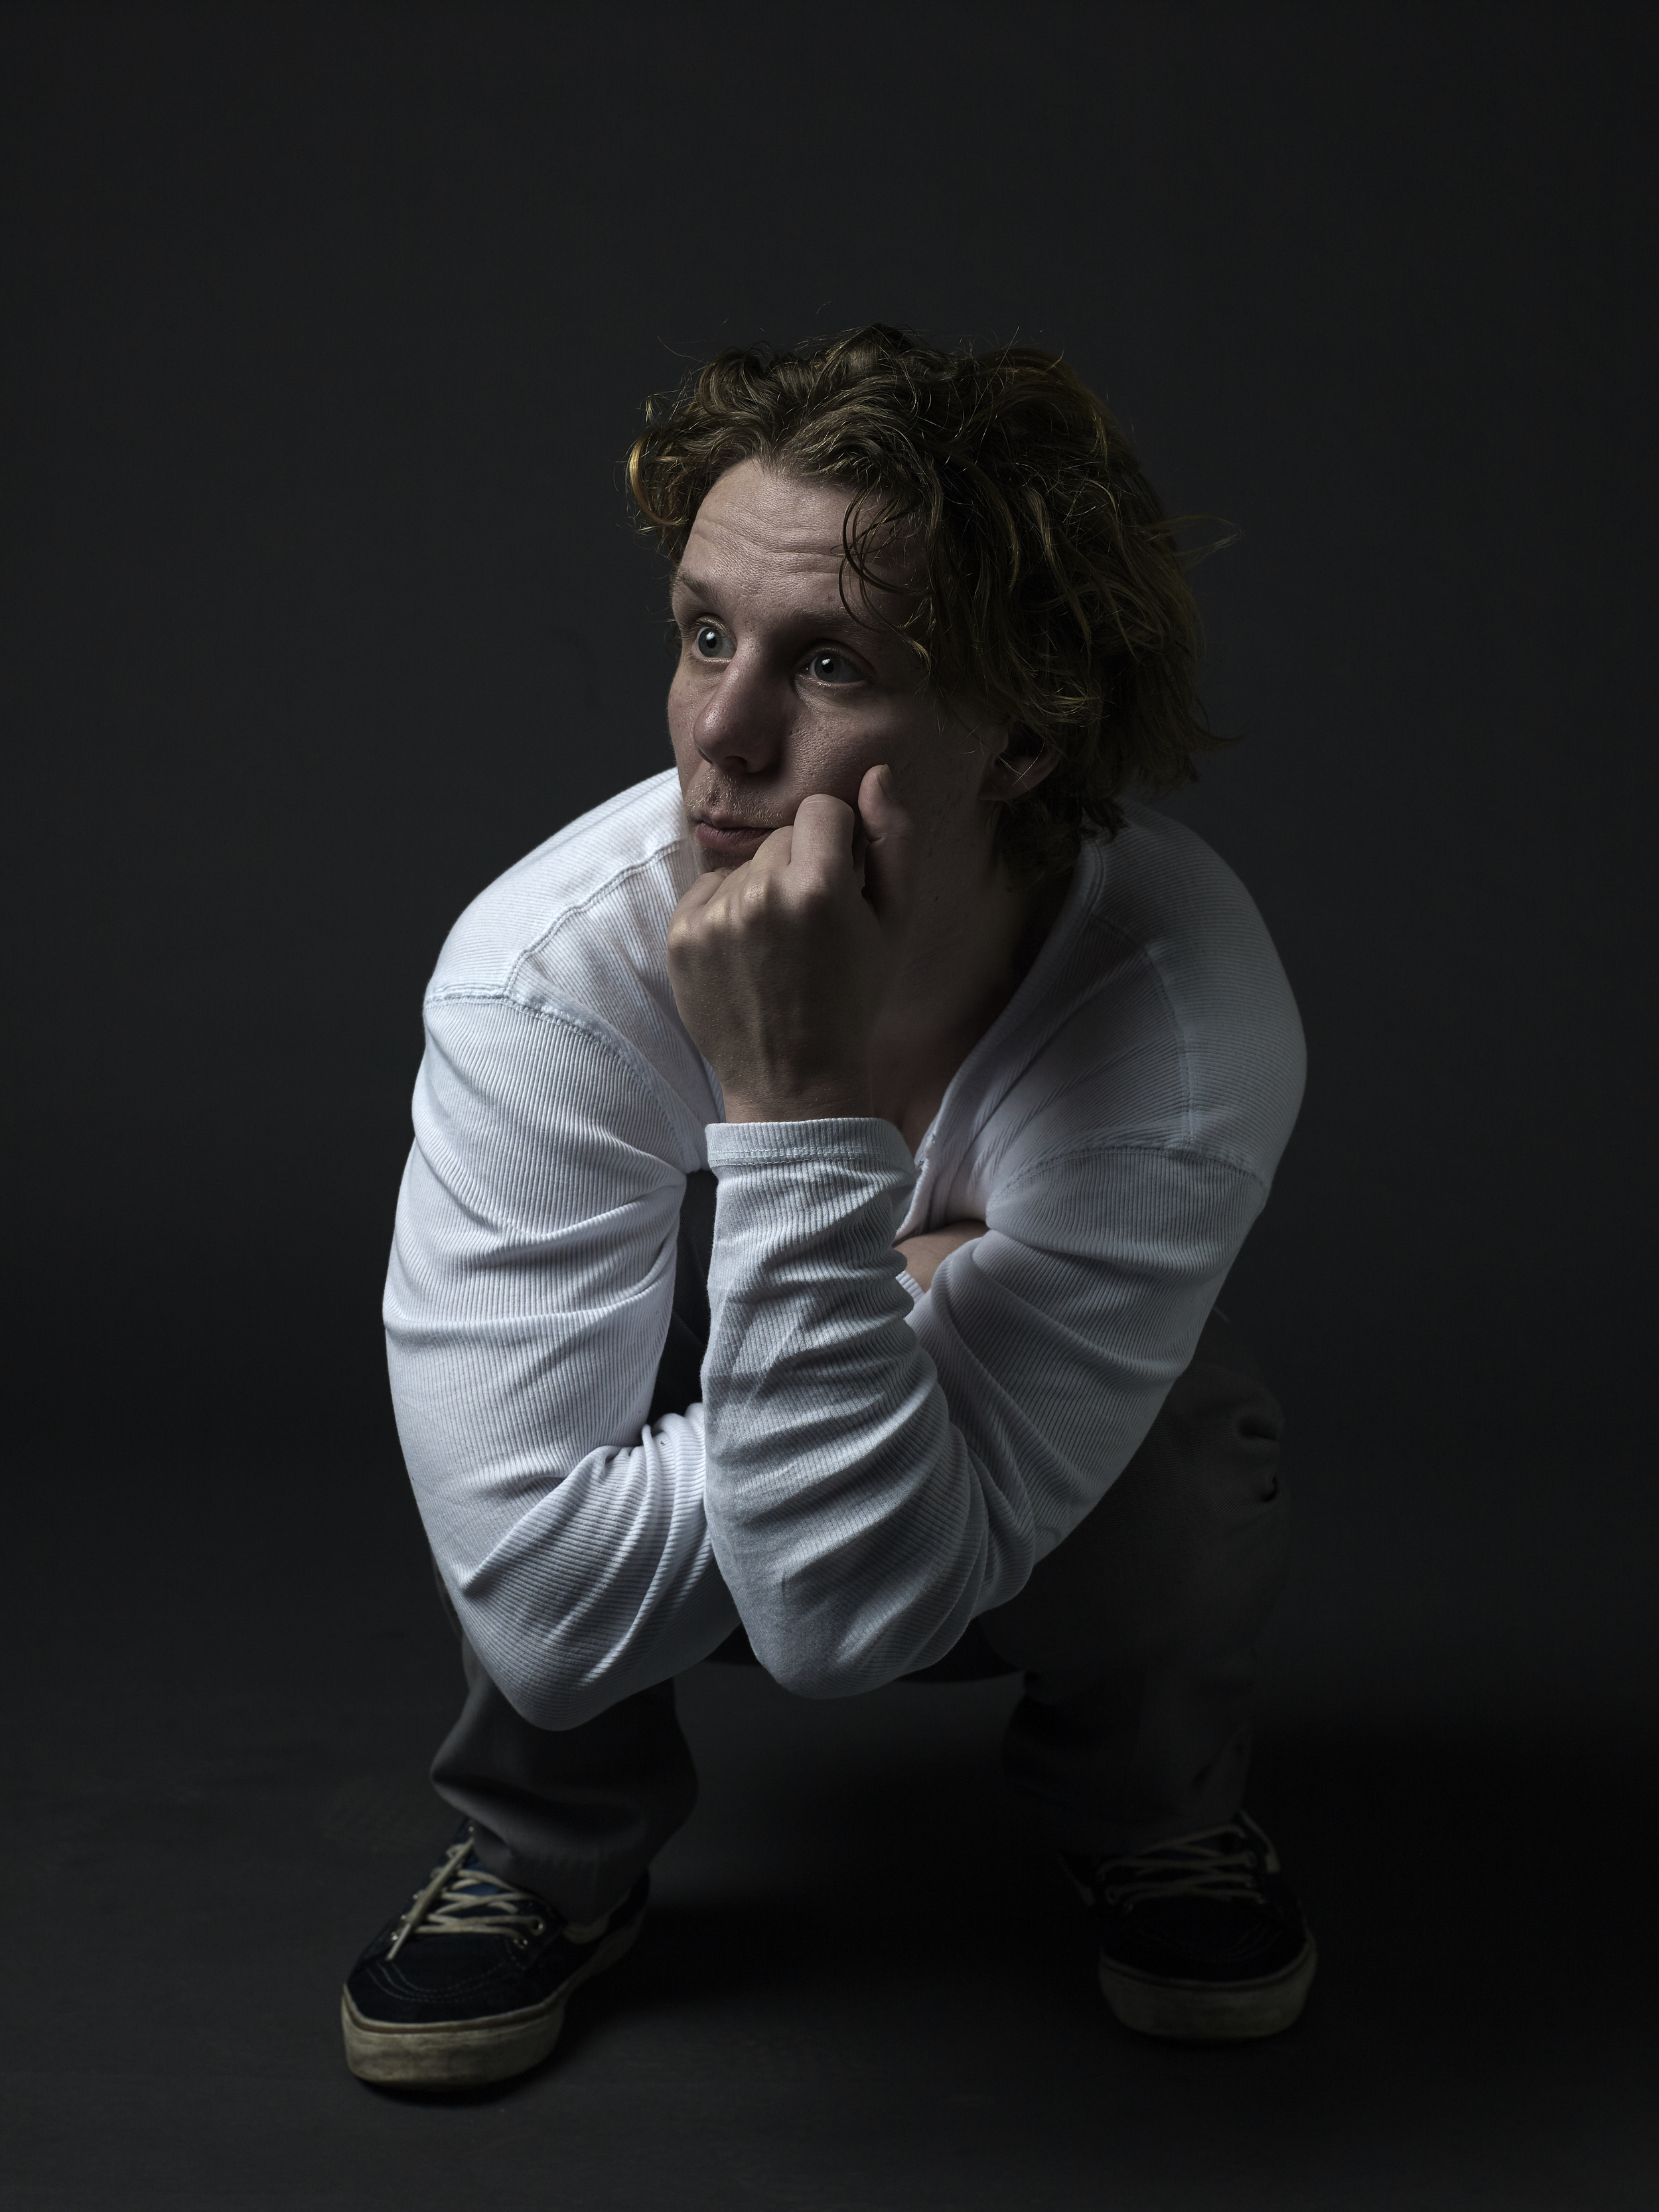
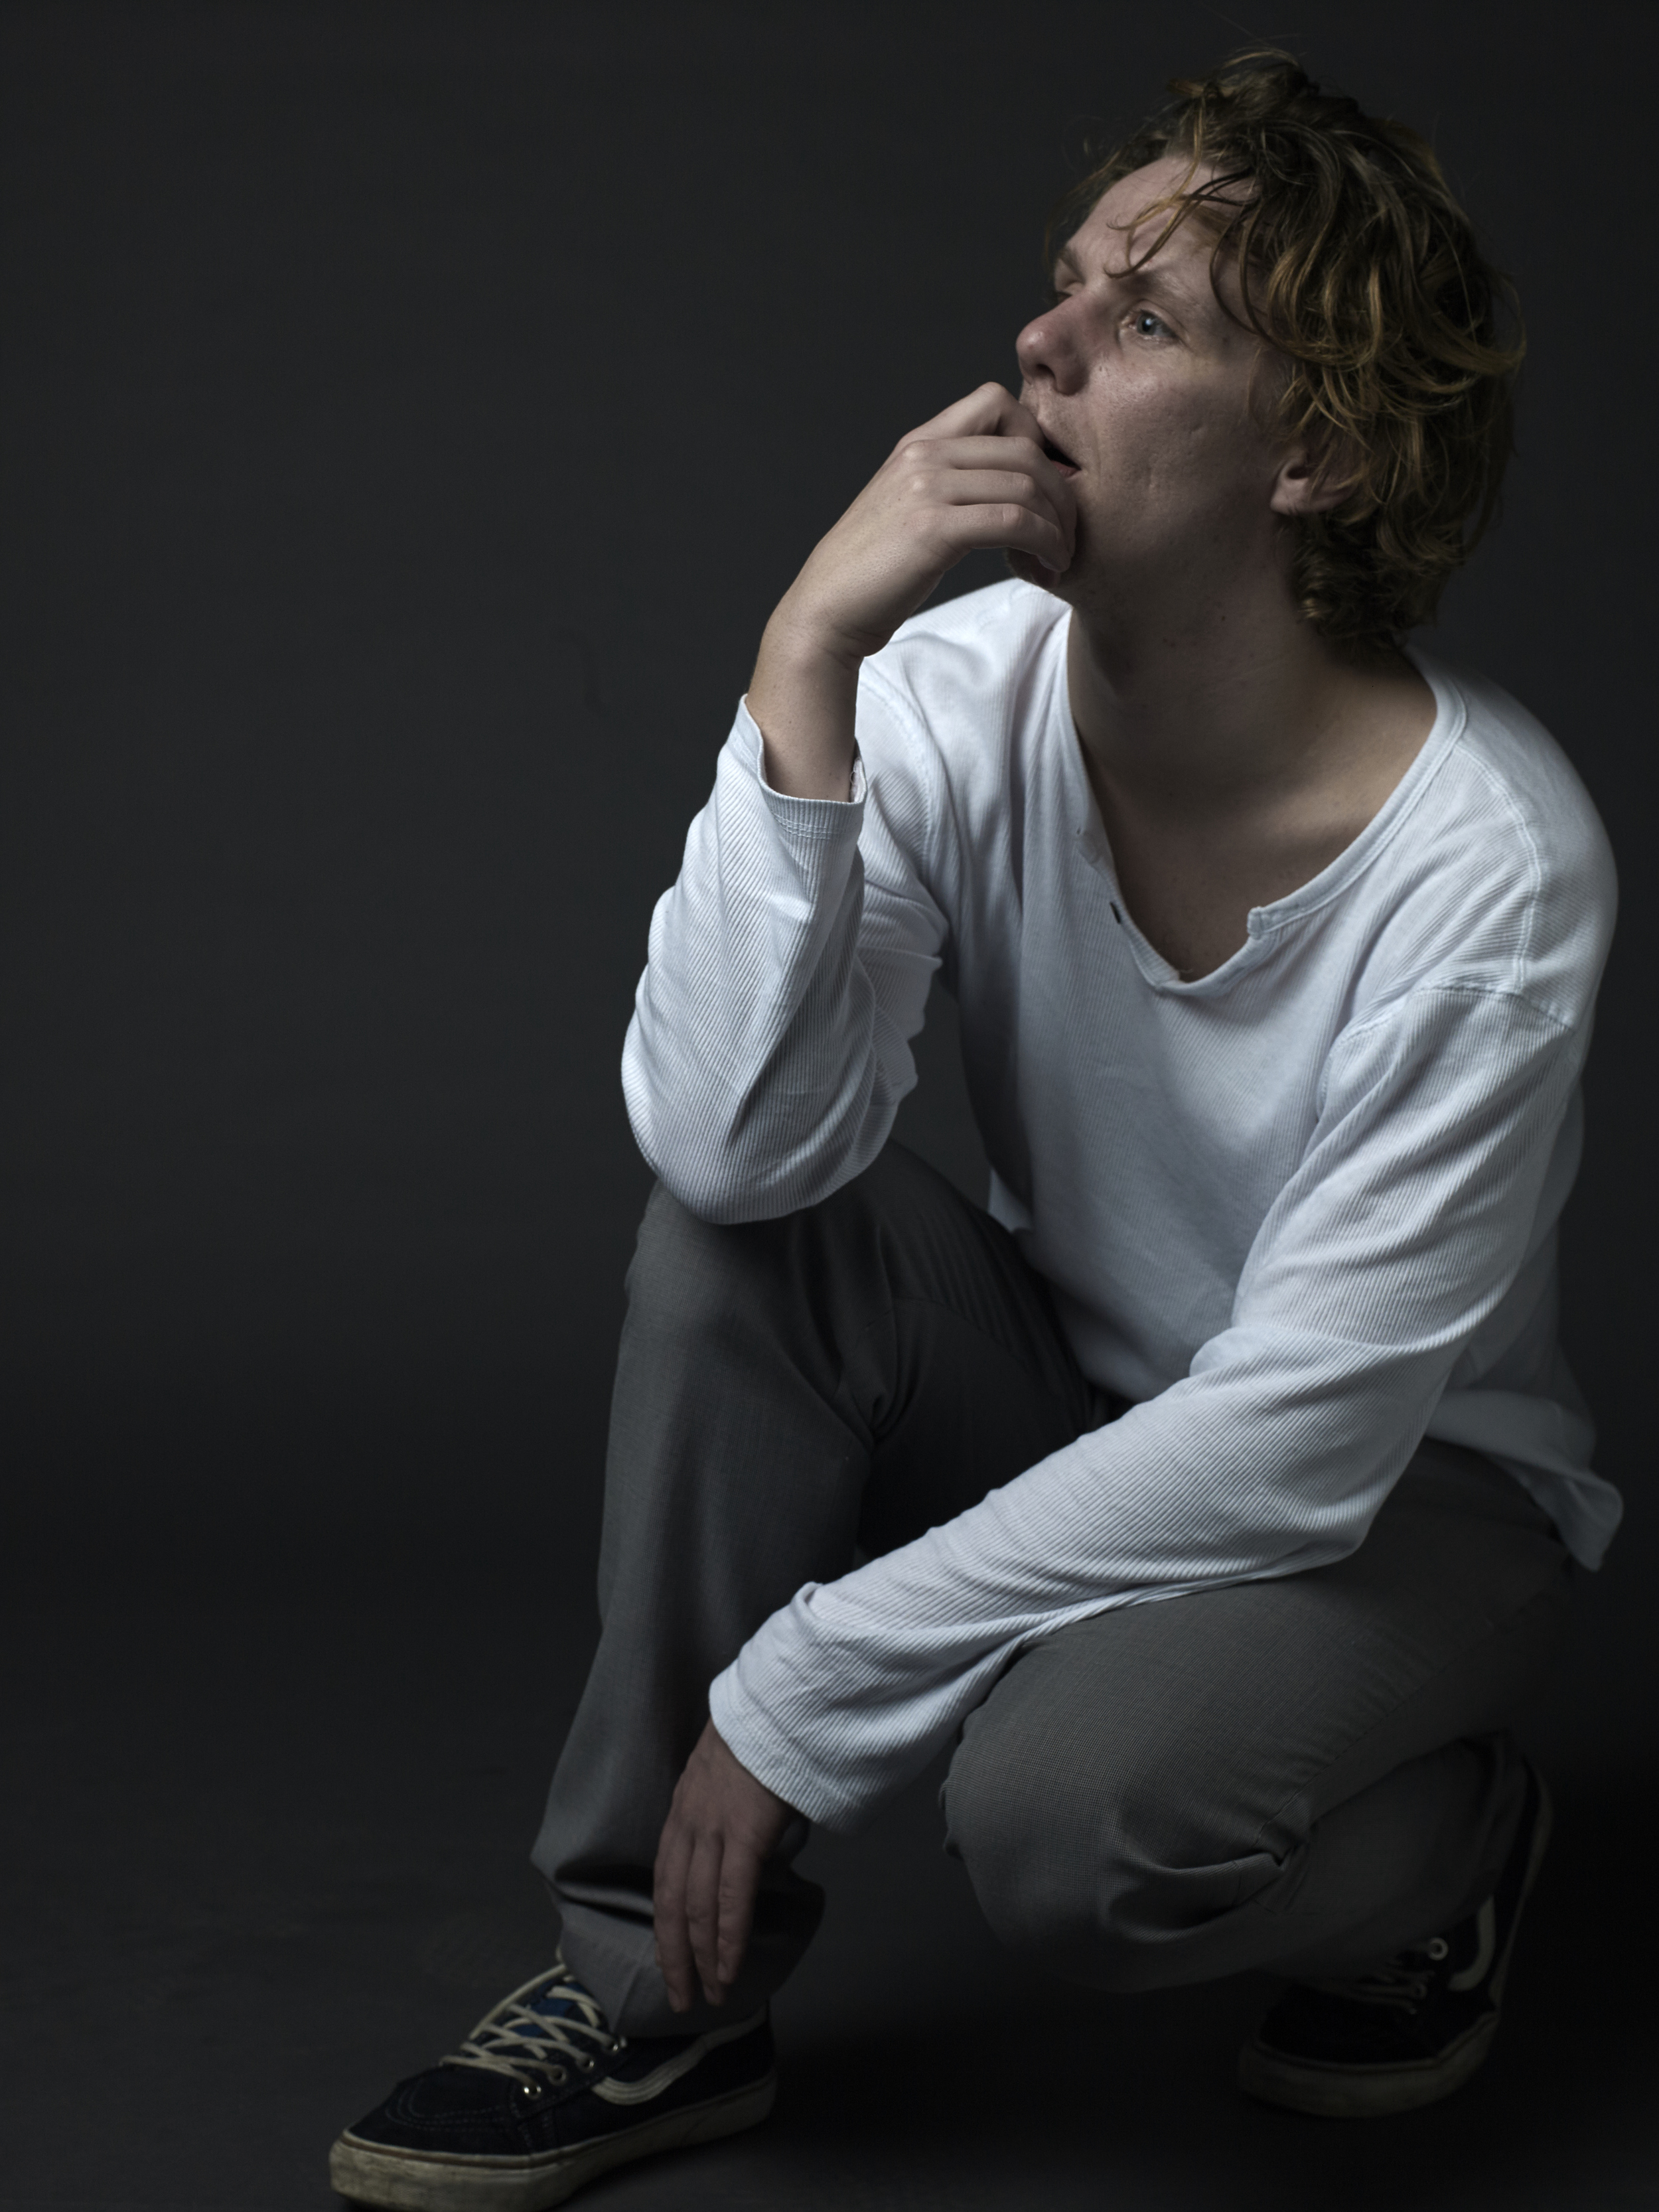
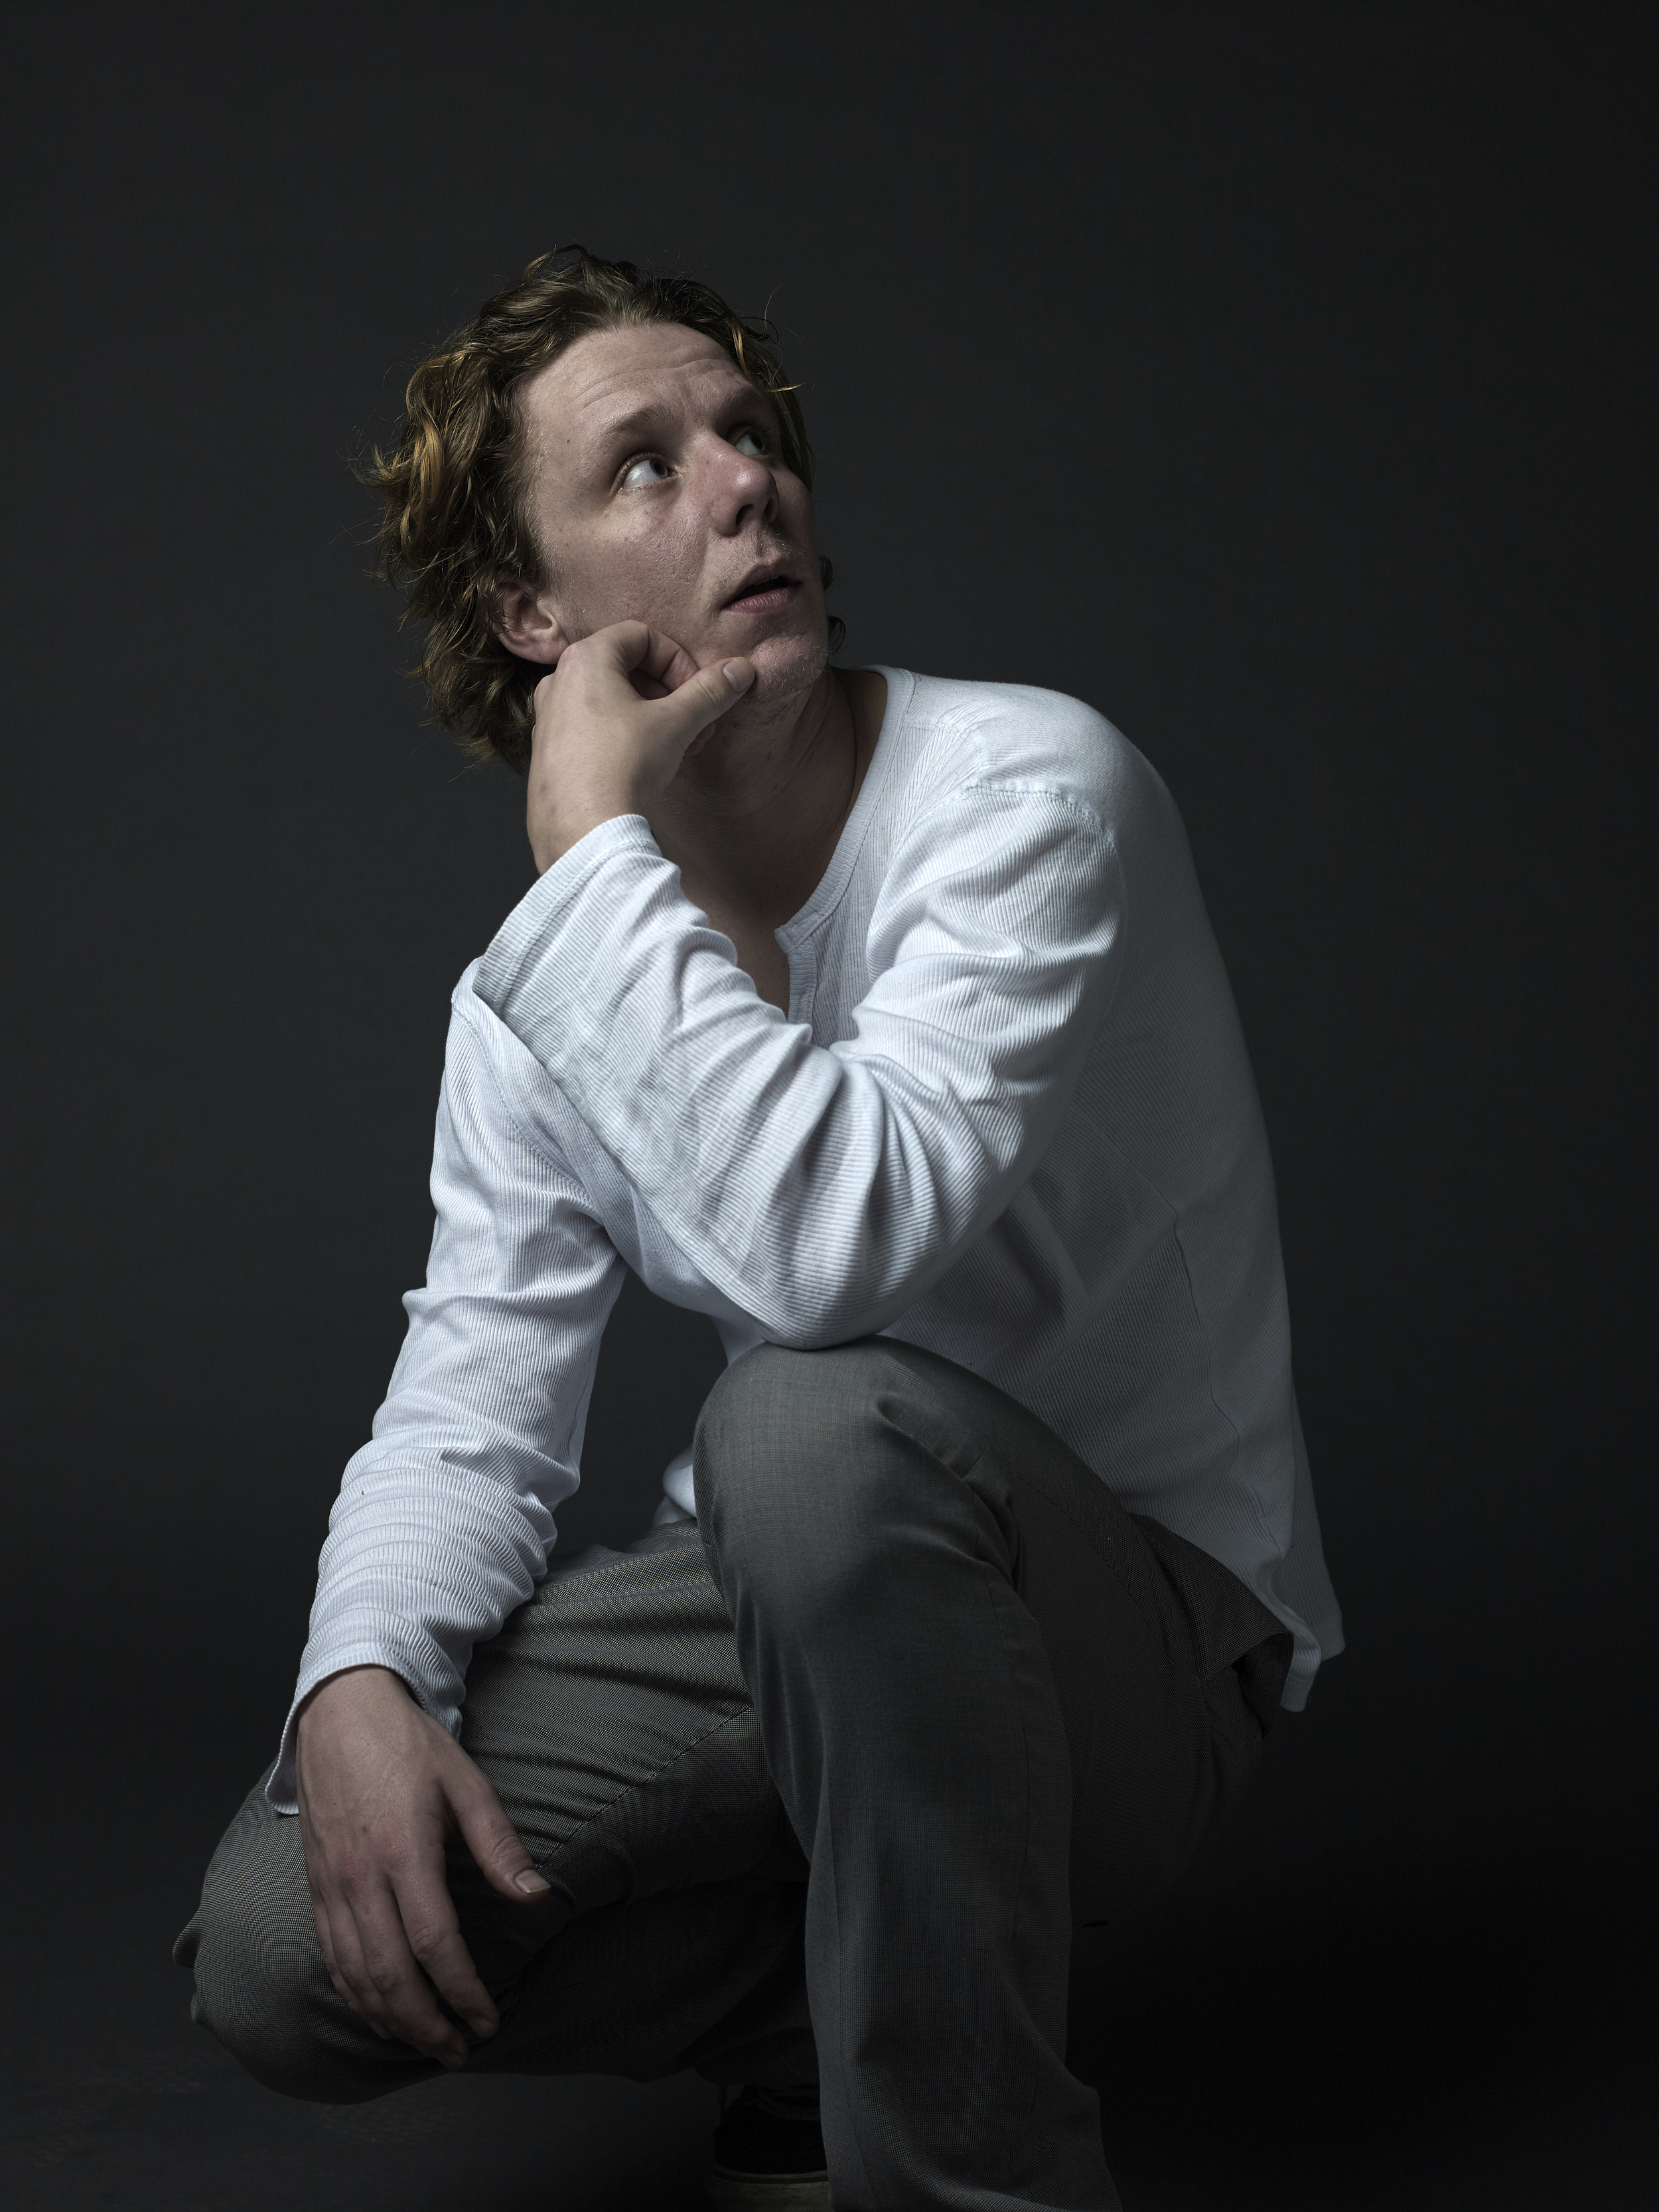
Zo de nieuwe studio is sinds vrijdag geopend! De foto's van de opening van de nieuwe fotostudio in Nieuw-Vennep volgen binnenkort! Maar nu eerst even wat nieuw werk.
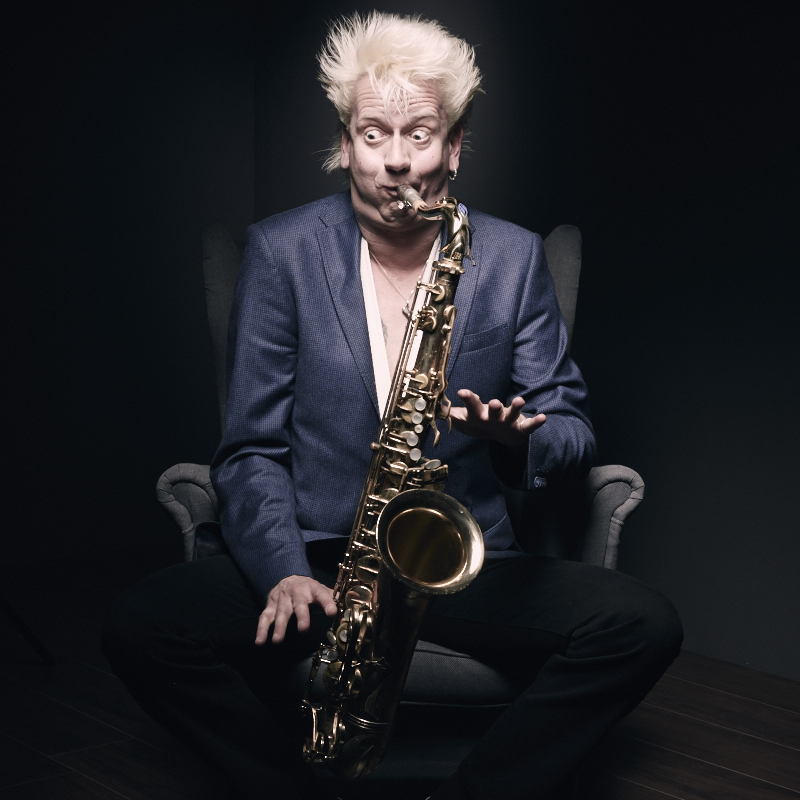
Wouter Kiers
Wouter heb ik al regelmatig in mijn studio gefotografeerd, daarom had ik hem uitgenodigd voor een fotosessie in de nieuwe fotostudio. Voor de gene die Wouter niet kennen, hij is de Jimmy Hendrix van de Nederlandse saxofonisten, heeft met alle grote jongens in ons kleine landje samen gespeeld, is front man van Blood, Sweat en Kiers, en treed op met verschillende jazz, blues en r&b formaties, kortom te veel om hier even kort op te noemen!
Gear
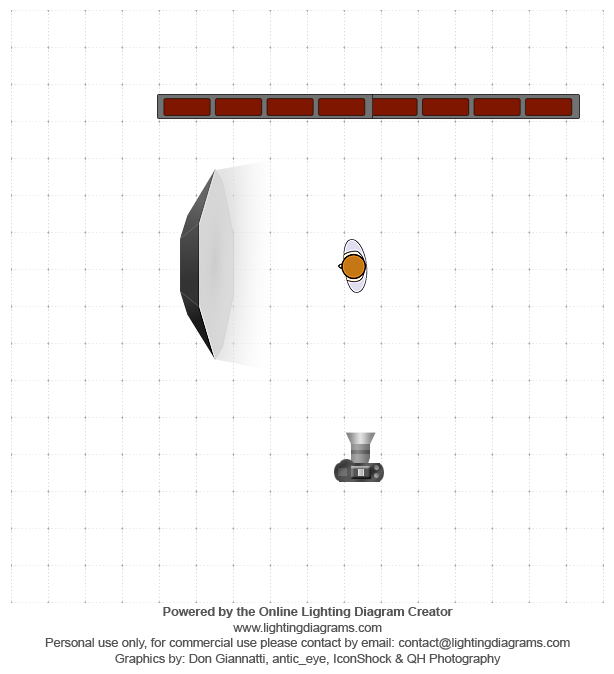
Als camera heb k de Nikon D800 gebruikt met een Sigma 24-105 art lens. Qua belichting ws het de Elinchrom rotalux 150 deep octa sotbox meyt de BRX250 lamp aangevuld met een RX One met een reflector en grid op de achtergrond. Som afgewisseld met de beauty dish of Witte Soft light reflector (beauty dish) met grid. Alle foto's werden thetered geschoten naar Capture One Pro 8.1. Alle editing is ook in Capture One Pro 8.1.1 gedaan.
Review: Hasselblad 500c/m with a Phase One P30+ Digital Back
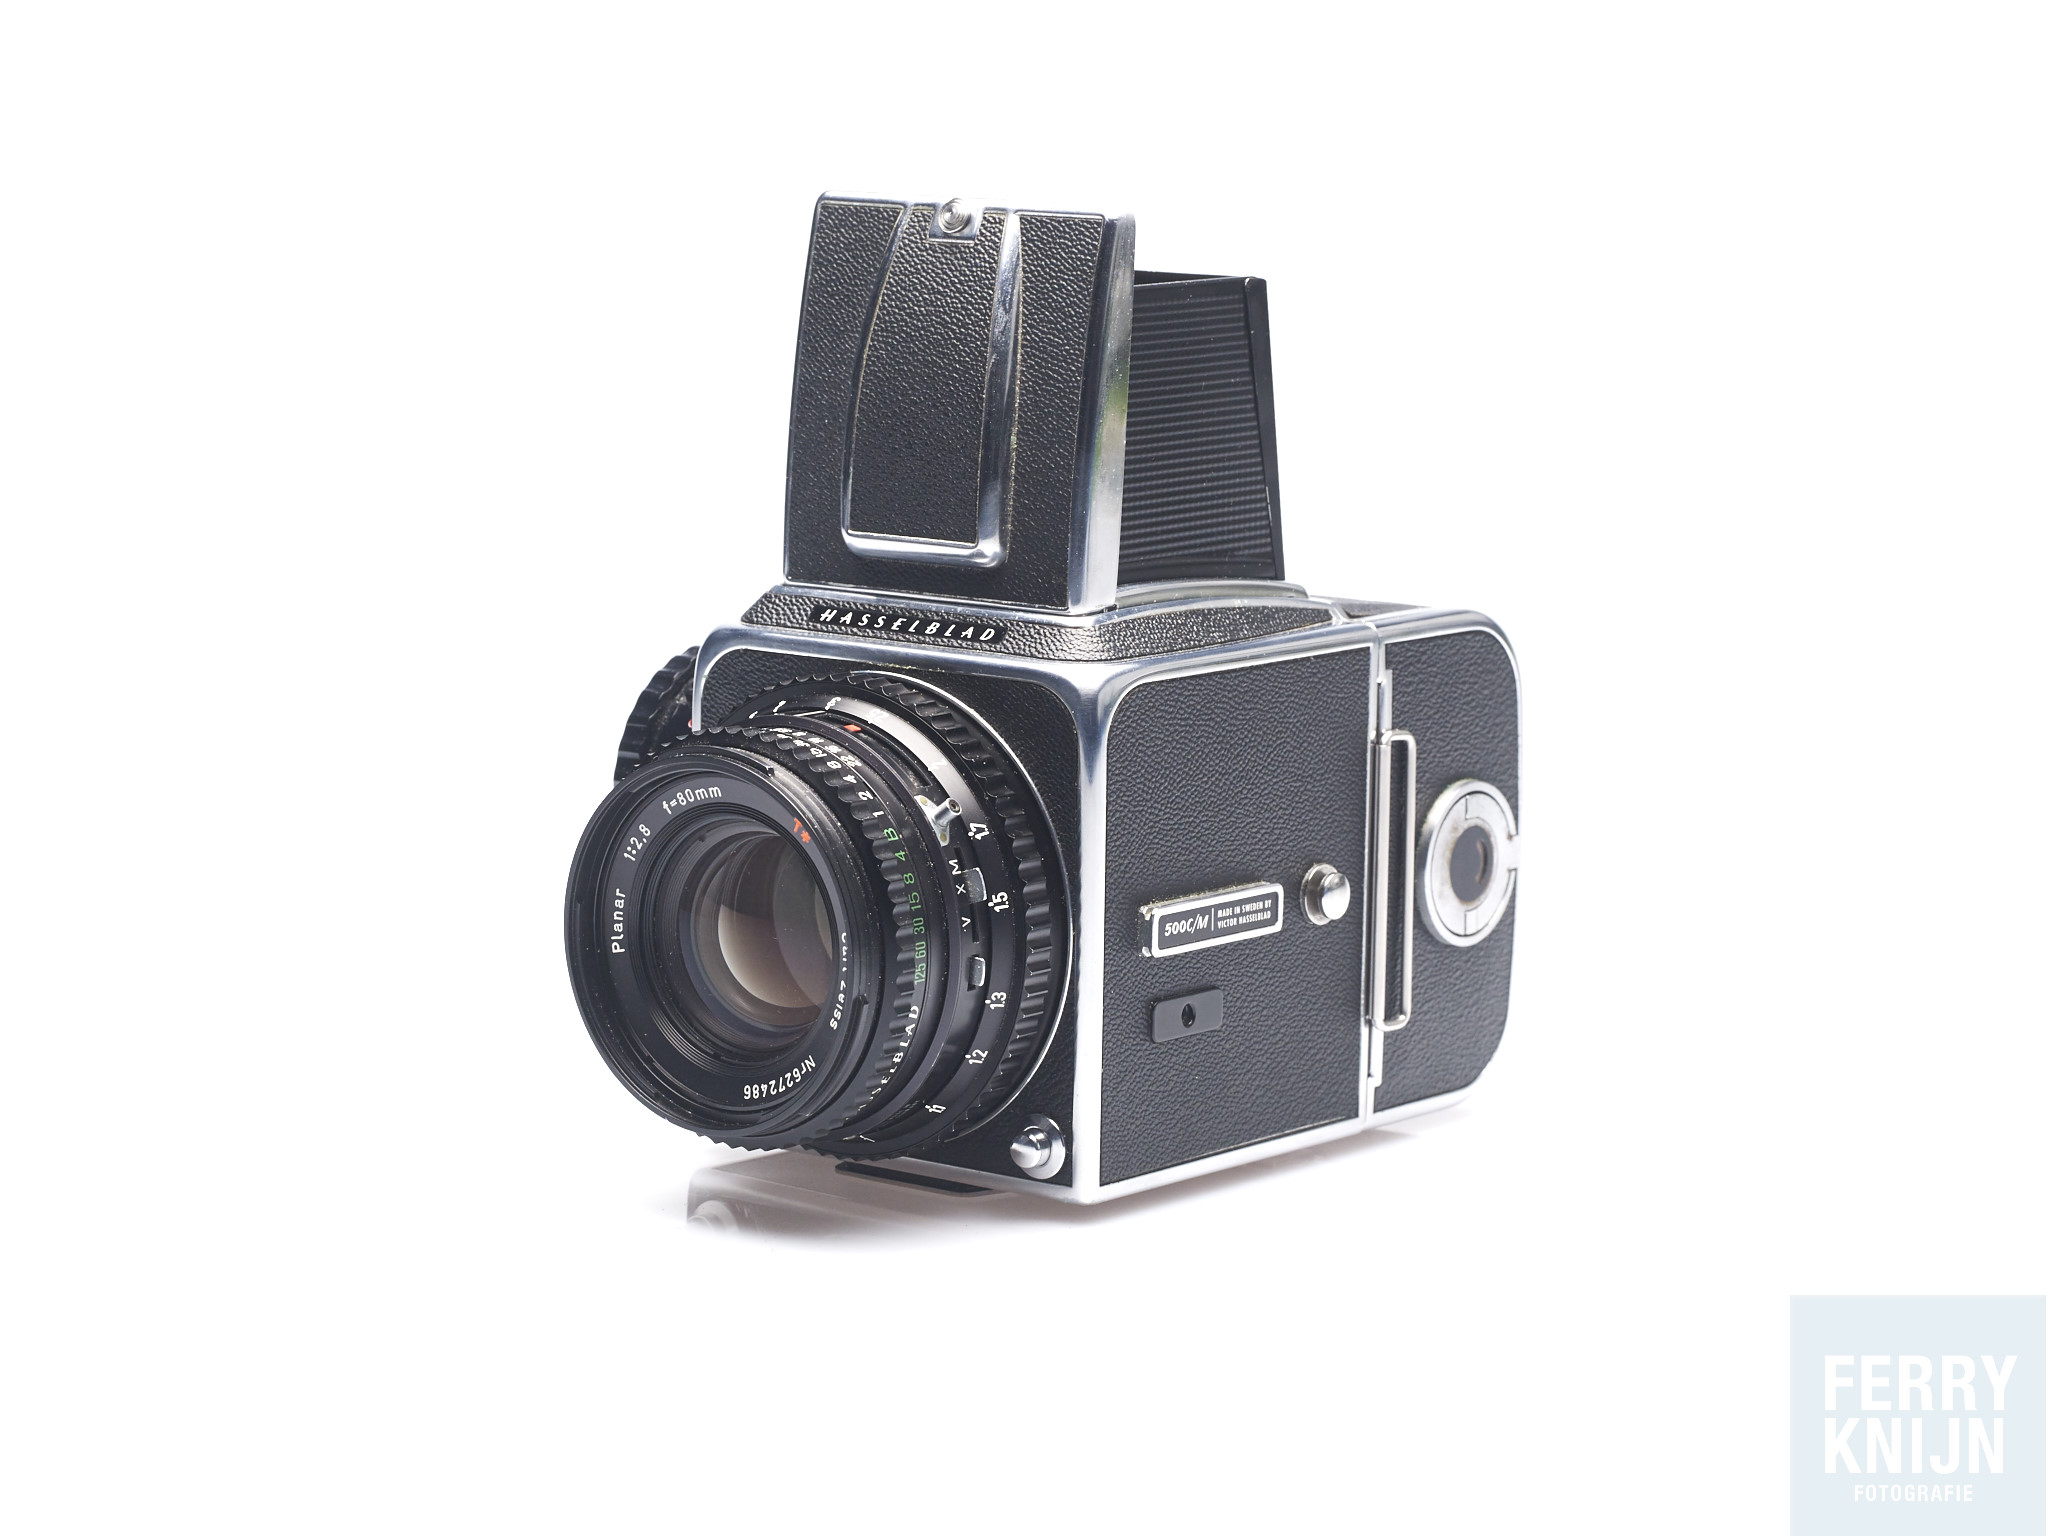
Last week I had a Phase One P30+ digital back on loan from the people of Eyes on Media Amsterdam. To start, I love working with my analog Hasselblad 500c/m camera and a Carl Zeiss 80mm 2.8 lens. But the only downfall is the speed, and not the working speed, but the time before you have your work back. So I started looking for a digital back. Since they are quite expensive (over 8k) I was glad I could loan one from Eyes on Media.
Shot with: Hasselblad 500c/m and Phase One P30+ ISO 100, 1/200 at f11
The P30+ Back
First for the spec lovers, the Phase One P30+ Was released in 2007 and has a 31.6mp, 16-bit sensor with a 100-1600 ISO range. It has a 1.25x crop factor which makes 60mm eqv on 35mm. Storage can be on a CF card or done by Firewire directly to your computer using Phase Ones Capture One. The back has a 2.2-inch 230,000px TFT display. To connect the display with the camera you need to plug a cord between the lens and the P30+ back. The V-mount back is also designed to have a seamless fit with the design of the Hasselblad 500c/m, but not as beautiful as the Hasselblad CFV-50c. Another nice thing is that you can turn the back 90 degrees to portrait mode.
Working with the Phase One P30+ back
Working with the Phase One P30+ Digital back is pretty easy, it has only5 buttons. I am not going to explain all the buttons, but believe me if I say they work intuitively.
I did two sessions with the back, the first was on location, but I didn't like the images. That was not the P30+ backs fold! I used a new Hasselblad 500c/m (another one then the one I use normally) which I did not had tested enough. The photo's where OK, but the photo's from my Nikon D610 where better. The first thing you have to learn that this is not a speedy set-up, especially with focussing. Checking focus on the back is possible but I really think the Screen is not great. Like it's there but I don't really like it.
Between the first sessions and second session I had some time to do some extra testshots to learn the system. Have the laptop to check the focus was really nice and made the proces a lot easier.
The second session was in the studio. This is where the set-up starts to shine. I did a few regulair portraits and dance portraits. The first portraits where taken on a Storm Grey background with the standard small Elinchrom Softbox with A Elinchrom RX One flash head.
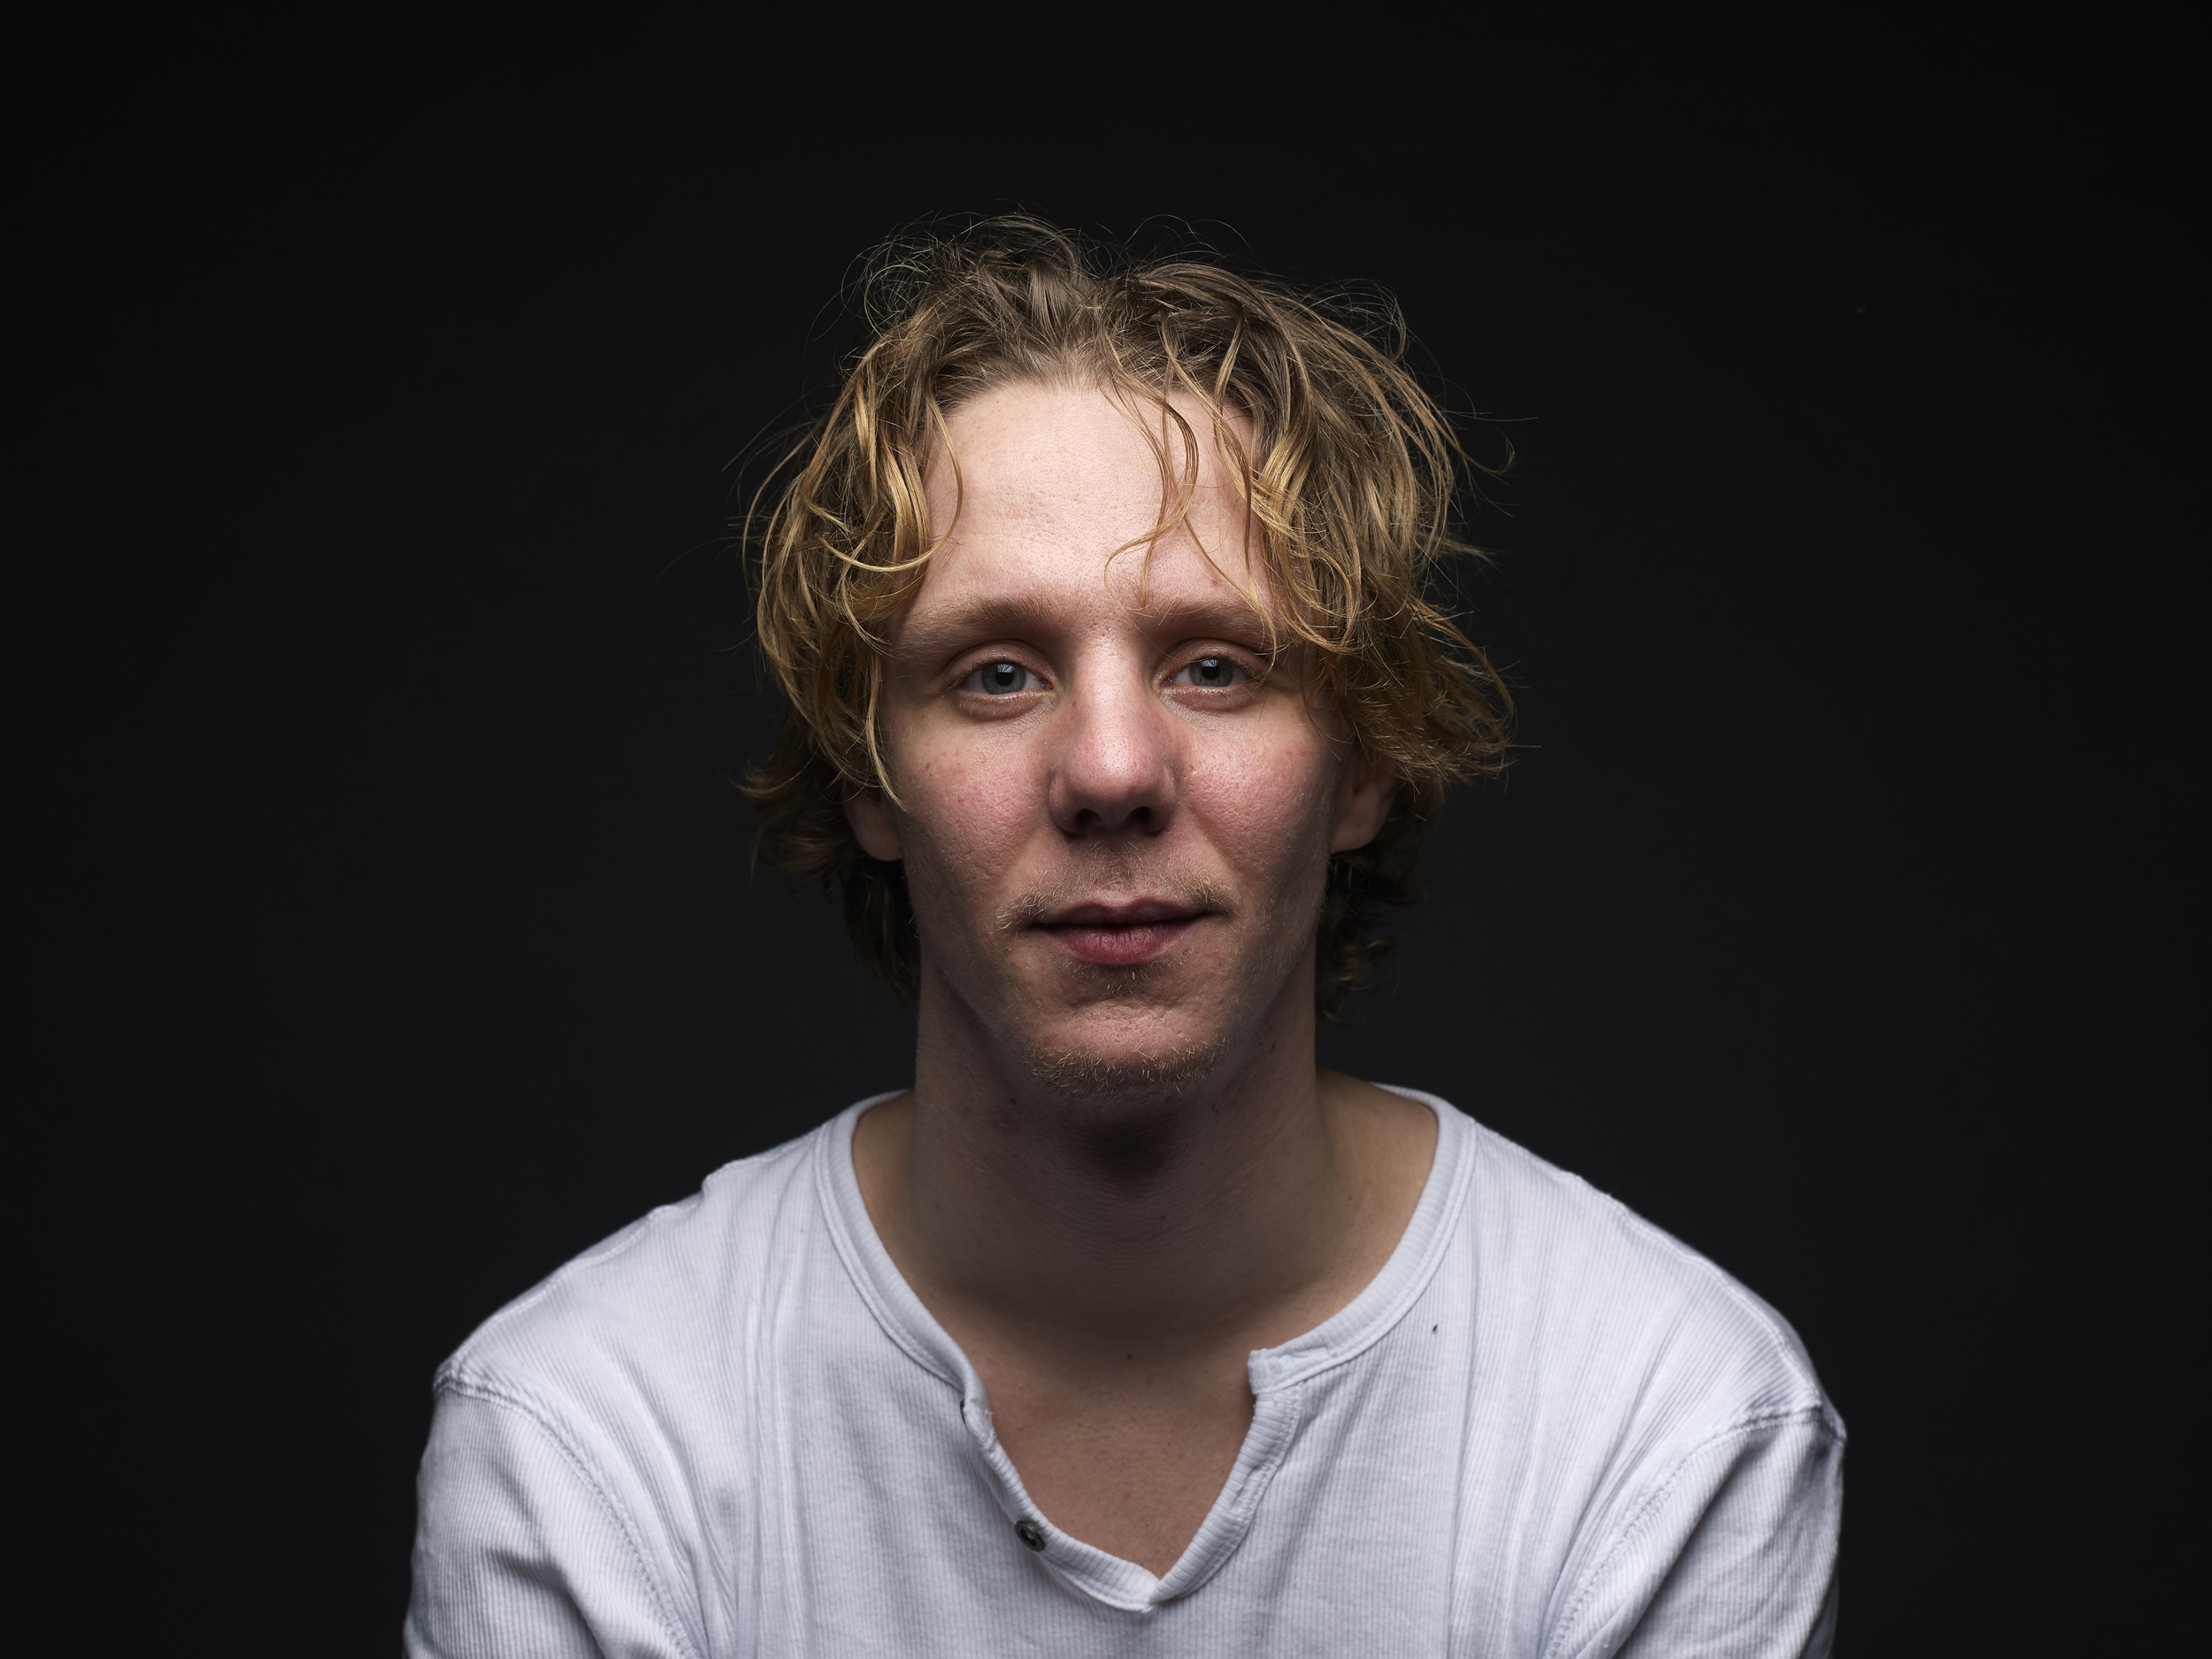
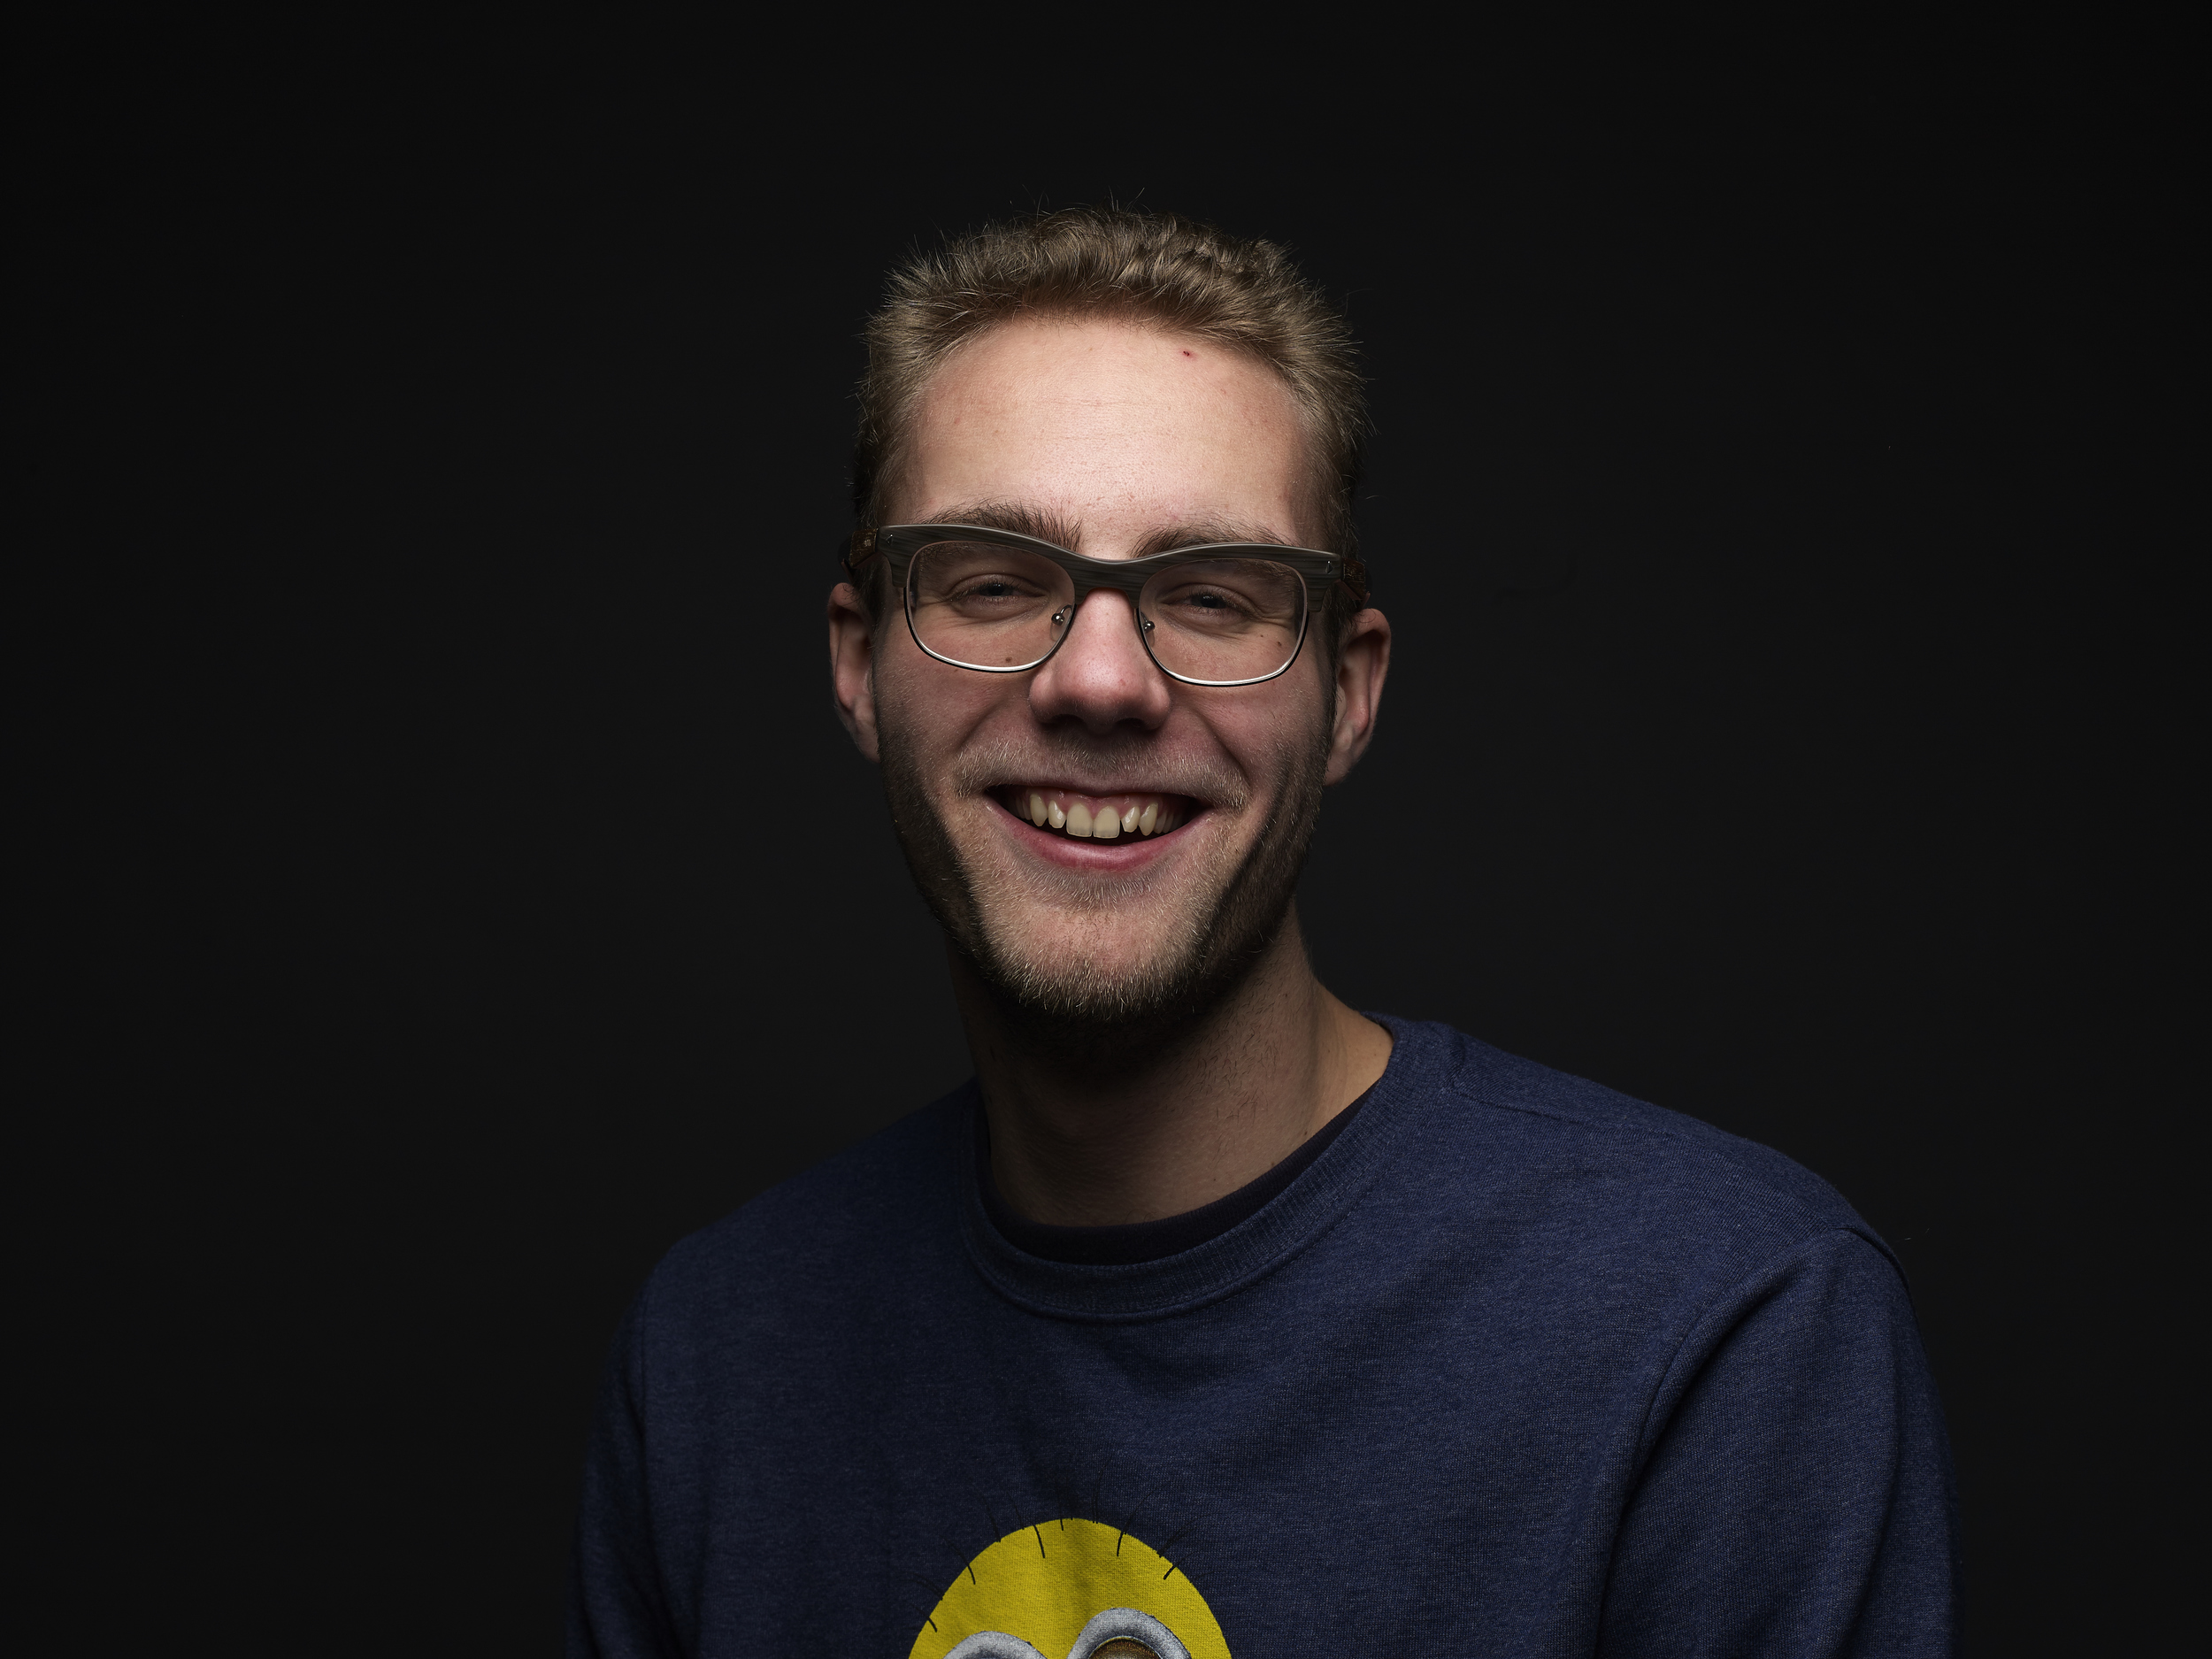
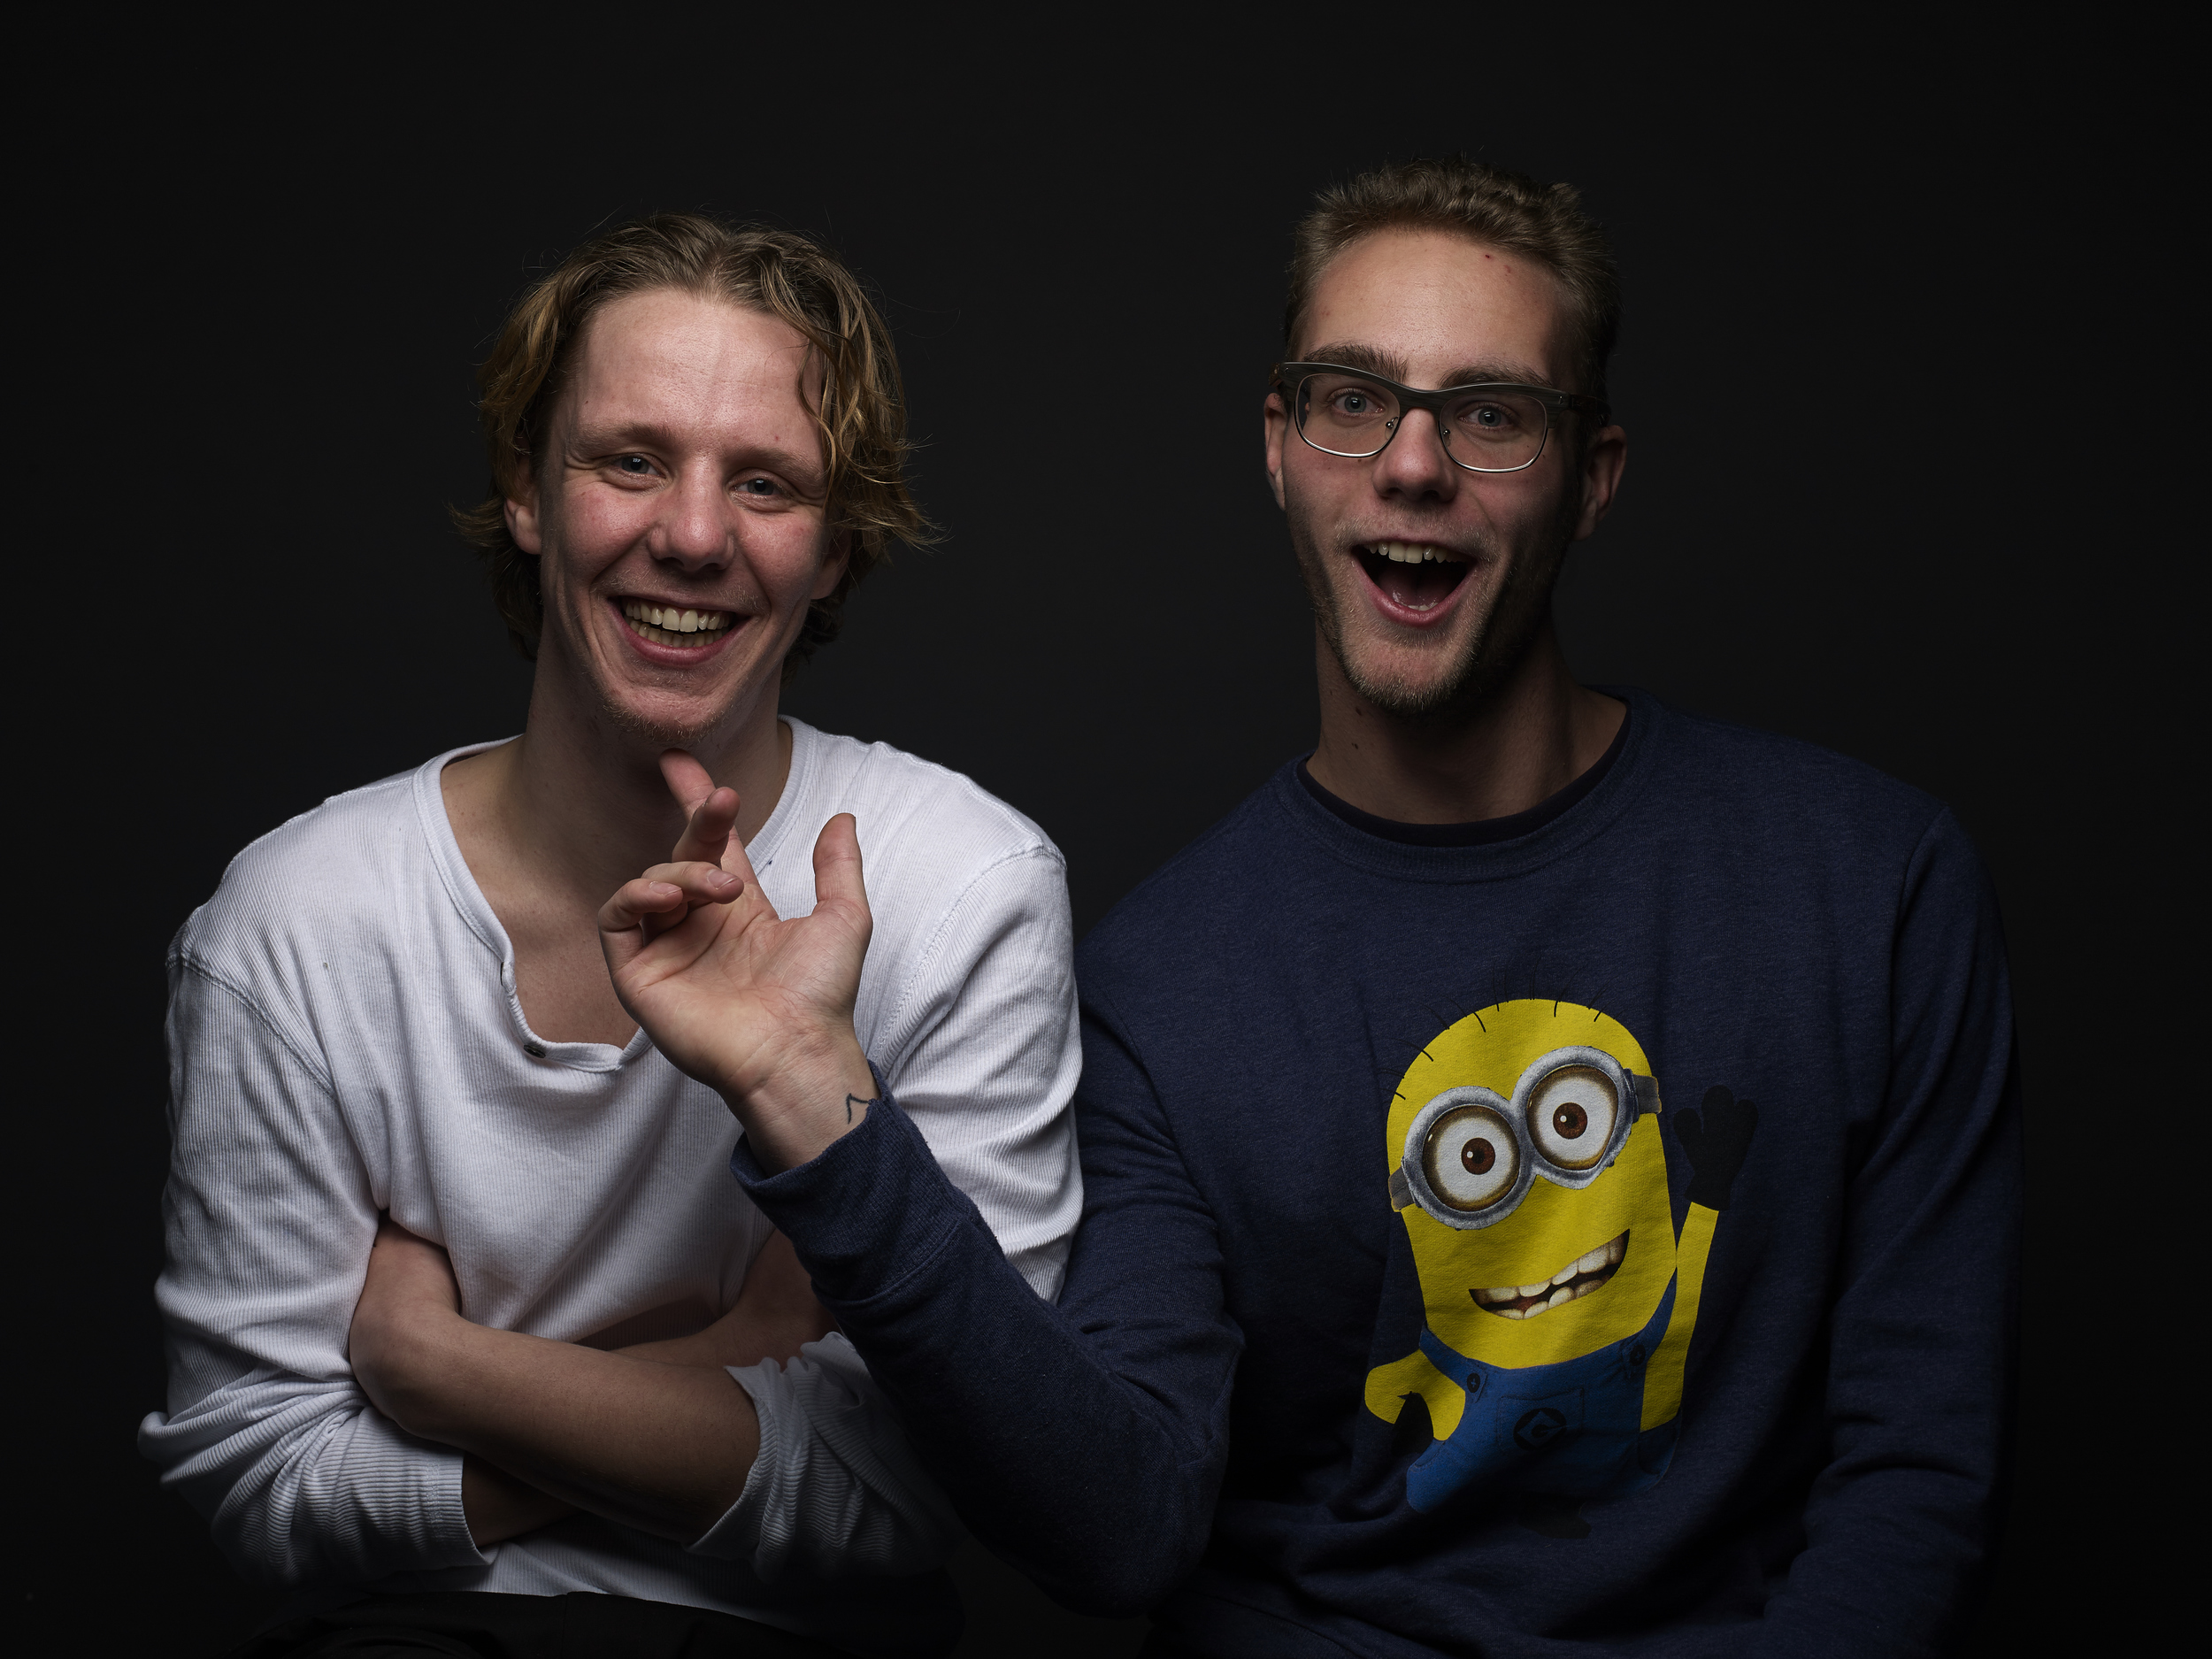
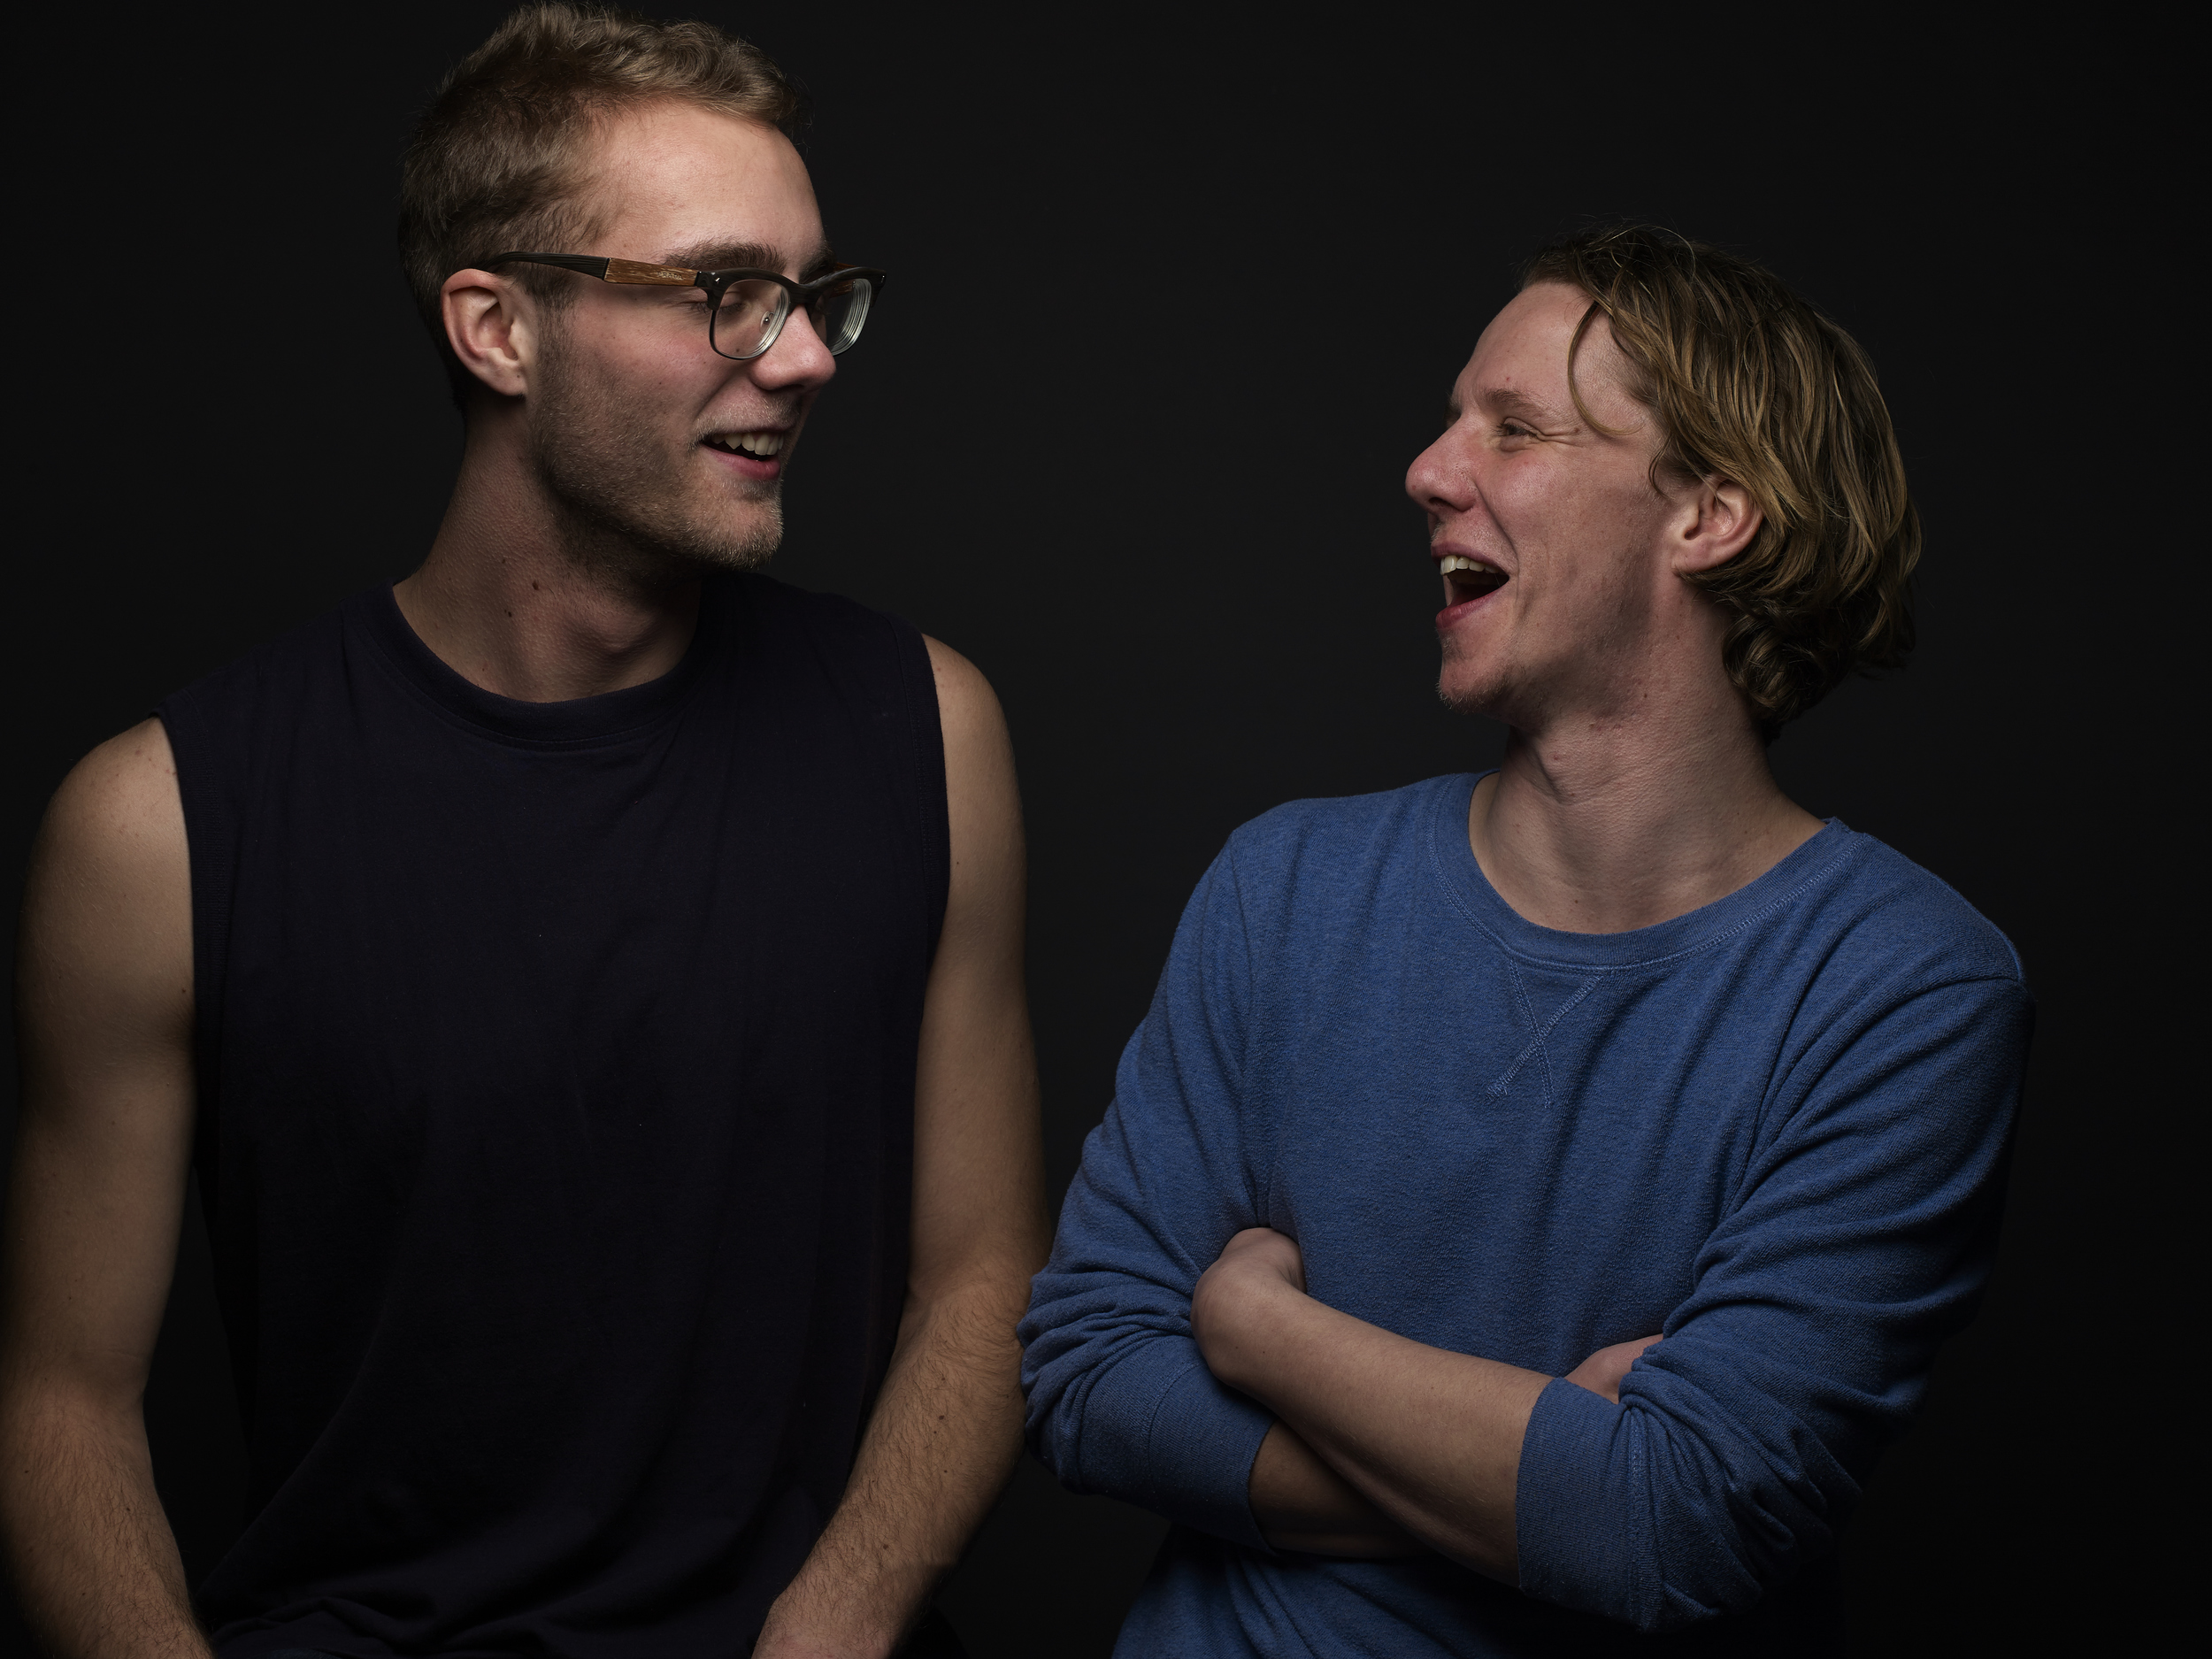
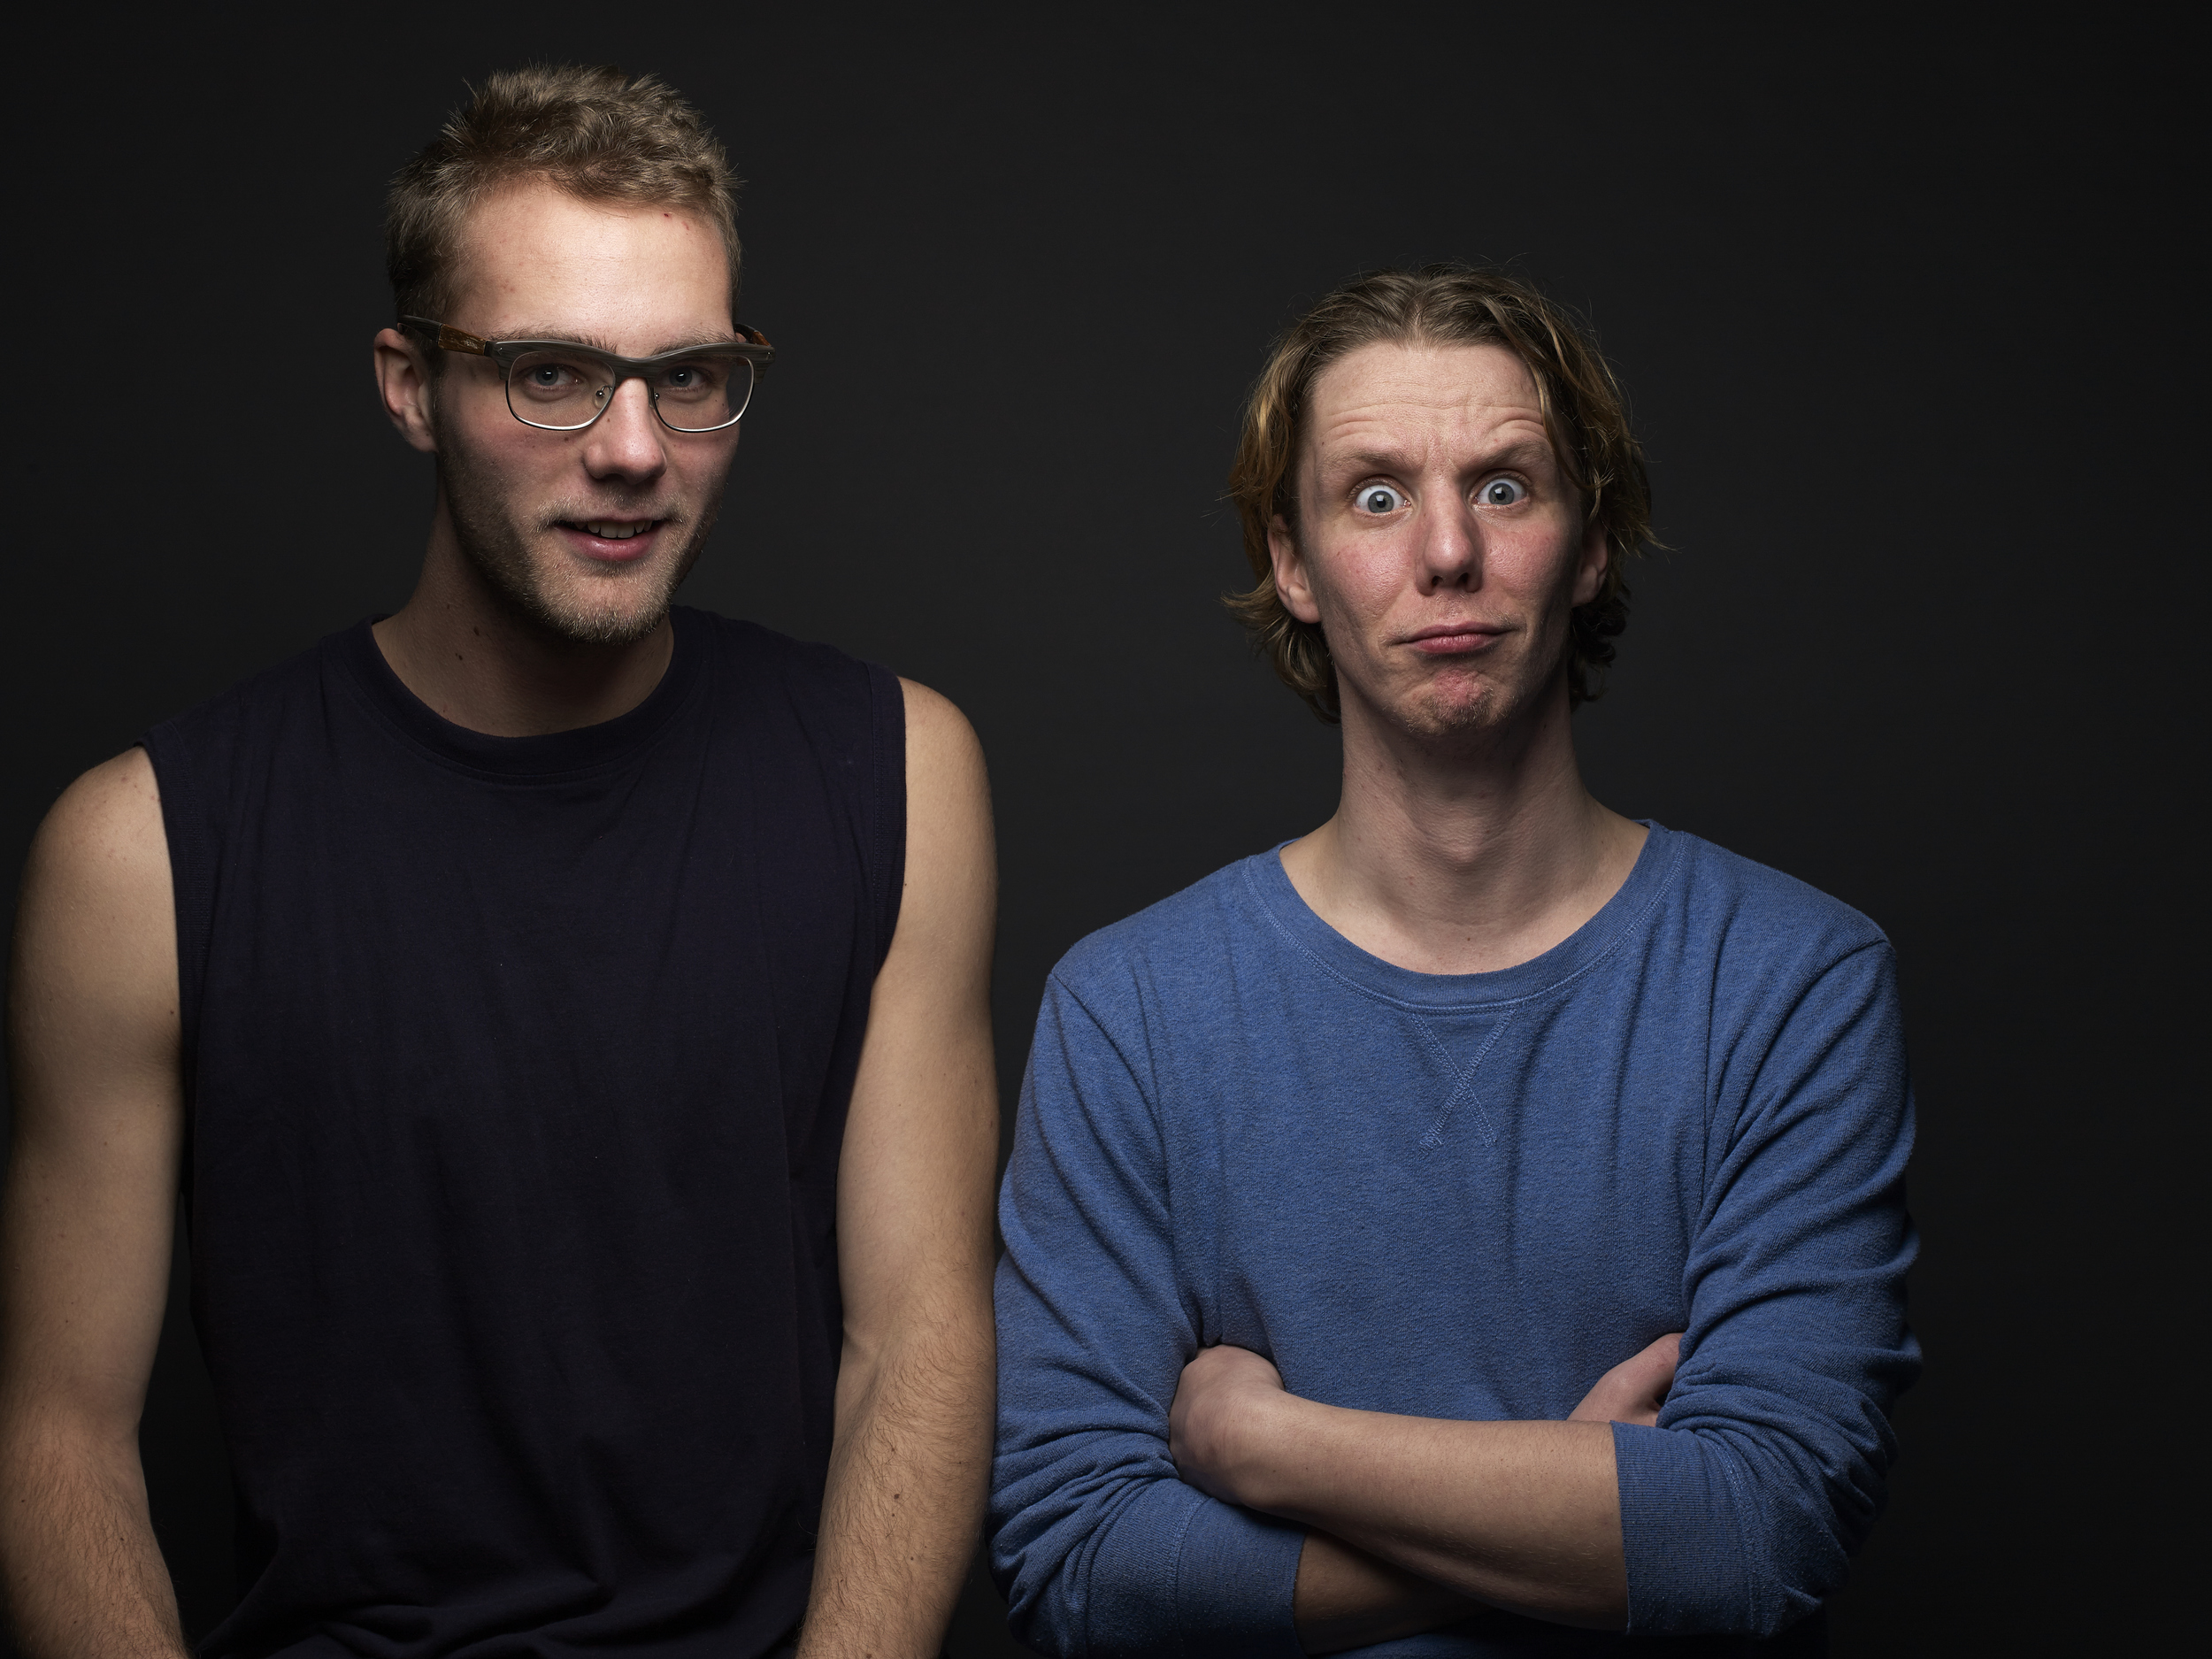
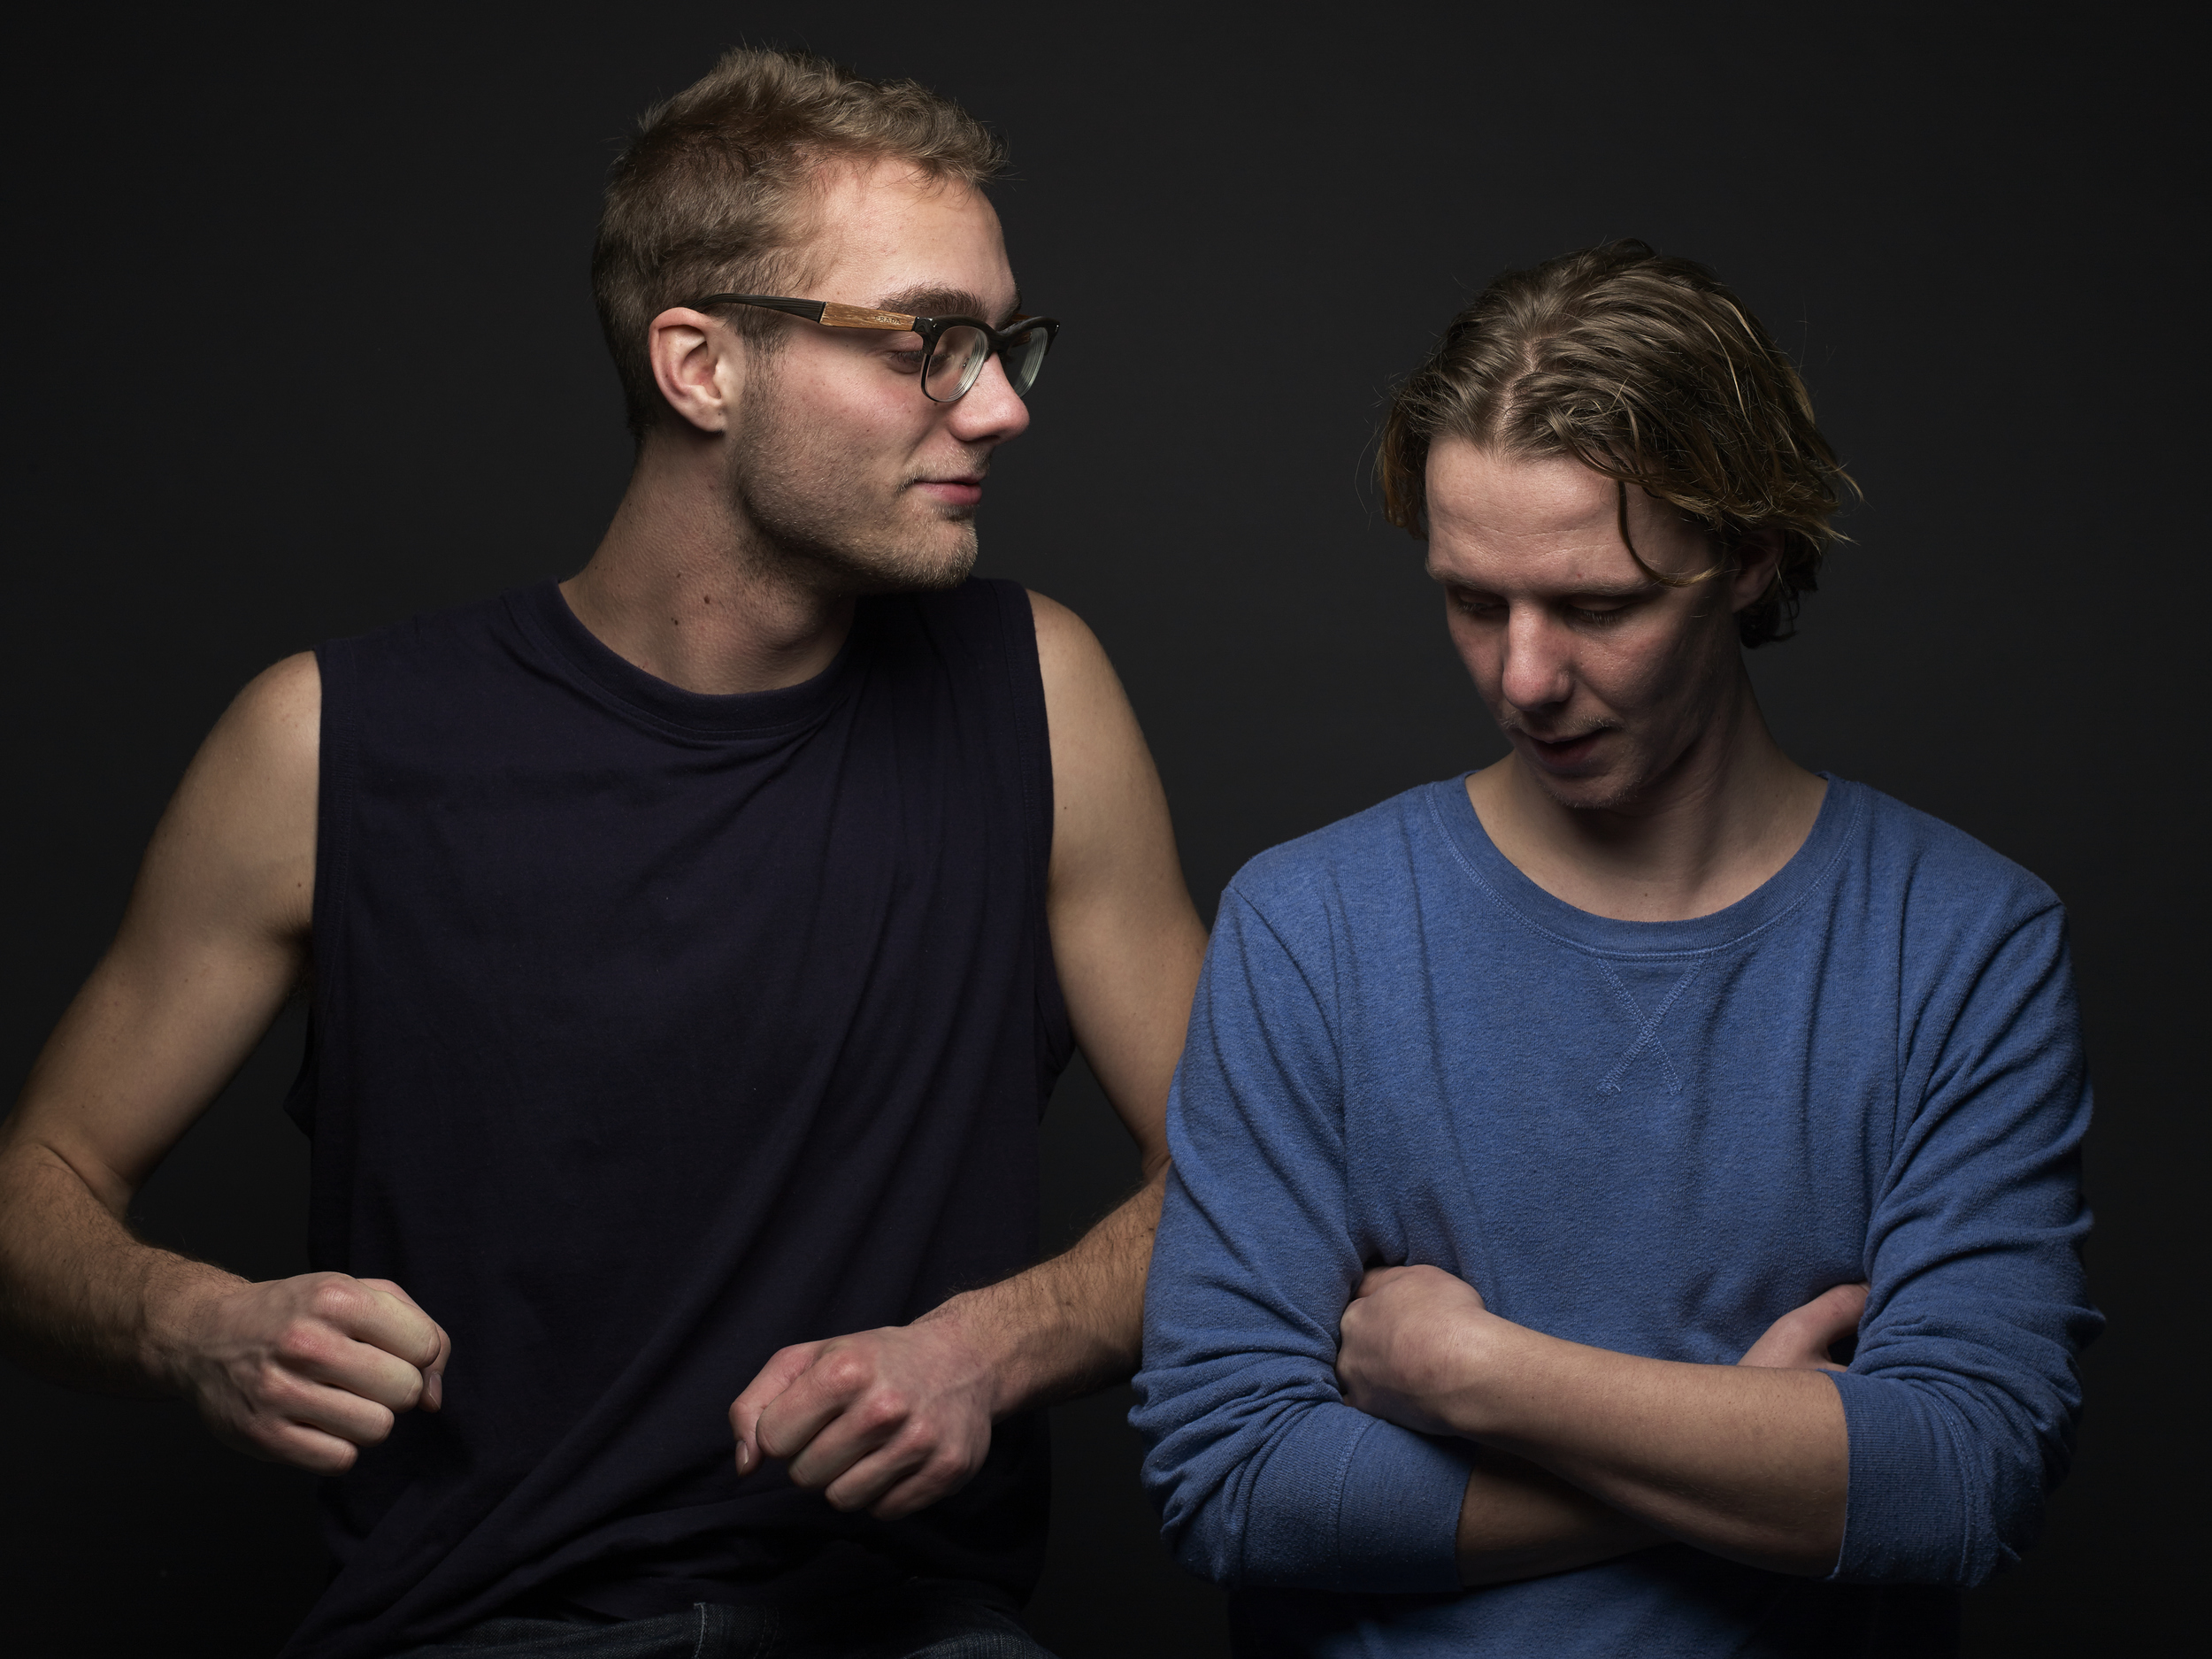
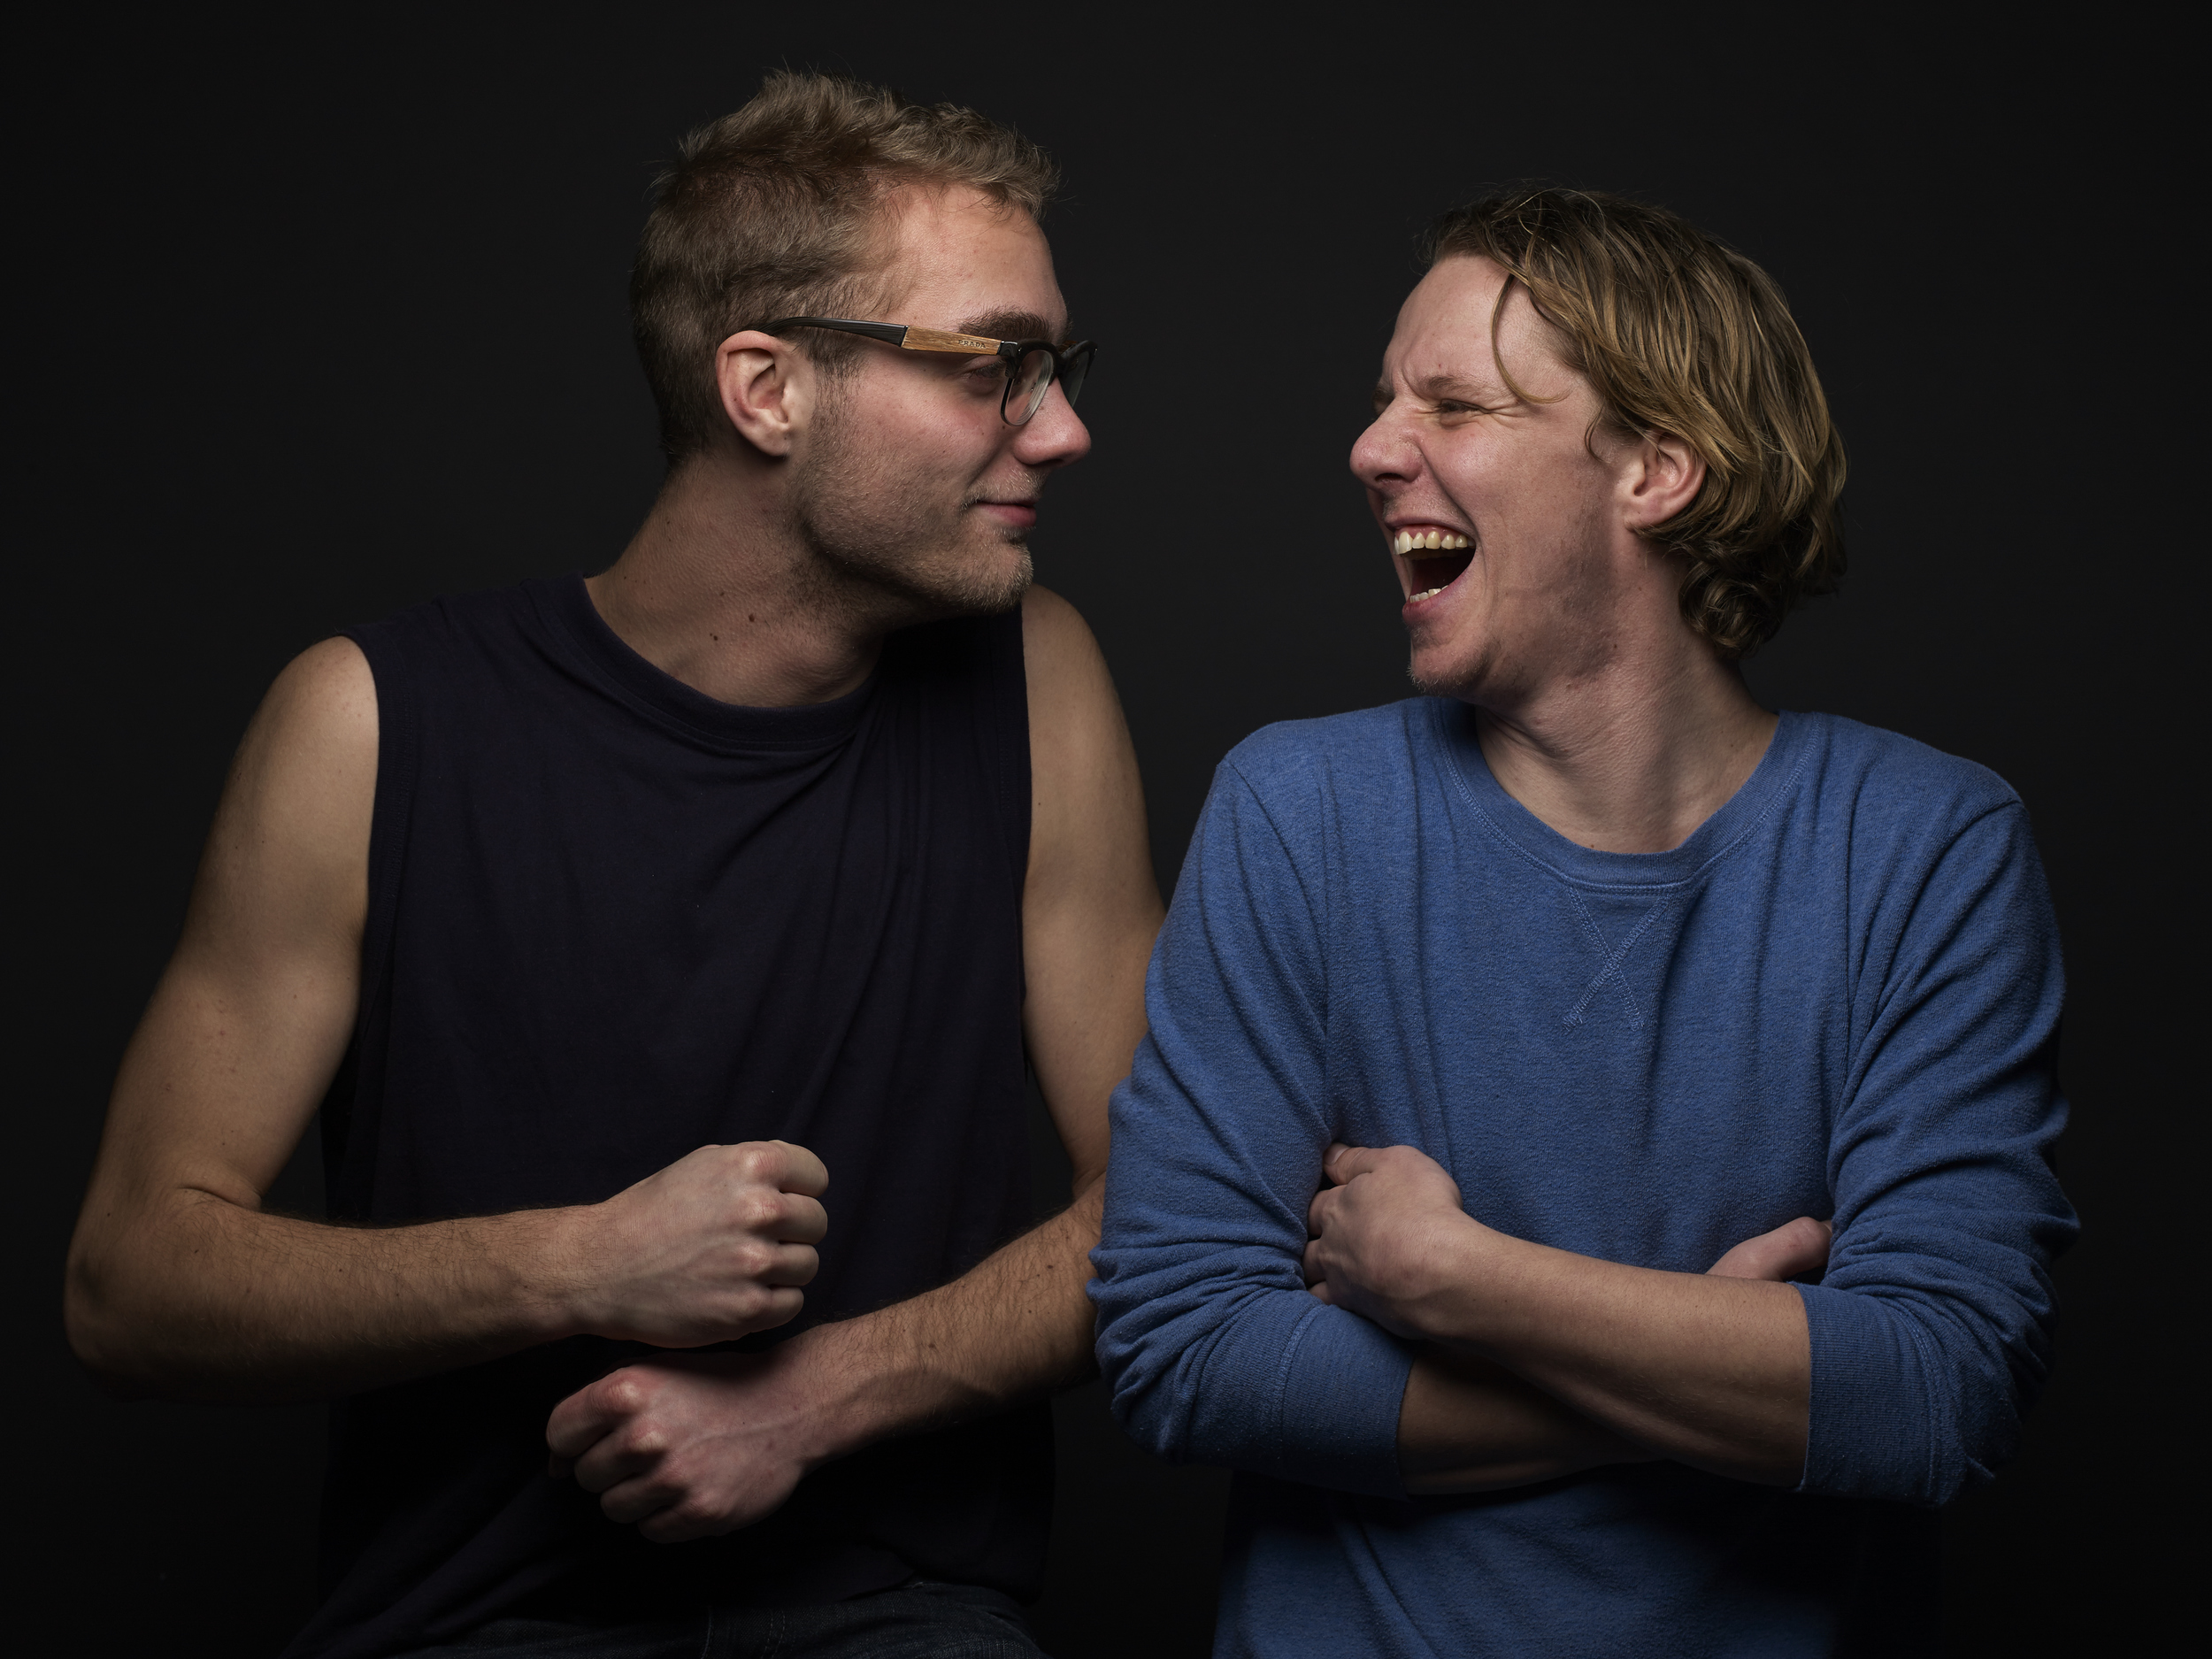
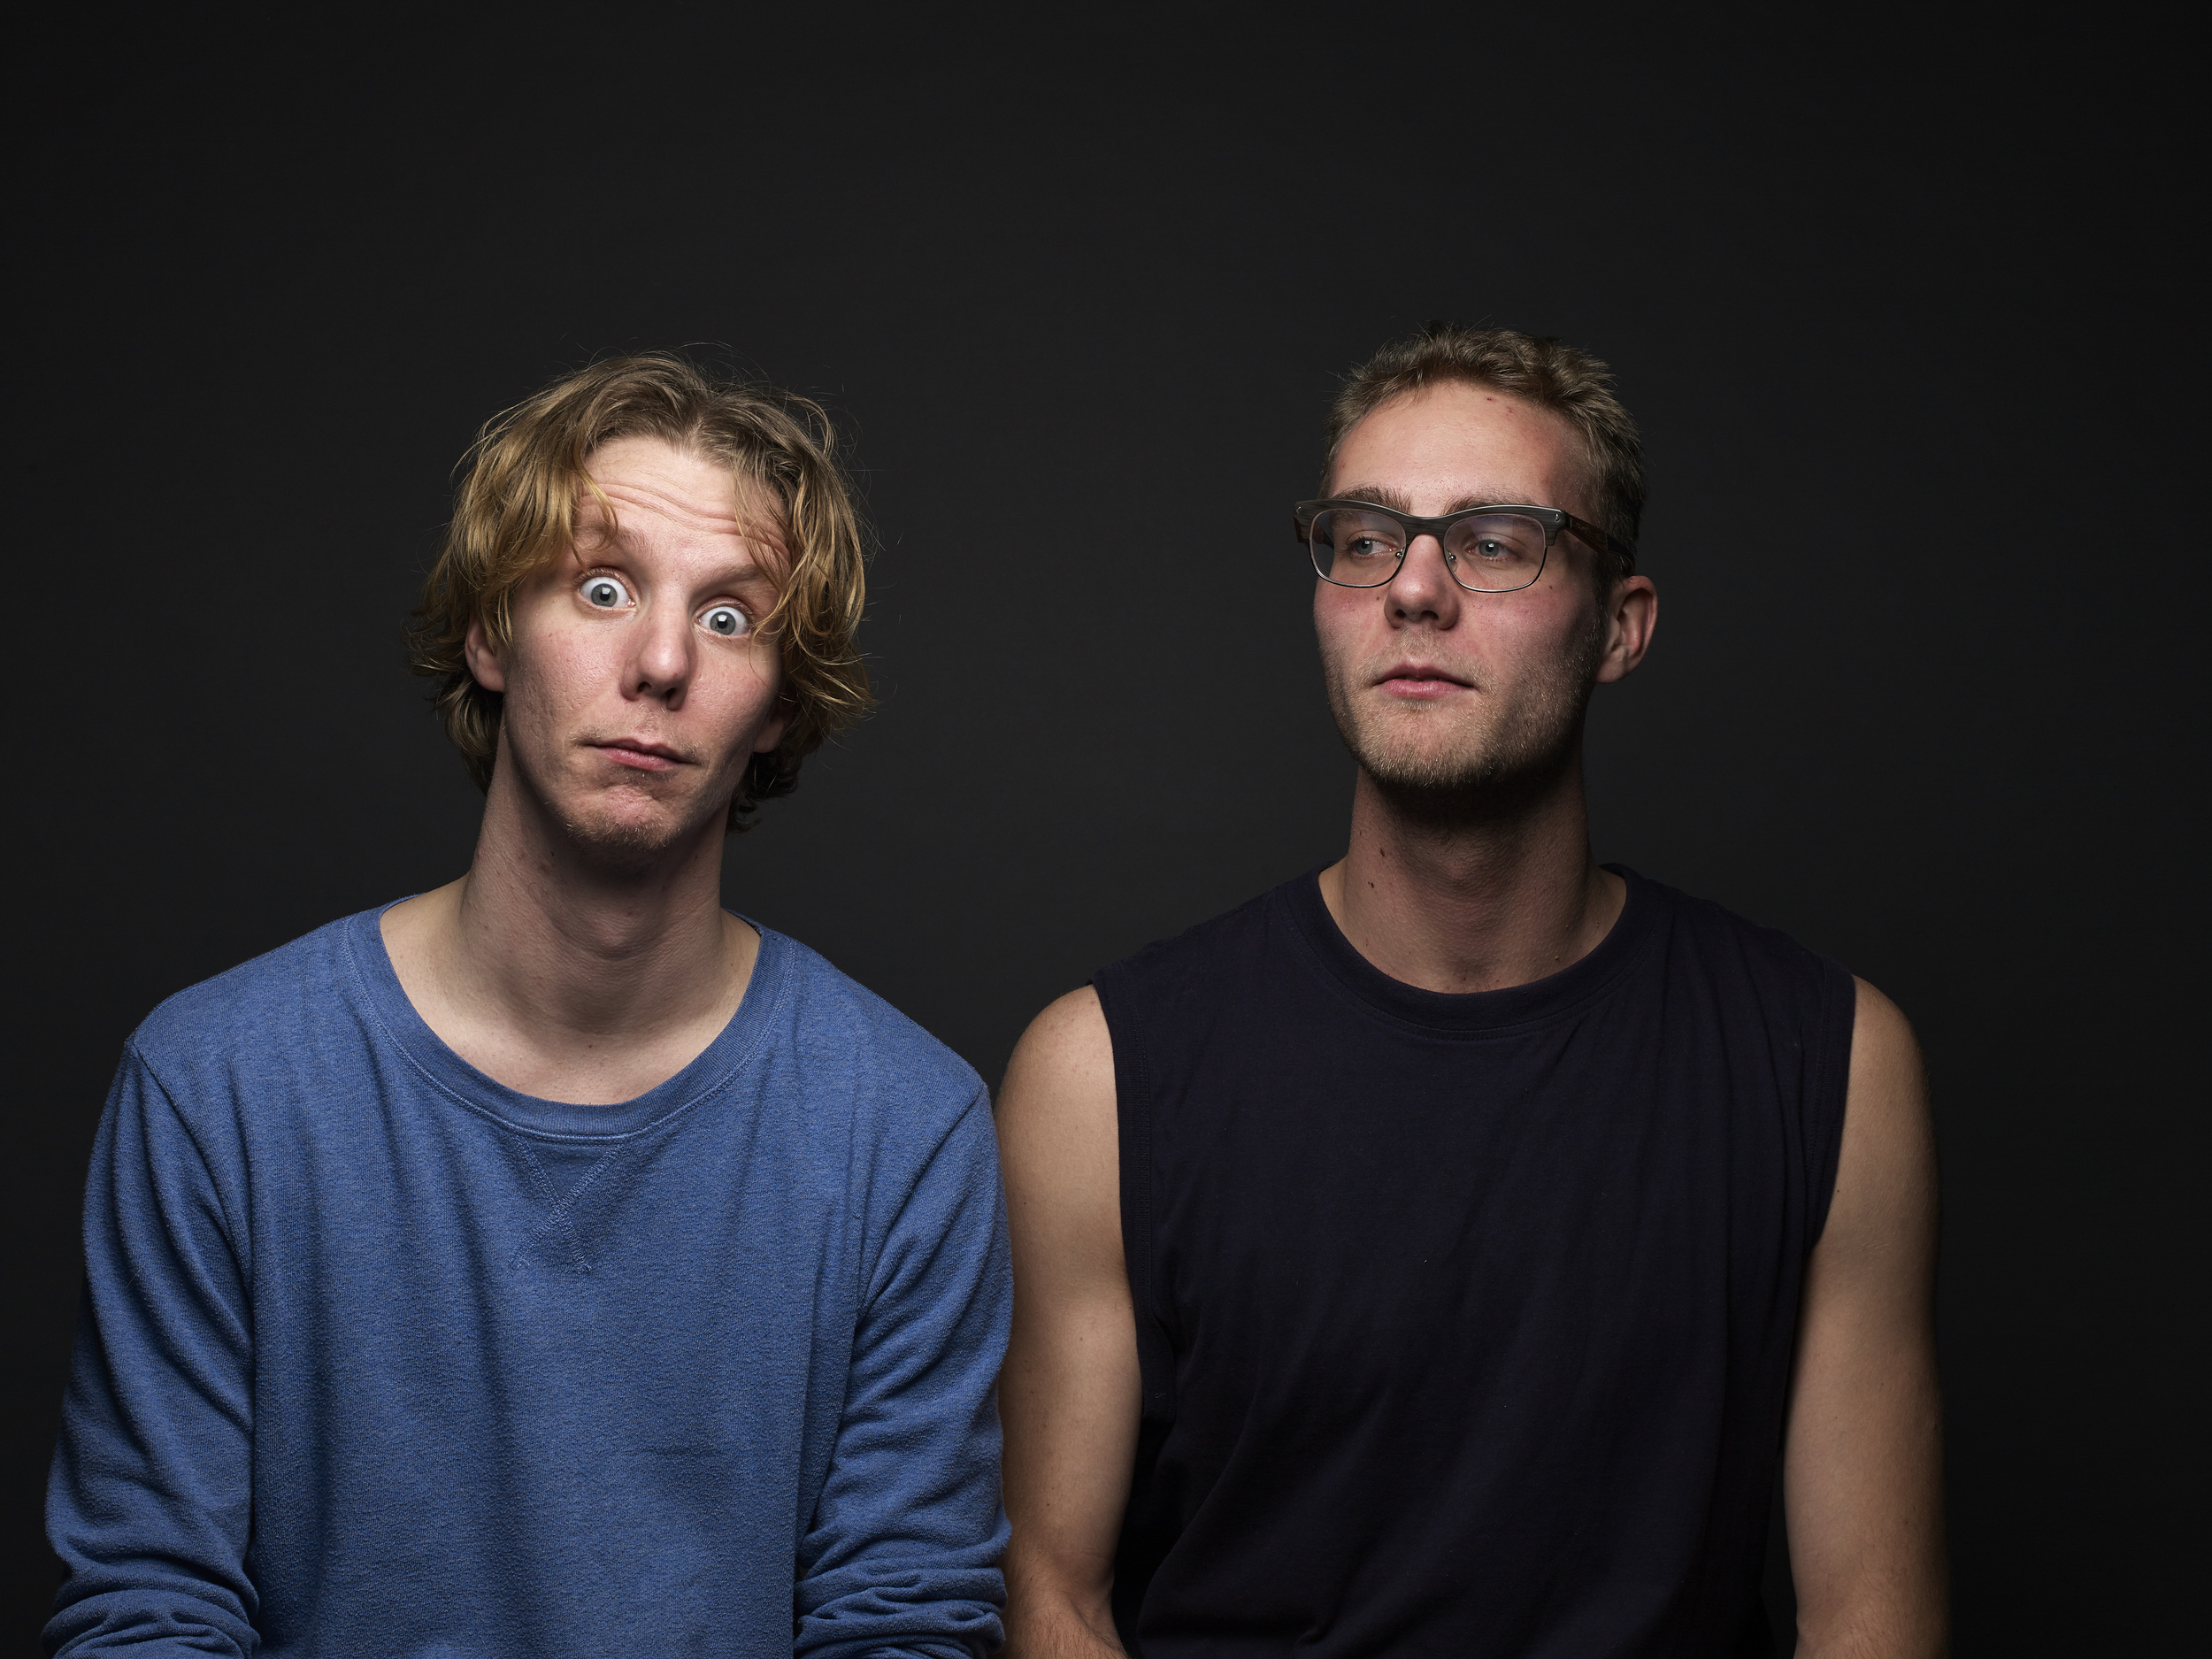
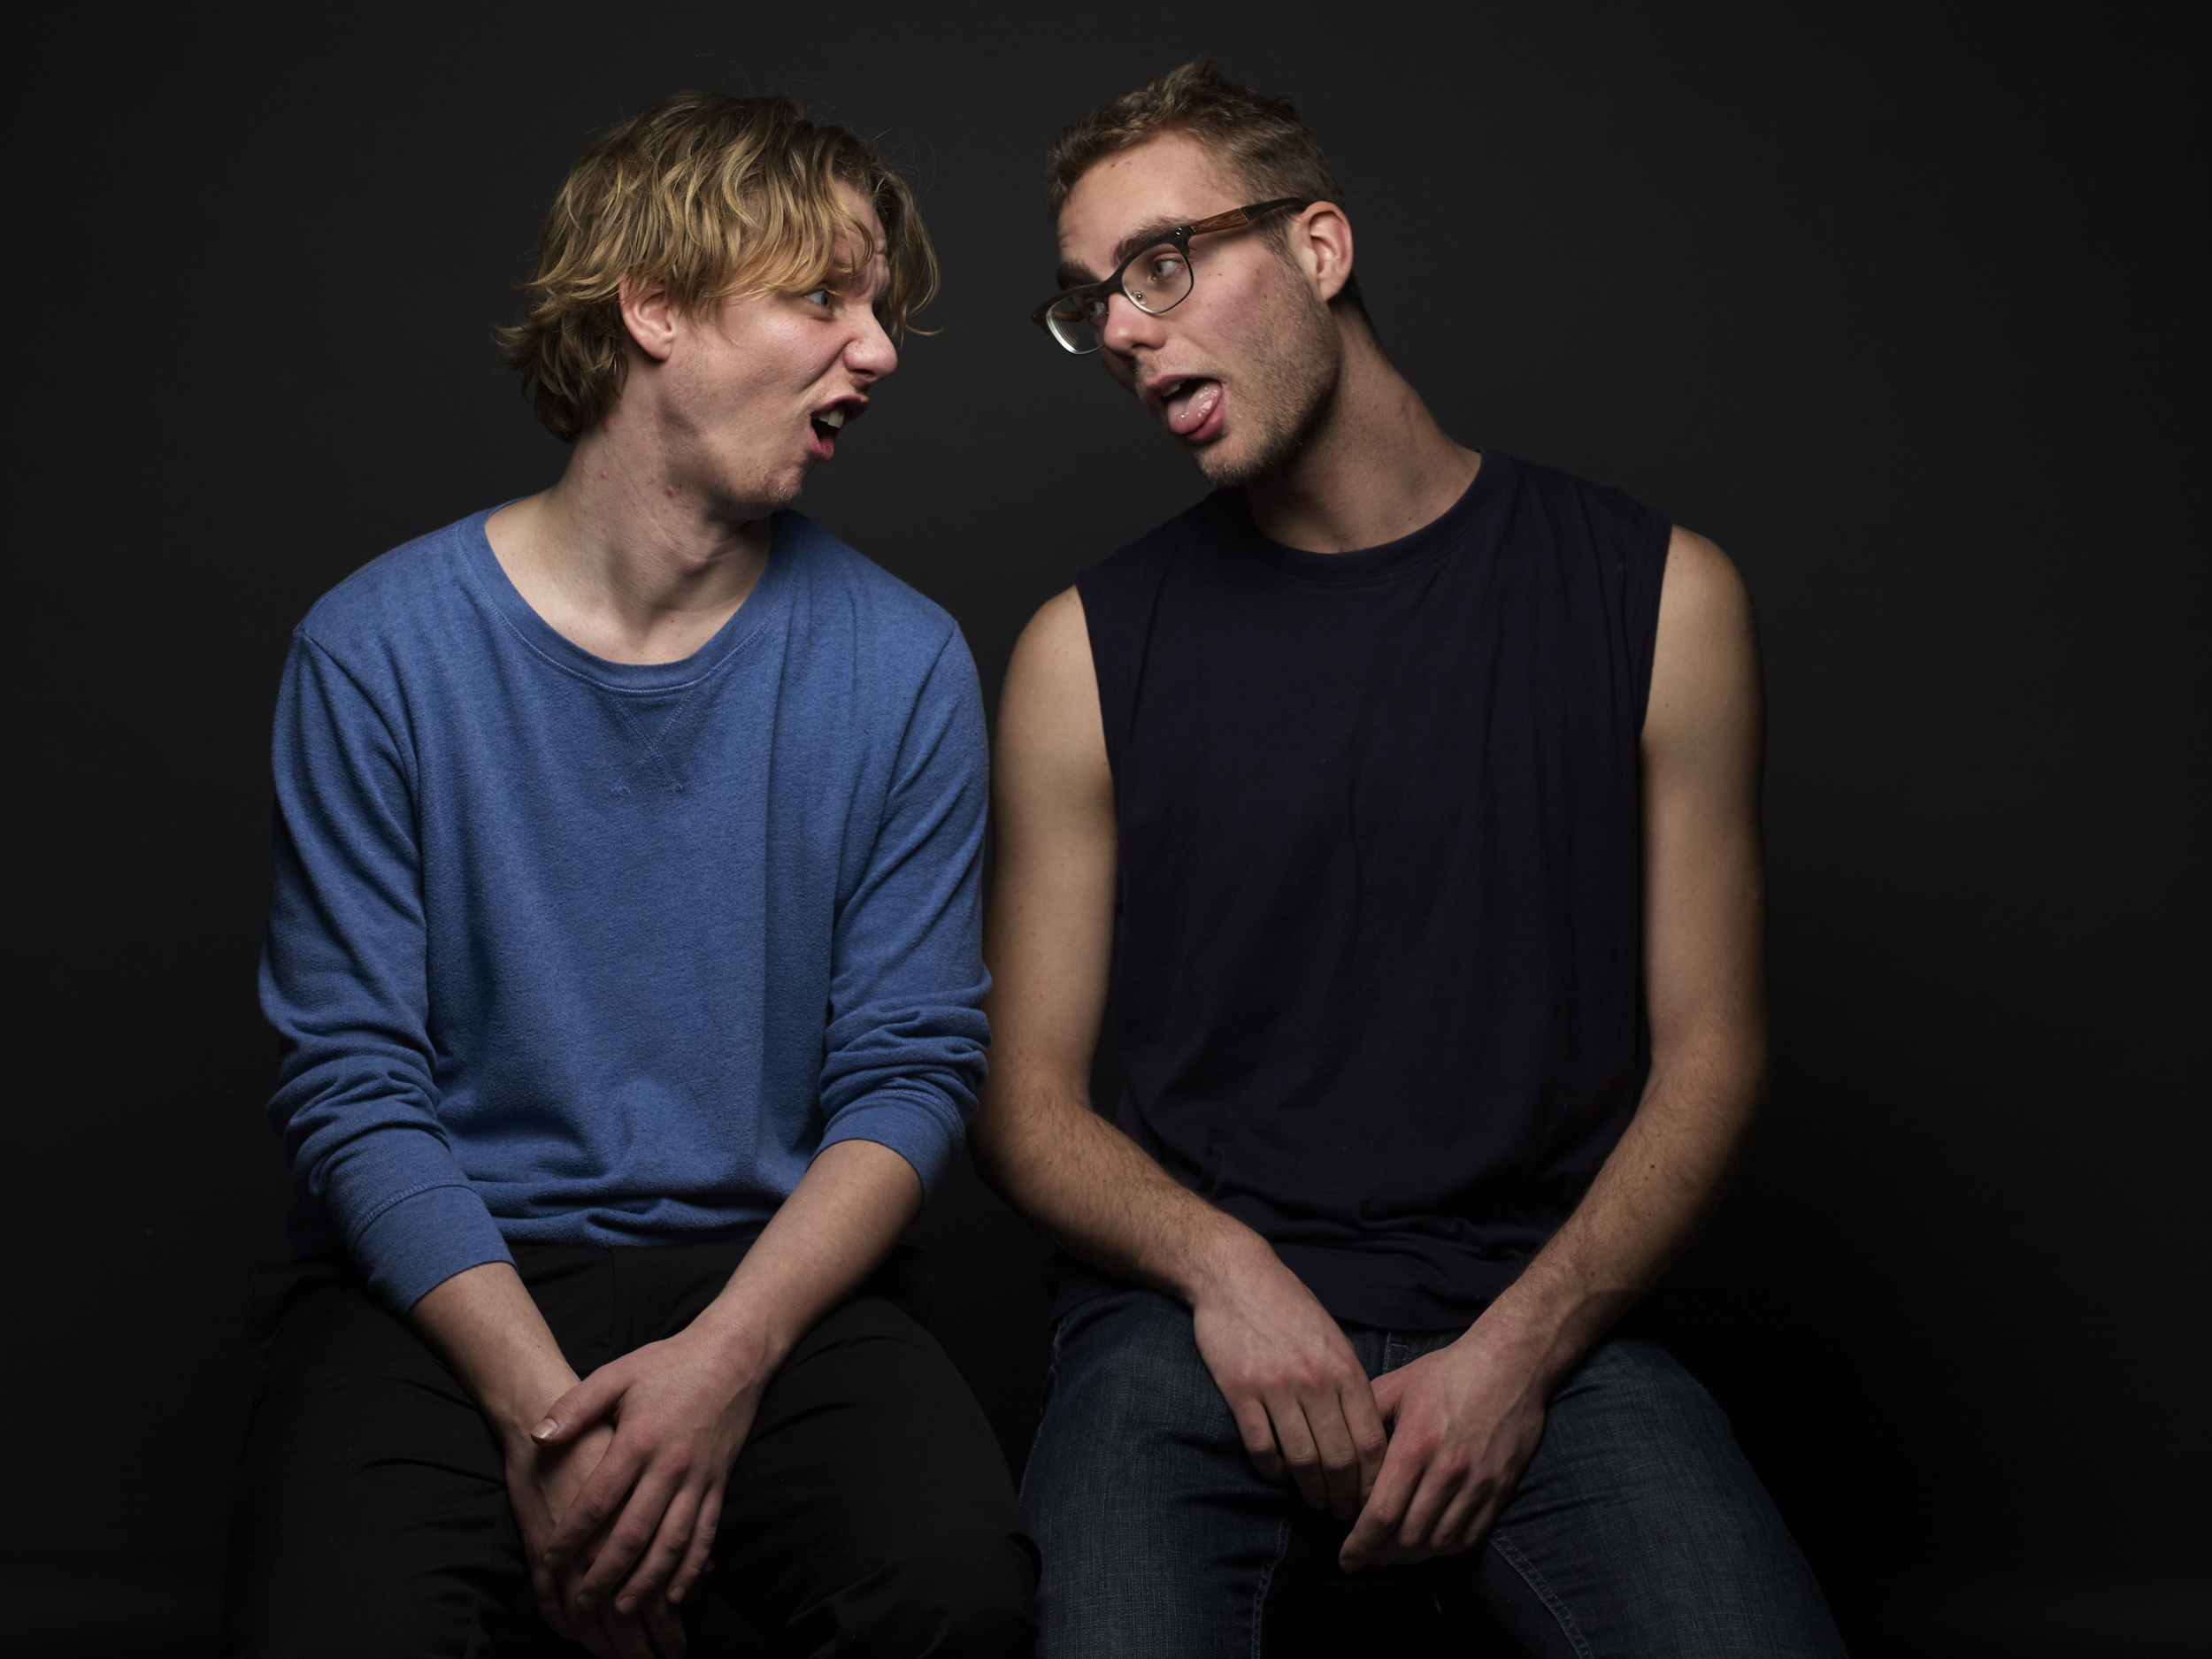
After the regular portraits we started with the dance portraits. We changed the light set-up to the Elinchrom Rotalux 150cm Deep Indirect Octa with a Elinchrom Quadra RX and the A-Head.
The Verdict
After the learning process I loved the images coming out of the Phase One P30+ Back with V-mout. But there are some cons working with the camera and back.
First the screen is really bad for a 8k+ camera back. Secondly I really disliked the cable from the lens to the back and then having to add another for triggering the flash. And lastly the focussing, although this is not the backs fold, but the body has to get a check-up. I had to slightly unfocus to get in focus.
What I liked was the old and relaxed feel of working with the camera and the image quality between ISO 100 and 400 is really lovely. The compression with working on medium format cameras is so nice!
So to finish it, will I buy it? Well no, I will keep working with my Hasselblad 500c/m but keep it analog with Kodak Tri-x, Tmax and Provia film! In the mean while I am going to save up for a digital medium Format camera this year!
FYI: All the editing was done in Capture One Pro 8 Only!
More reviews
For more blog on digitalbacks on the Hasselblad 500C/M and medium format camera's:
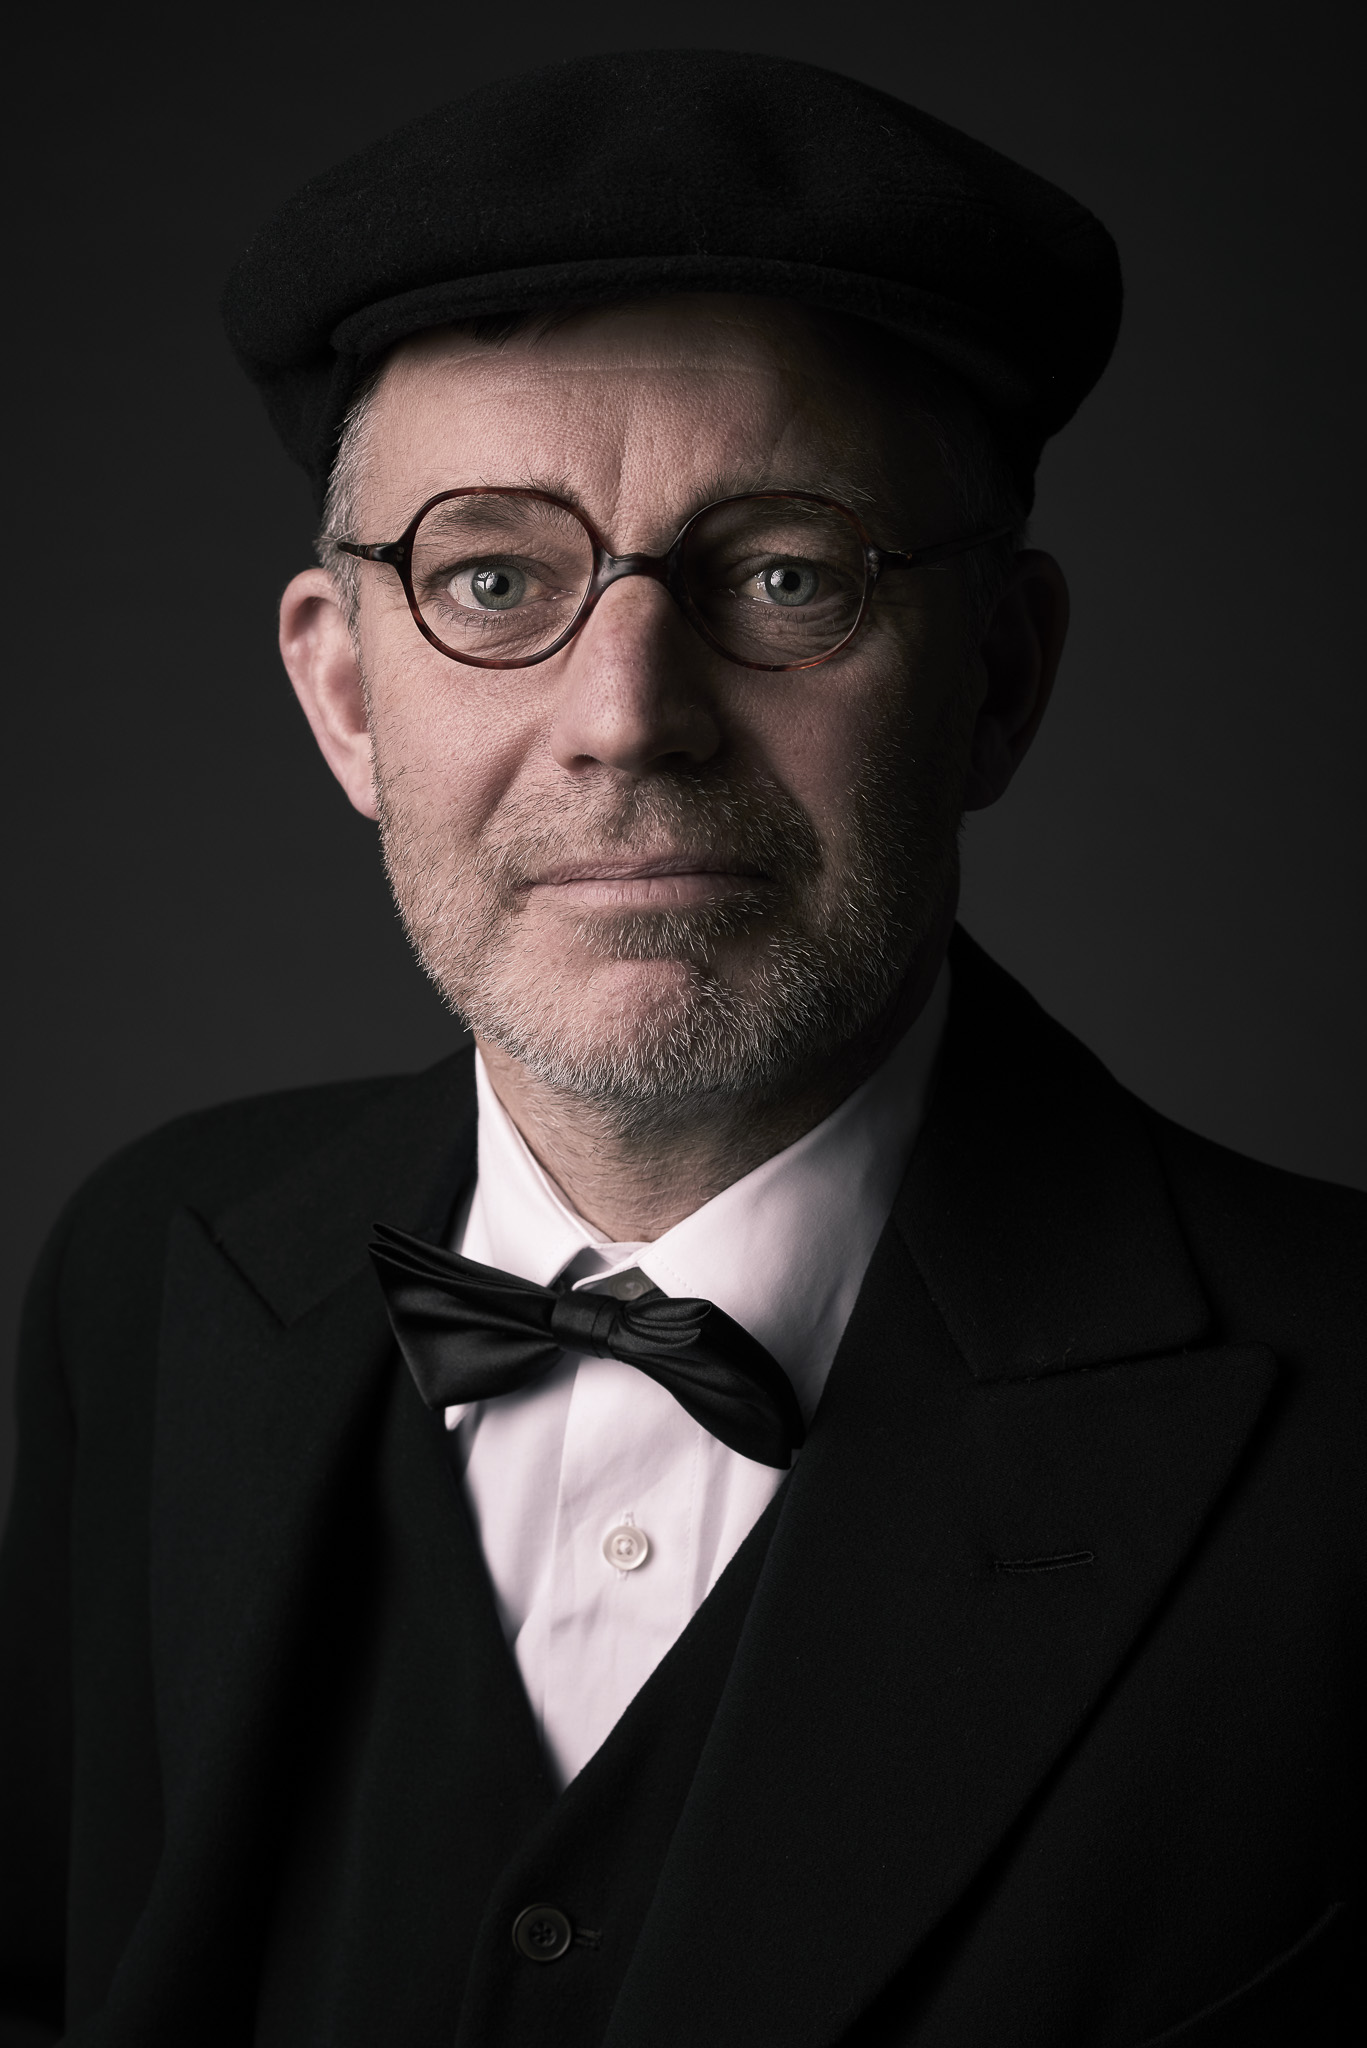
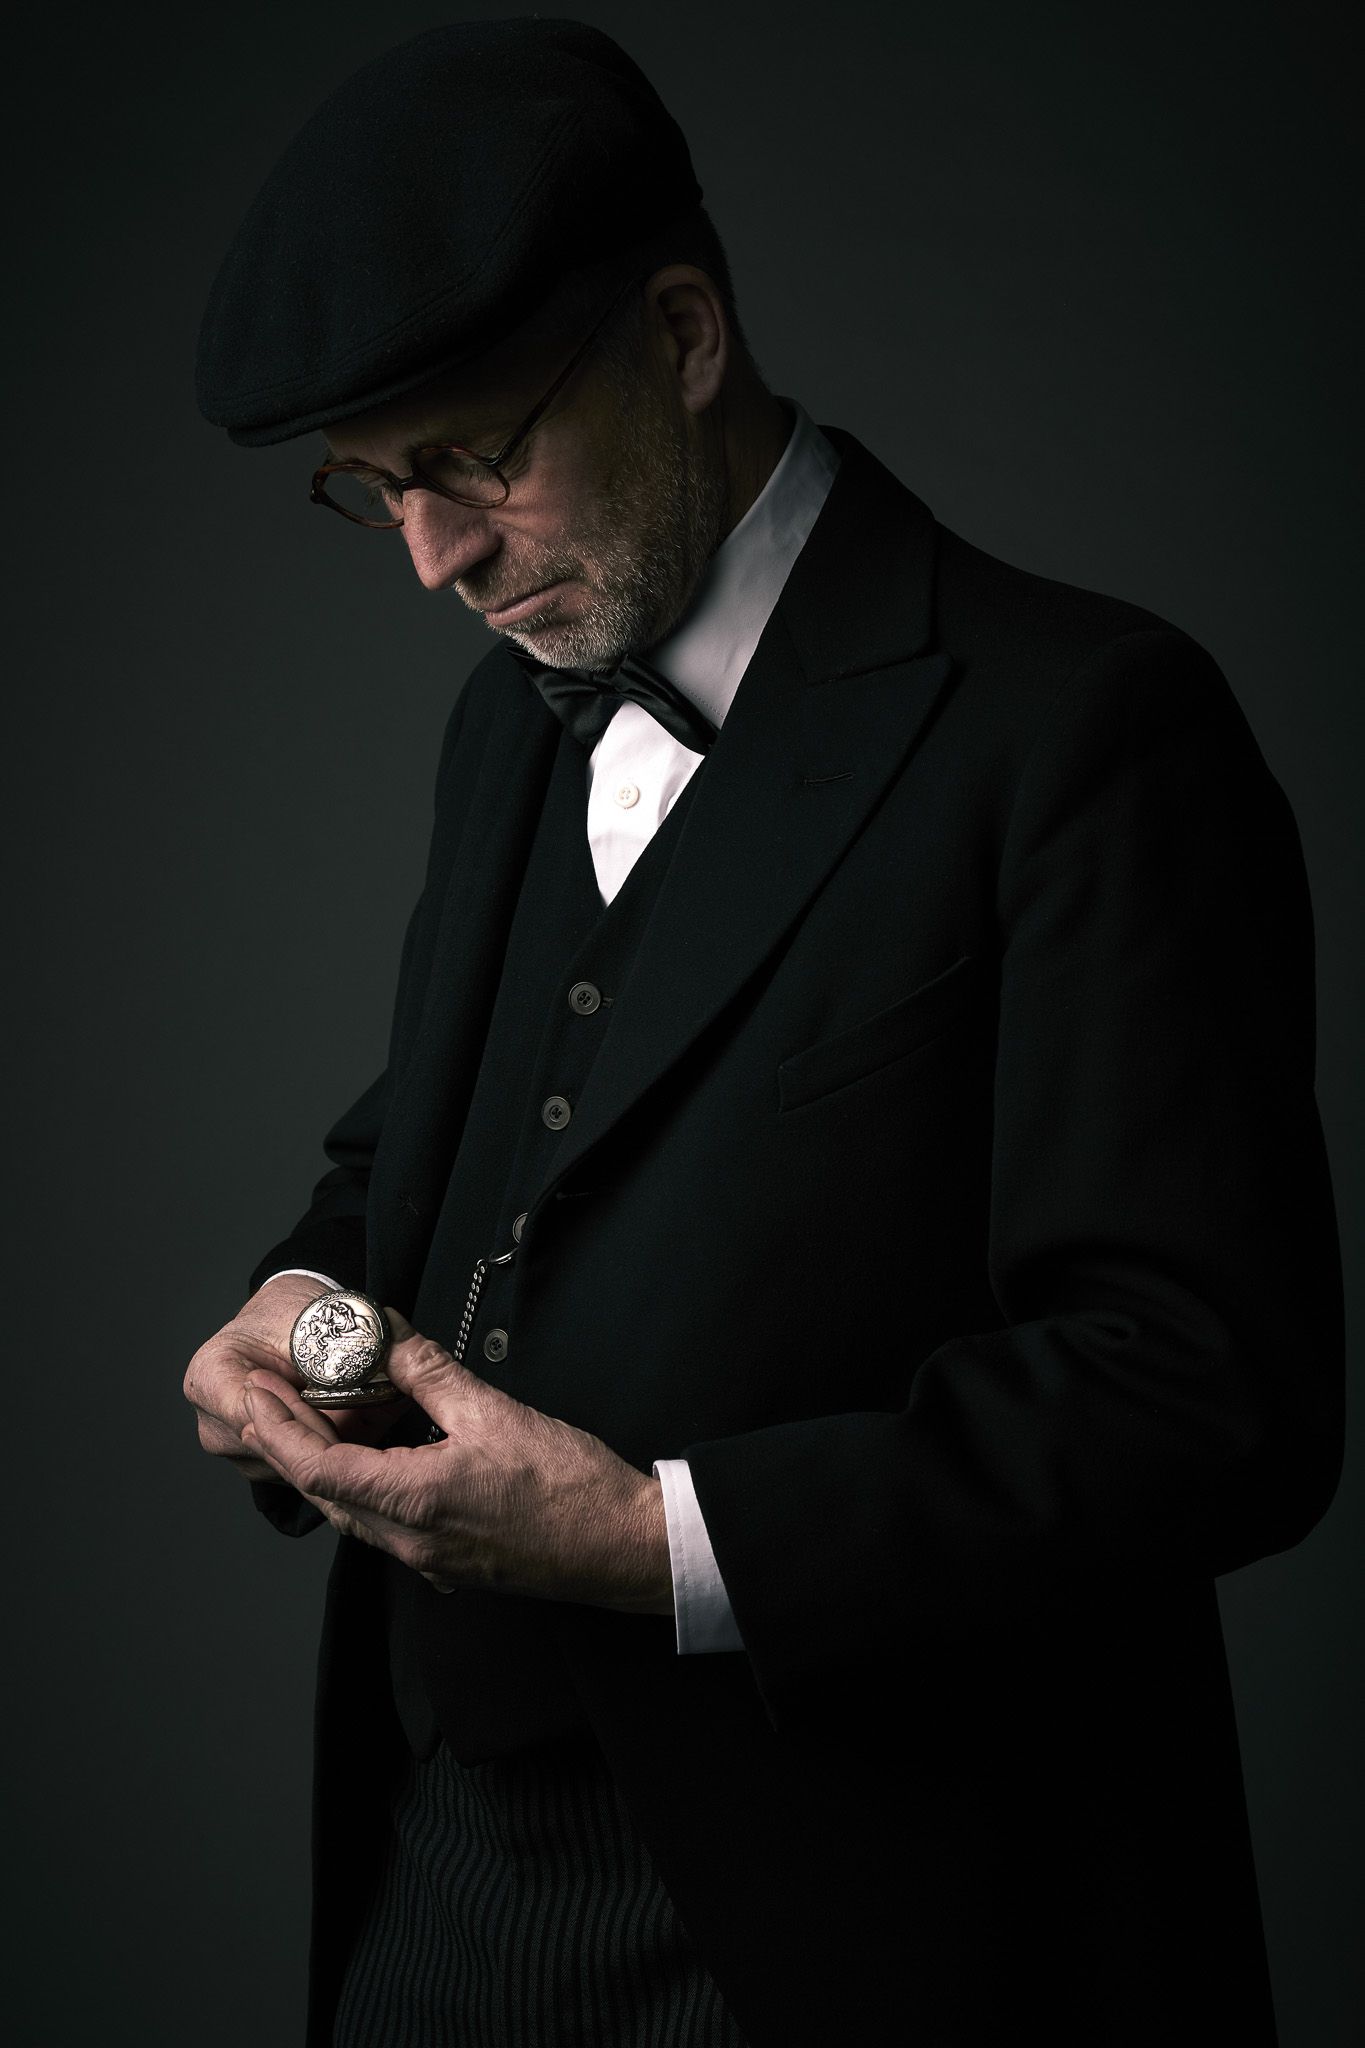
Portrait Session: Kees Visser
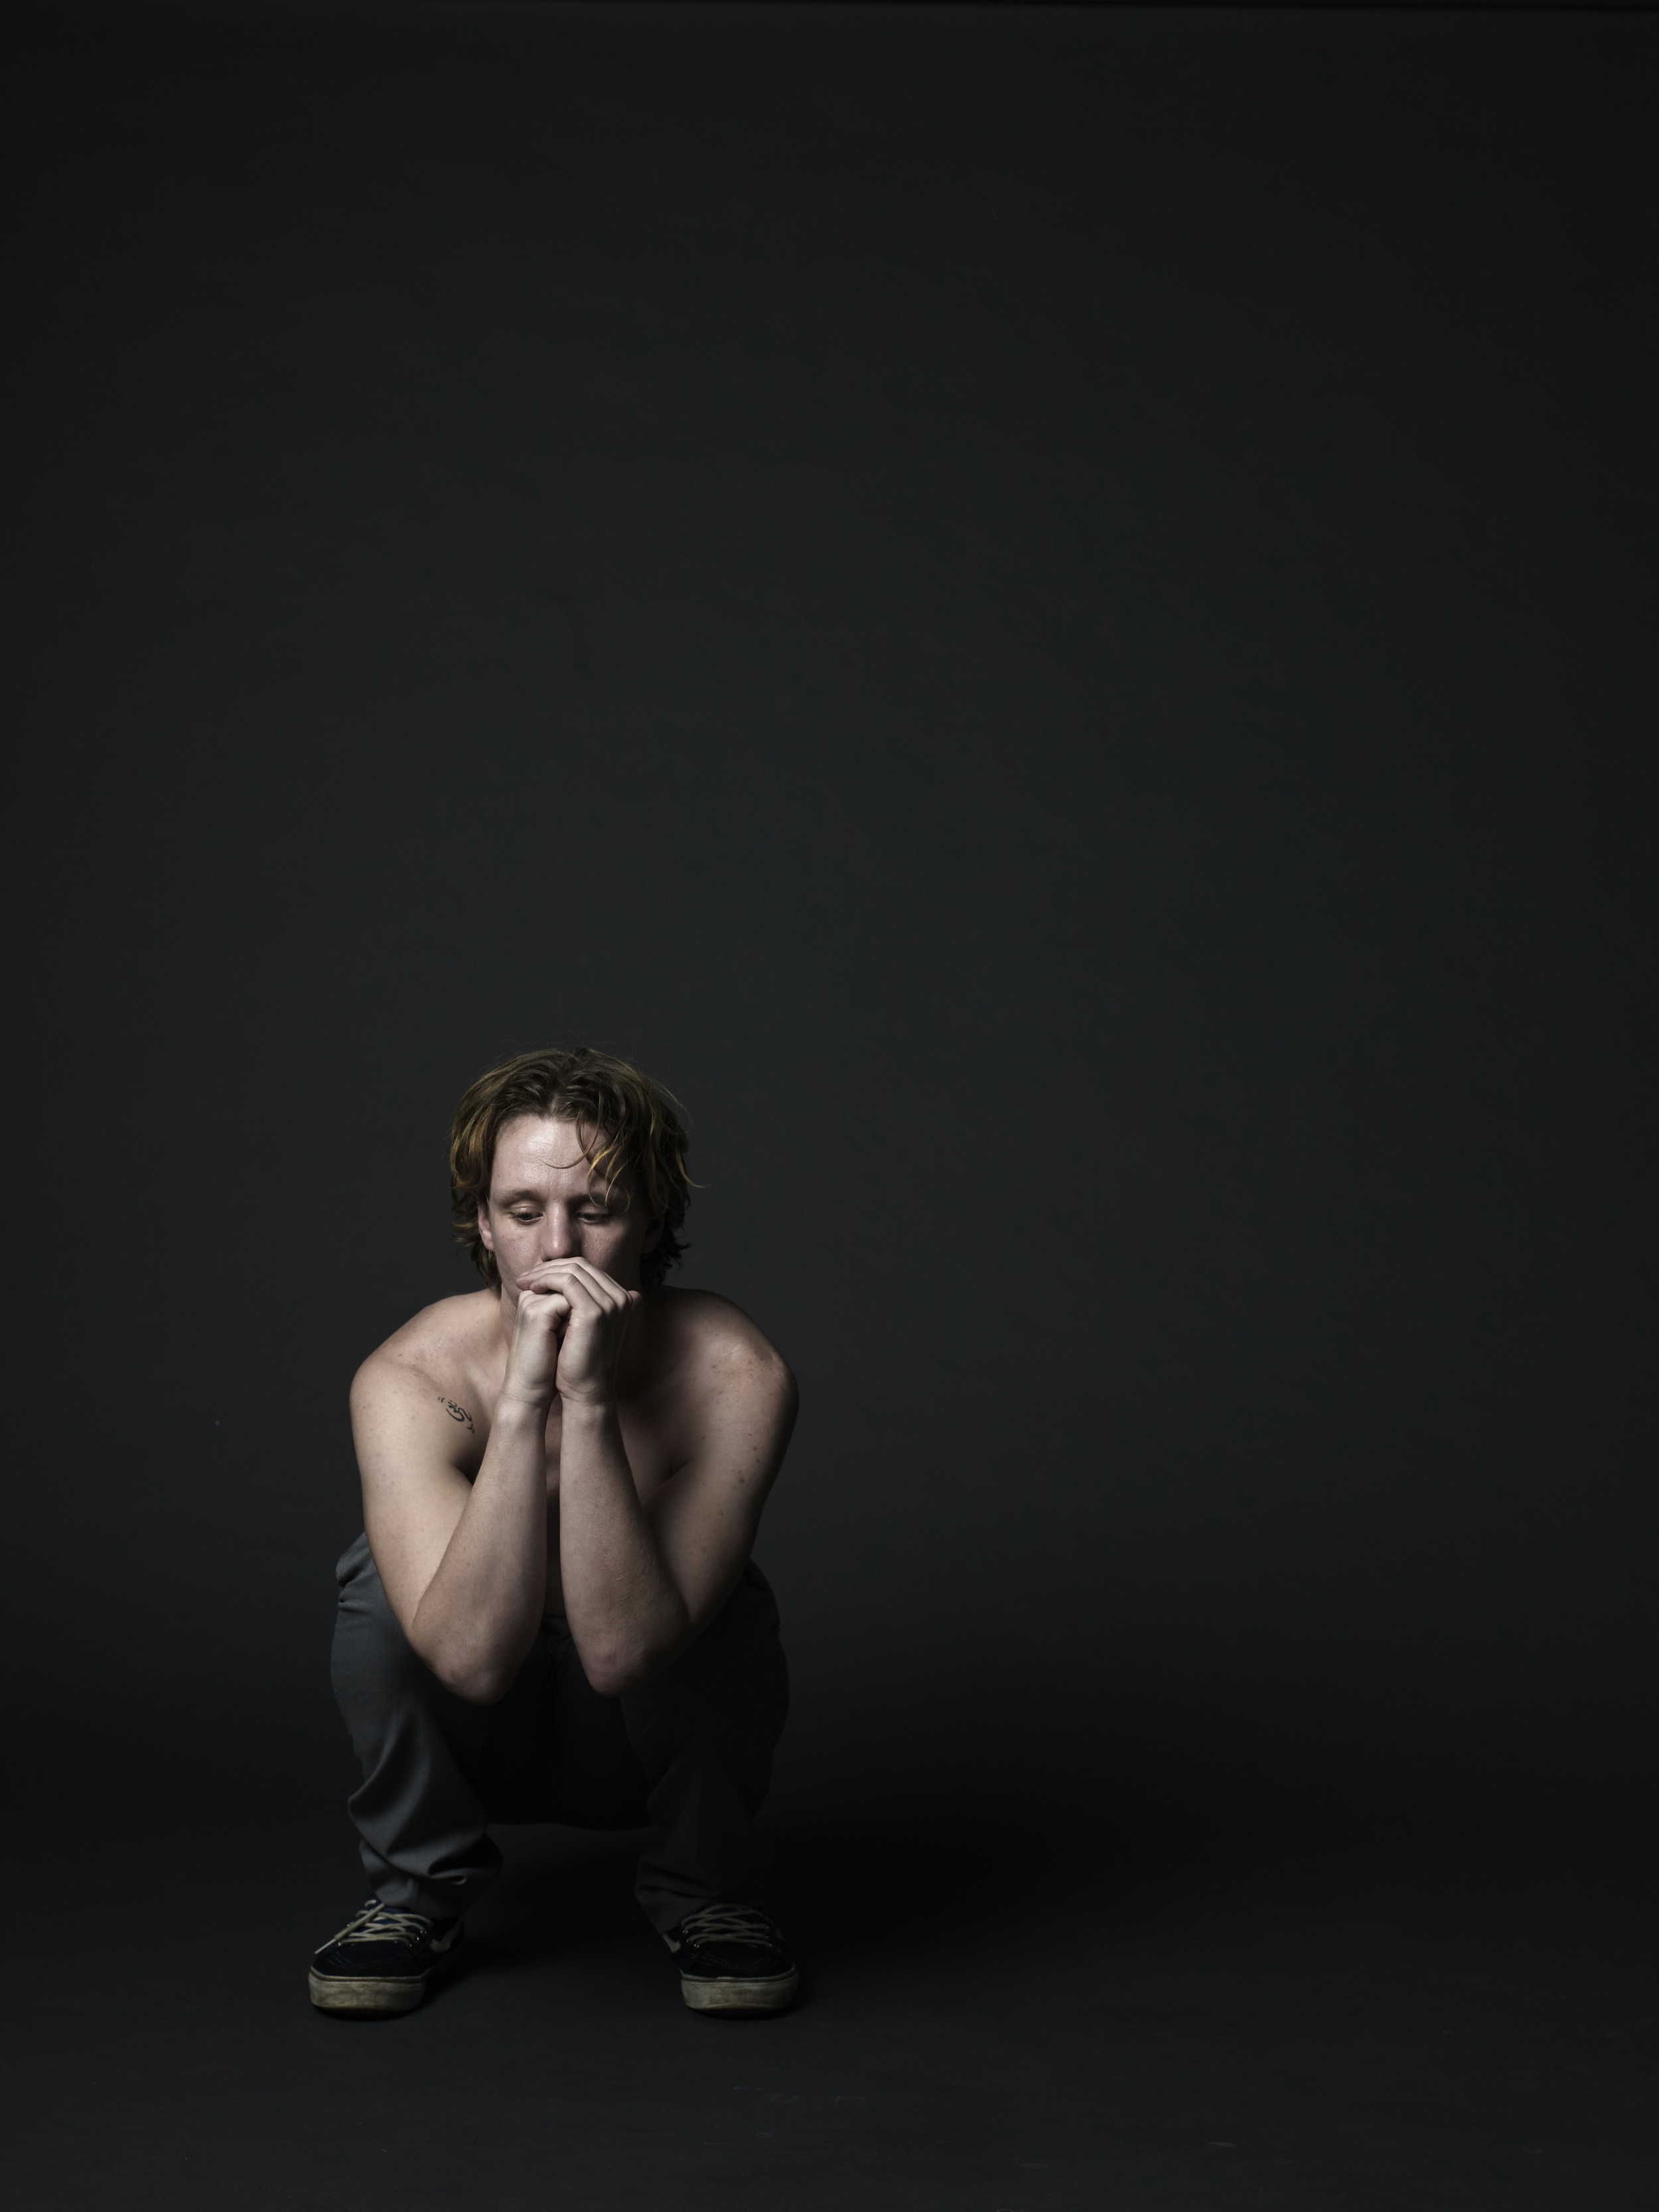
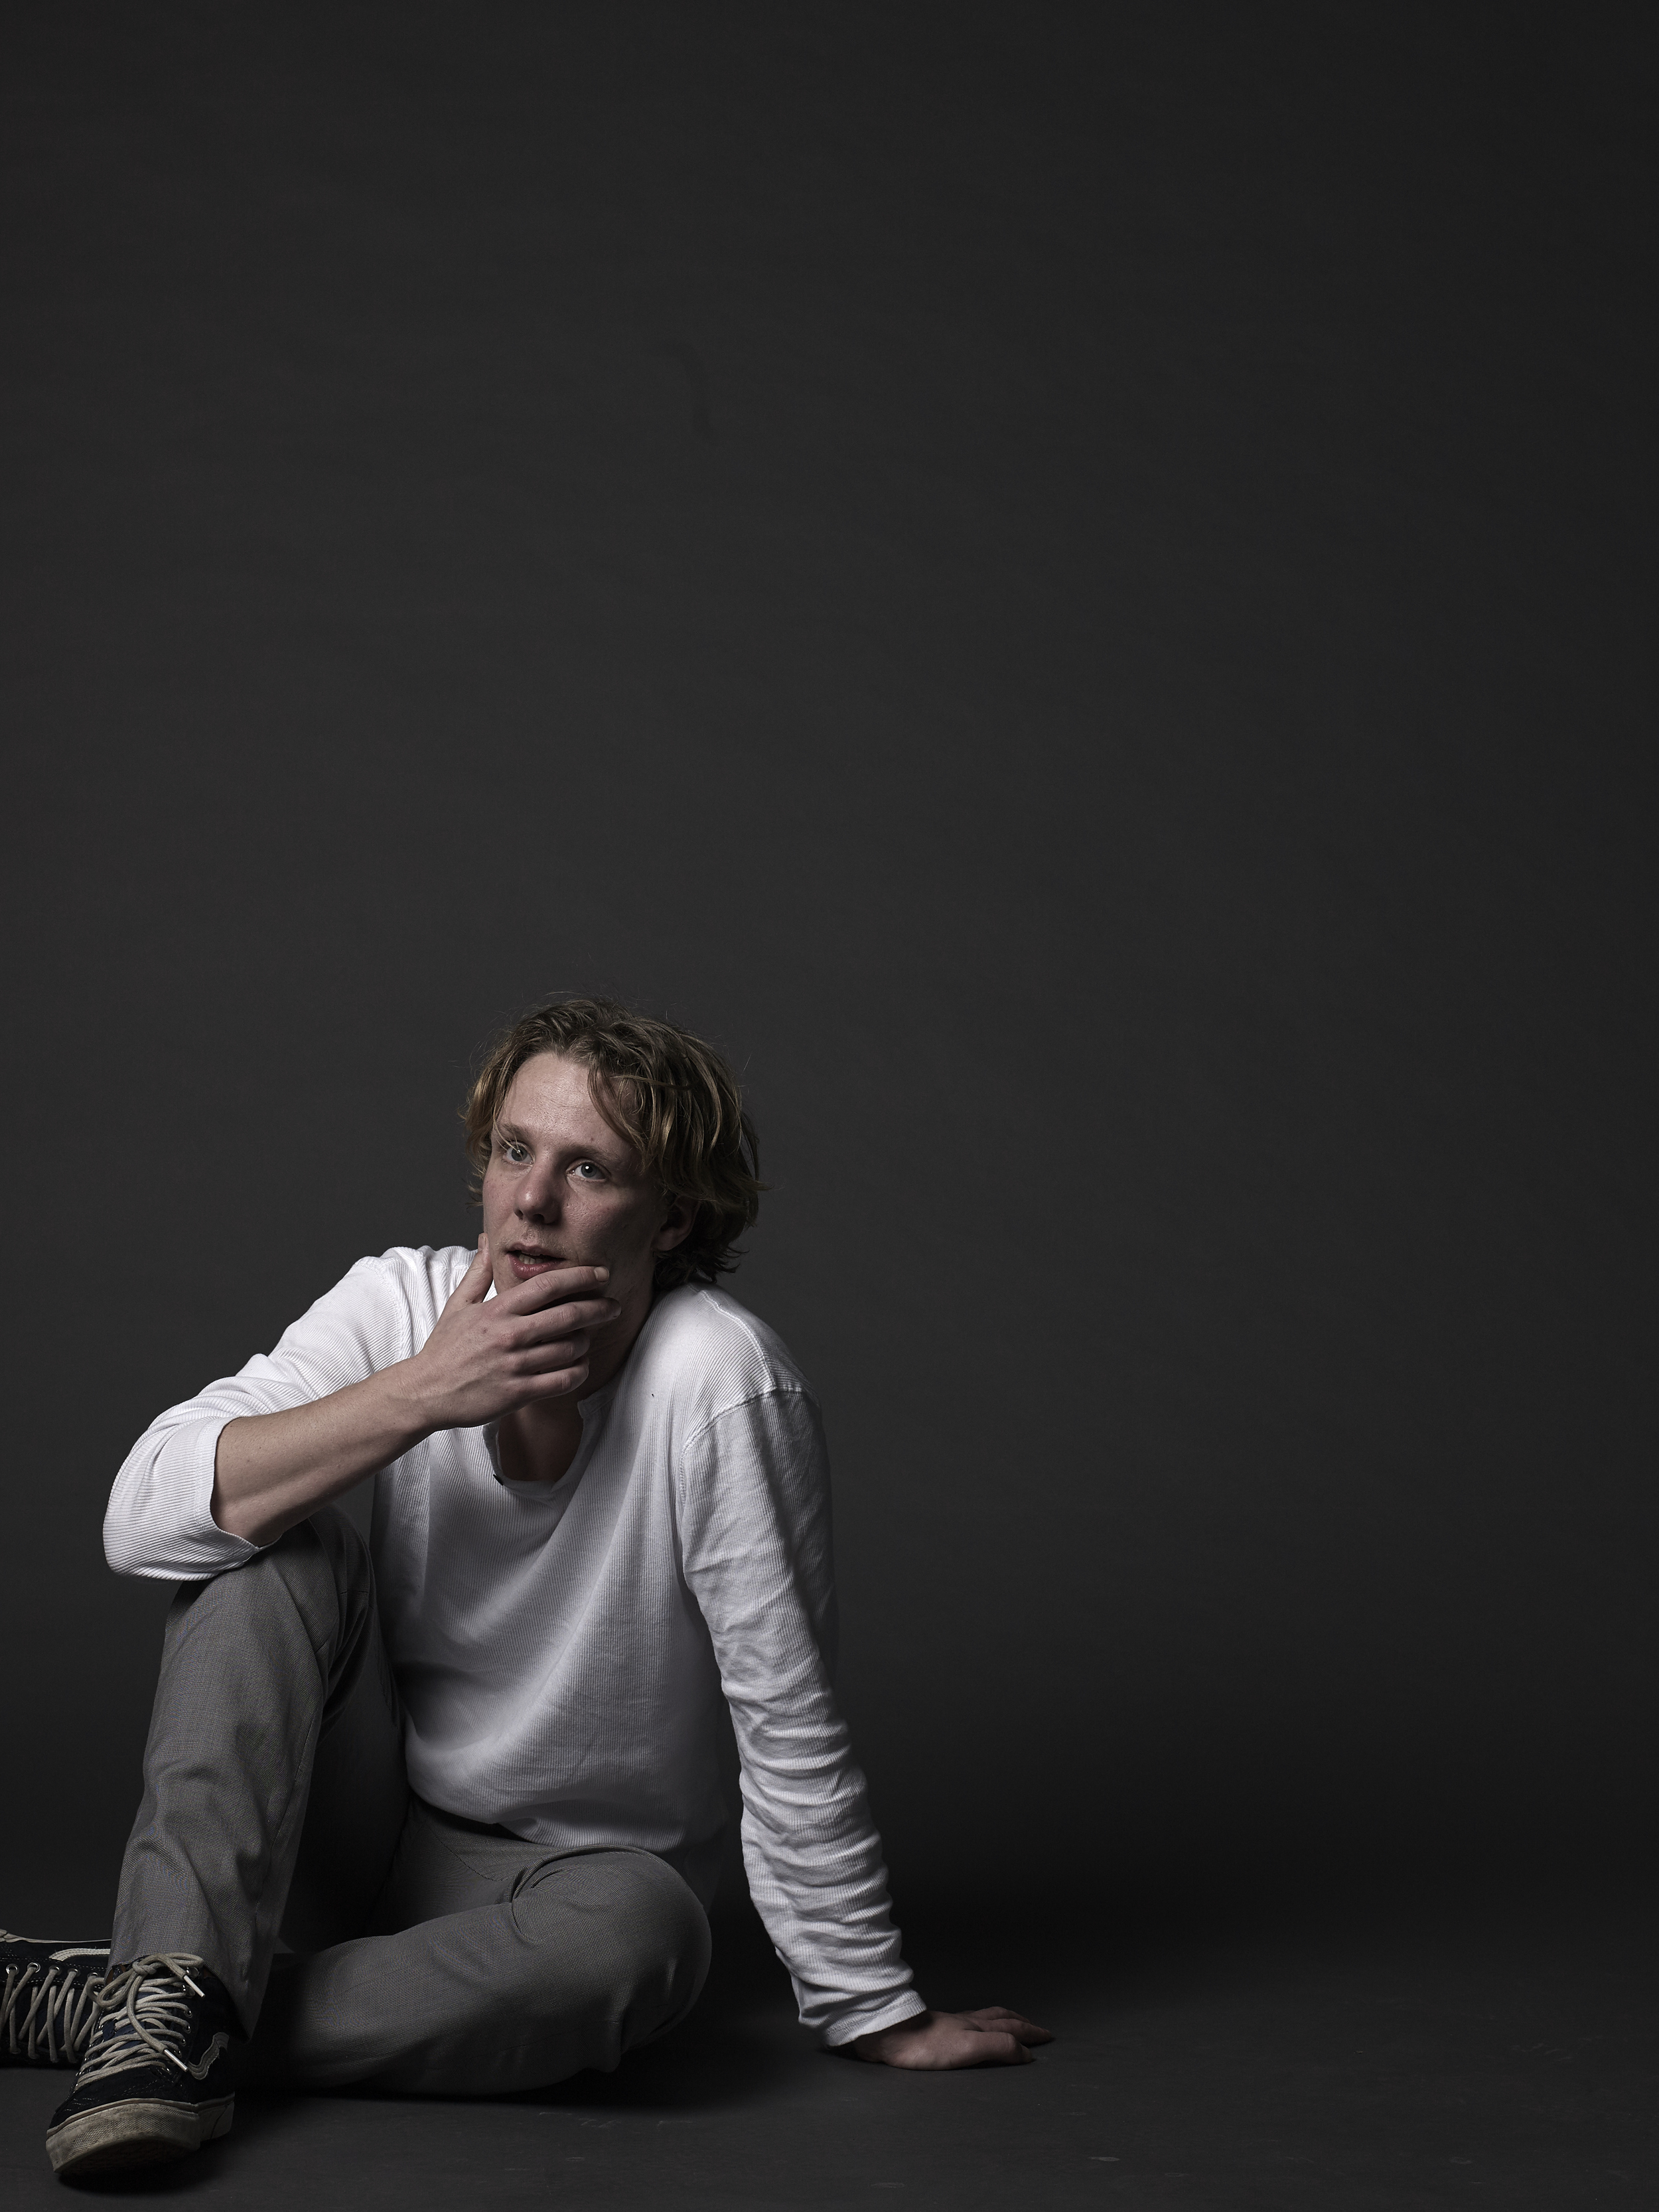
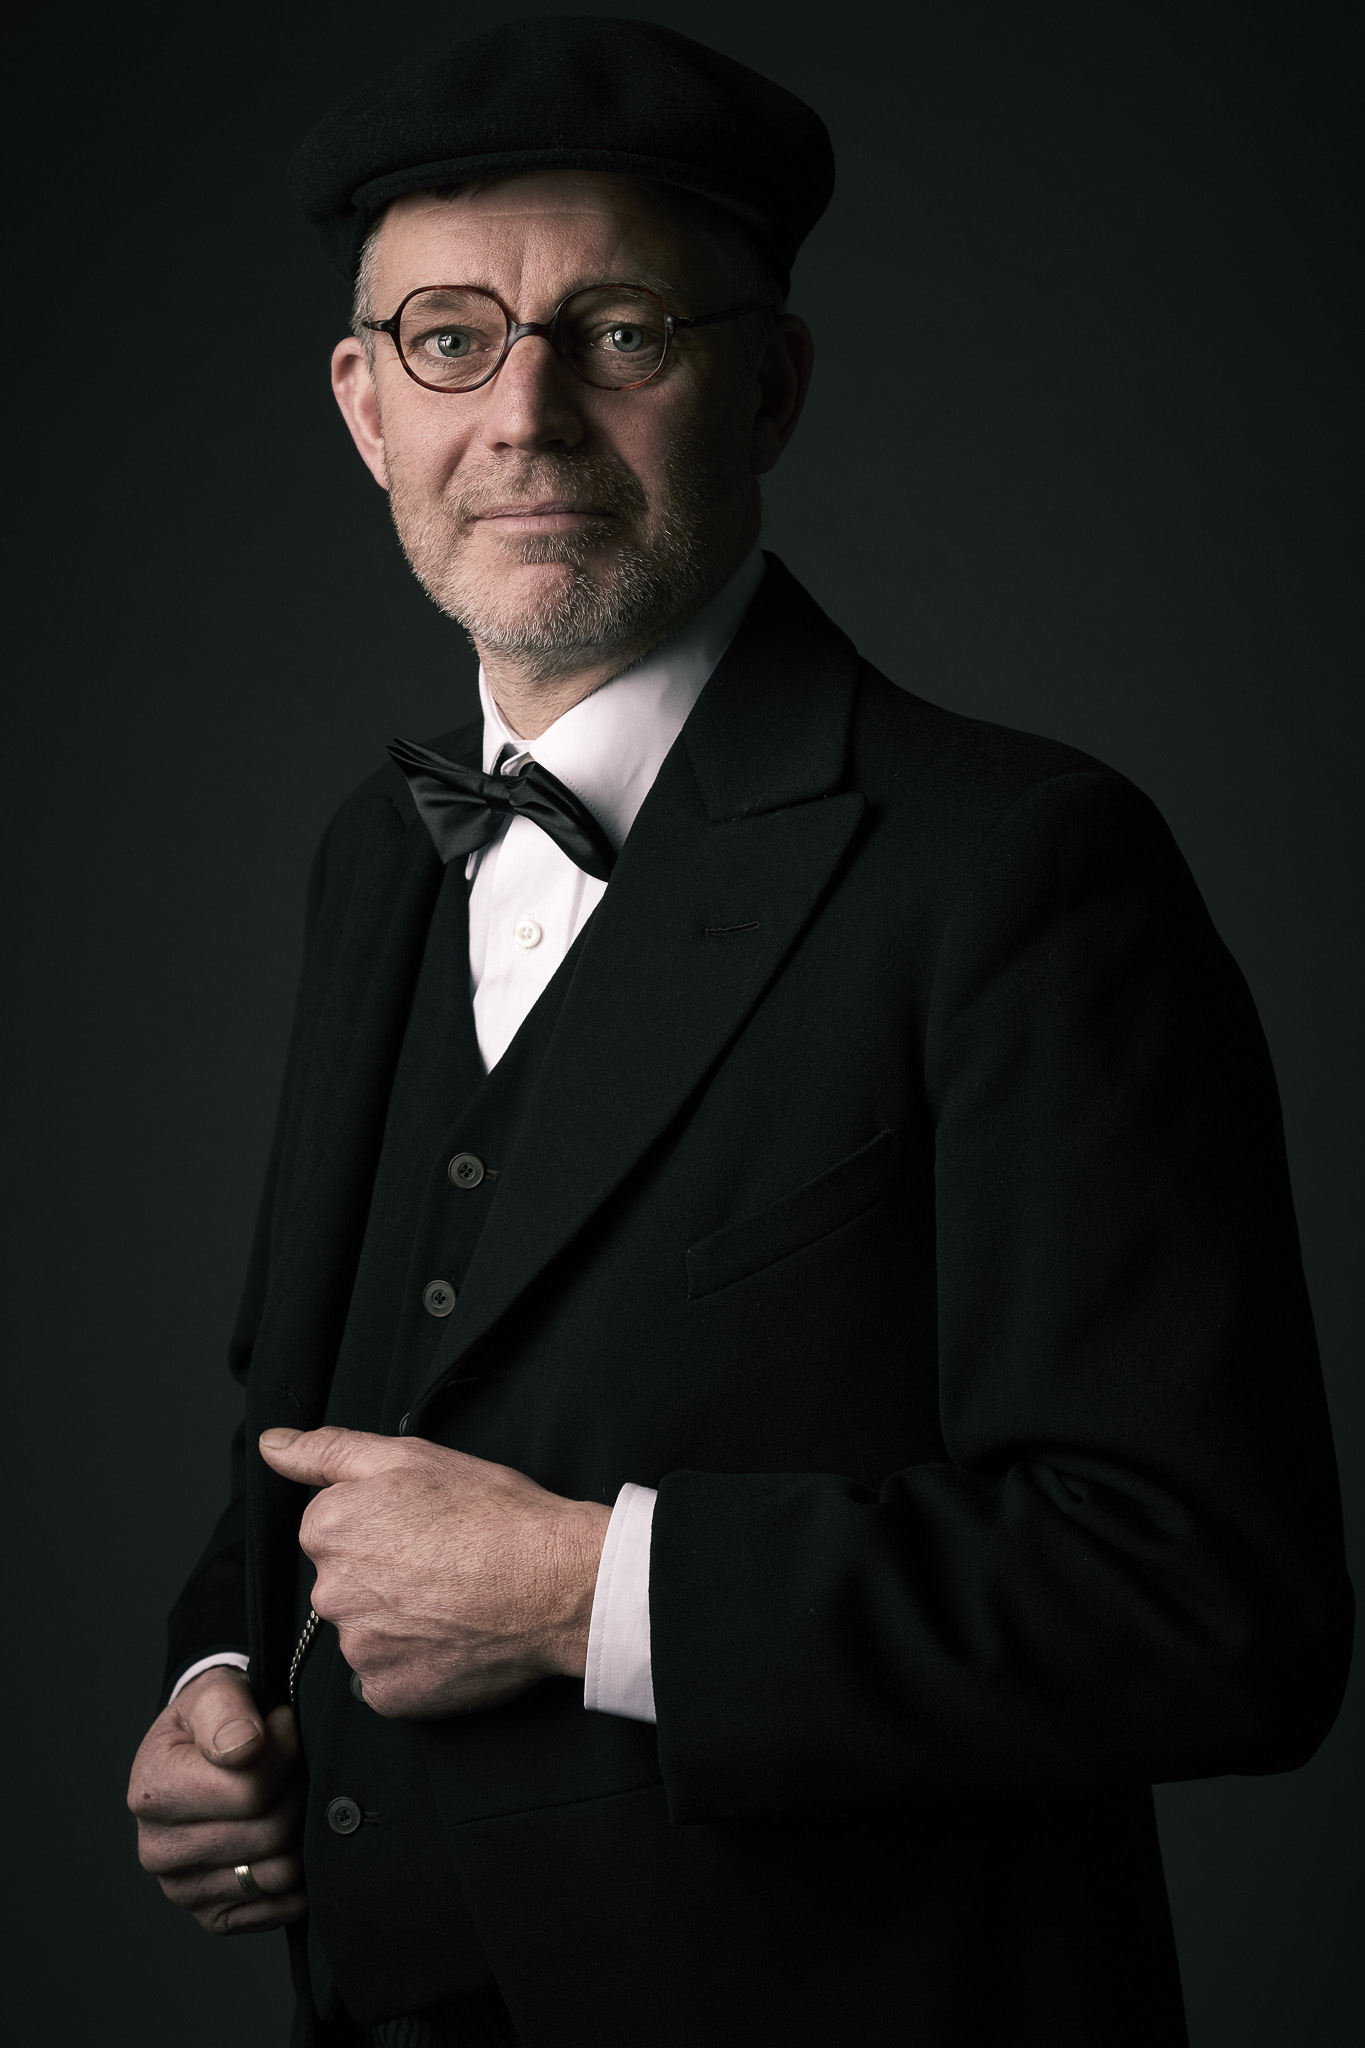
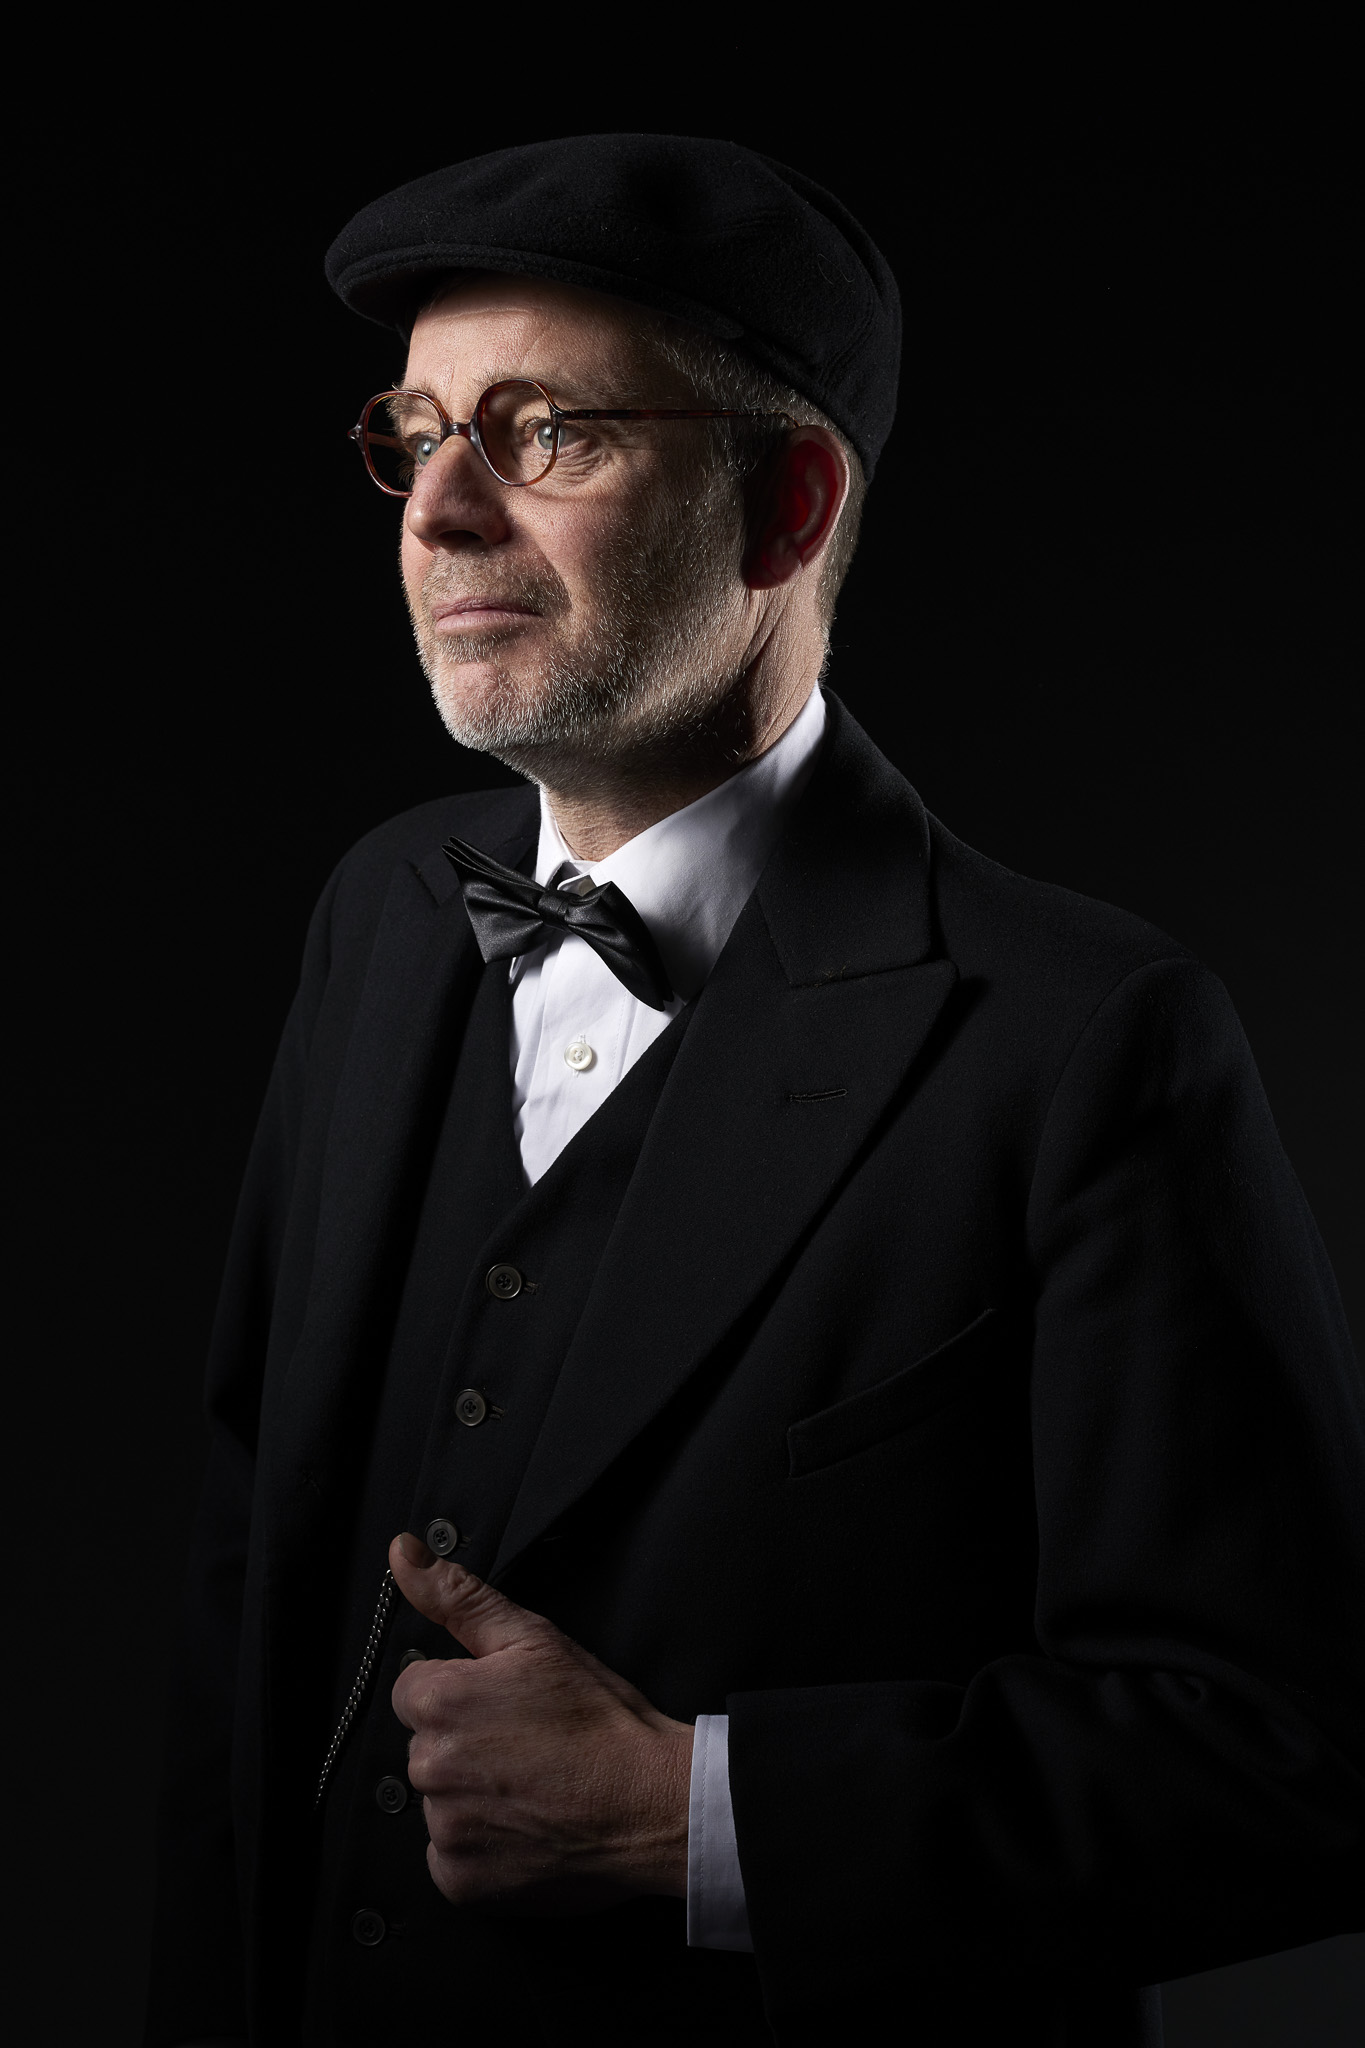
Yesterday I did a studio portrait sessions with comedian Kees Visser. For an assignment I am working on I asked Kees Visser to model, but more on the assignment later...
The set up
For the lighting I mainly used my big friend the Elinchrom Rotalux 150 indirect Deep Octa. On some Images I used the 35x90 Strip soft box with a 30x50 grid in it. But somehow this looked a little to modern. So I removed it and used just the white side of the 5-in-1 reflector handheld by my assistent. The background was just used a roll of grey seamless.
For camera I used the Nikon D800 with the Nikon 85mm 1.8g or 50mm 1.8g. The settings where around ISO200, 1/250 f5.6 or f8.
Post processing
During the shoot I shot straight into Capture One Pro 8. Normally I just do basic RAW-editing in Capture One Pro 8 and all the rest in Photoshop CC. But this time I wanted to do all my editing in Capture One Pro 8. And I must say, Capture One pro 8 is great for RAW-editing, but some how for the complete editing workflow I don't know... Masking and working with curves keeps feeling easier in Photoshop. Also the dodge and burning stuff is easier in Photoshop.
But for sharpening and correct lighting Capture Pro 8 rules! I think Capture Pro 8 is great for full workflow on like weddings or landscape. but for commercial and portrait jobs I will keep Photoshop on the side!
Please keep in mind that I am still learning Capture Pro 8, so my opinion may chance in the feature.
DANCE PHOTOGRAPHY SESSION PART 3: One Light Action shot
This week the next part in the Dance photography series. If you didn't have read the firs two part you can read them here:
- Dance photography session Part 1: The headshots
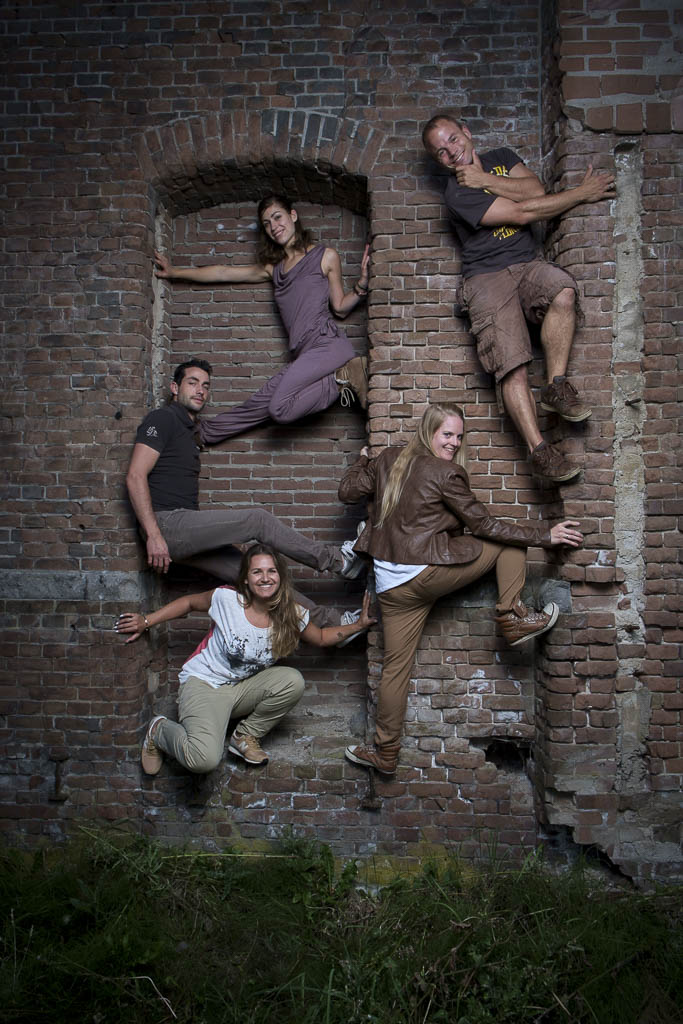
- Dance photography session part 2: The group shot on the wall
The One-light Set up
The first shot was lightning wise very simple. I Just used one Elinchrom Quadra RX with the A-Head on the B-port with the Elinchrom Rotalux 150 deep indirect octa as a modifier. The reason I used the B-Port was that it had a faster Flash duration to freeze the action more.
For the Camera I used the Fuji X-pro1 with the 35mm 1.4 lens. Settings: Iso 100, 1/125 at f5.6.
The post Production
For the post production I used a little more Ferry Dusting
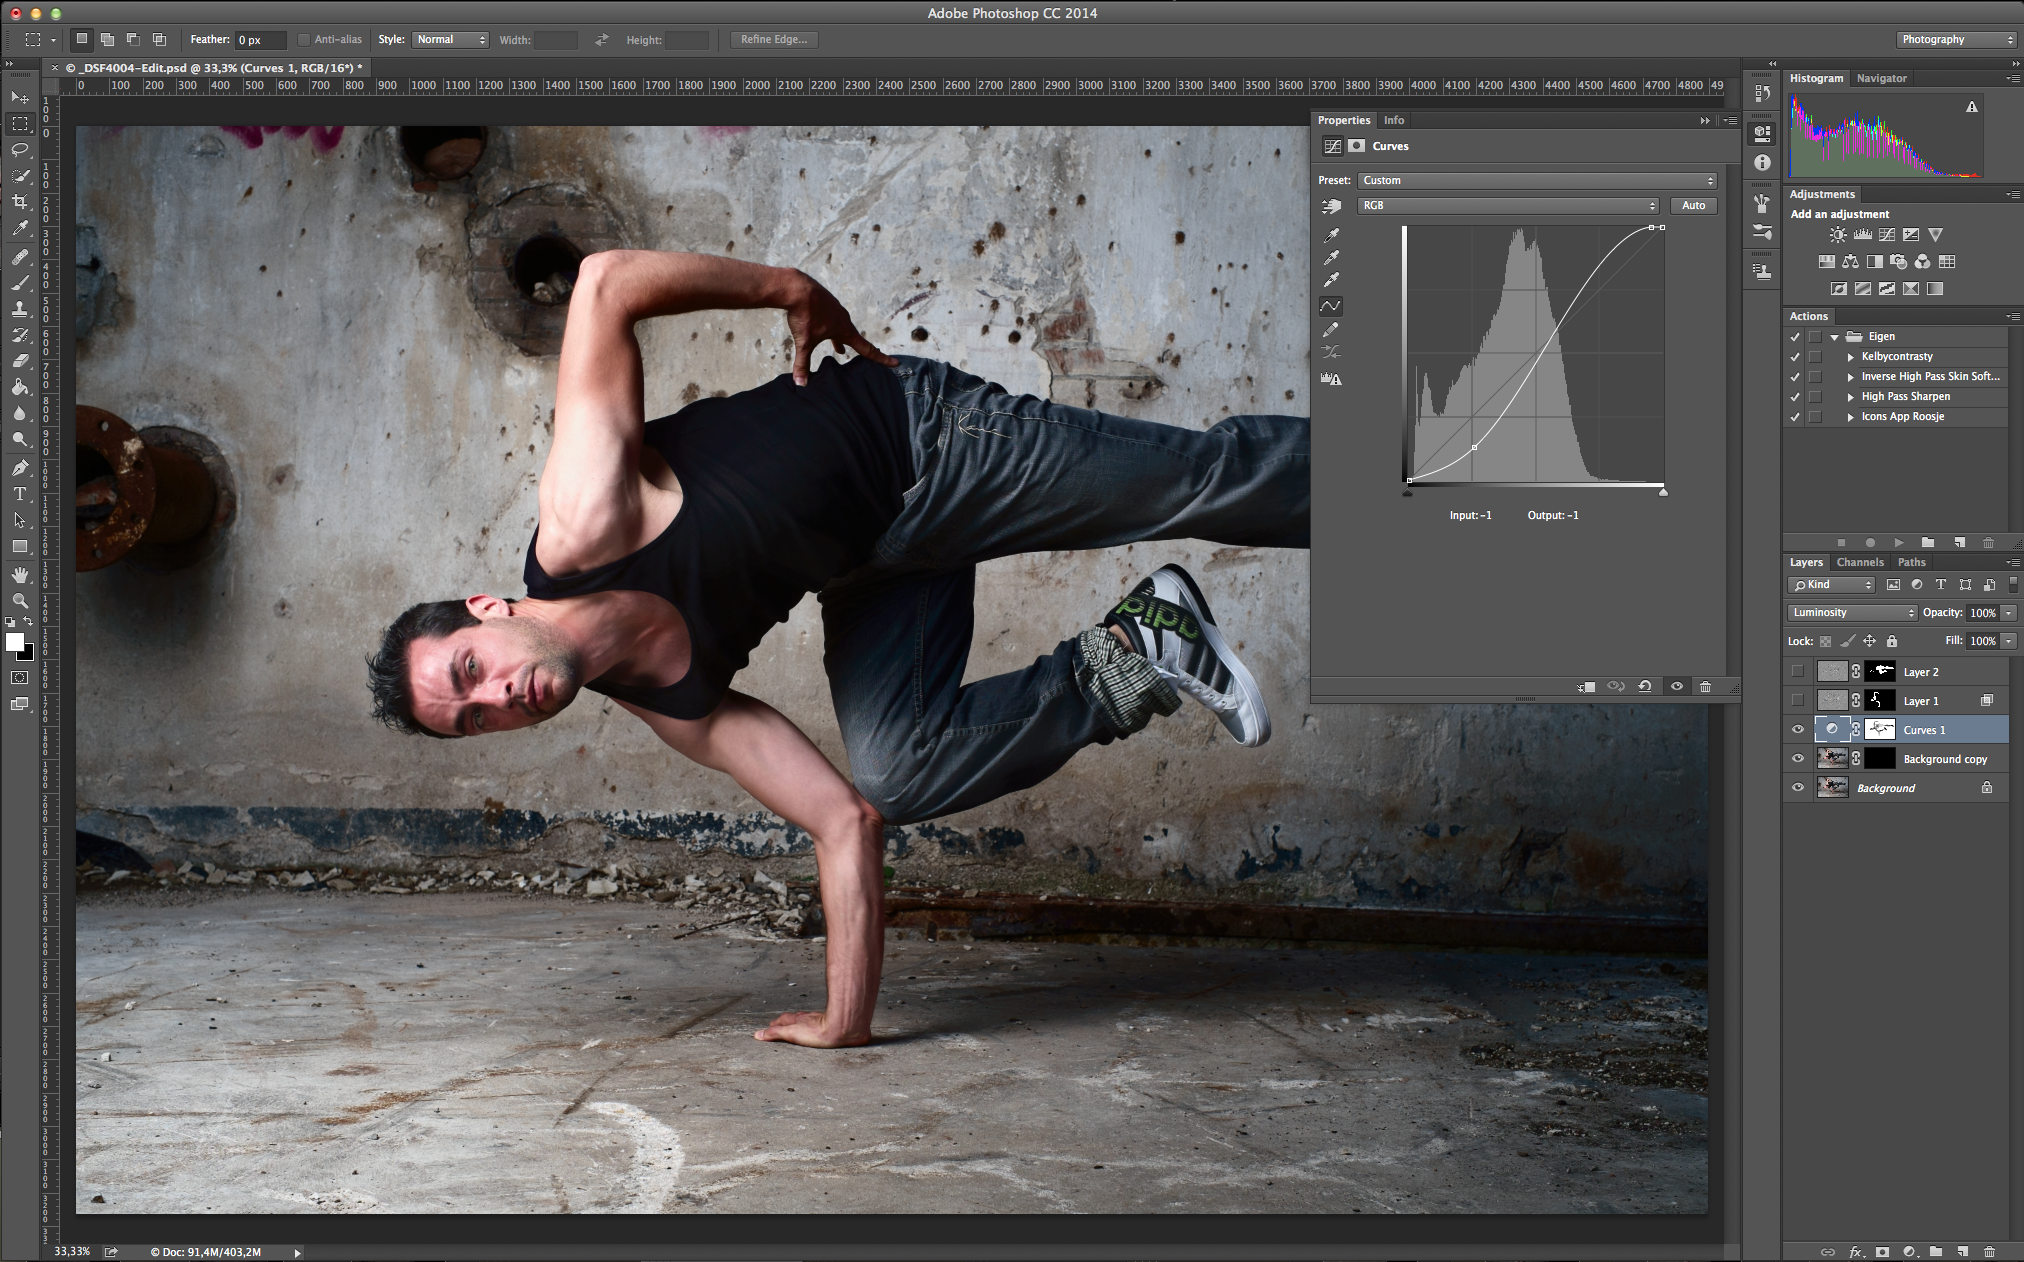
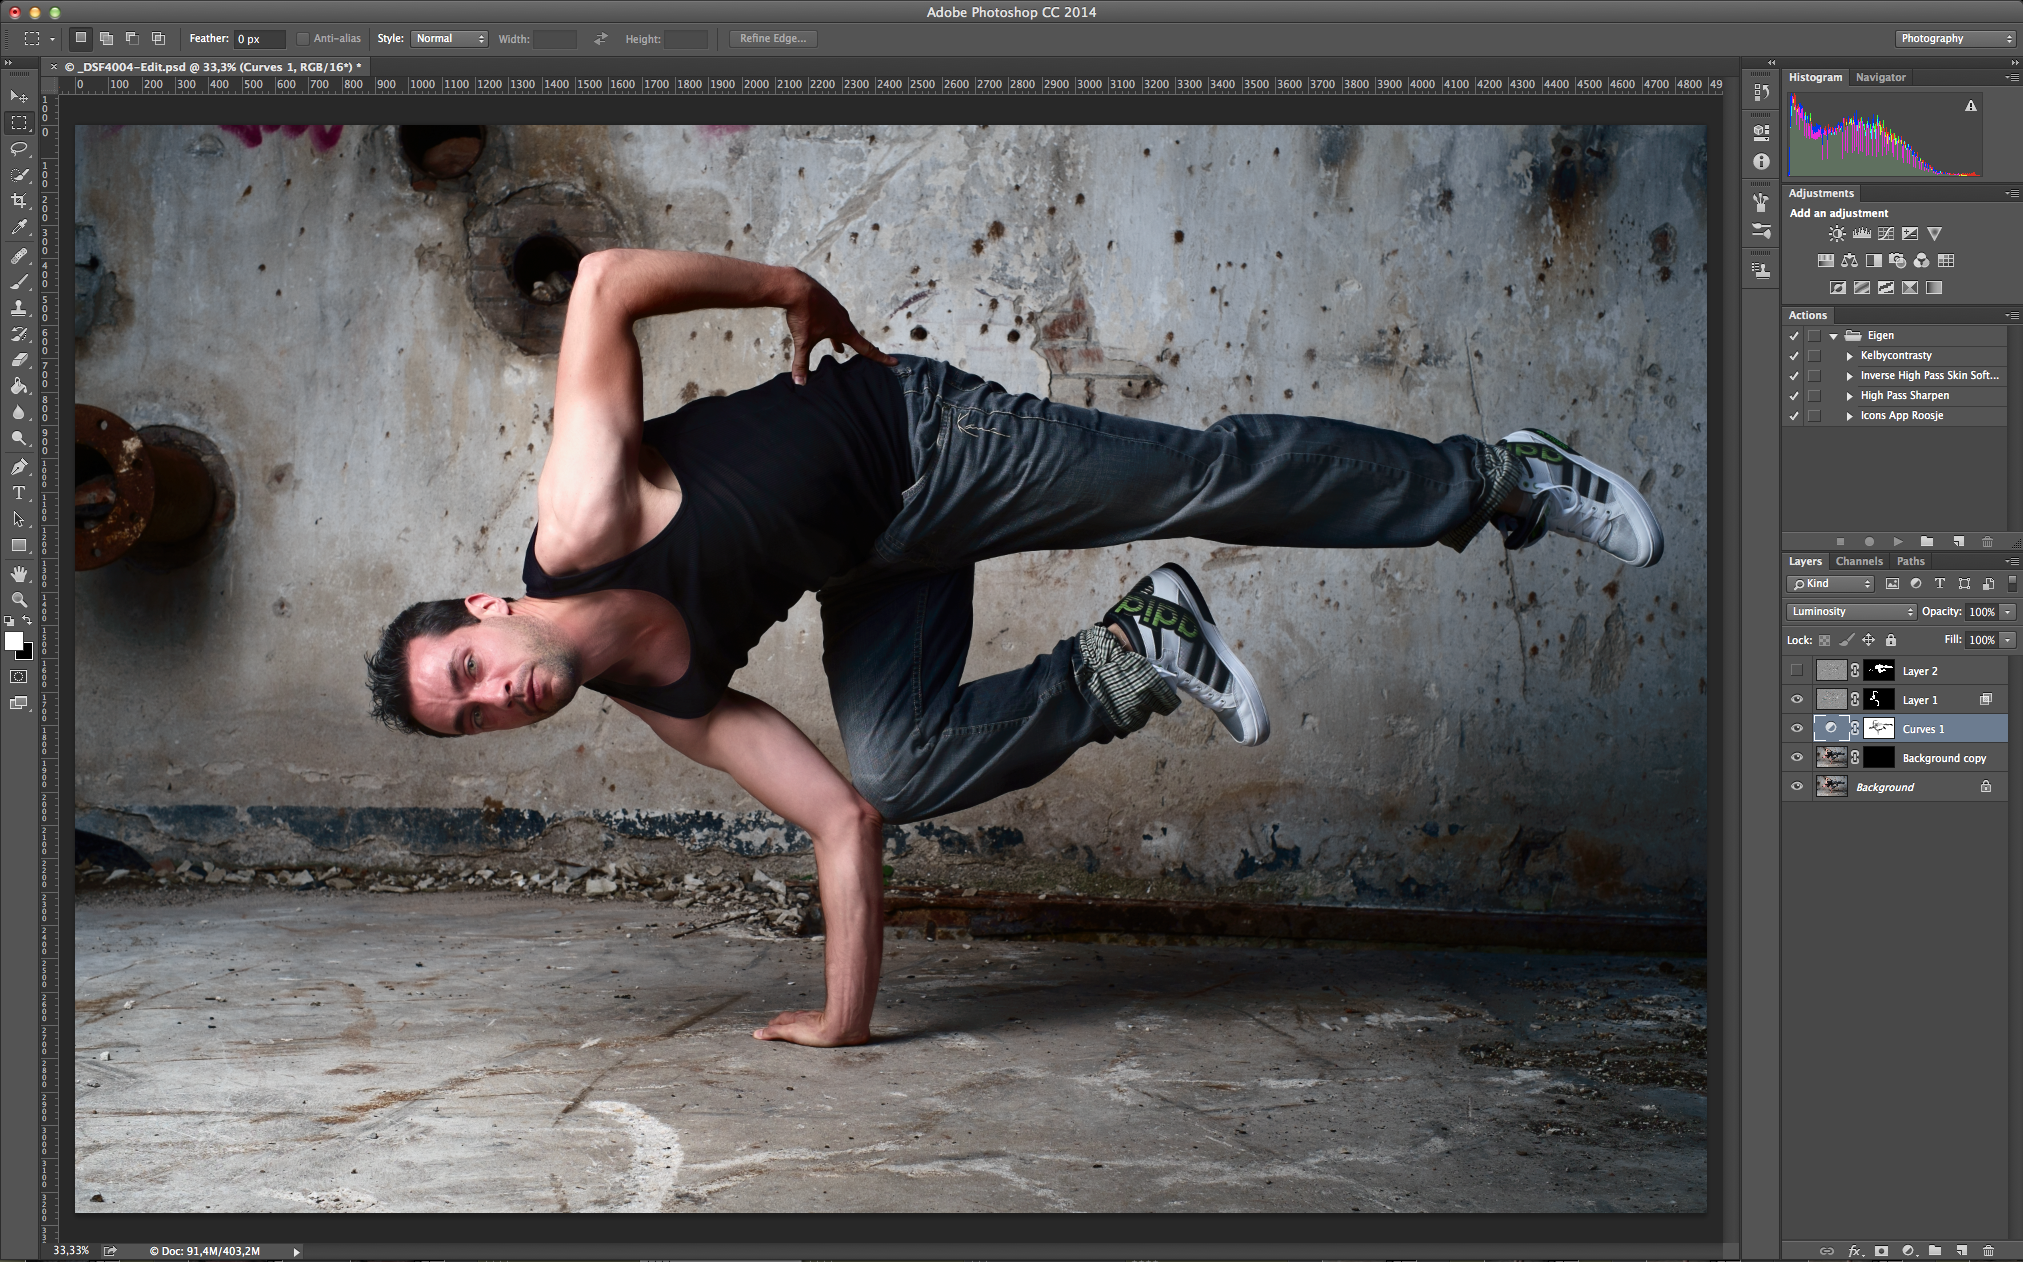
The first step I did was the Eyes, Duplication the Layer, set the blend mode to screen and add a black Layer mask. Then use the white paintbrush and paint it on the irises. Then use the opacity to pull it down so you won't get scary bright eyes!
The next step is painting in the light. This is a technique I learned from Dutch commercial photographer and Hasselblad master Hans van Ommeren. It starts with darken the pictures. To do this a little more controlled I used the curves. Hans normally uses the Levels adjustment layer. After you darkened the whole picture use a layer mask and use a brush on an opacity/flow of 20/20. Then paint back the light on the places you want it. This gives a really nice and moody look. Also it really helps you focusing on the subject.
The net step is smoothing the skin out a little bit. I just used the Inverse High pass skin technique for this.
To finish it I used a little bit of high pass sharpening with a soft light blend mode painted in on the places I wanted it.
DANCE PHOTOGRAPHY SESSION PART 2: The group shot on the wall
Hi and welcome to the second part of the Dance photography session. This serie is about a commercial dance photography shoot I did for Djenz Factory. If you didn't have read the first part about the Headshot, click here and read about it: DANCE PHOTOGRAPHY SESSION PART 1: THE HEADSHOTS.
The set-up
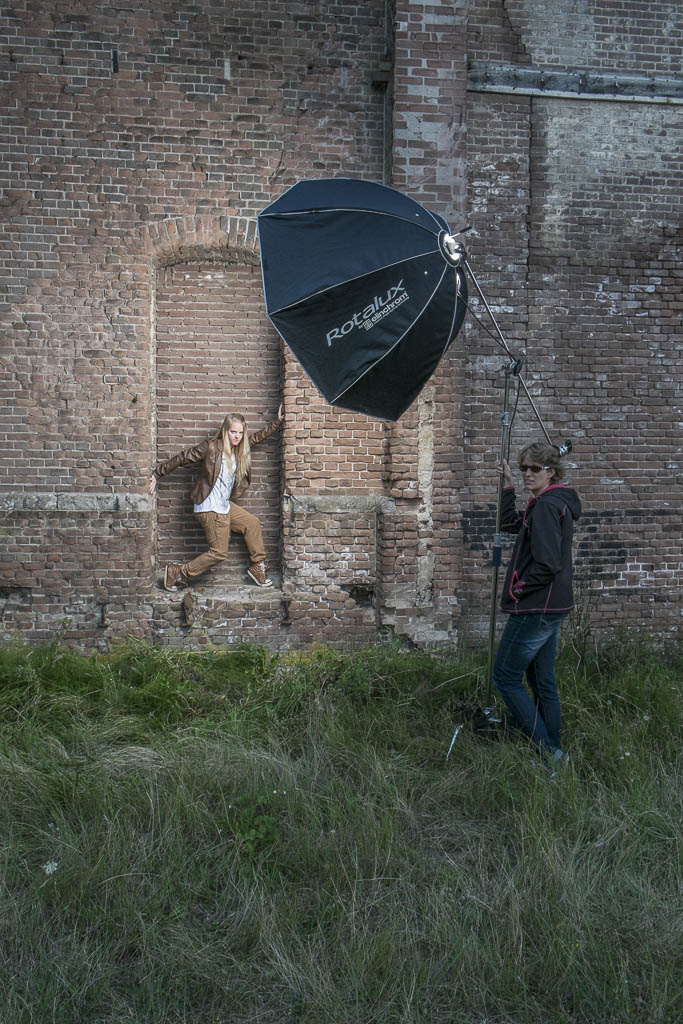
As you can see in the test production photo the whole set-up was just one light! The Elinchrom Rander RX Quadra, with an A-head in the A-port for the biggest blast of light. Everything was mounted on a C-Stand with three sandbags and my assistent holding it. It went up for the maximum height, and I didn't want to take any risk of it tipping over. The camera was the X-Pro1(ISO:200, 1/125th, f8) with the Fujinon 18-55 2.8 - 4 lens at 18mm.
Post-production
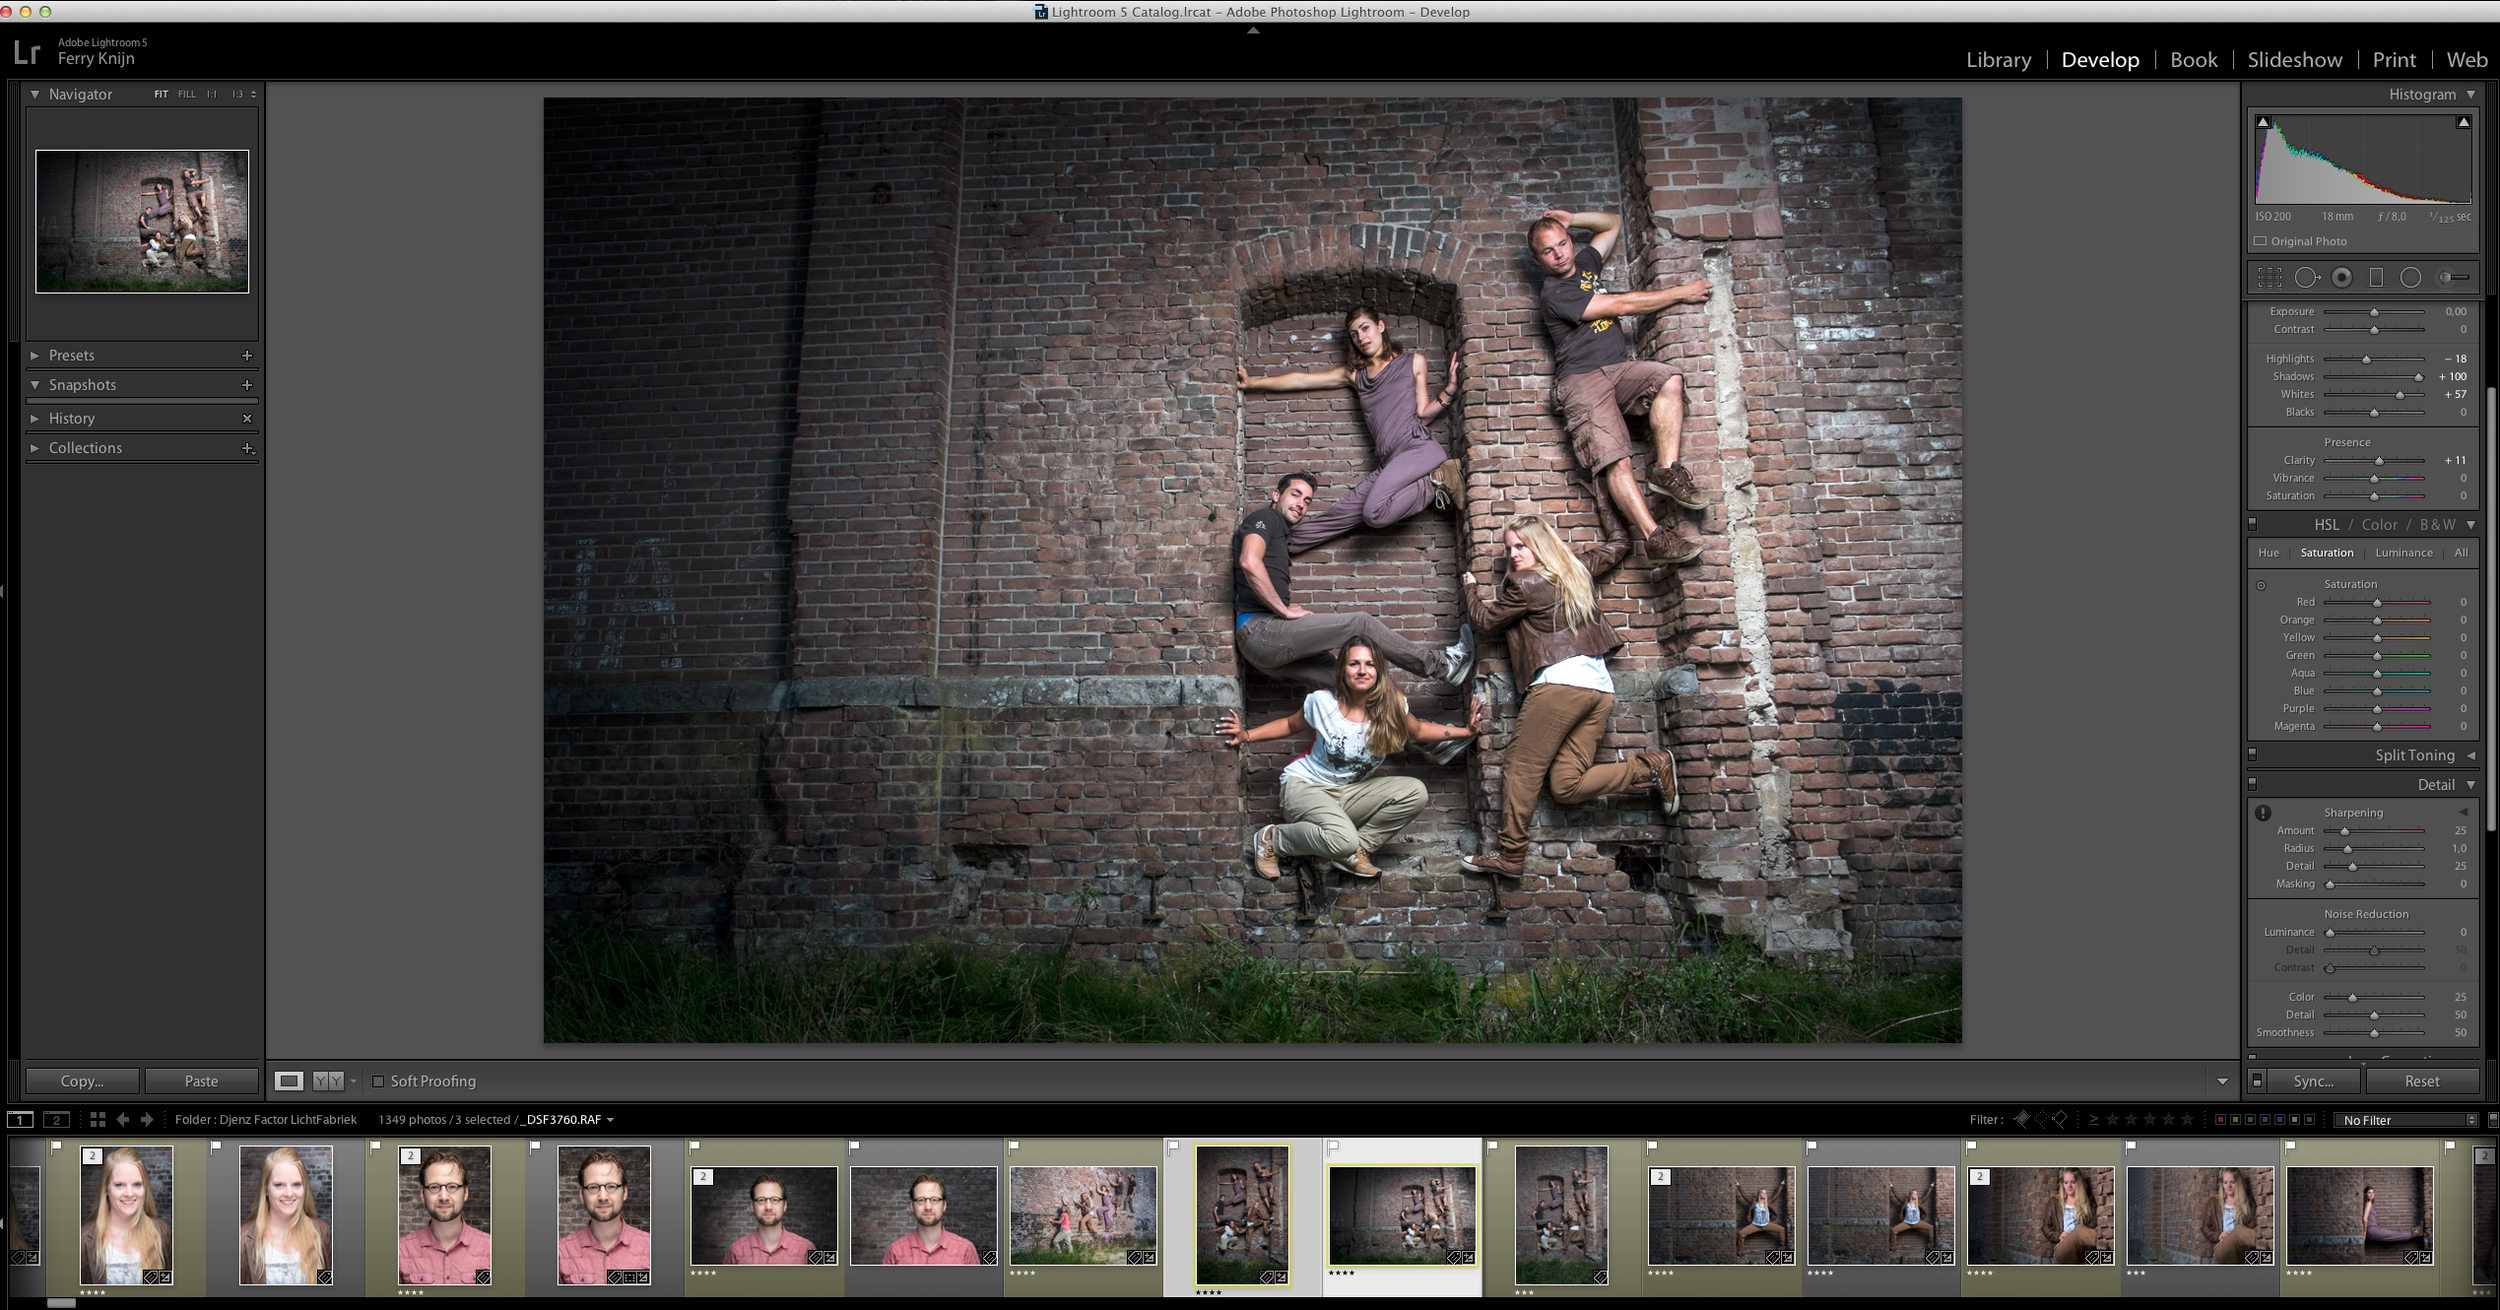
Because this was a group shot on a 16mp camera I kept the post production very simple. These shots are about the group, not about retouching every skin detail. And for doing that, there was not enough information to make the skin look better. So I just focused on getting the mood. So all I did were some basic Lightroom touches. Just some sharpening, highlight, shadows, and a vignette to focus the view on the group.
Shooting portrait and landscape
Remember always to also shoot and deliver a Portrait and a Landscape version of the photo. This way your client has the option to choose and have the highest quality for the way they want to use it.

